
Real patient cases
Before & After Gallery
266 real cases treated at Gangnam HERA in Seoul, shared with patient consent. Filter by category, then open any case to see it full size.
Real patient photos
Ask us on WhatsApp
Interpreter on-site · Replies in English
Showing 24 of 266
 Before
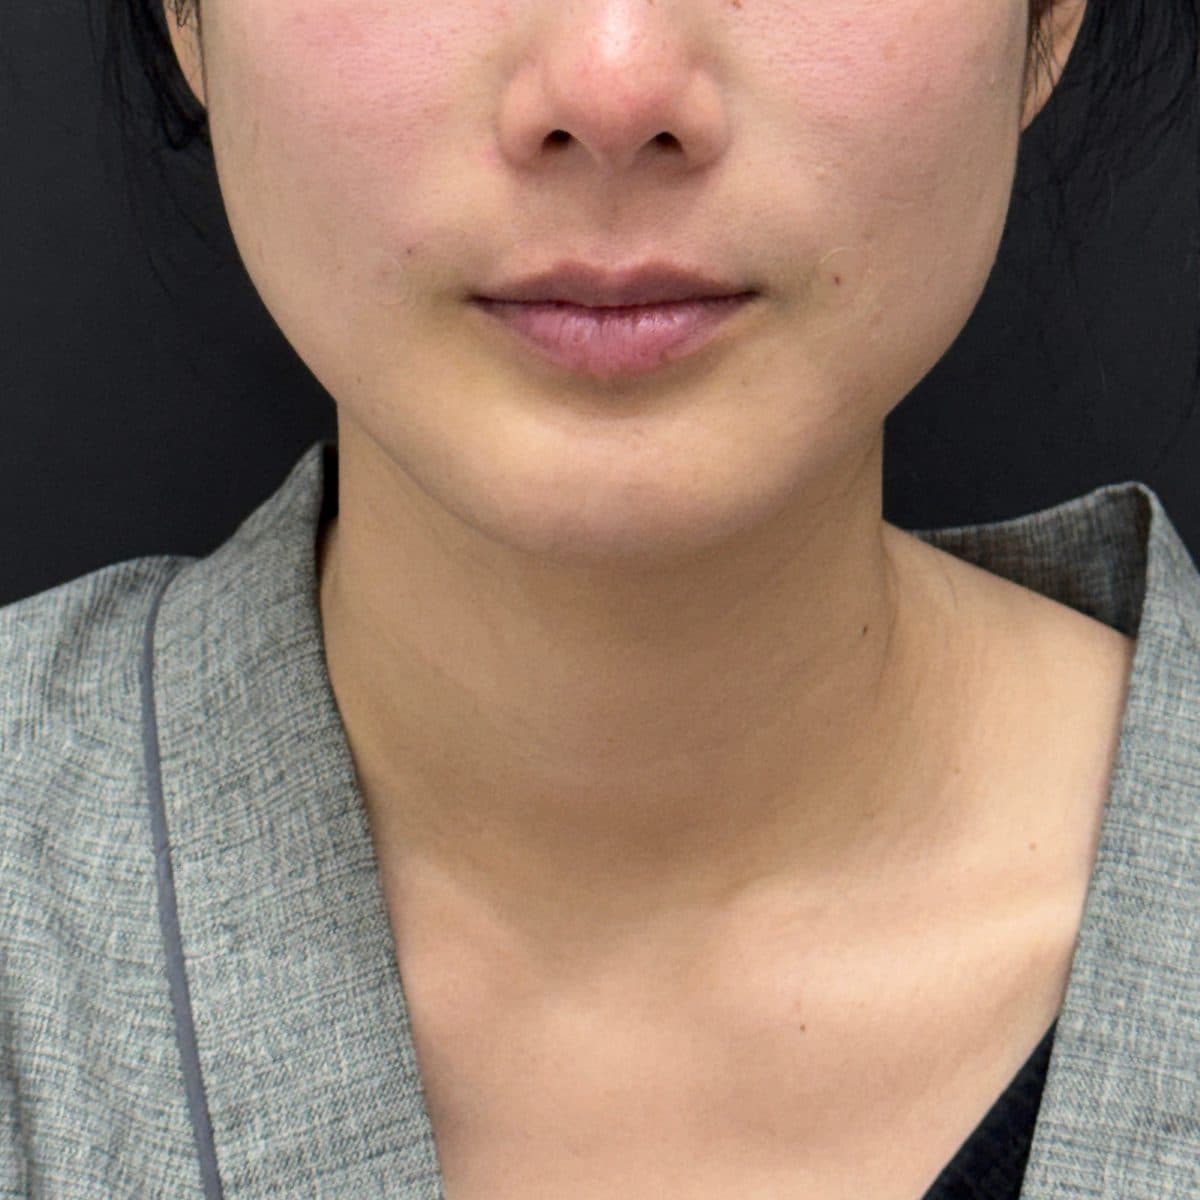 AfterNasolabial Fold FillerGeneral Facial Fillers
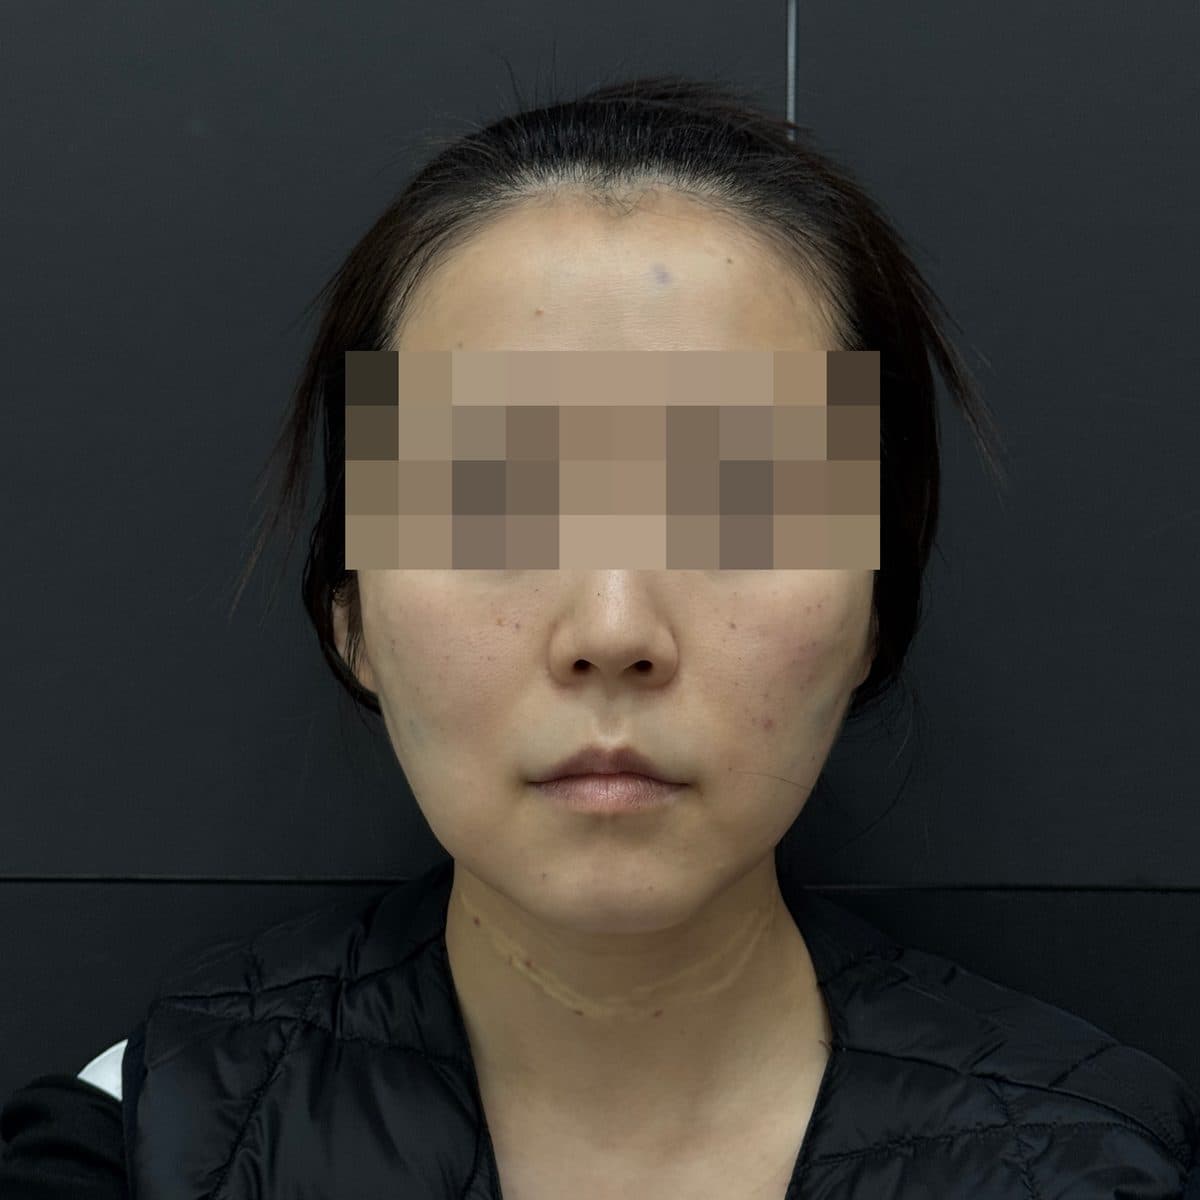 Before
 AfterForehead FillerGeneral Facial Fillers
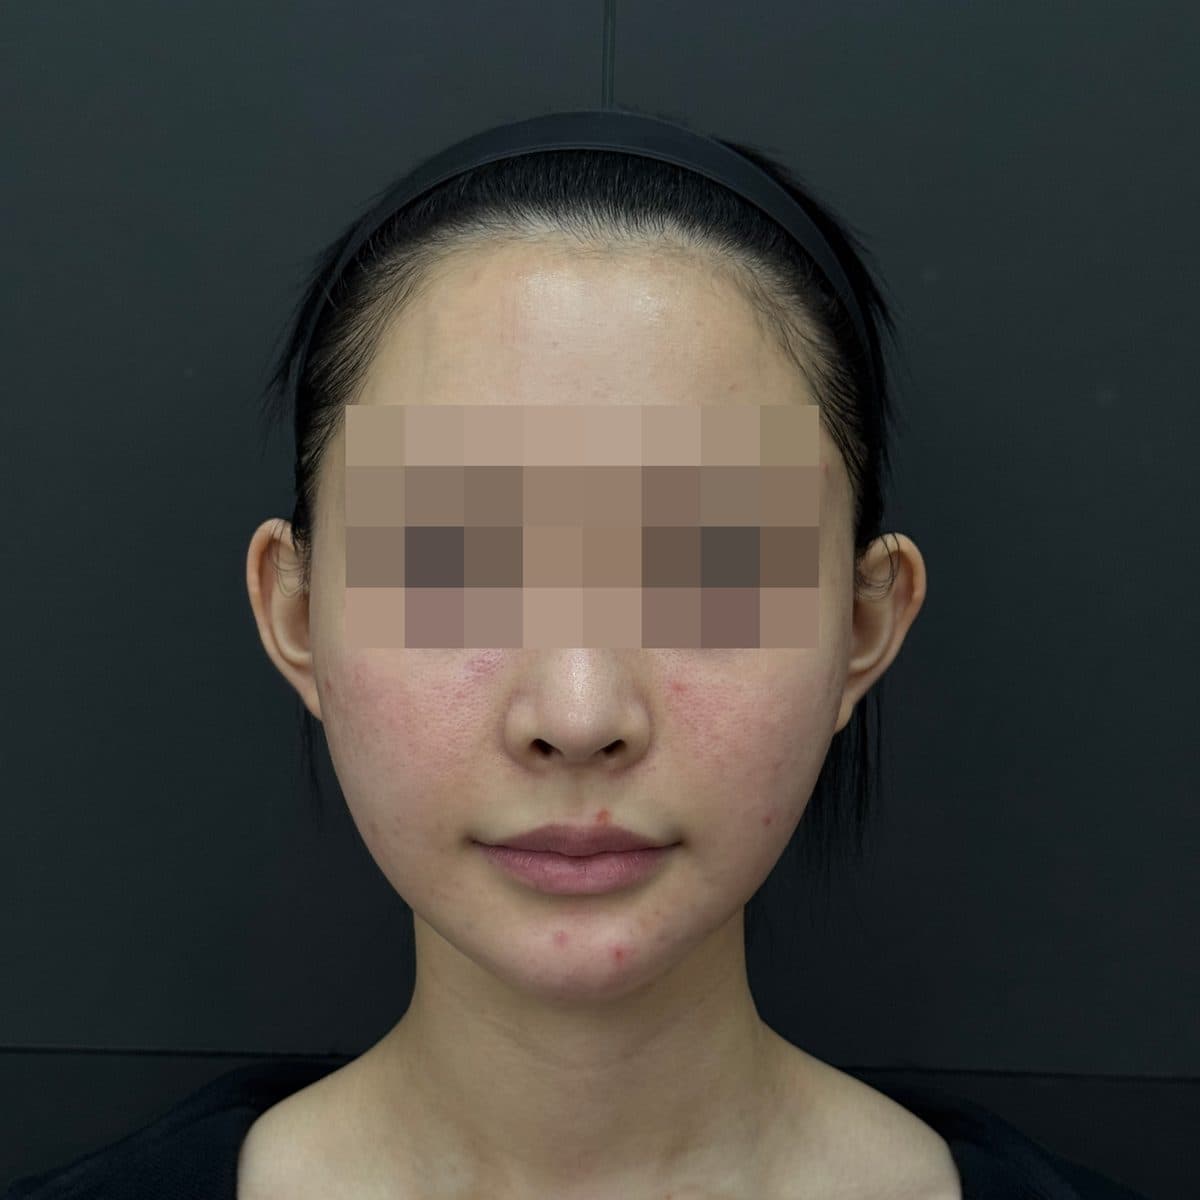 Before
 AfterTemple FillerGeneral Facial Fillers
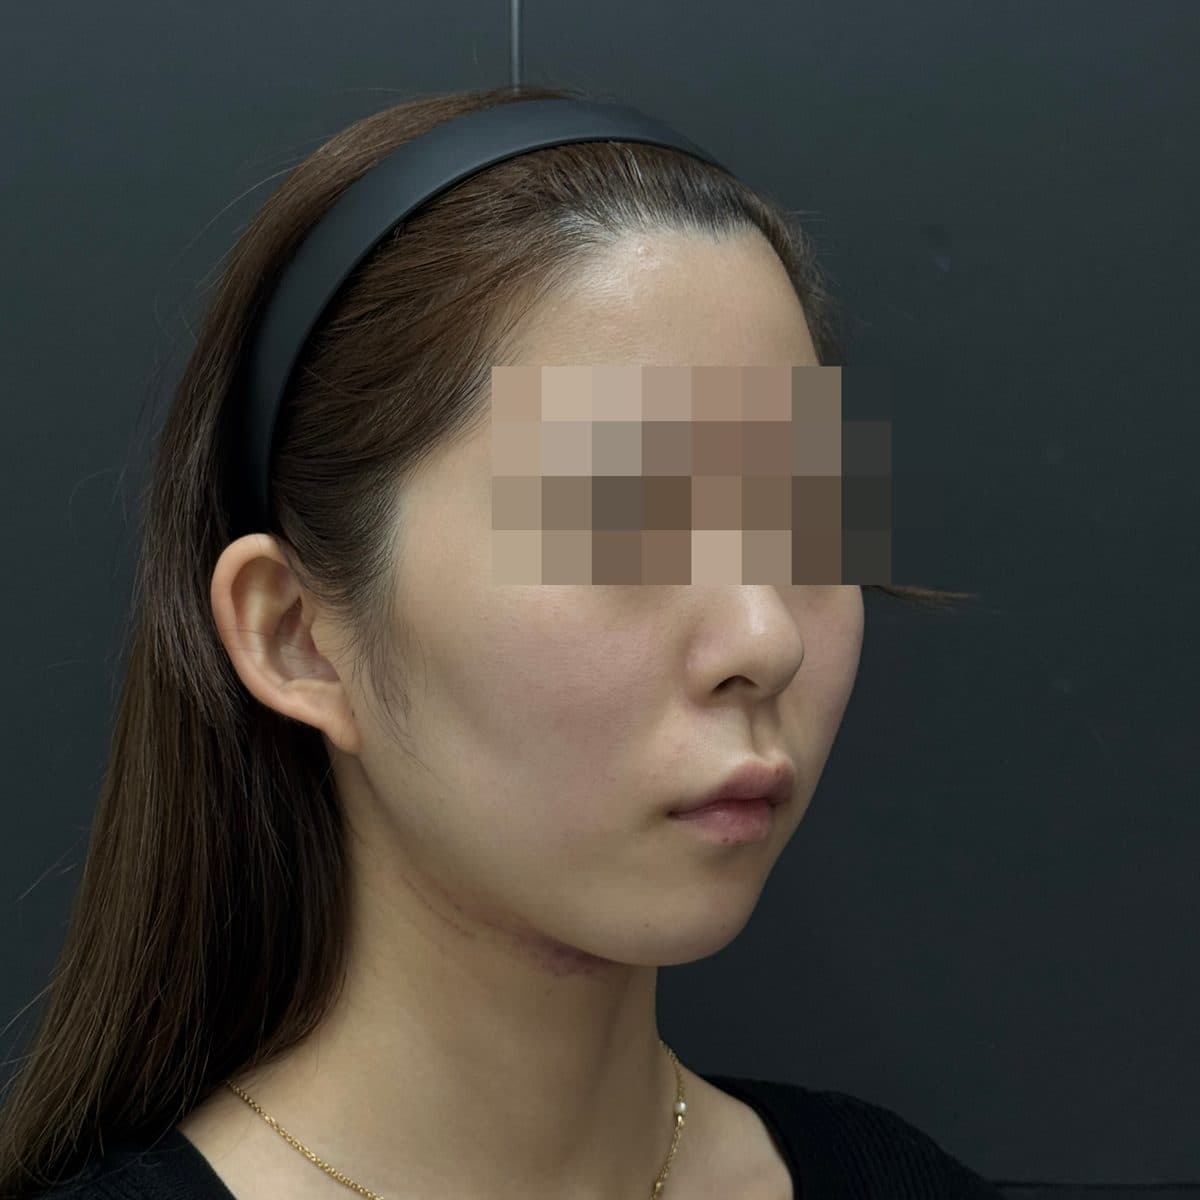 Before
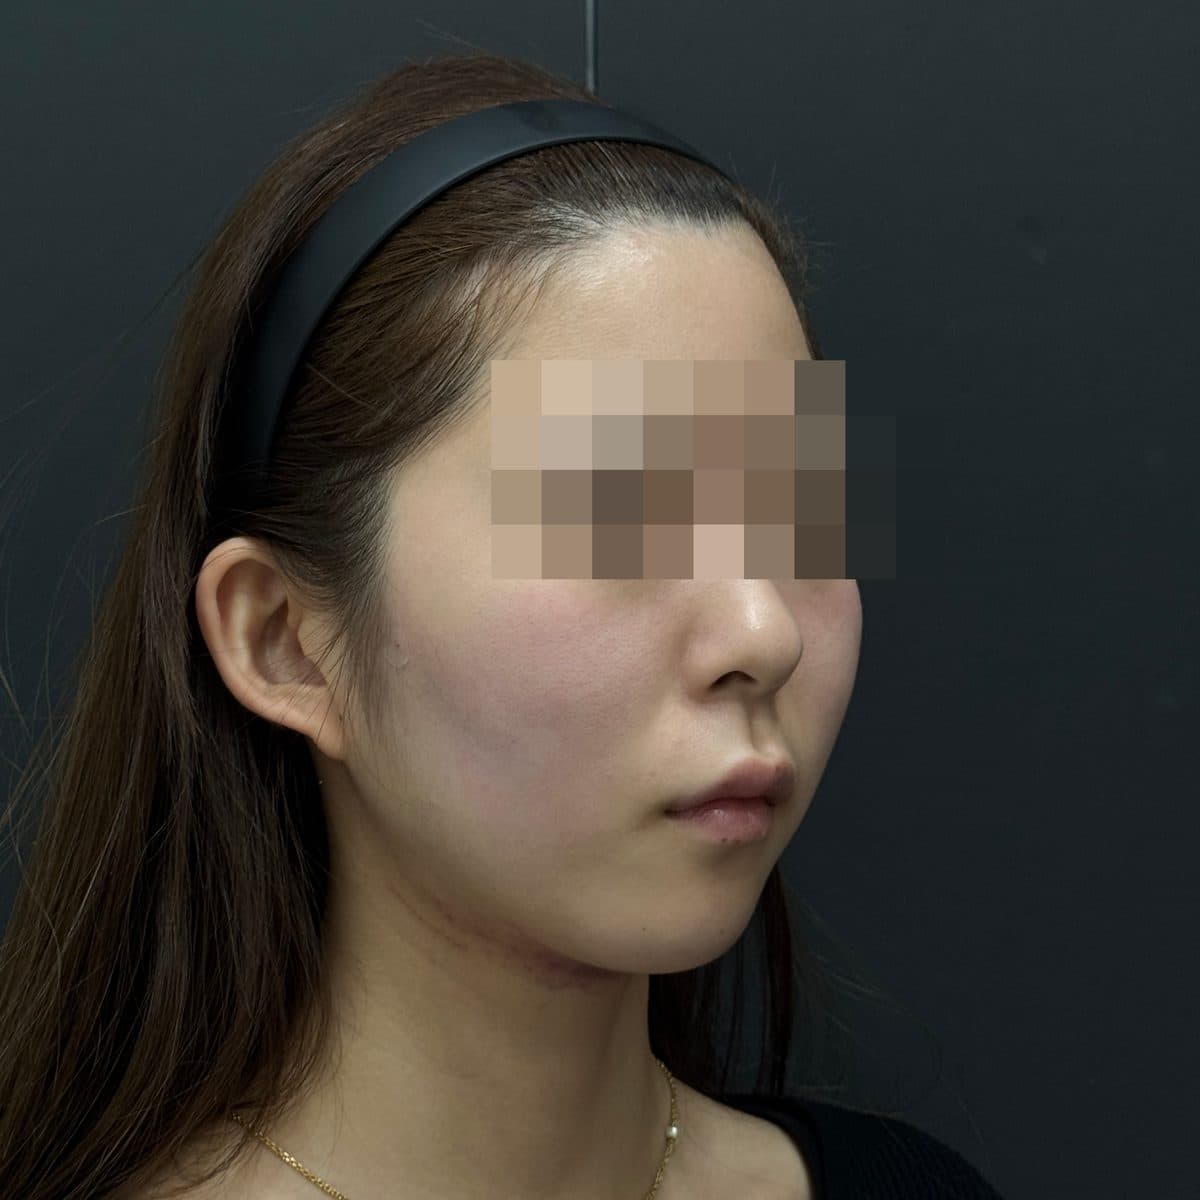 AfterSide Cheek FillerGeneral Facial Fillers
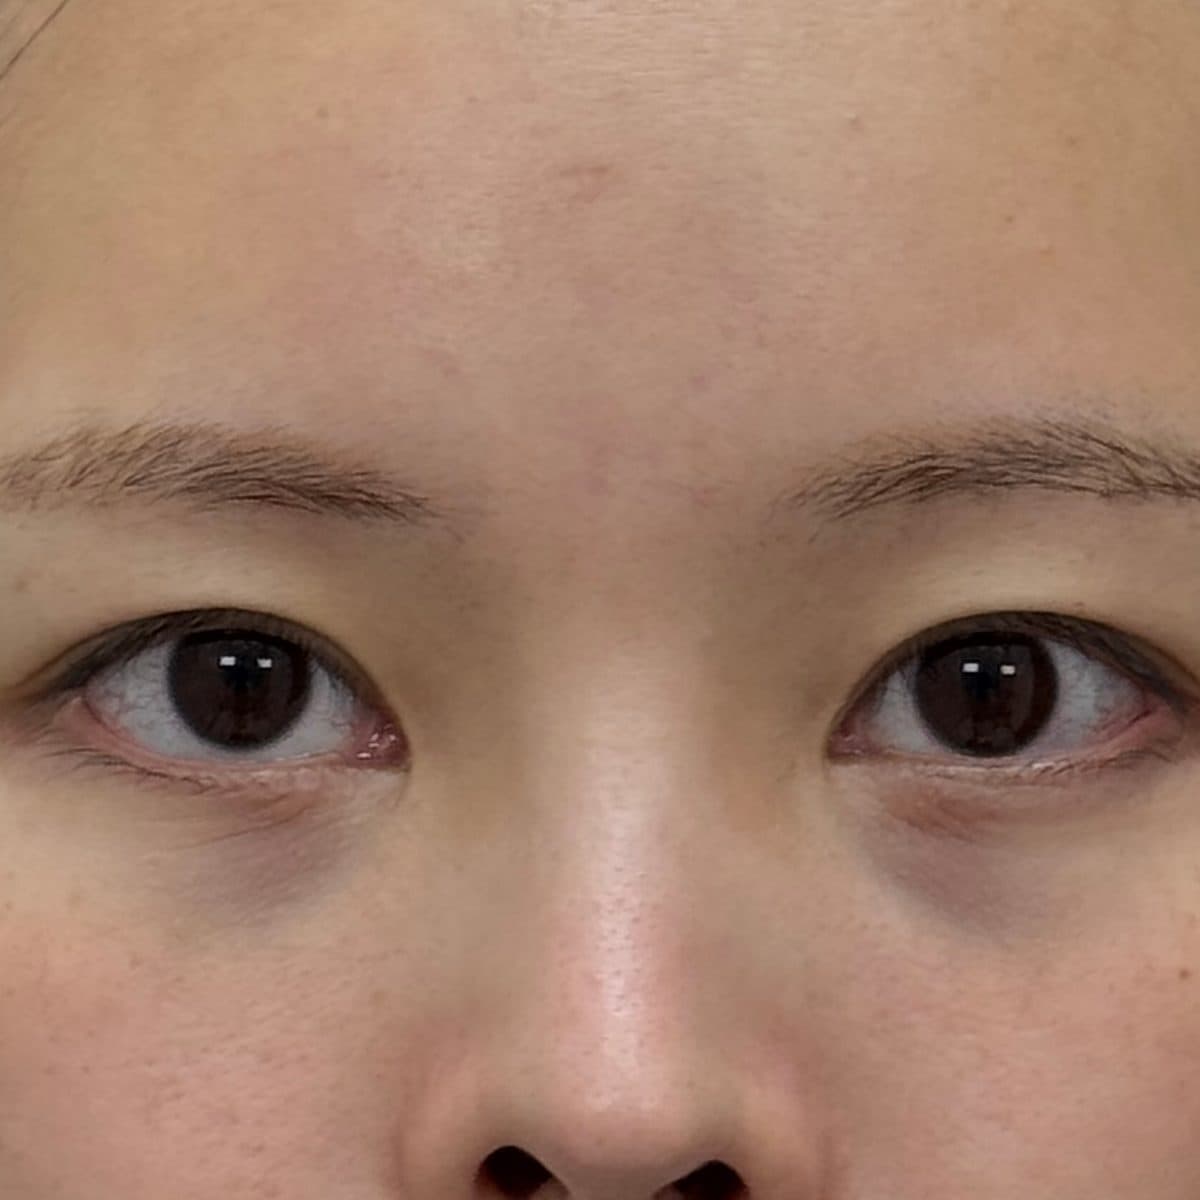 Before
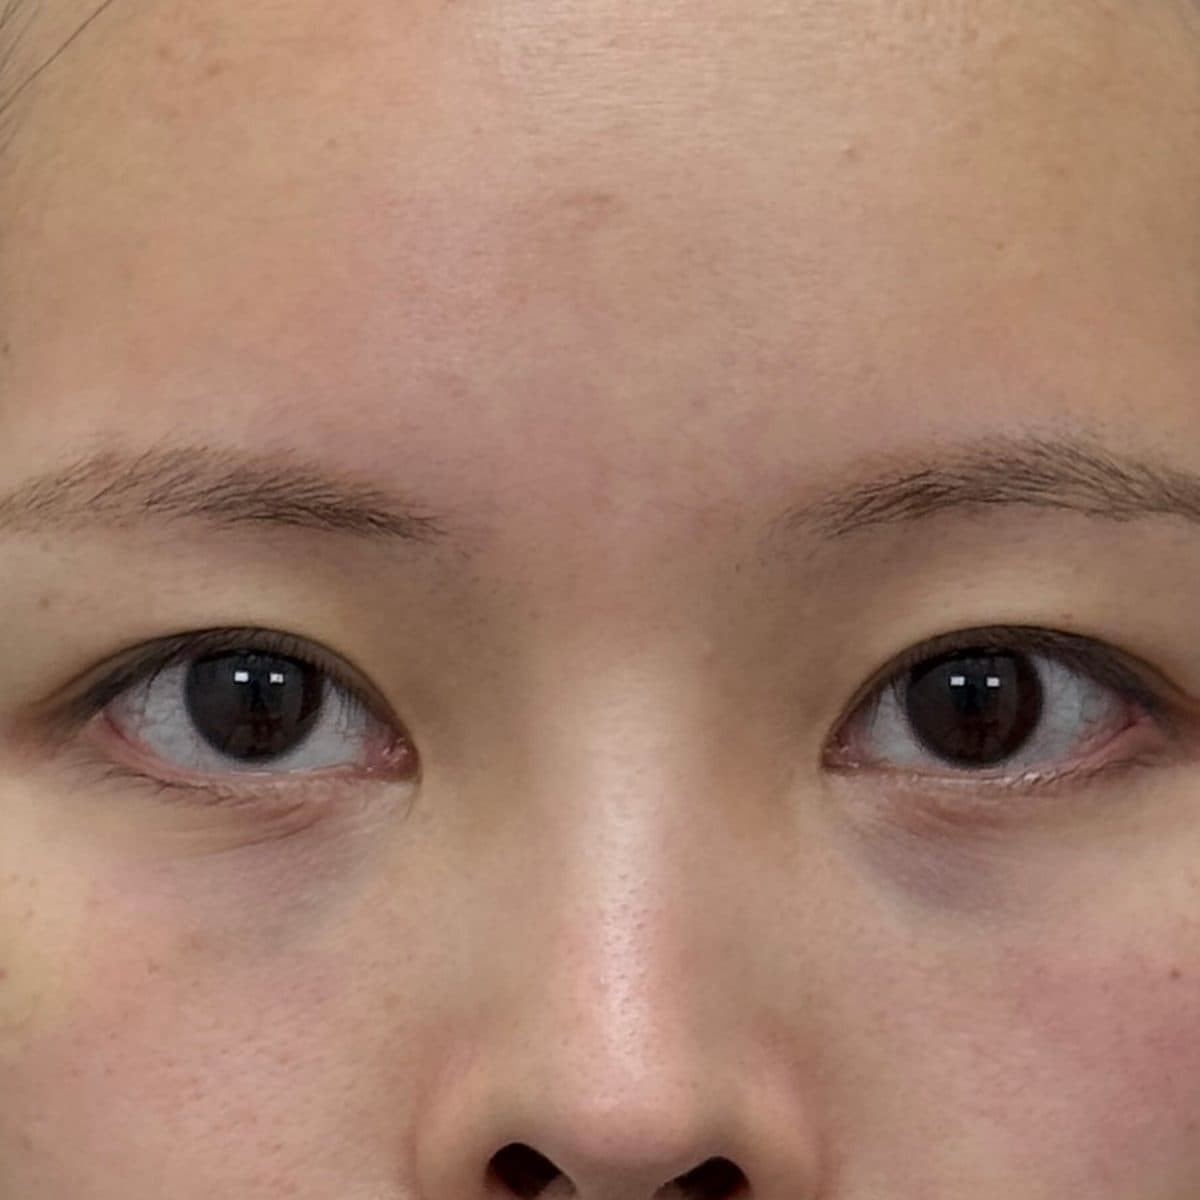 AfterUnder-Eye FillerEye Rejuvenation Filler
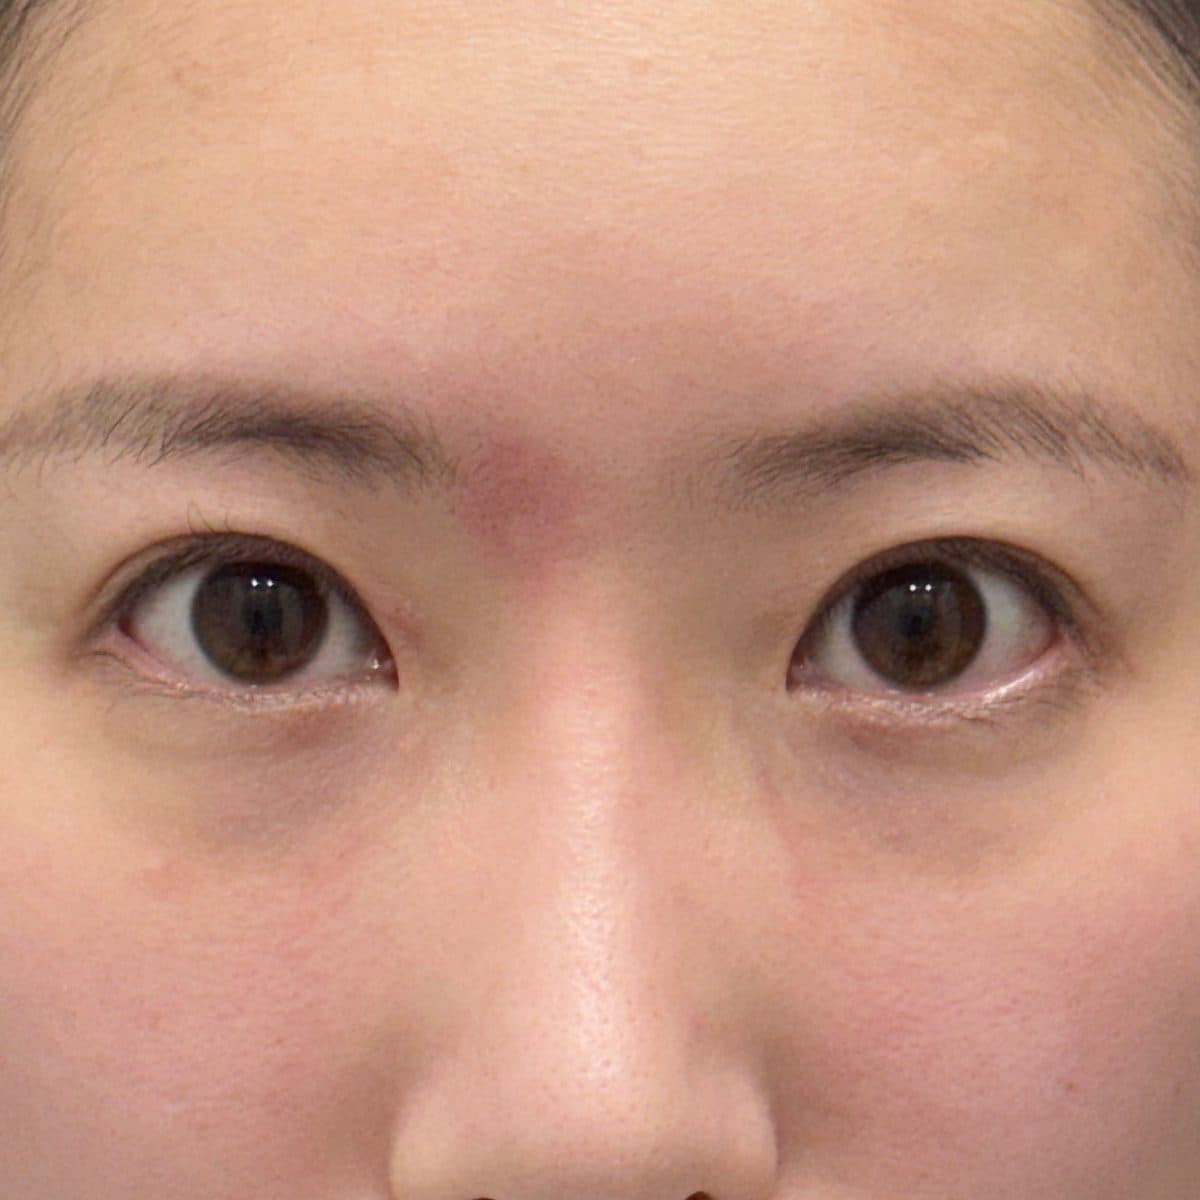 Before
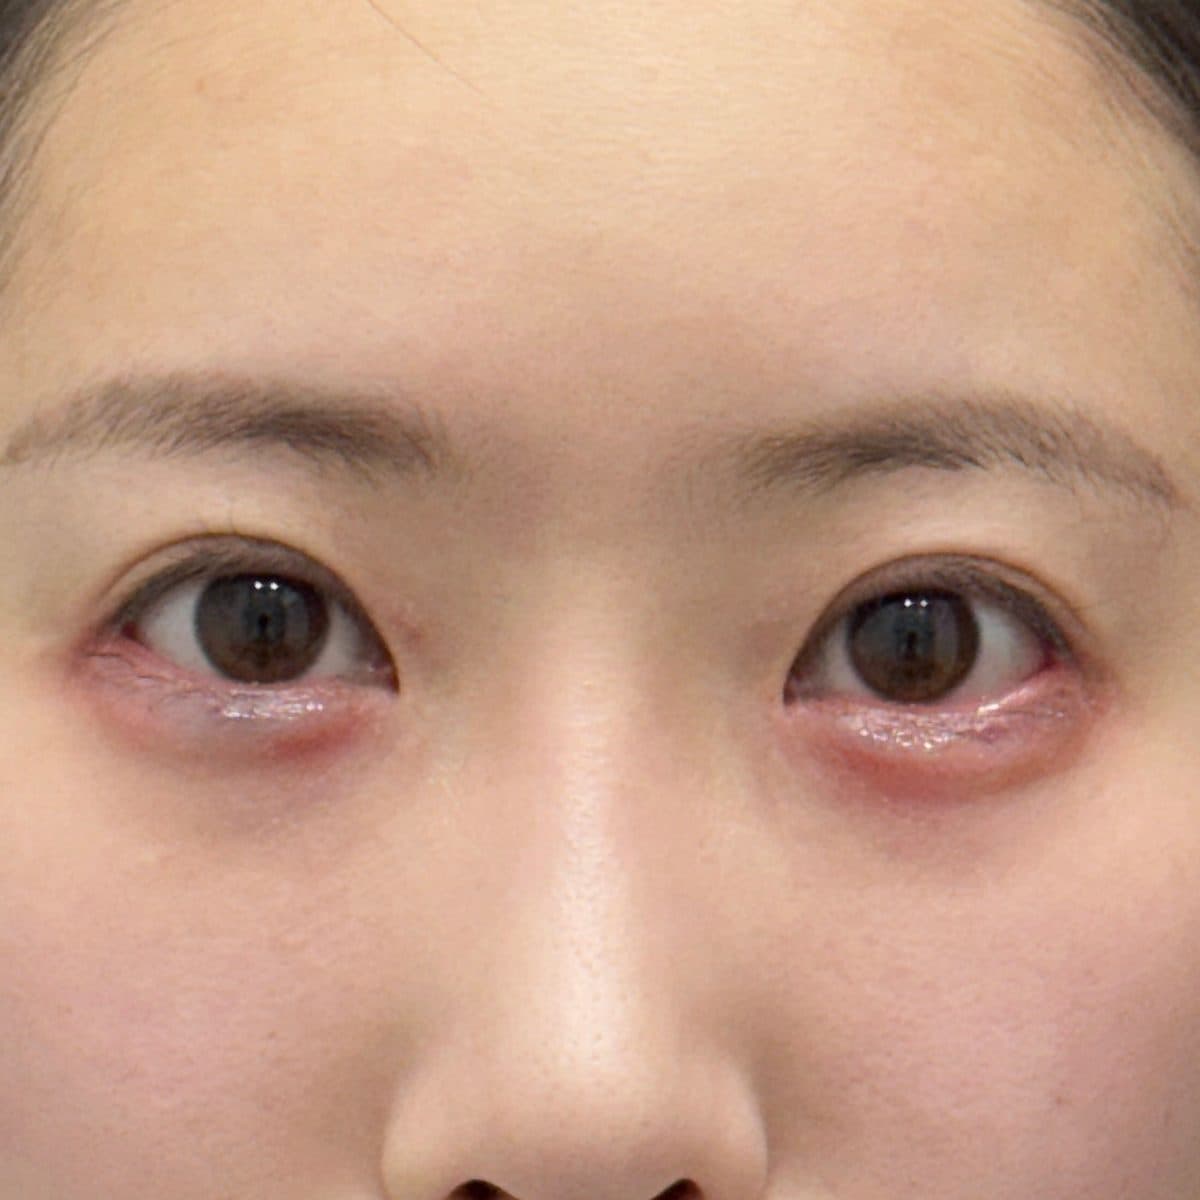 AfterAegyo-Sal FillerAegyo-Sal (Eye Smile) Filler
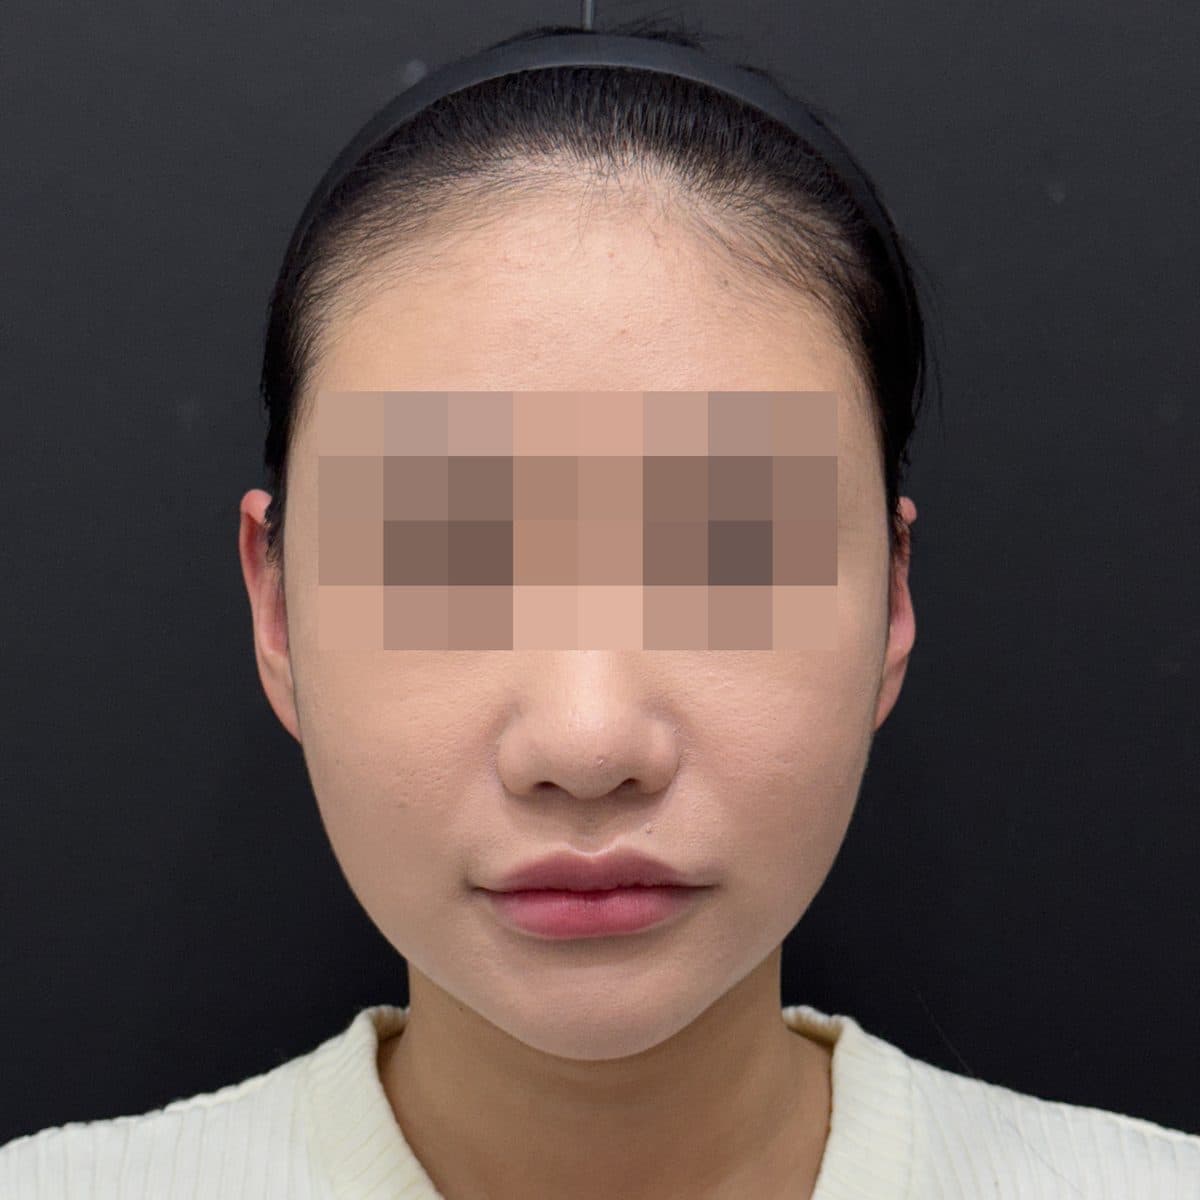 Before
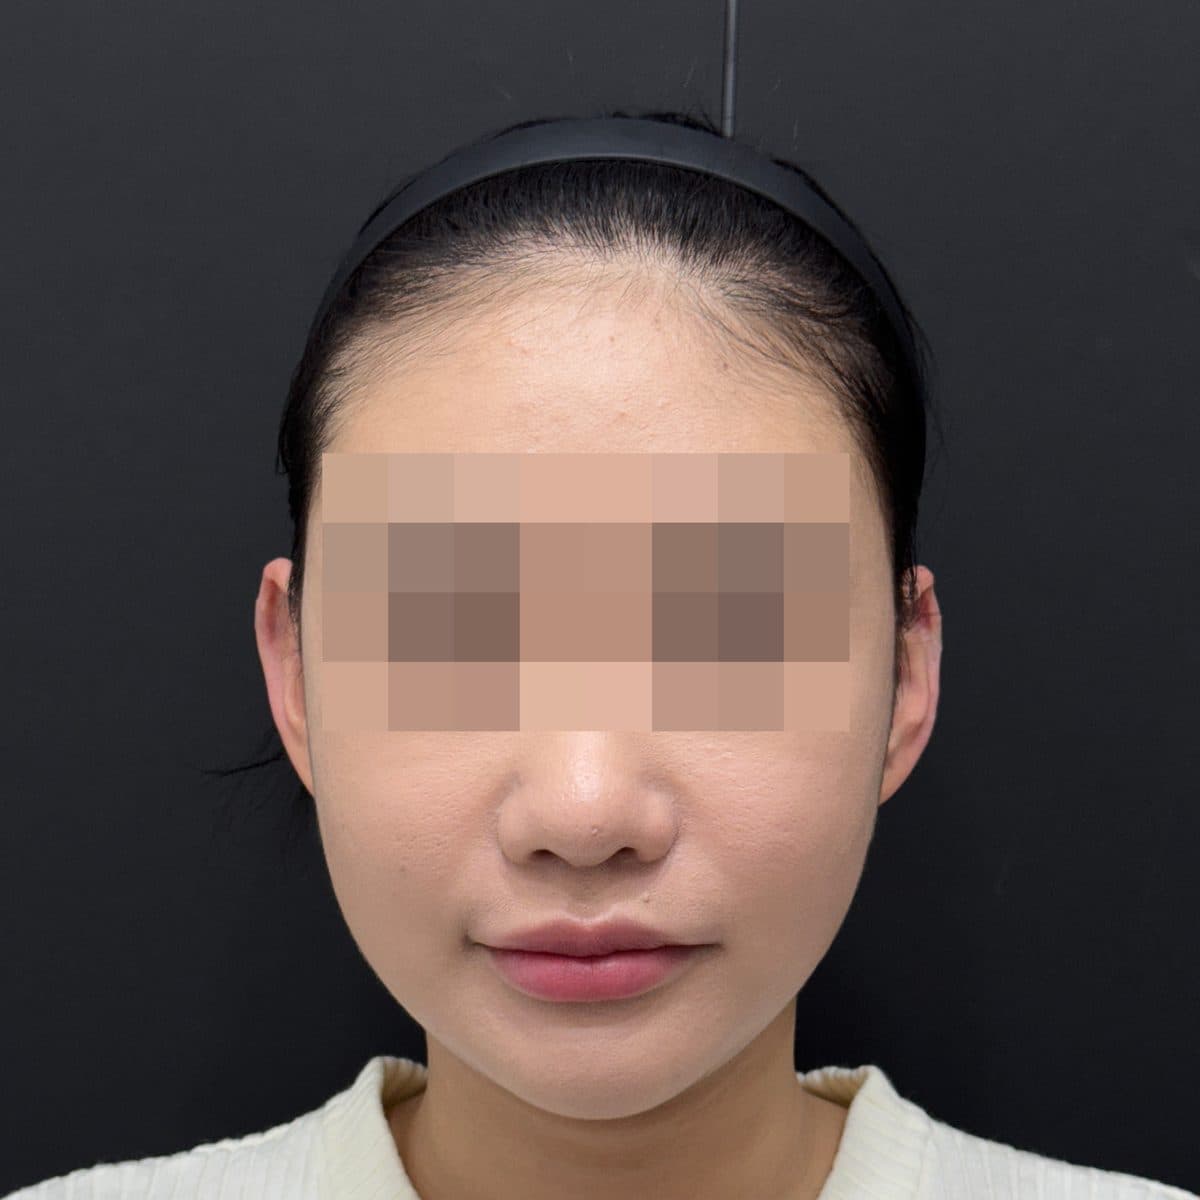 AfterEar FillerFillers
 Before
 AfterLip FillerFillers
 Before
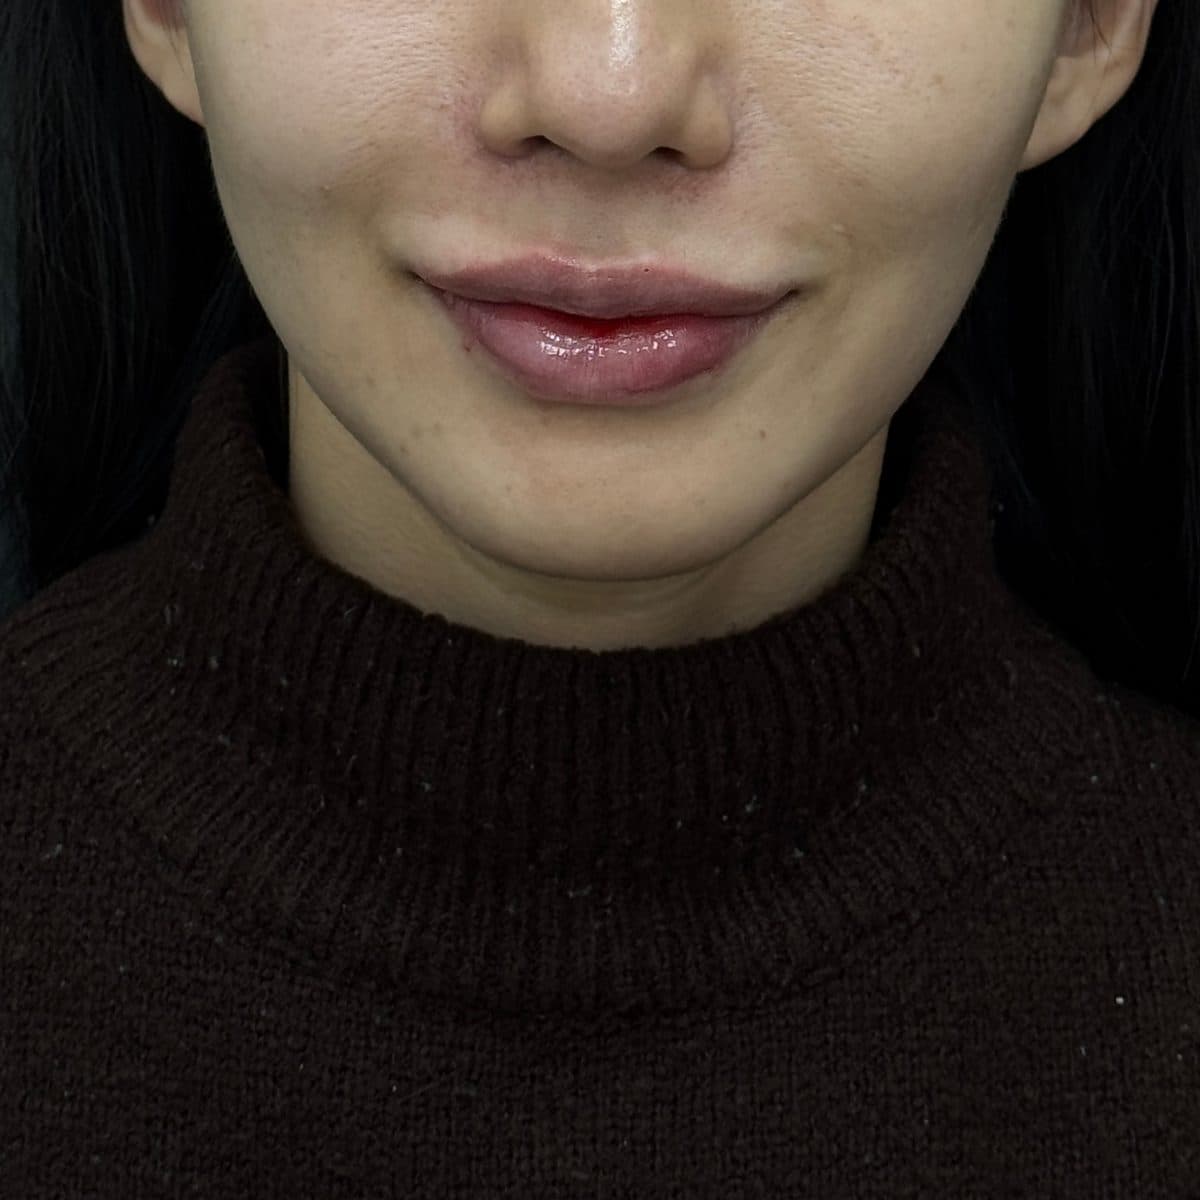 AfterLip FillerFillers
 Before
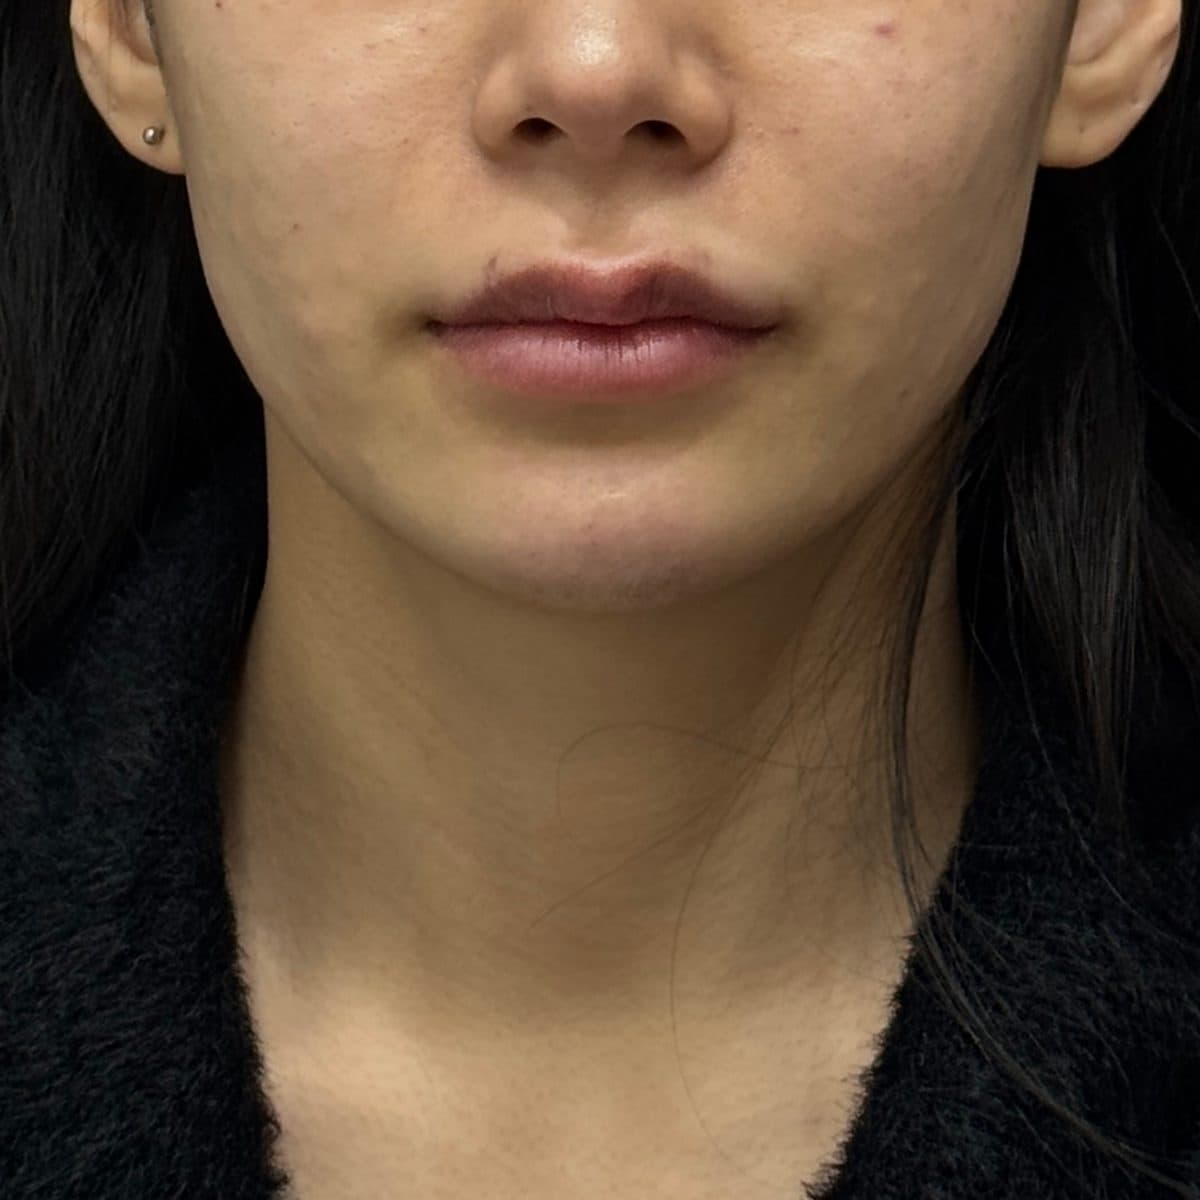 AfterChin FillerC-Line Lifting Filler
 Before
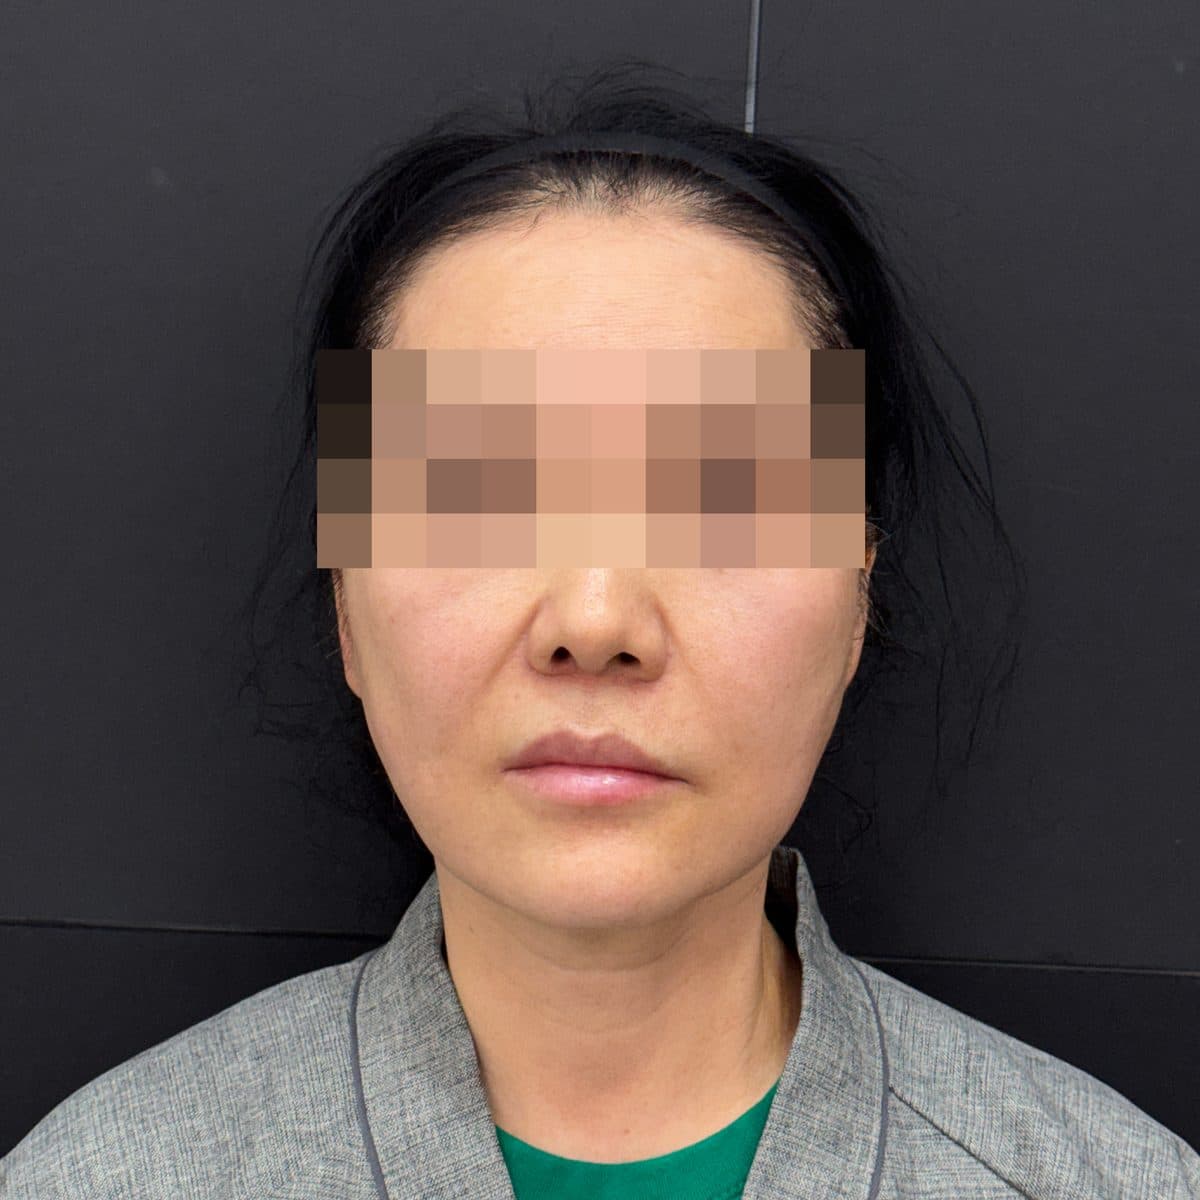 AfterAptos Thread LiftThread Lifting
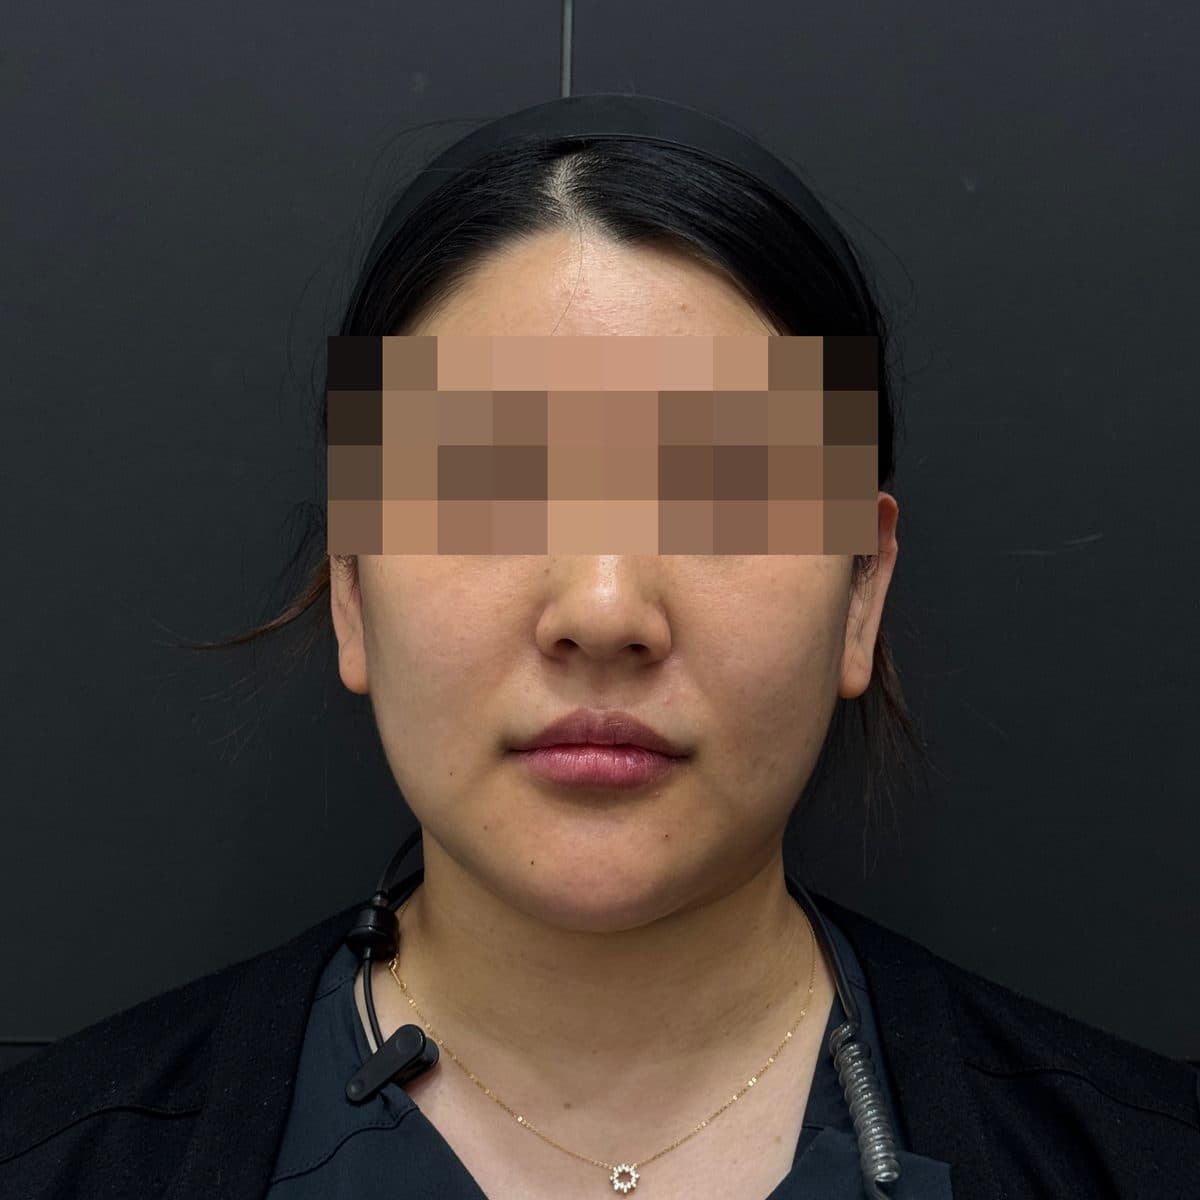 Before
 AfterAptos Thread LiftThread Lifting
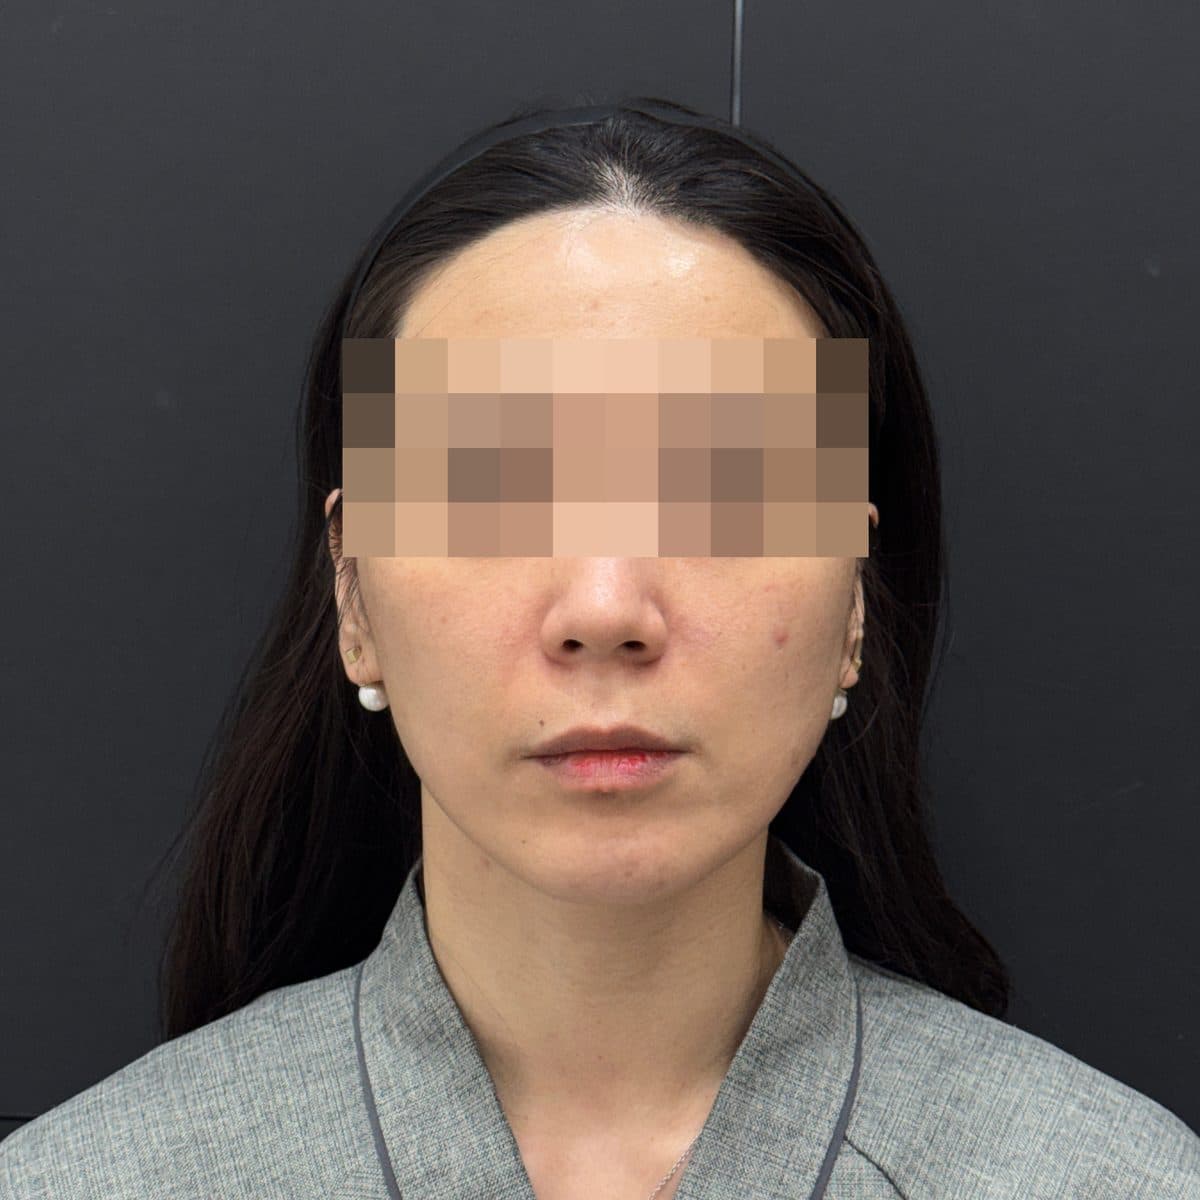 Before
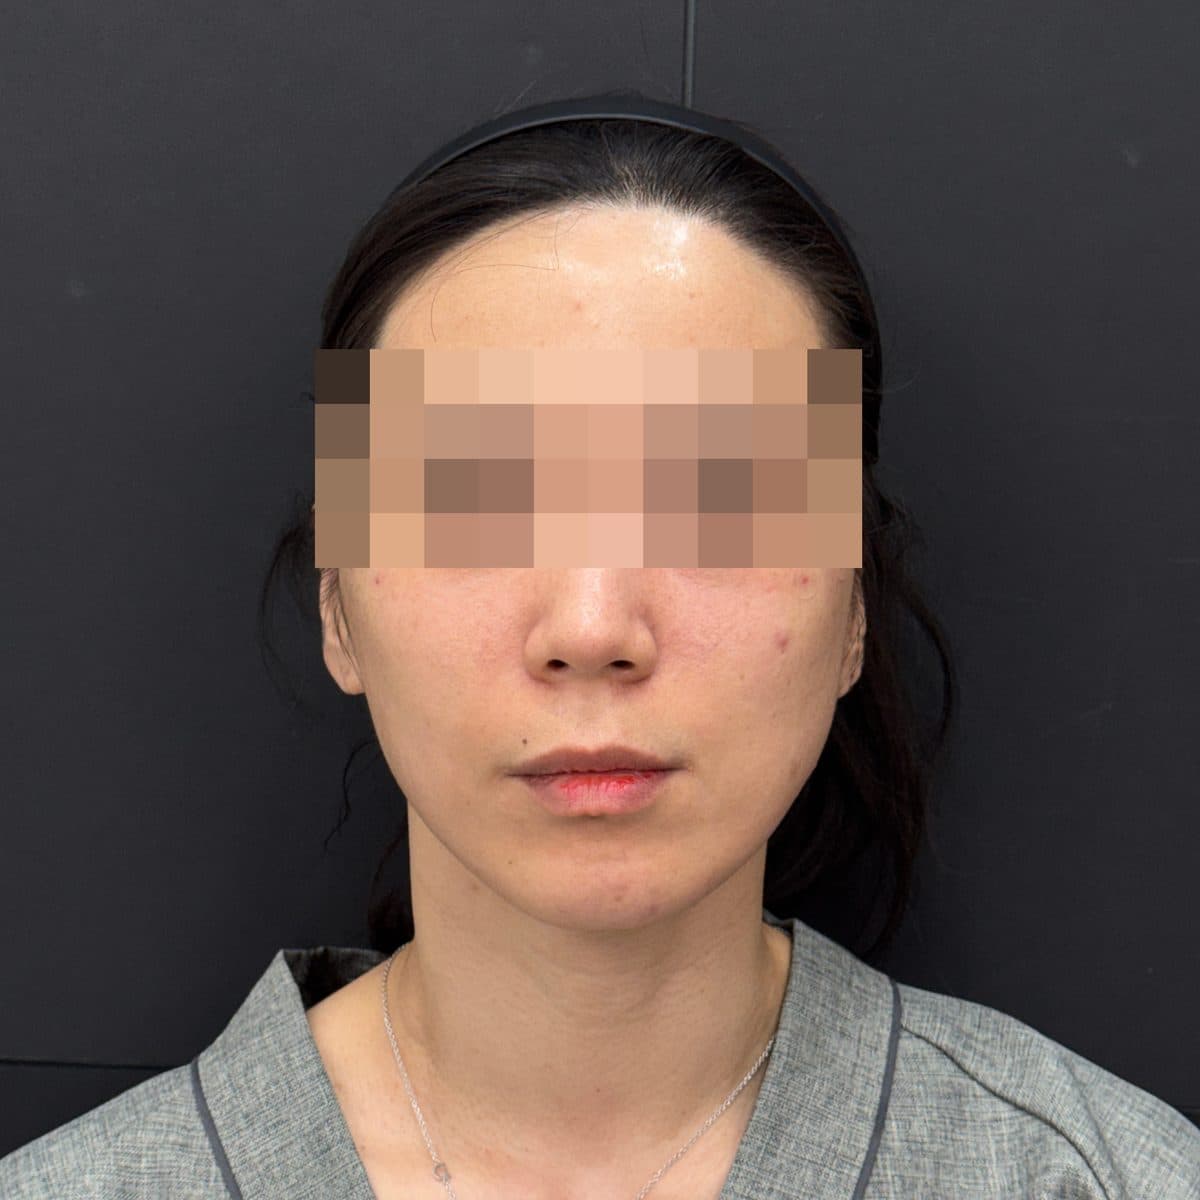 AfterSilthera & SiltaniumThread Lifting
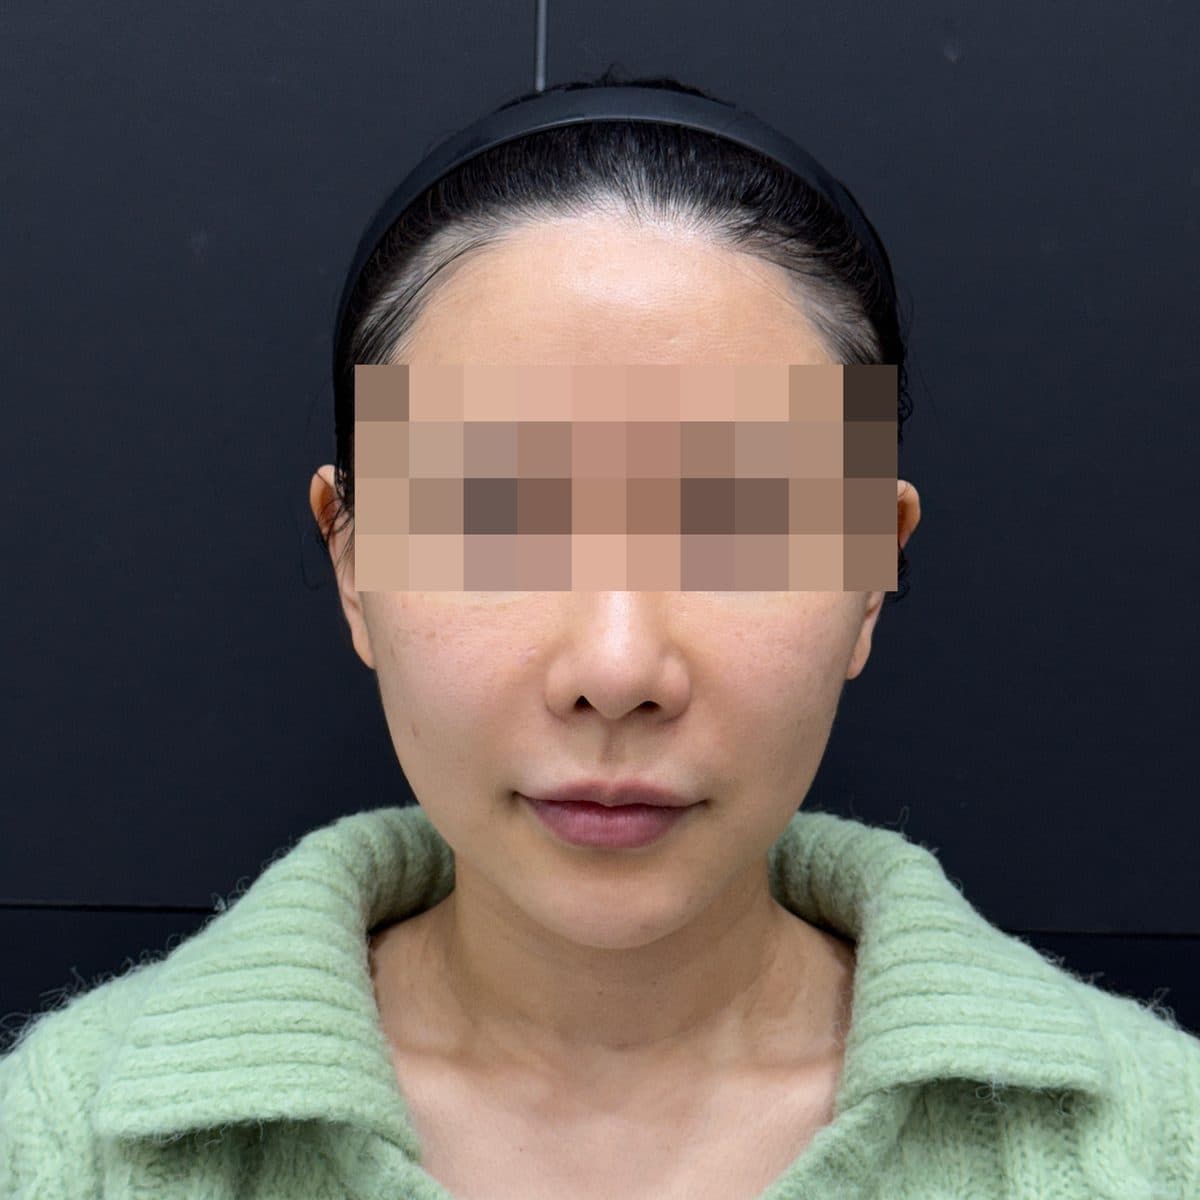 Before
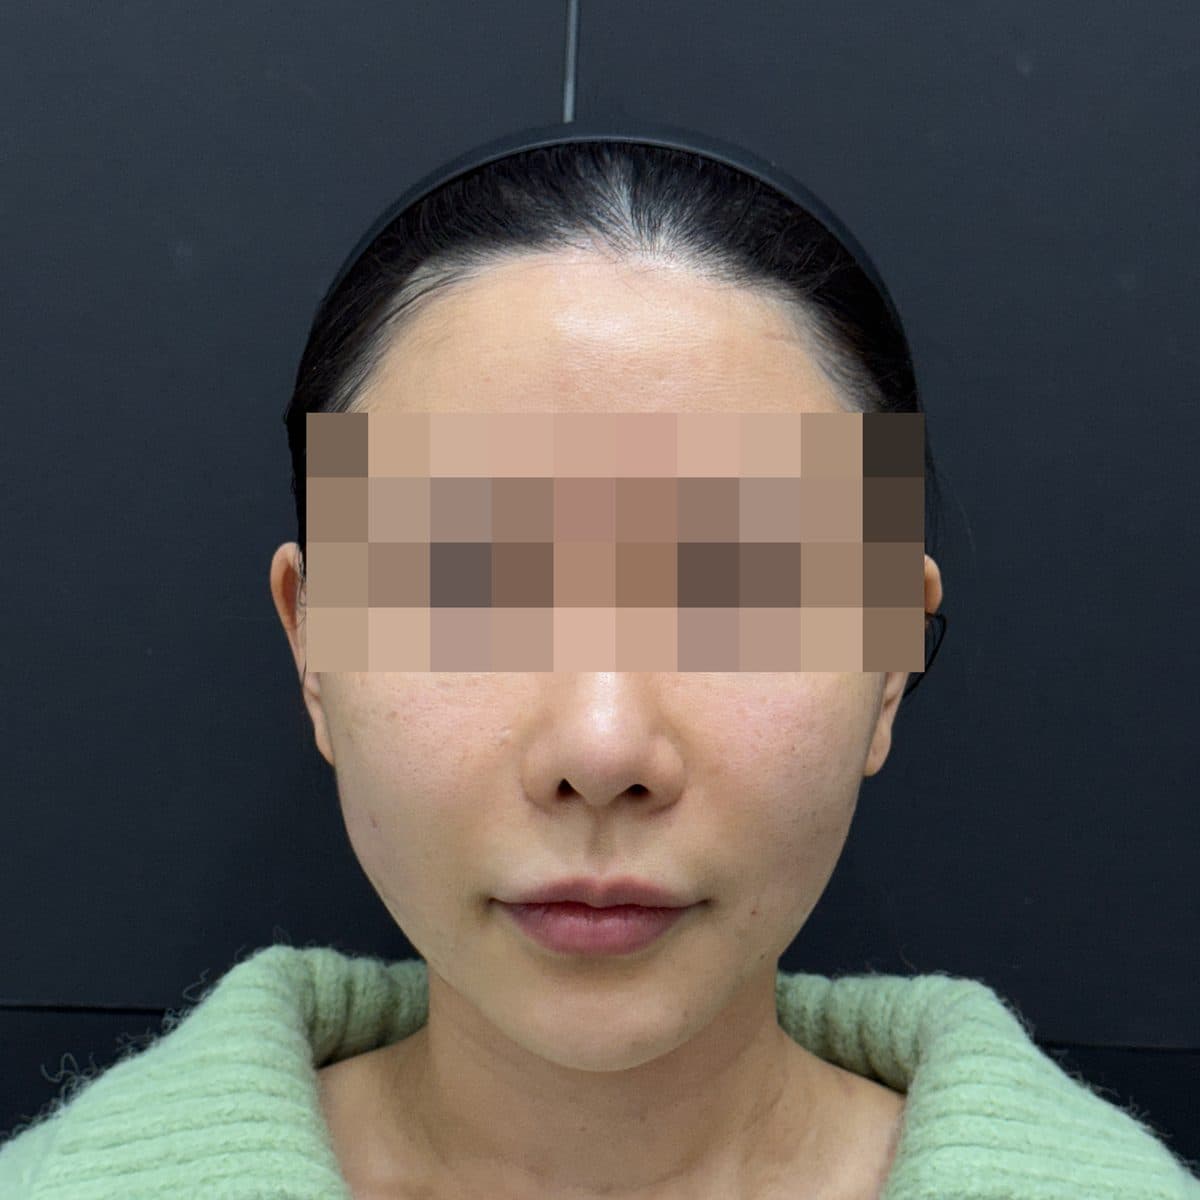 AfterSilthera & SiltaniumThread Lifting
 Before
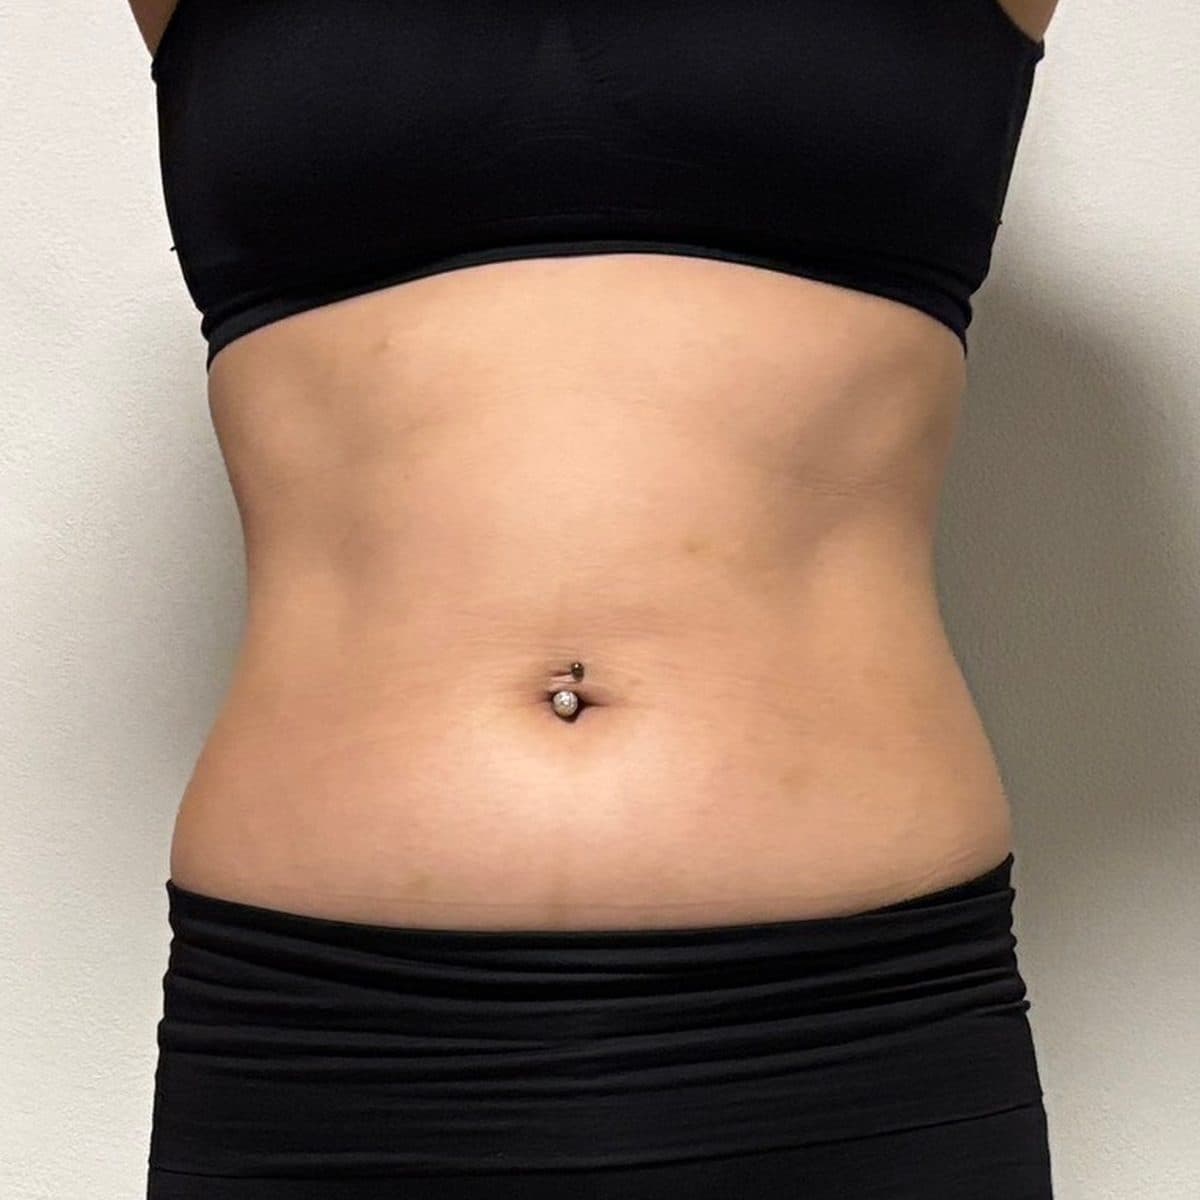 AfterAbdomen Sok-Sok InjectionSok-Sok Body Injection
 Before
 AfterAbdomen Sok-Sok InjectionSok-Sok Body Injection
 Before
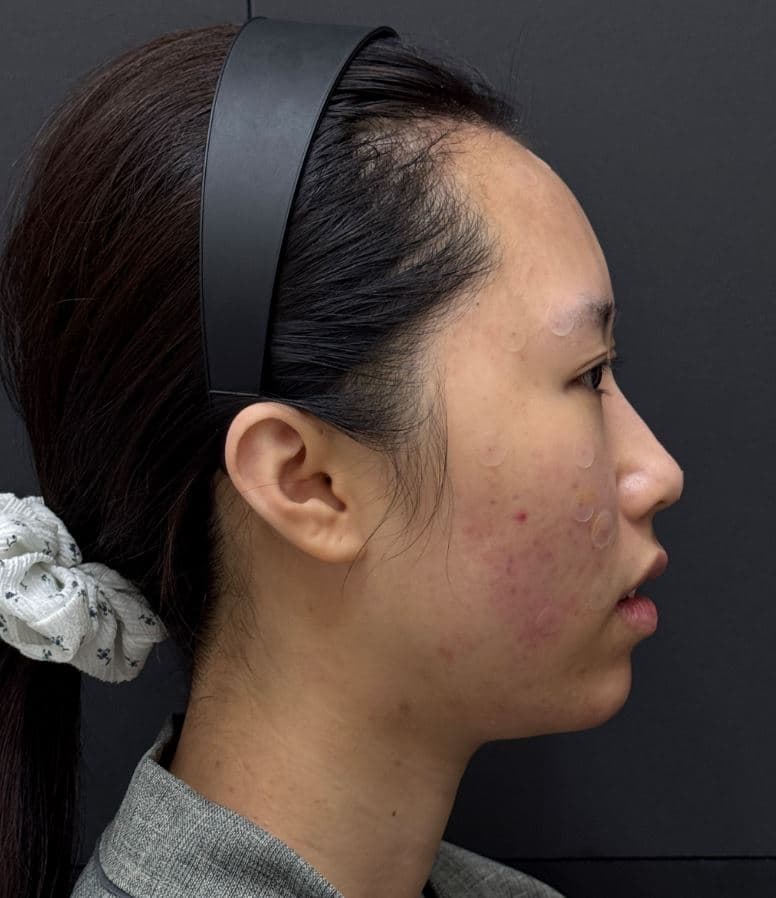 AfterFull-Face FillerGeneral Facial Fillers
 Before
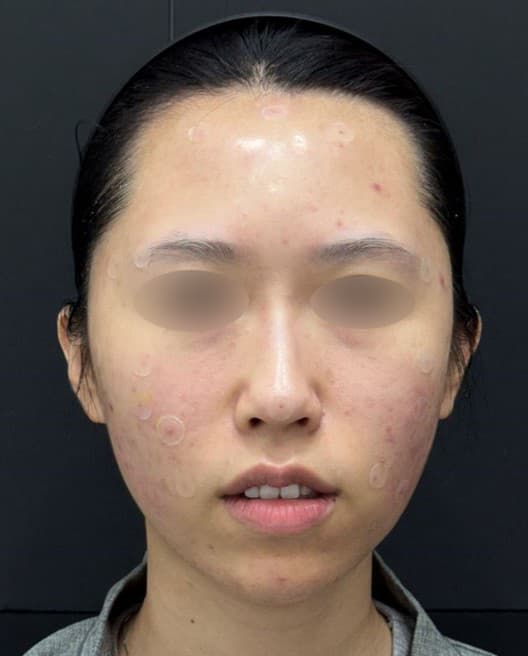 AfterFull-Face FillerGeneral Facial Fillers
 Before
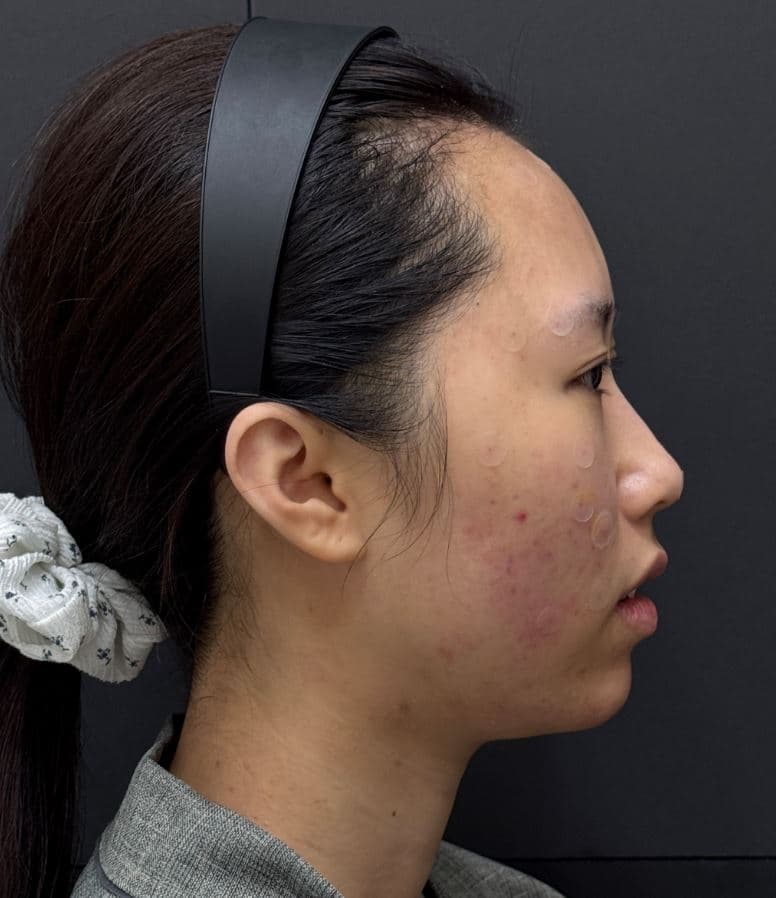 AfterFull-Face FillerGeneral Facial Fillers
 Before
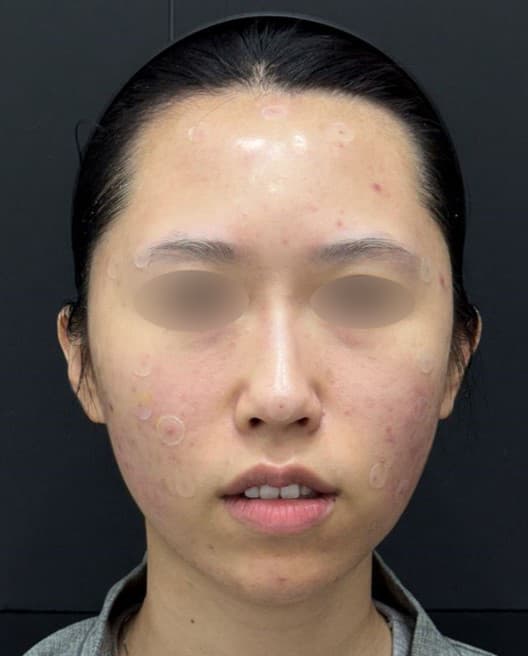 AfterFull-Face FillerGeneral Facial Fillers
 Before
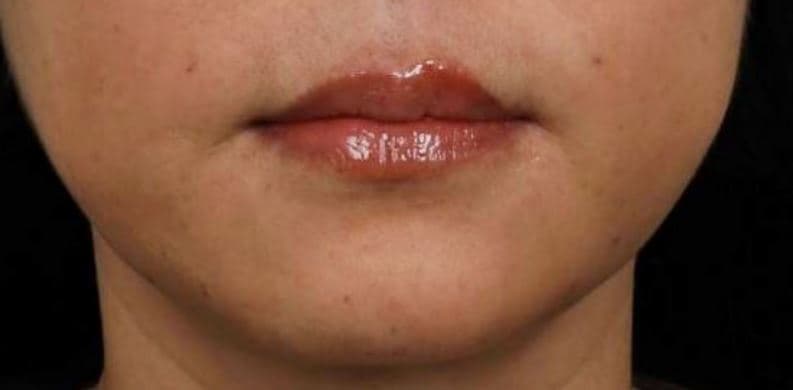 AfterMarionette Line FillerGeneral Facial Fillers
 Before
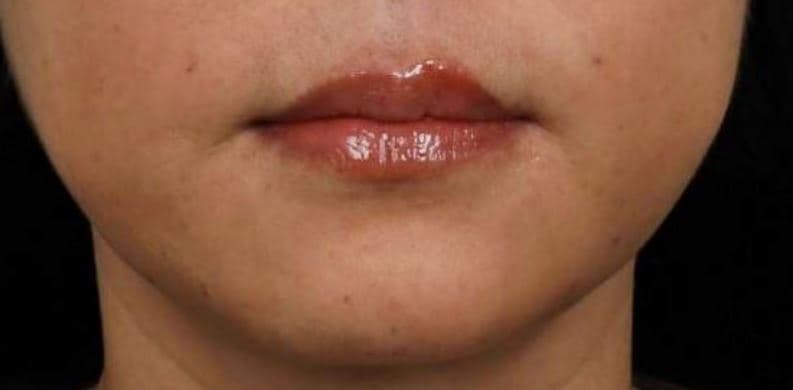 AfterMarionette Line FillerGeneral Facial Fillers
 Before
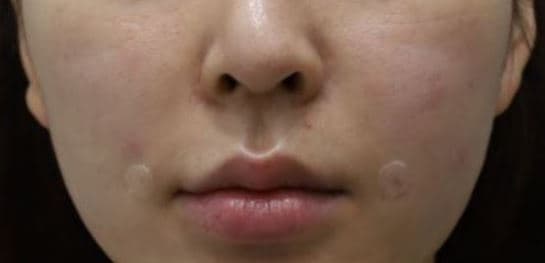 AfterNasolabial Fold FillerGeneral Facial Fillers
 Before
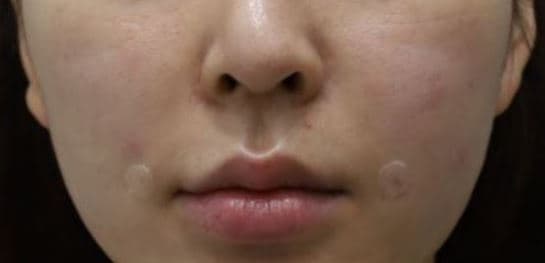 AfterNasolabial Fold FillerGeneral Facial Fillers
 Before
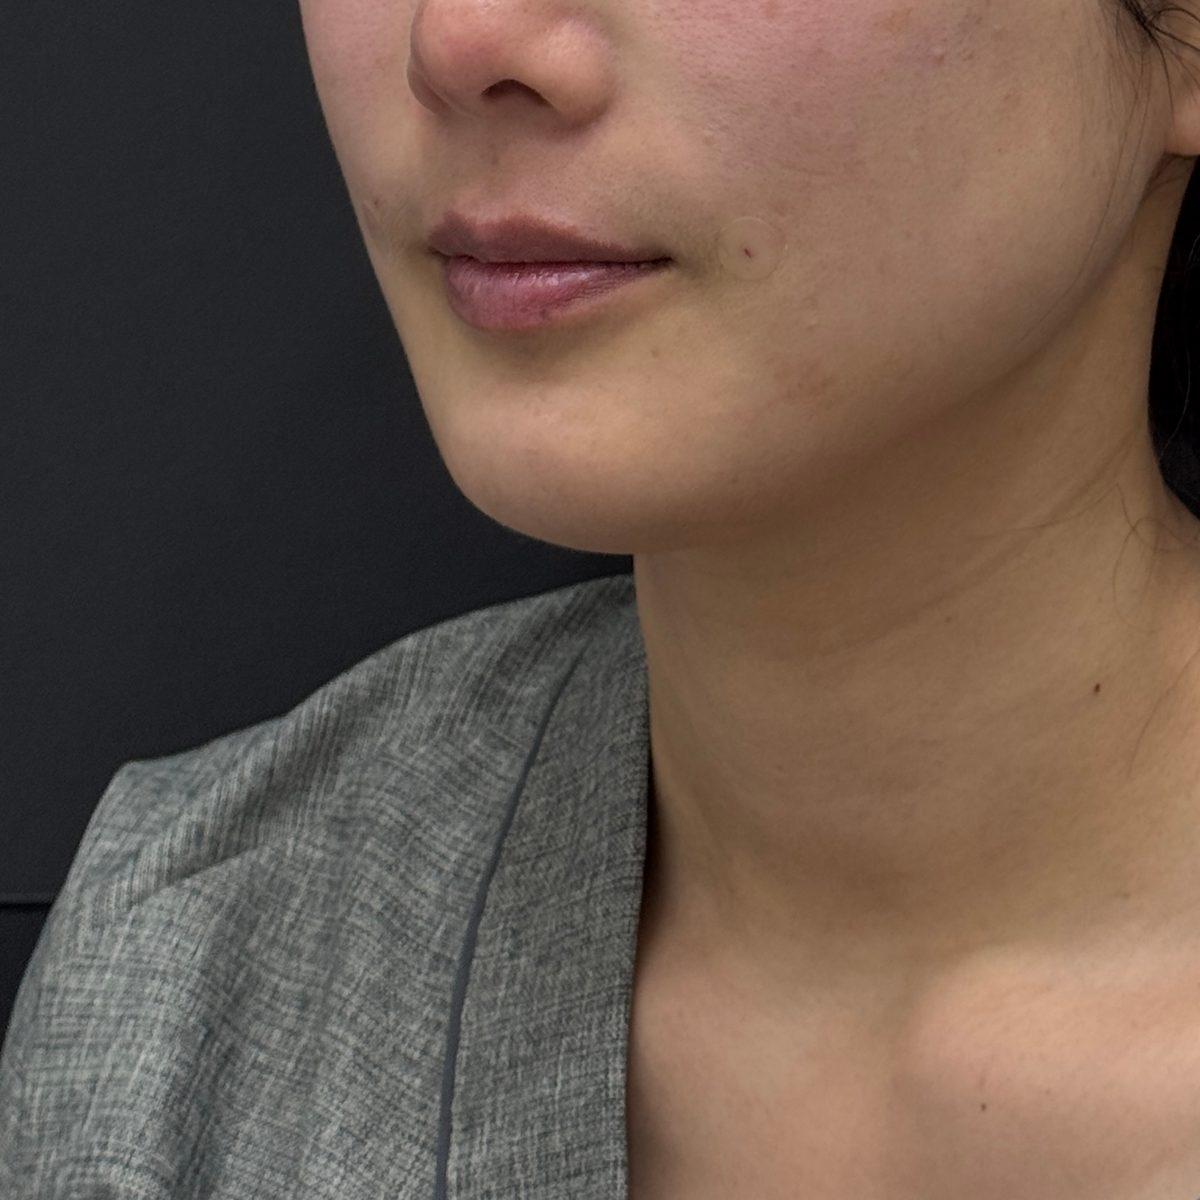 AfterNasolabial Fold FillerGeneral Facial Fillers
 Before
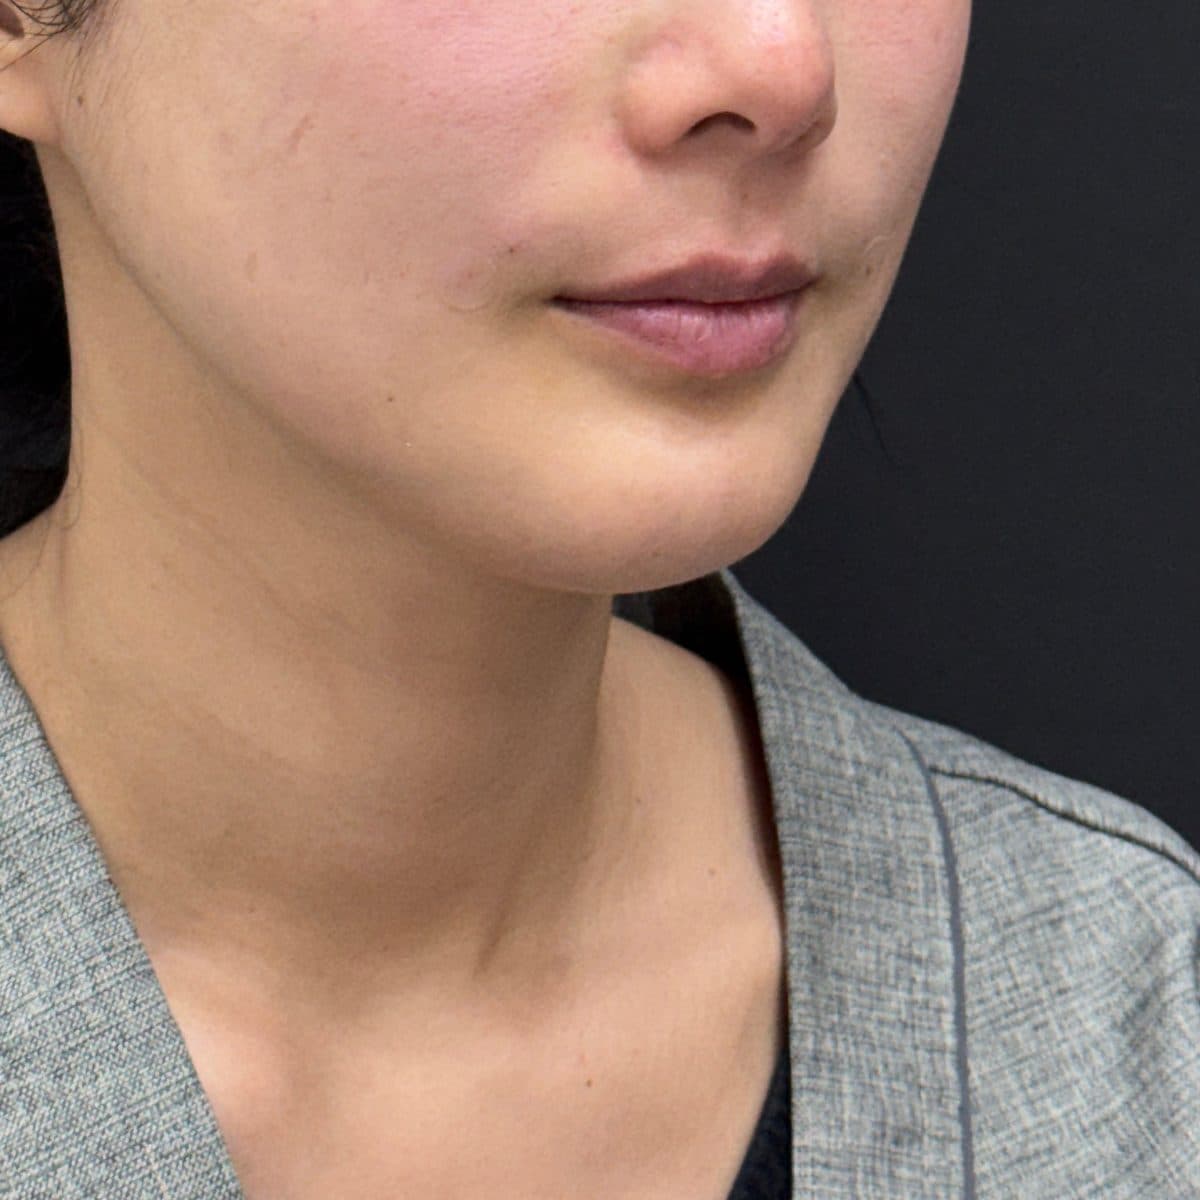 AfterNasolabial Fold FillerGeneral Facial Fillers
 Before
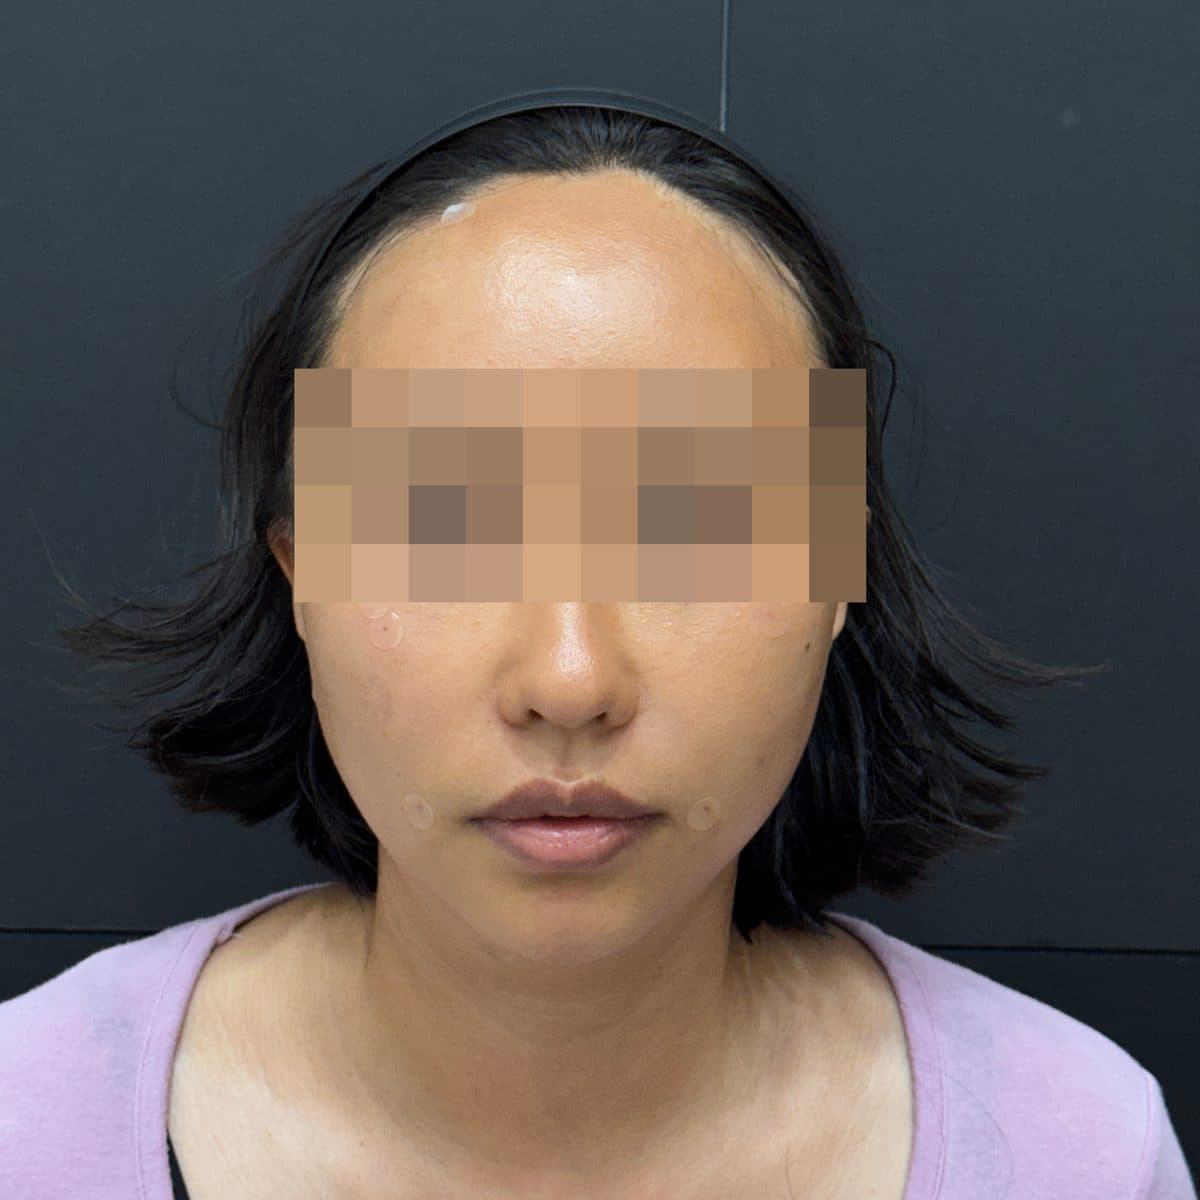 AfterUnder-Eye + Nasolabial FillerGeneral Facial Fillers
 Before
 AfterUnder-Eye + Nasolabial FillerGeneral Facial Fillers
 Before
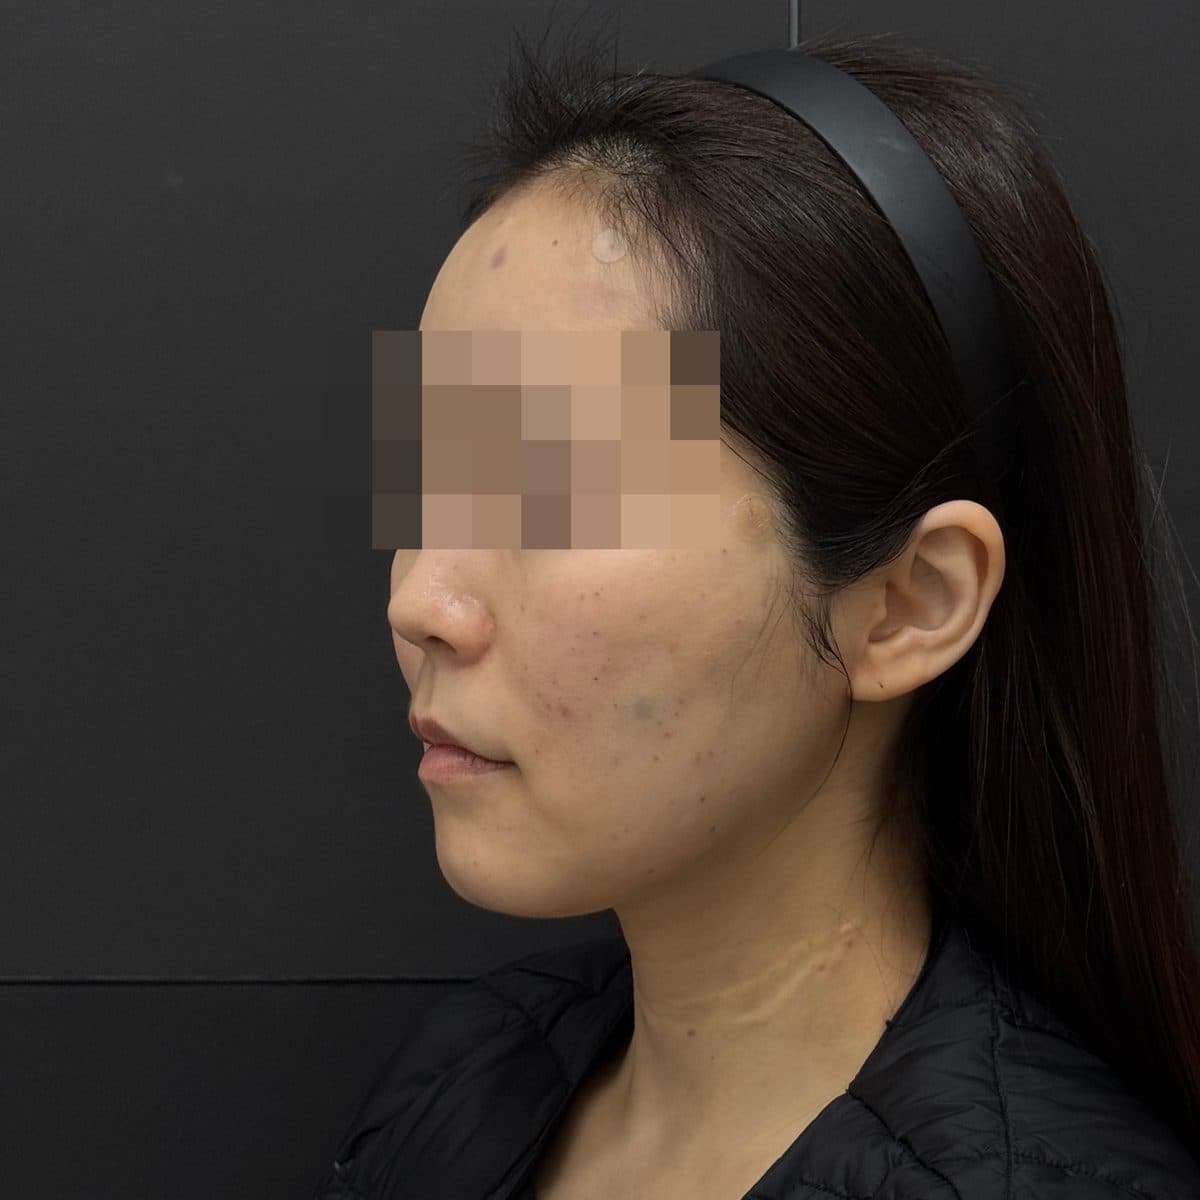 AfterForehead FillerGeneral Facial Fillers
 Before
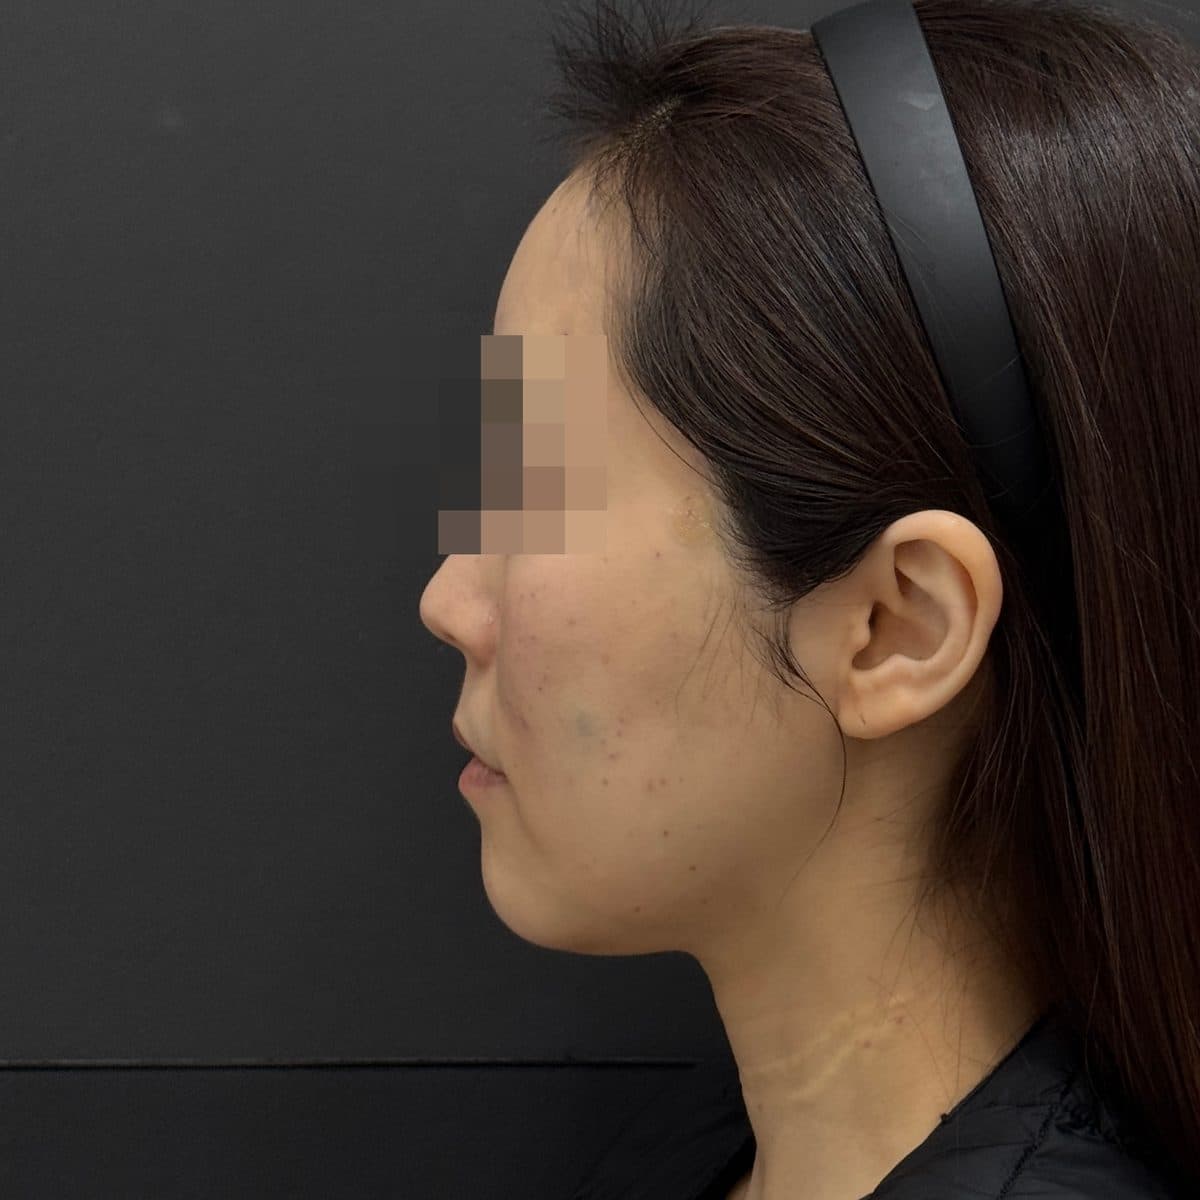 AfterForehead FillerGeneral Facial Fillers
 Before
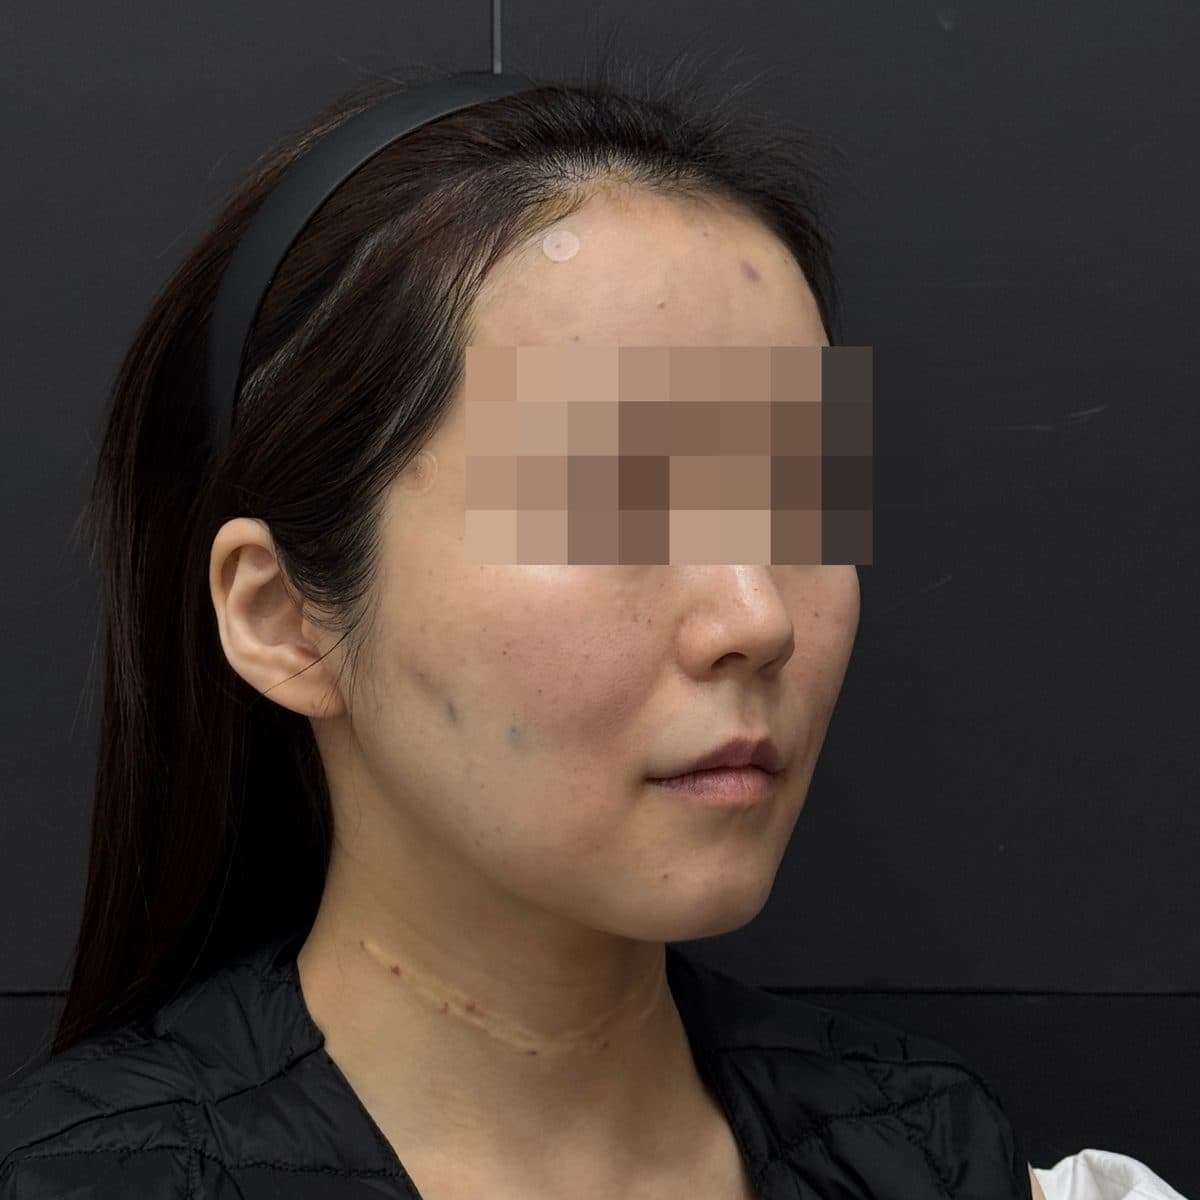 AfterForehead FillerGeneral Facial Fillers
 Before
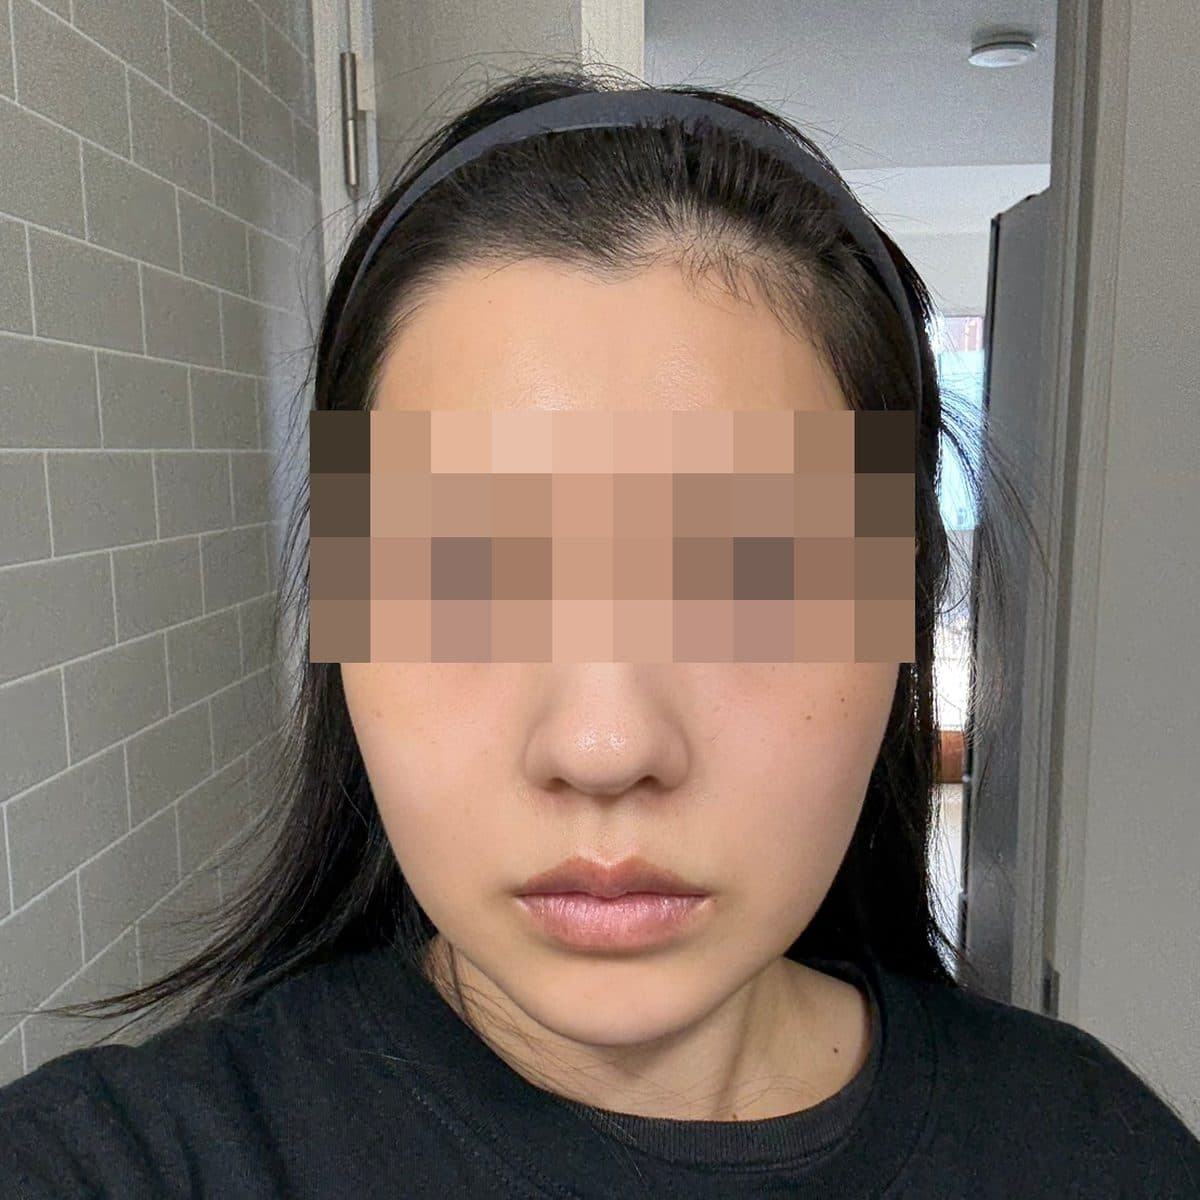 AfterForehead FillerGeneral Facial Fillers
 Before
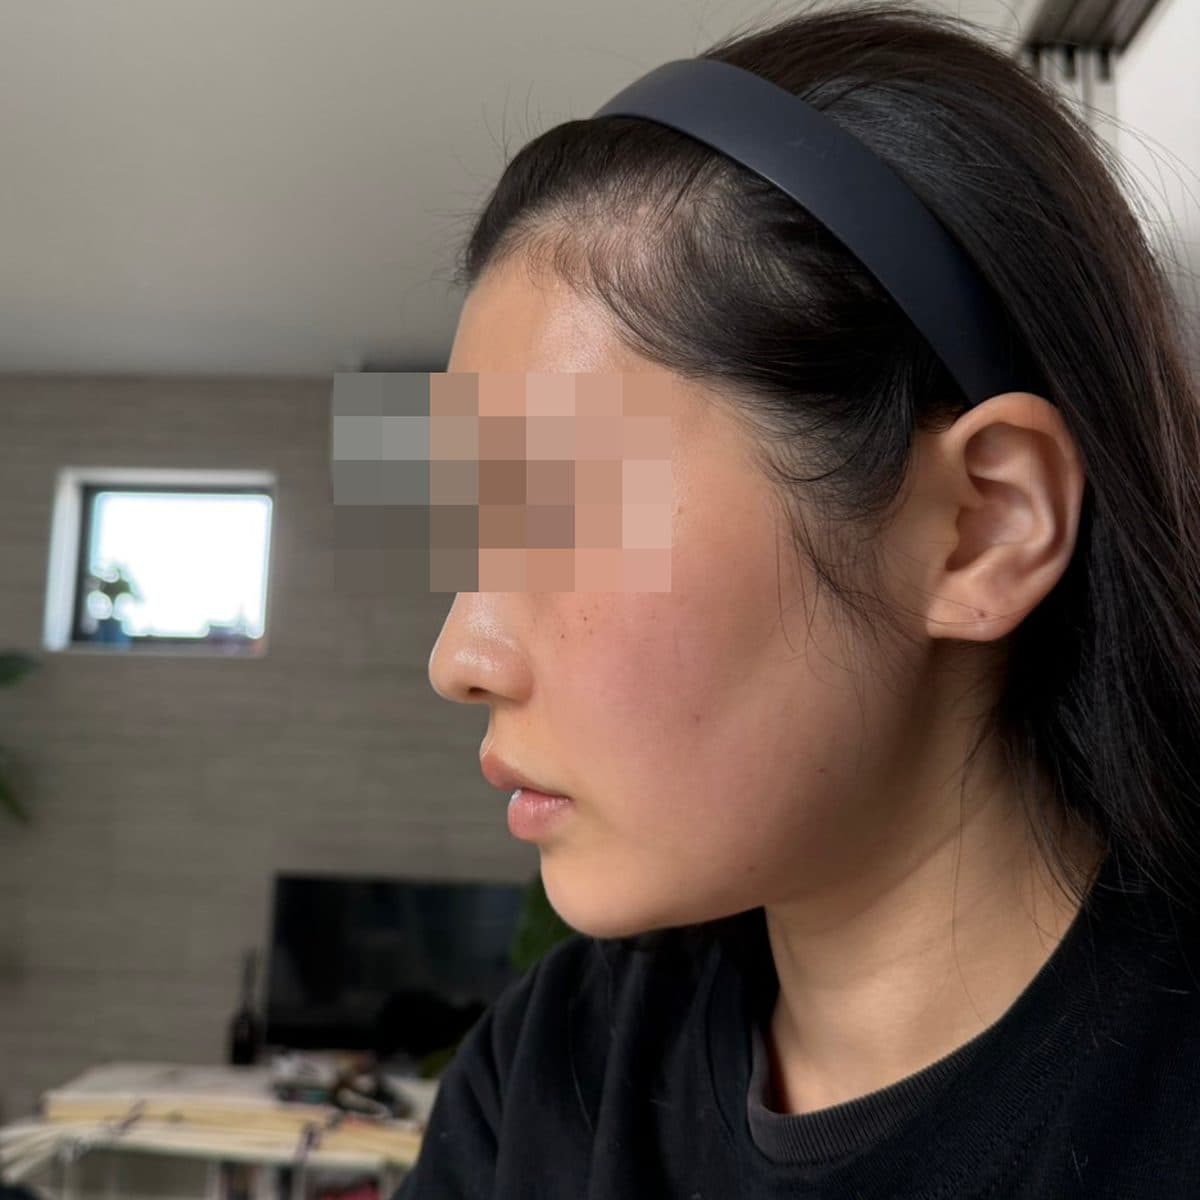 AfterForehead FillerGeneral Facial Fillers
 Before
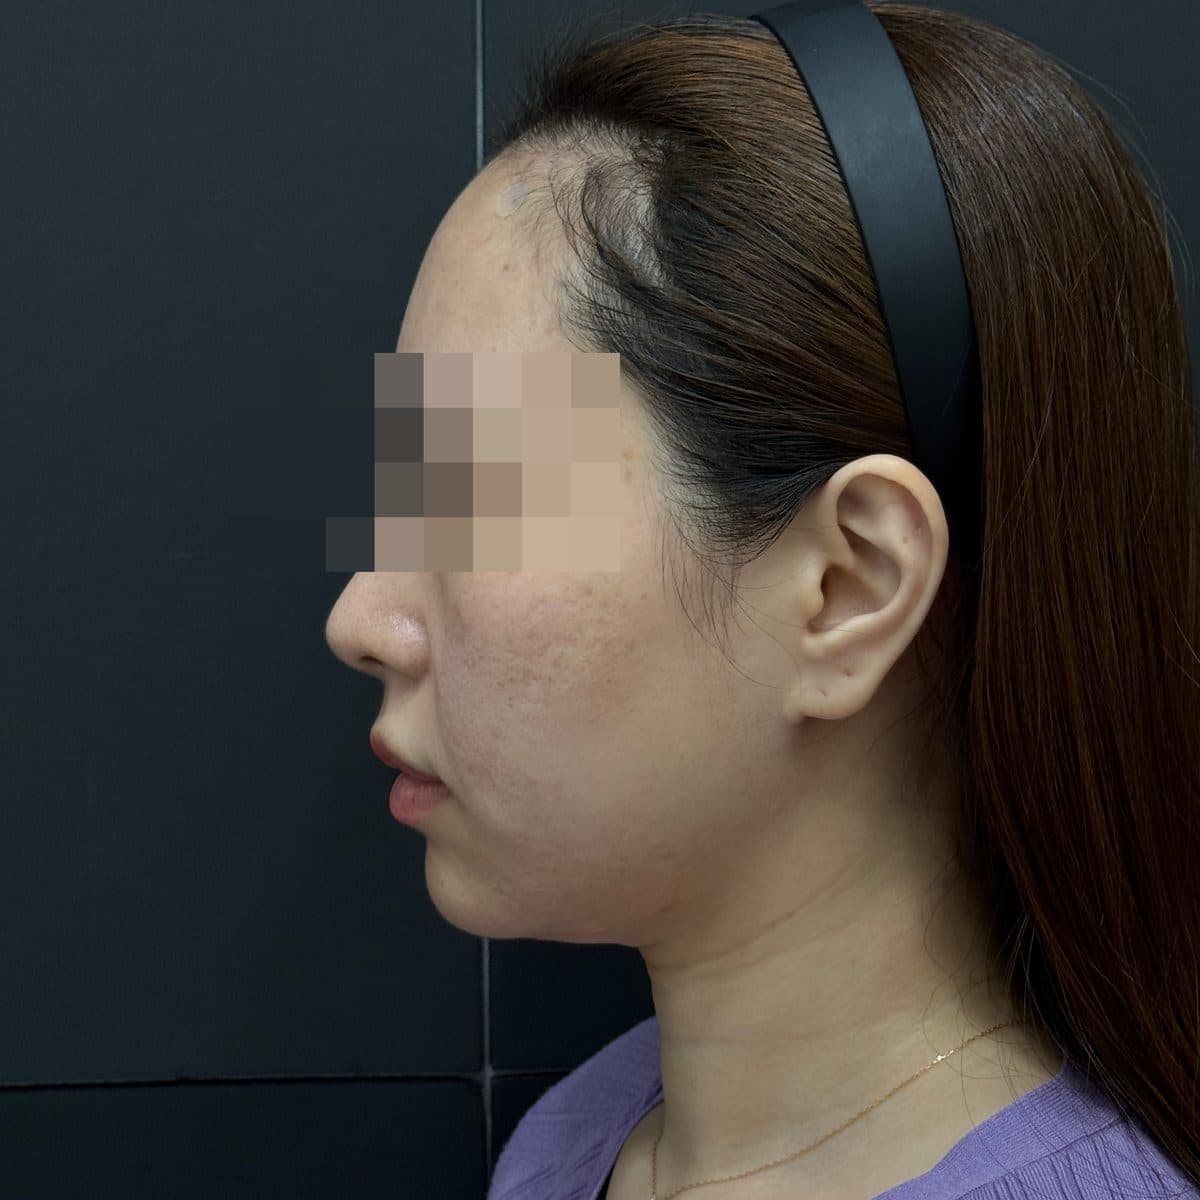 AfterForehead FillerGeneral Facial Fillers
 Before
 AfterForehead FillerGeneral Facial Fillers
 Before
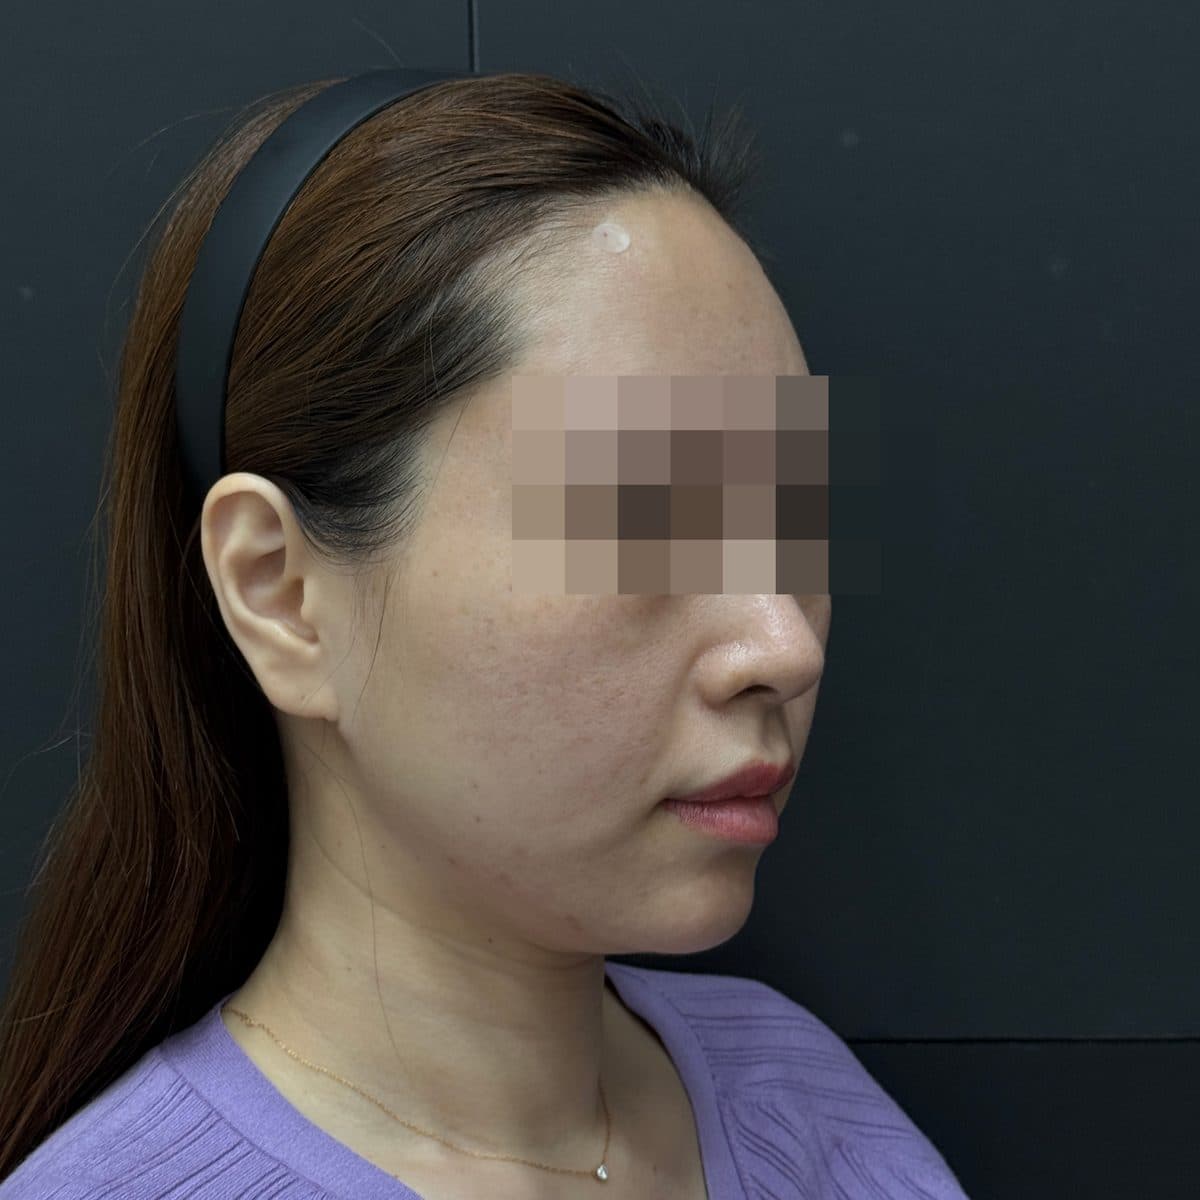 AfterForehead FillerGeneral Facial Fillers
 Before
 AfterForehead FillerGeneral Facial Fillers
 Before
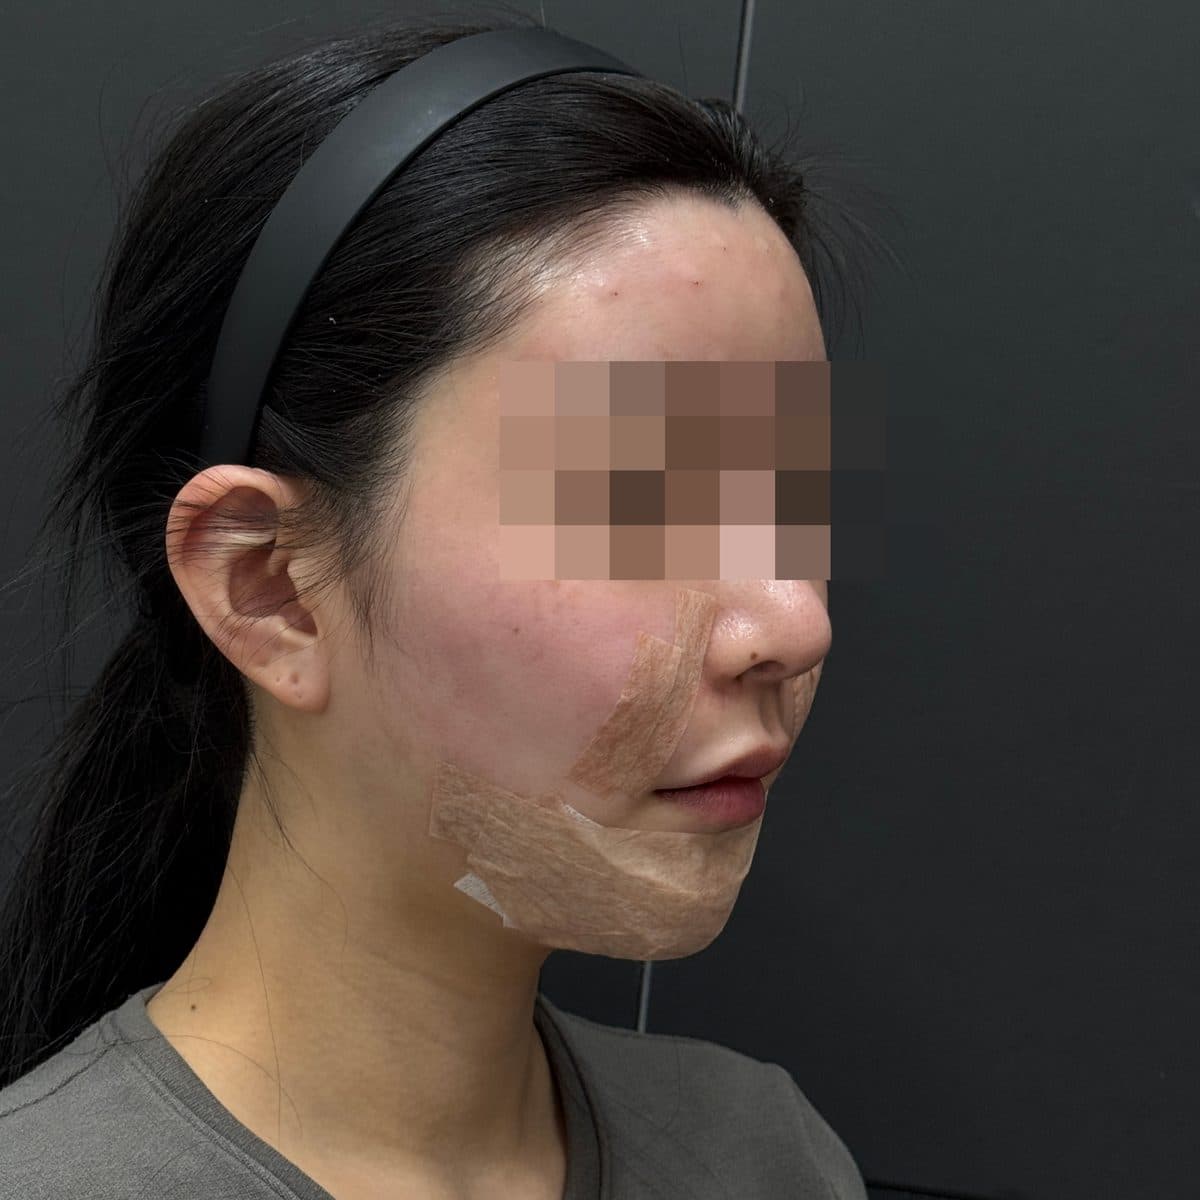 AfterForehead FillerGeneral Facial Fillers
 Before
 AfterForehead FillerGeneral Facial Fillers
 Before
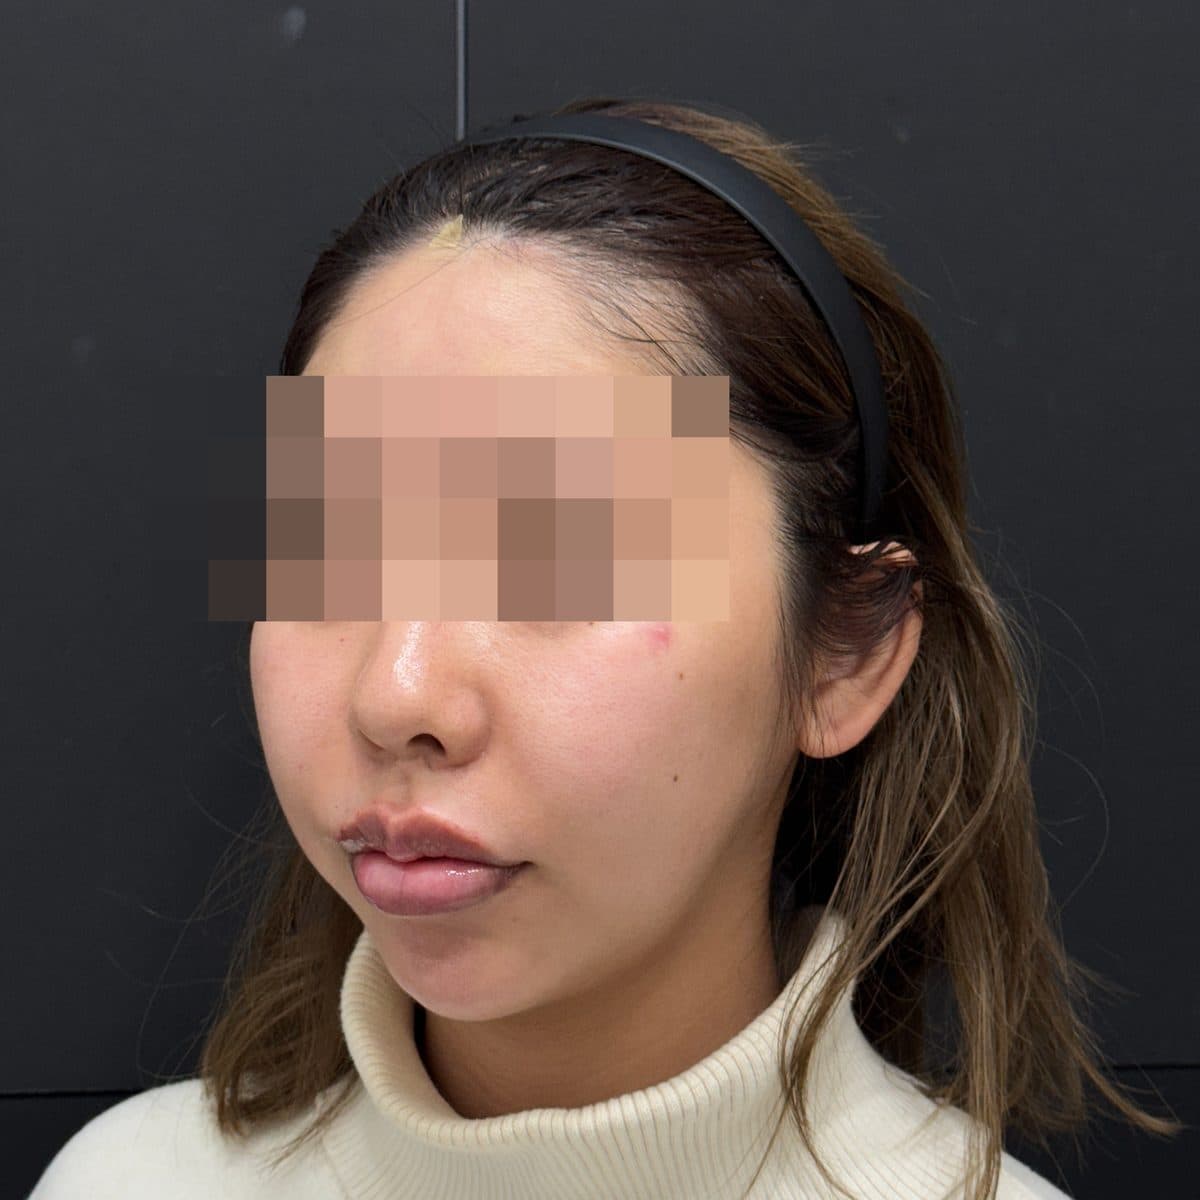 AfterForehead FillerGeneral Facial Fillers
 Before
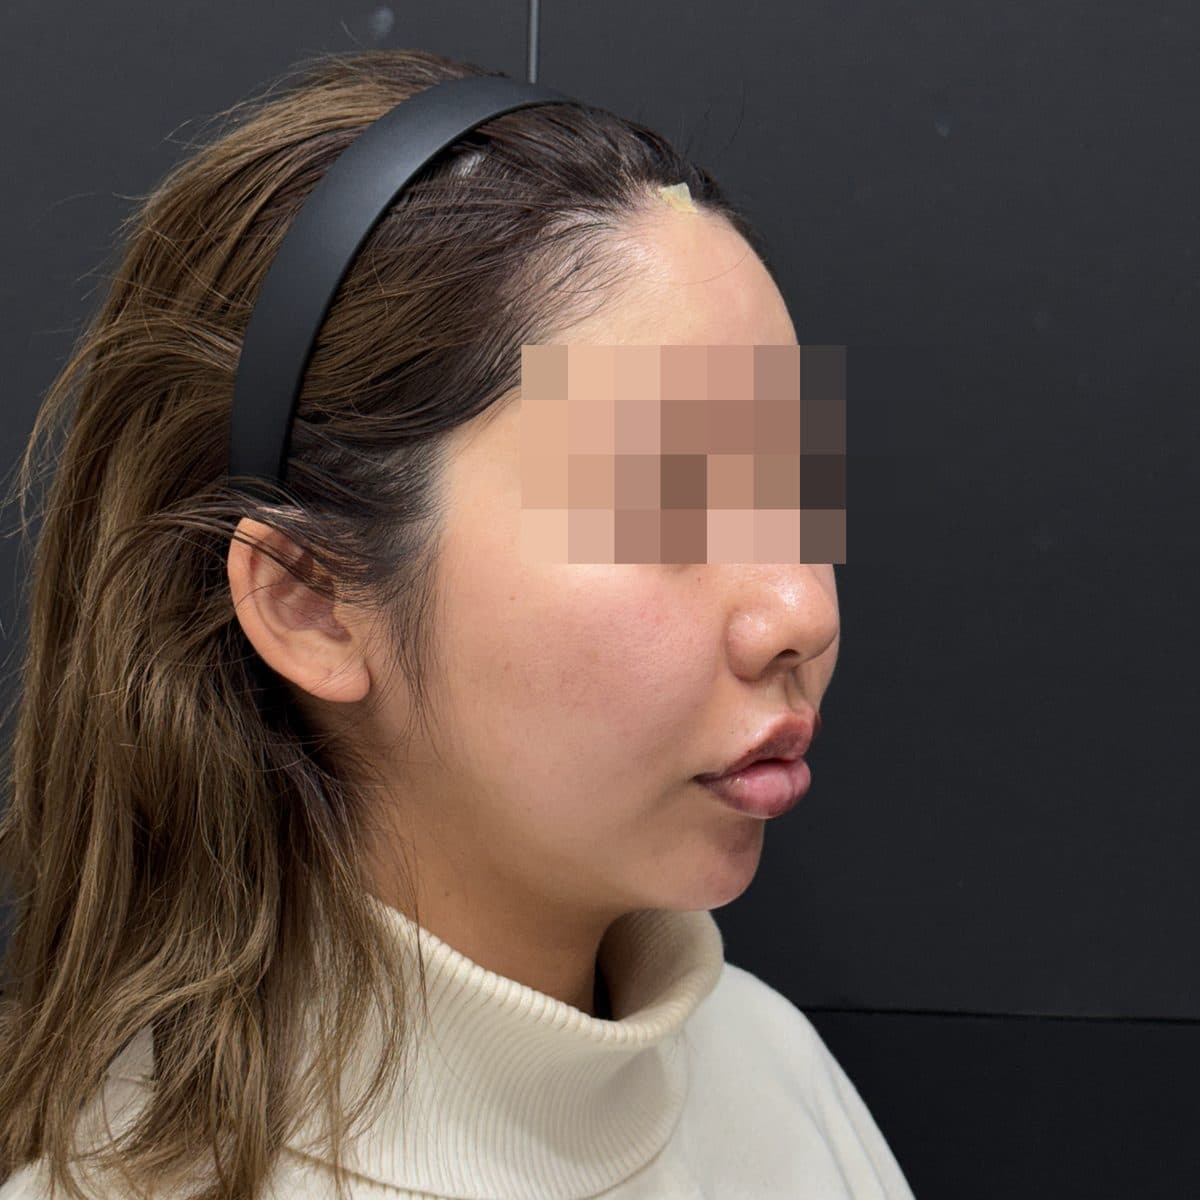 AfterForehead FillerGeneral Facial Fillers
 Before
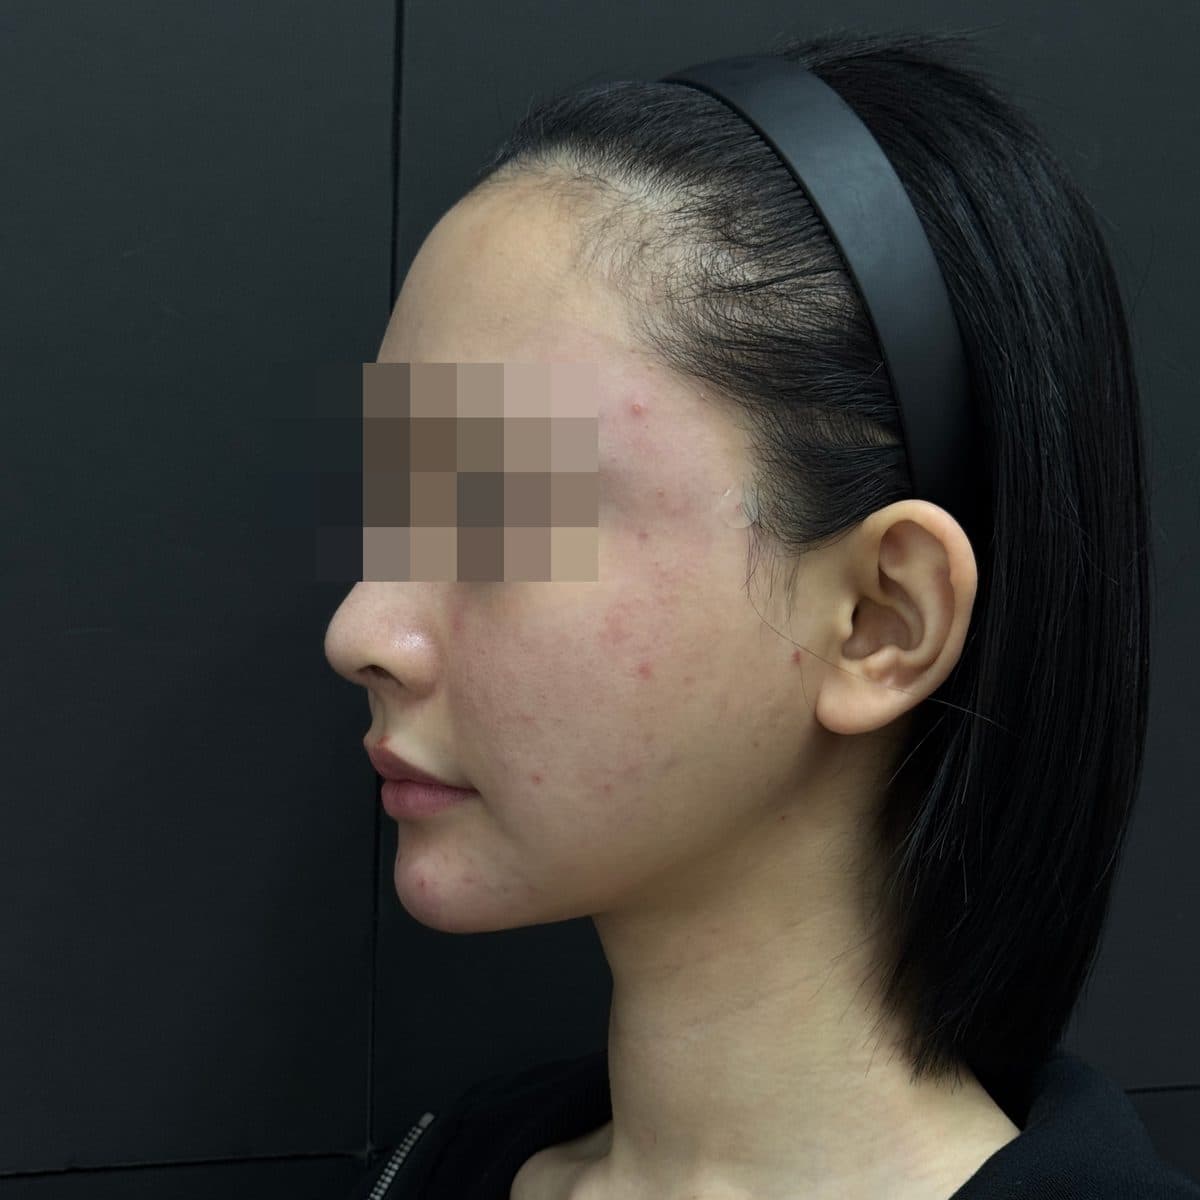 AfterTemple FillerGeneral Facial Fillers
 Before
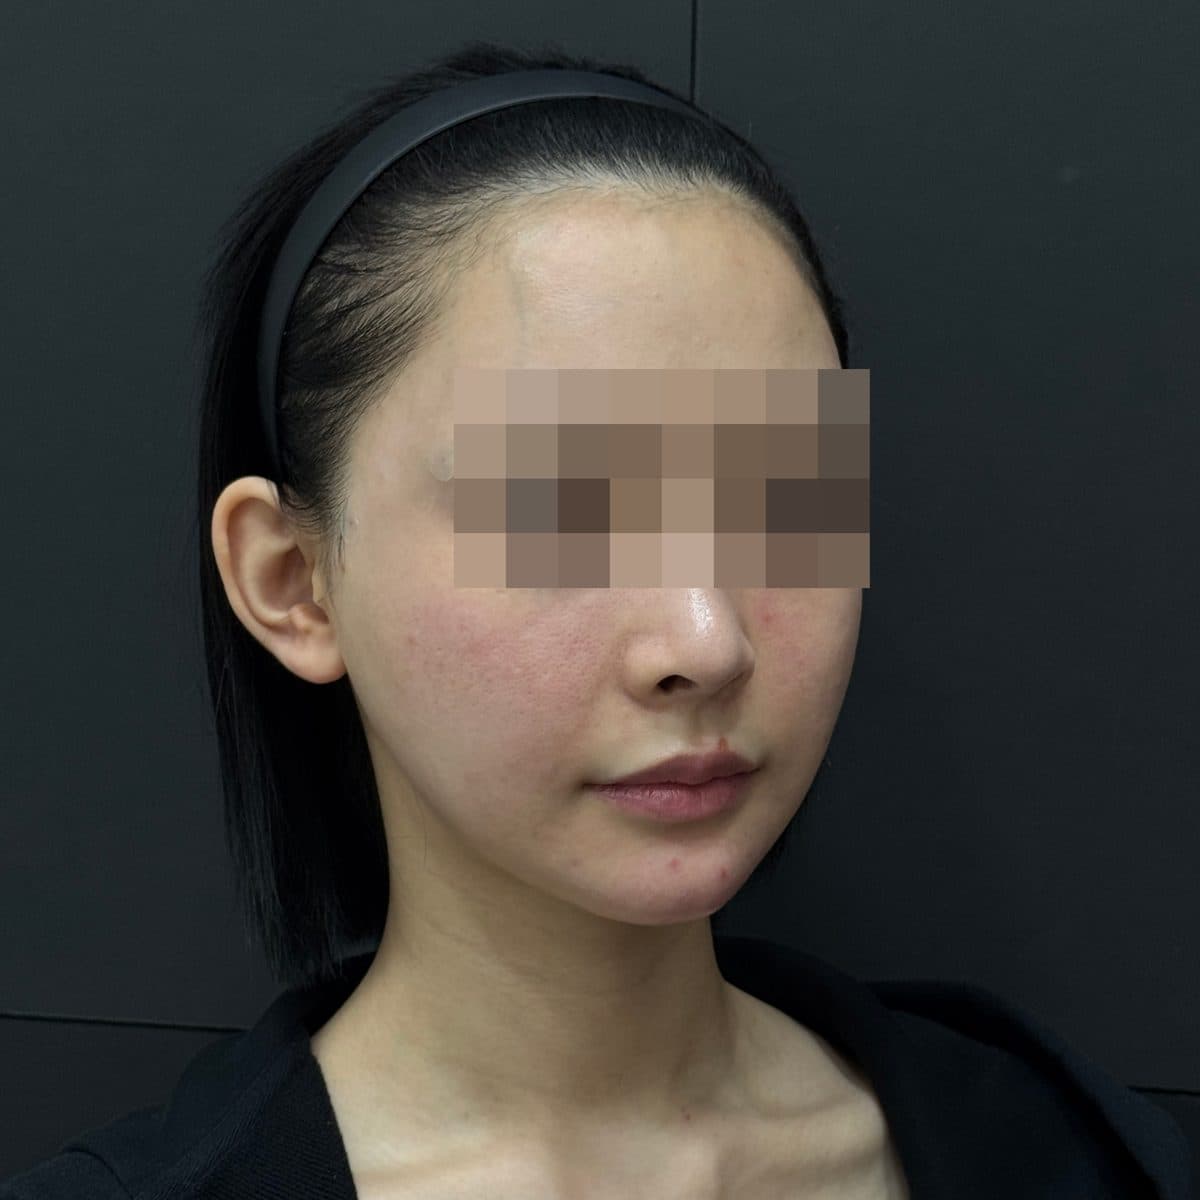 AfterTemple FillerGeneral Facial Fillers
 Before
 AfterSide Cheek FillerGeneral Facial Fillers
 Before
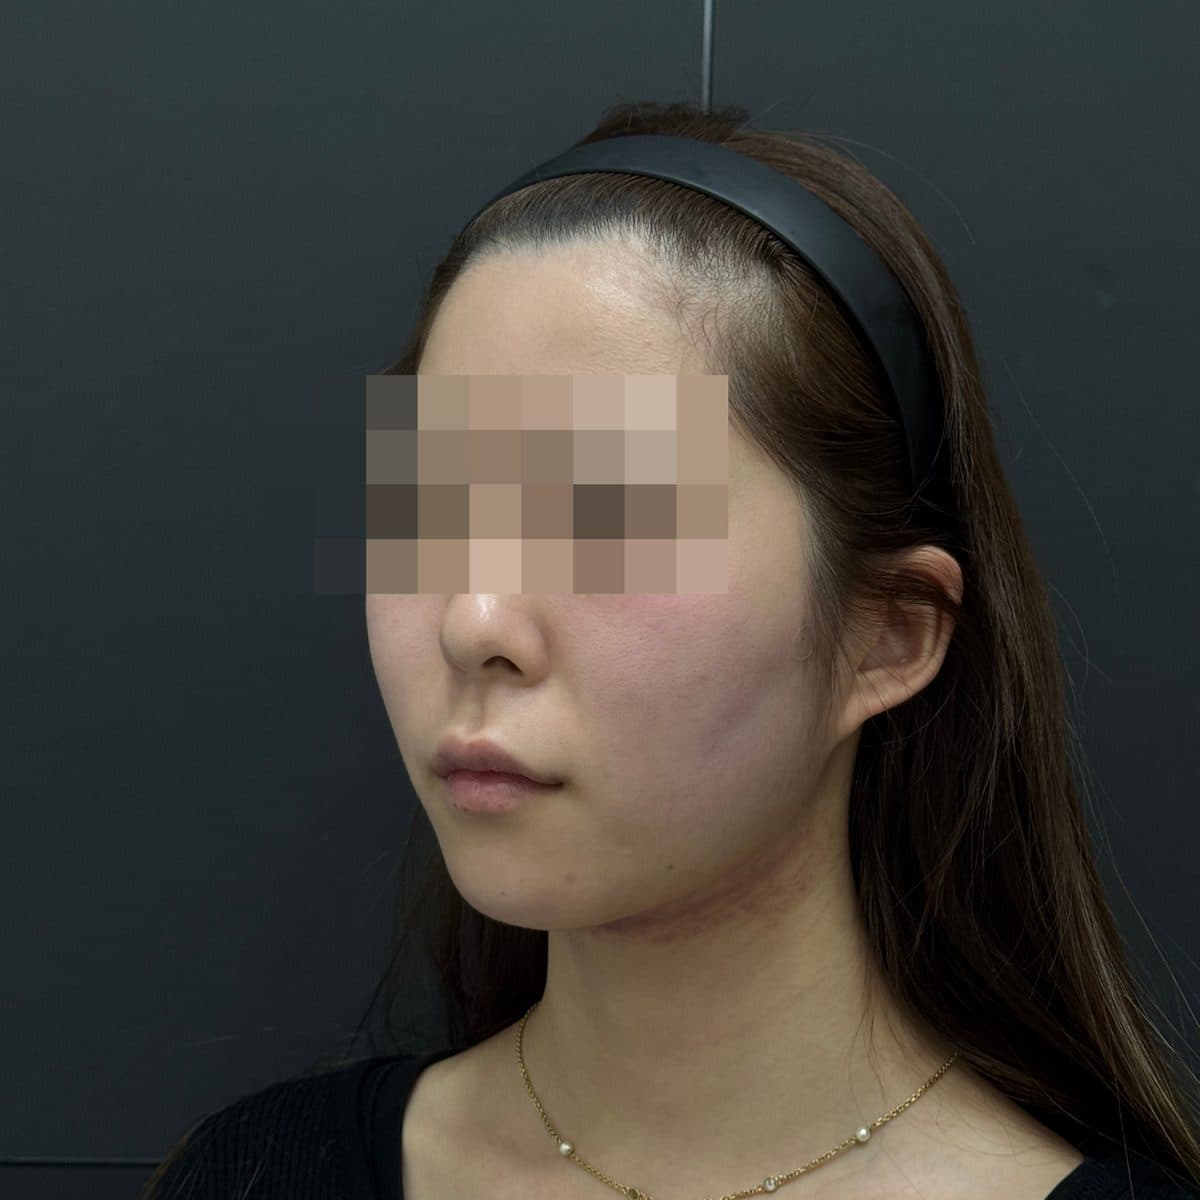 AfterSide Cheek FillerGeneral Facial Fillers
 Before
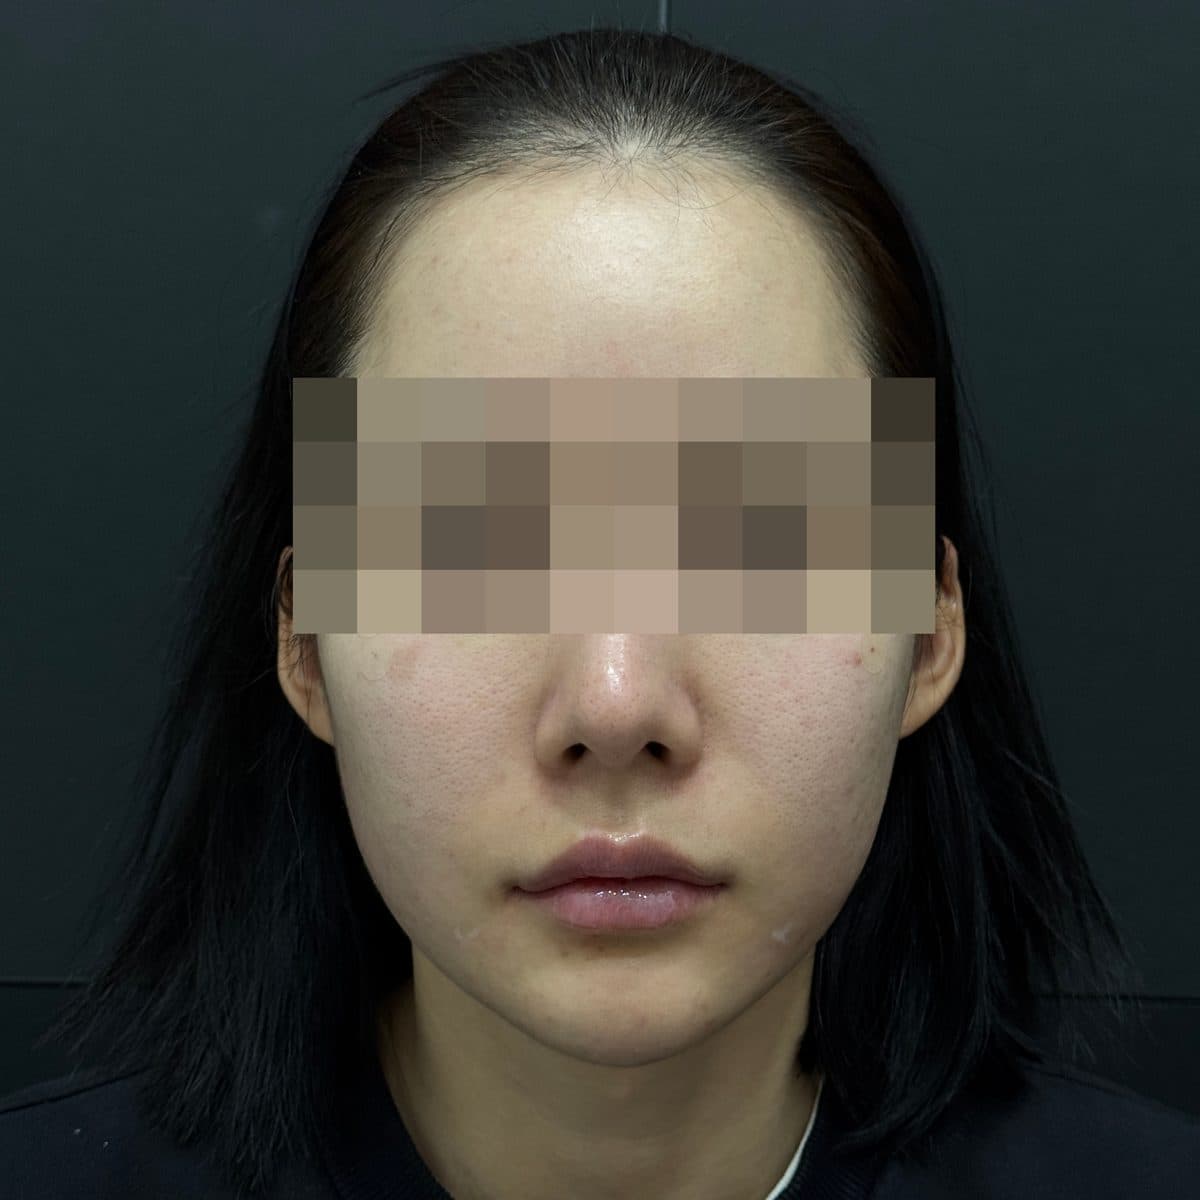 AfterUnder-Eye + Lip FillerGeneral Facial Fillers
 Before
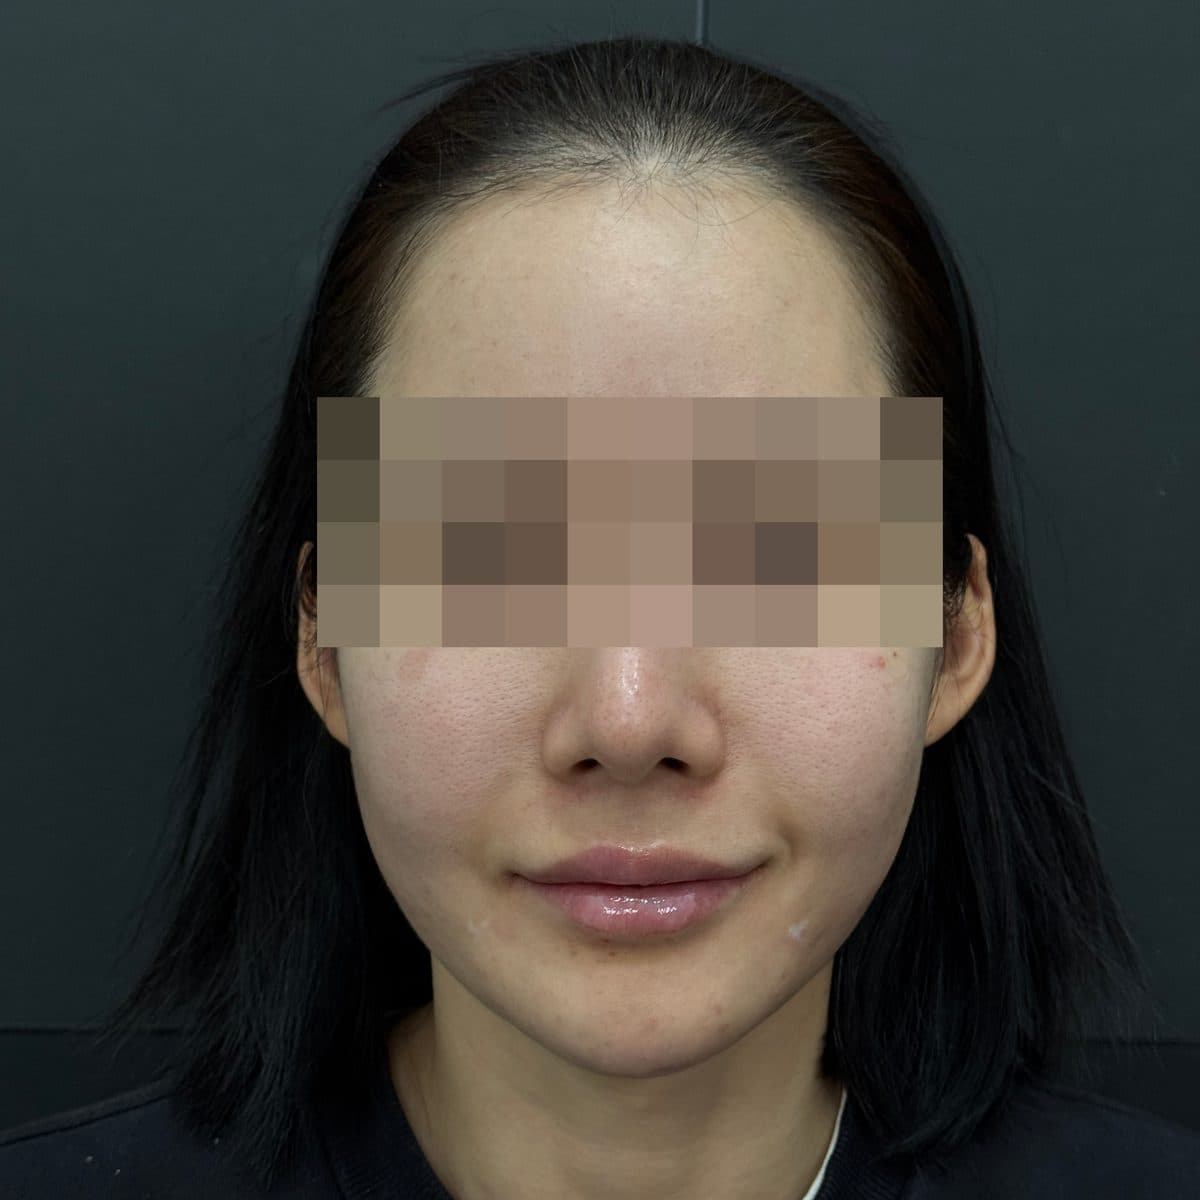 AfterUnder-Eye + Lip FillerGeneral Facial Fillers
 Before
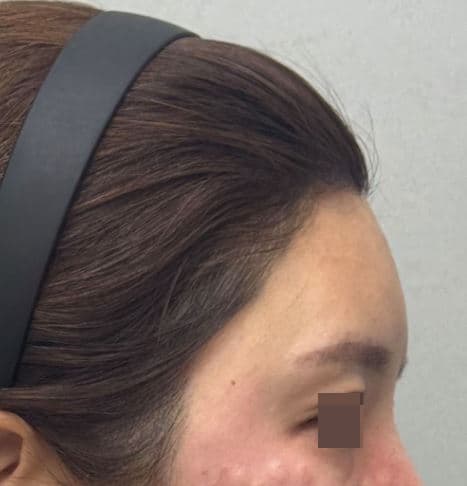 AfterForehead FillerGeneral Facial Fillers
 Before
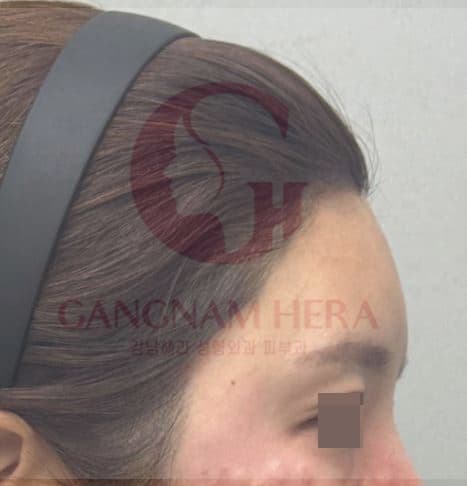 AfterForehead FillerGeneral Facial Fillers
 Before
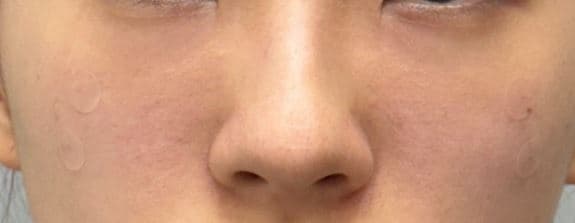 AfterUnder-Eye FillerEye Rejuvenation Filler
 Before
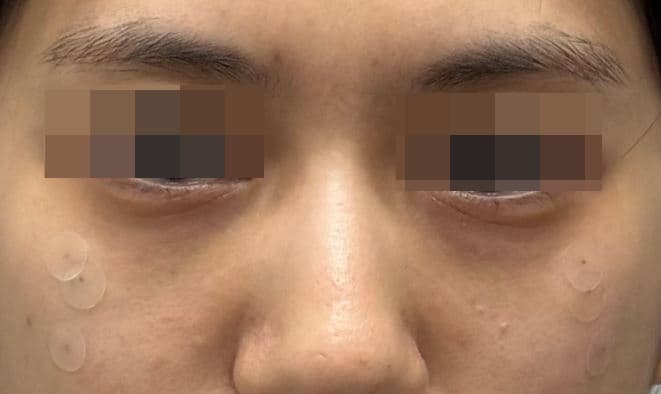 AfterUnder-Eye FillerEye Rejuvenation Filler
 Before
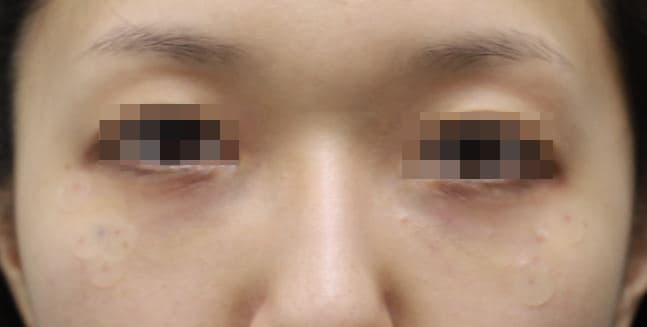 AfterUnder-Eye FillerEye Rejuvenation Filler
 Before
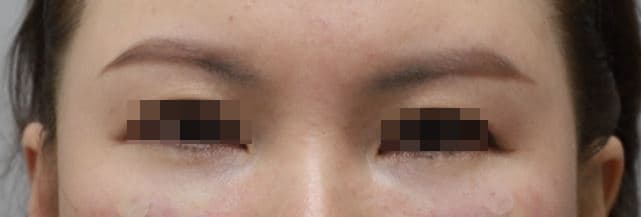 AfterUnder-Eye FillerEye Rejuvenation Filler
 Before
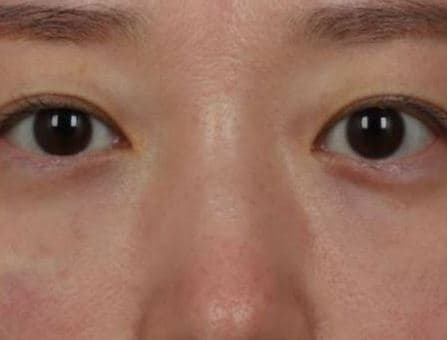 AfterUnder-Eye FillerEye Rejuvenation Filler
 Before
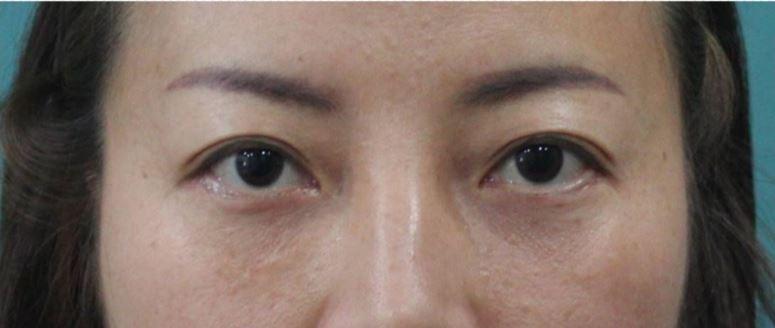 AfterUnder-Eye FillerEye Rejuvenation Filler
 Before
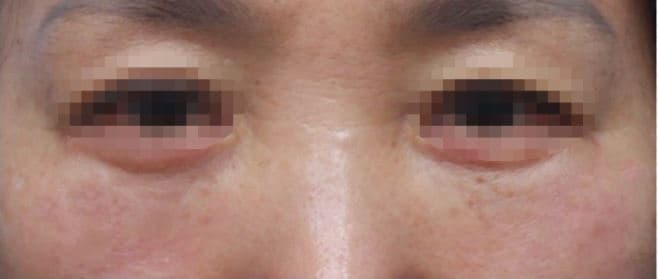 AfterUnder-Eye FillerEye Rejuvenation Filler
 Before
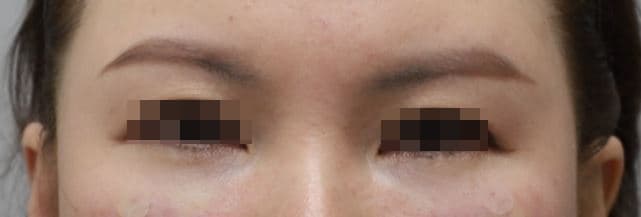 AfterUnder-Eye FillerEye Rejuvenation Filler
 Before
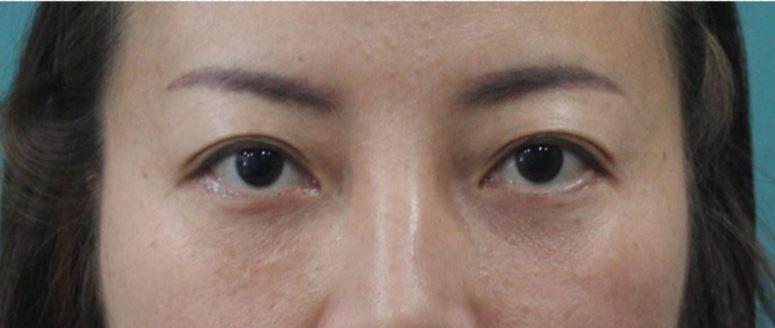 AfterUnder-Eye FillerEye Rejuvenation Filler
 Before
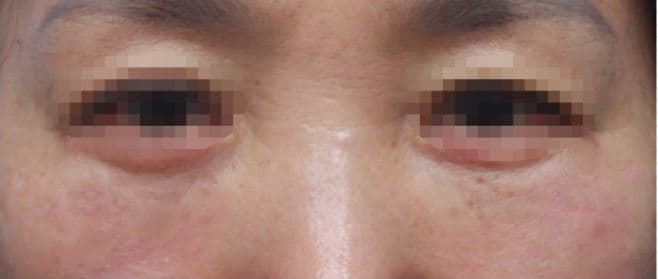 AfterUnder-Eye FillerEye Rejuvenation Filler
 Before
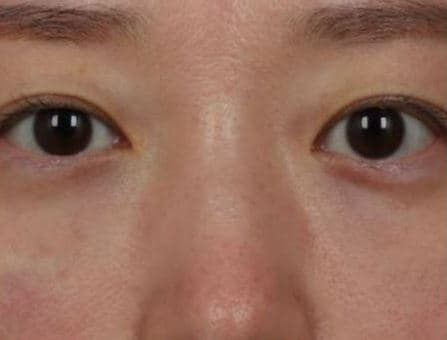 AfterUnder-Eye FillerEye Rejuvenation Filler
 Before
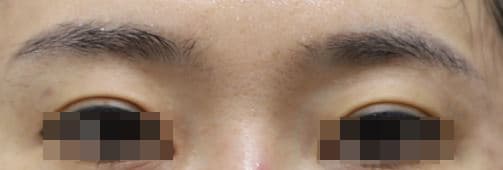 AfterUpper Eyelid Hollow FillerEye Rejuvenation Filler
 Before
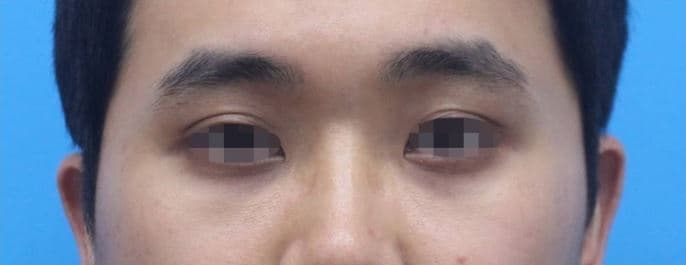 AfterUpper Eyelid Hollow FillerEye Rejuvenation Filler
 Before
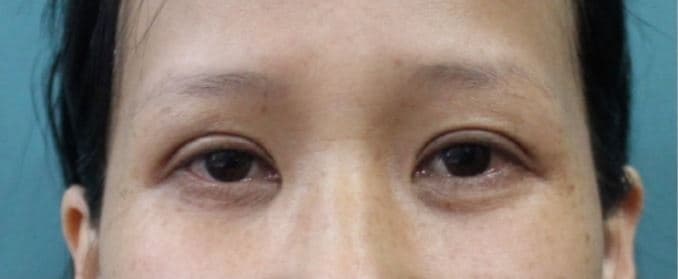 AfterUpper Eyelid Hollow FillerEye Rejuvenation Filler
 Before
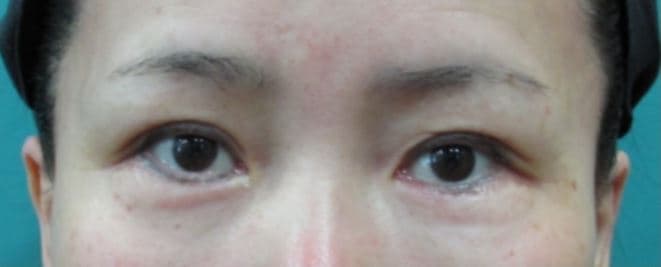 AfterUpper Eyelid Hollow FillerEye Rejuvenation Filler
 Before
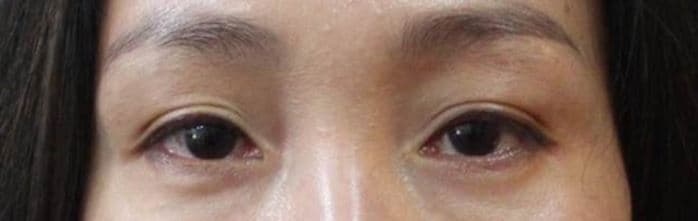 AfterUpper Eyelid Hollow FillerEye Rejuvenation Filler
 Before
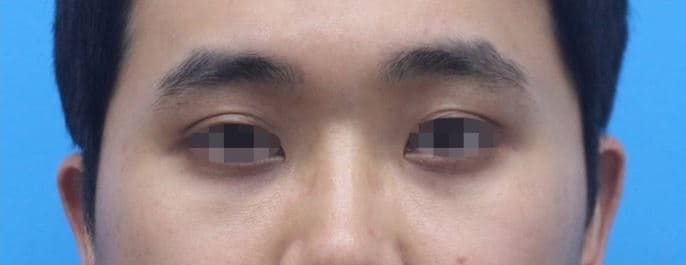 AfterUpper Eyelid Hollow FillerEye Rejuvenation Filler
 Before
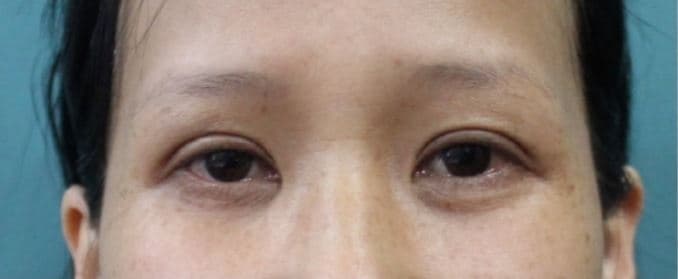 AfterUpper Eyelid Hollow FillerEye Rejuvenation Filler
 Before
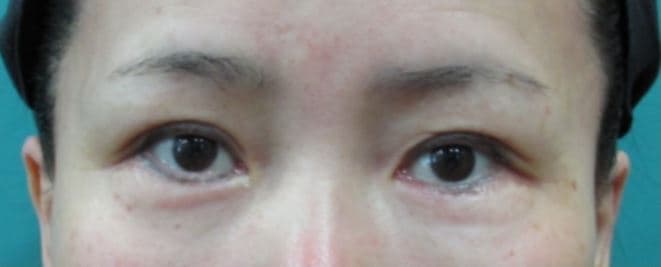 AfterUpper Eyelid Hollow FillerEye Rejuvenation Filler
 Before
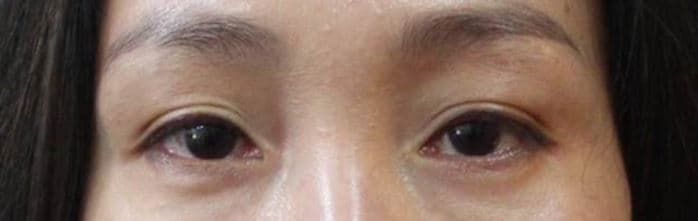 AfterUpper Eyelid Hollow FillerEye Rejuvenation Filler
 Before
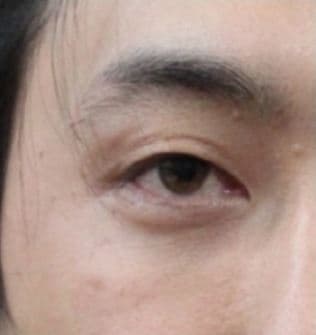 AfterUpper + Under-Eye FillerEye Rejuvenation Filler
 Before
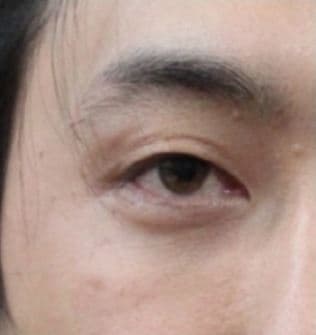 AfterUpper + Under-Eye FillerEye Rejuvenation Filler
 Before
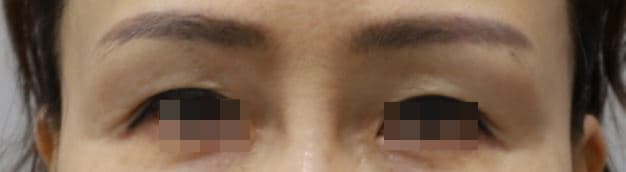 AfterUpper Eyelid Hollow FillerEye Rejuvenation Filler
 Before
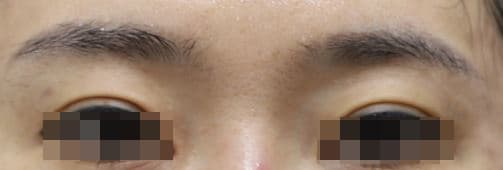 AfterUpper Eyelid Hollow FillerEye Rejuvenation Filler
 Before
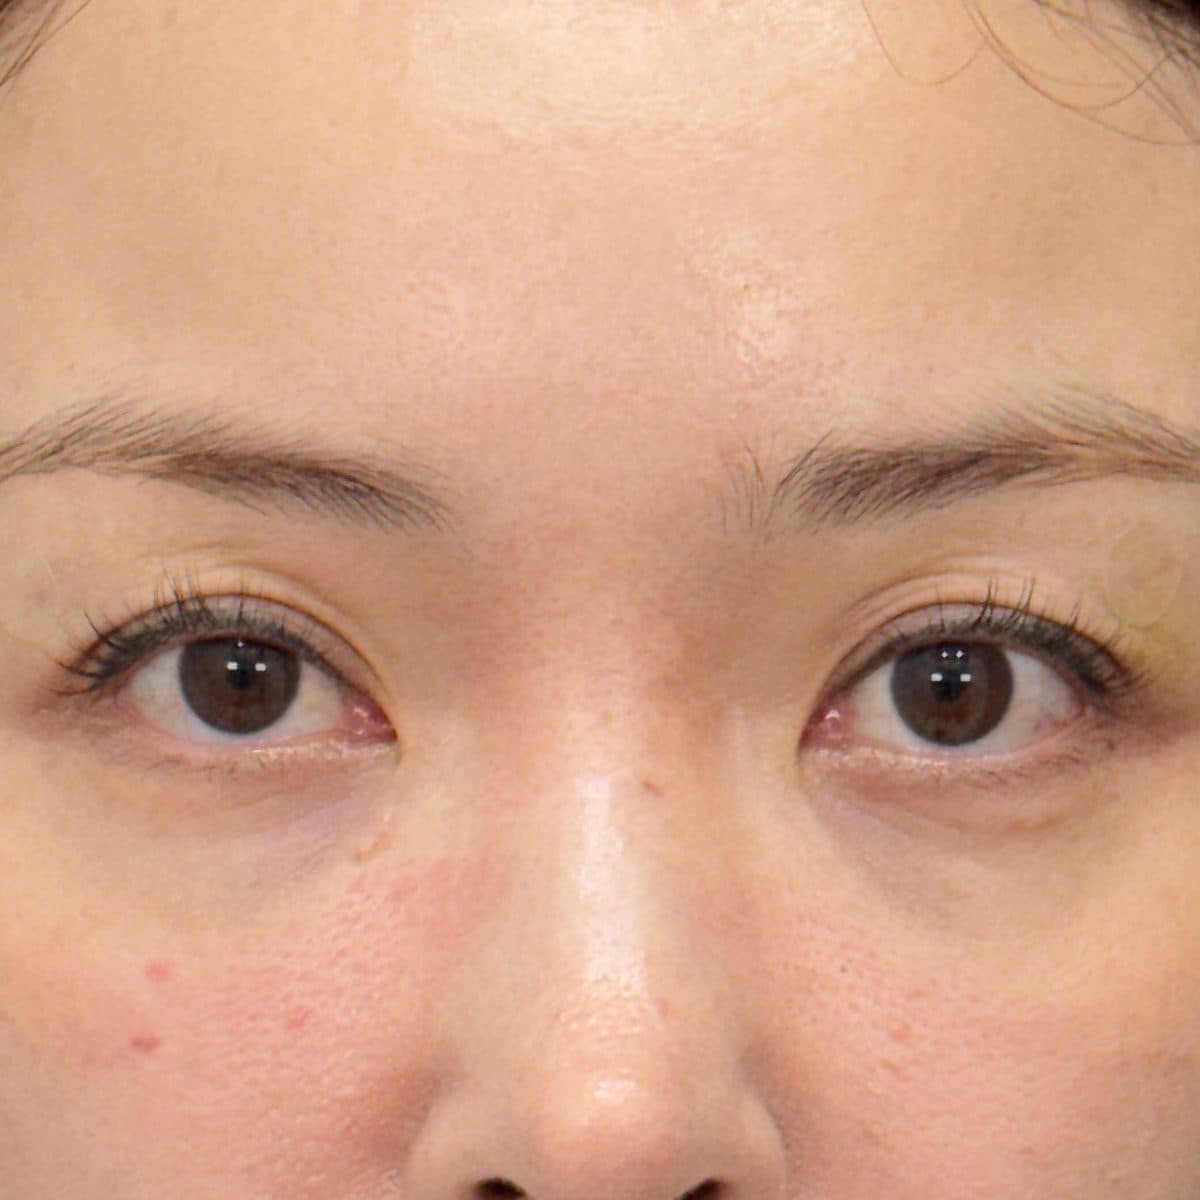 AfterUpper Eyelid Hollow FillerEye Rejuvenation Filler
 Before
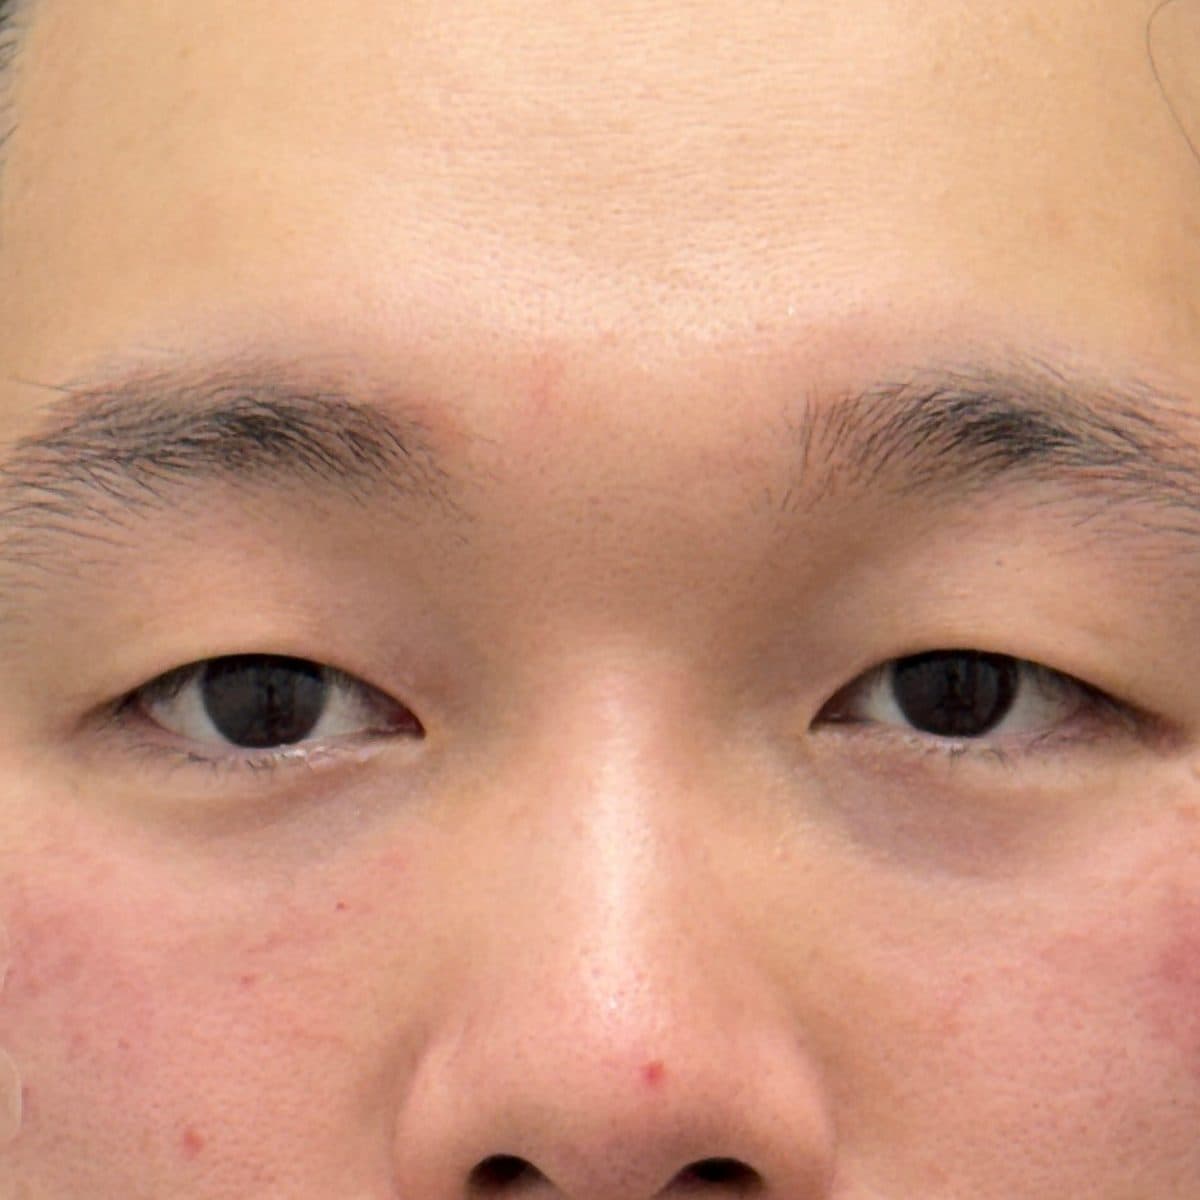 AfterUnder-Eye FillerEye Rejuvenation Filler
 Before
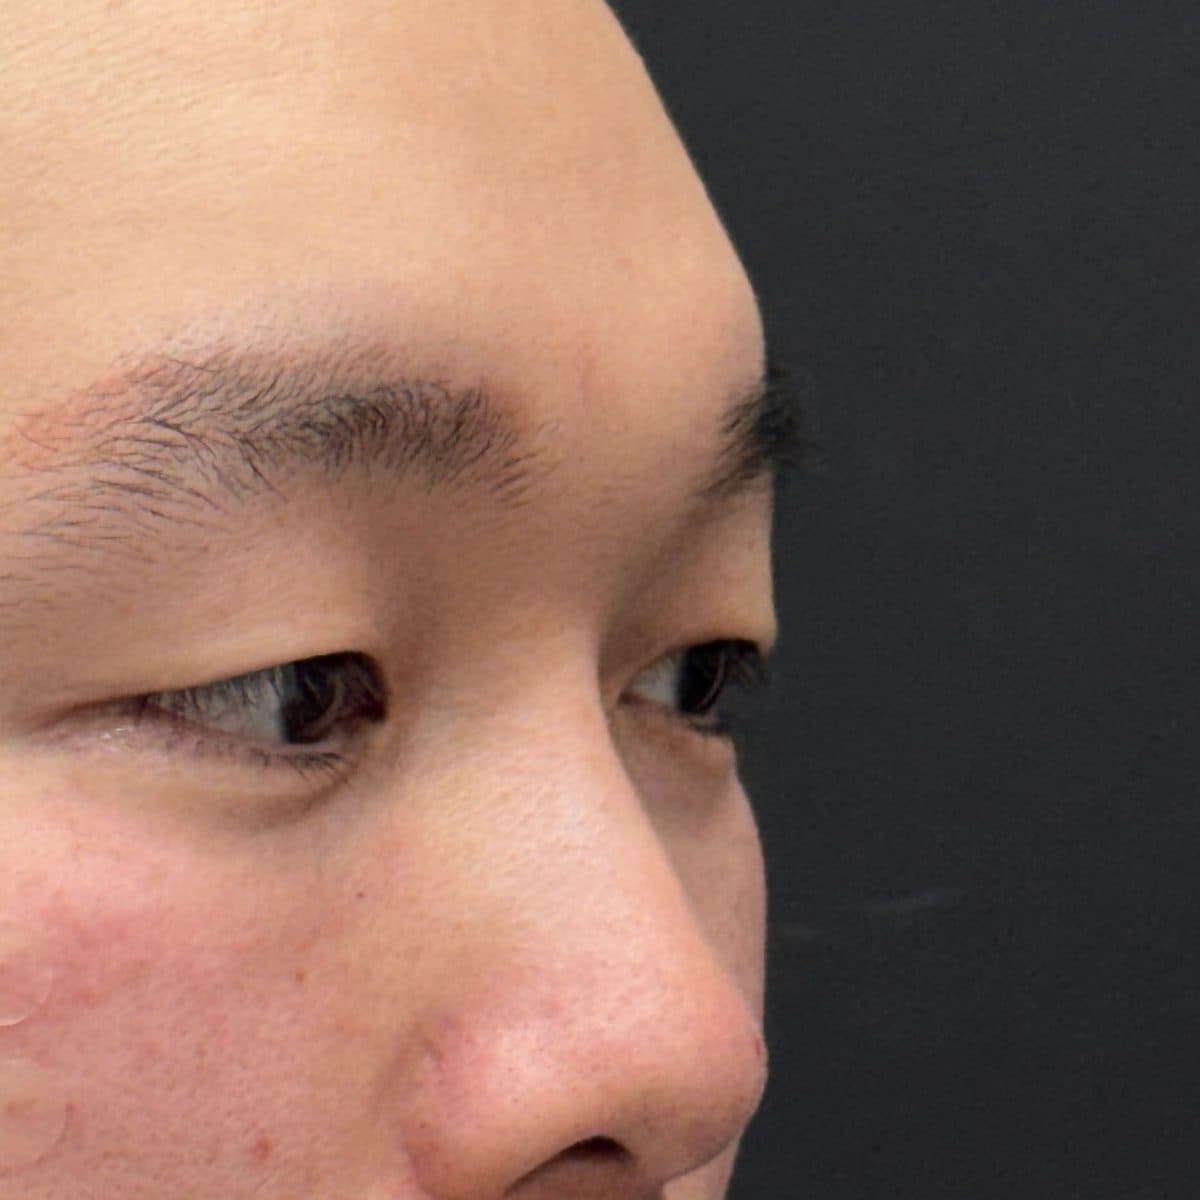 AfterUnder-Eye FillerEye Rejuvenation Filler
 Before
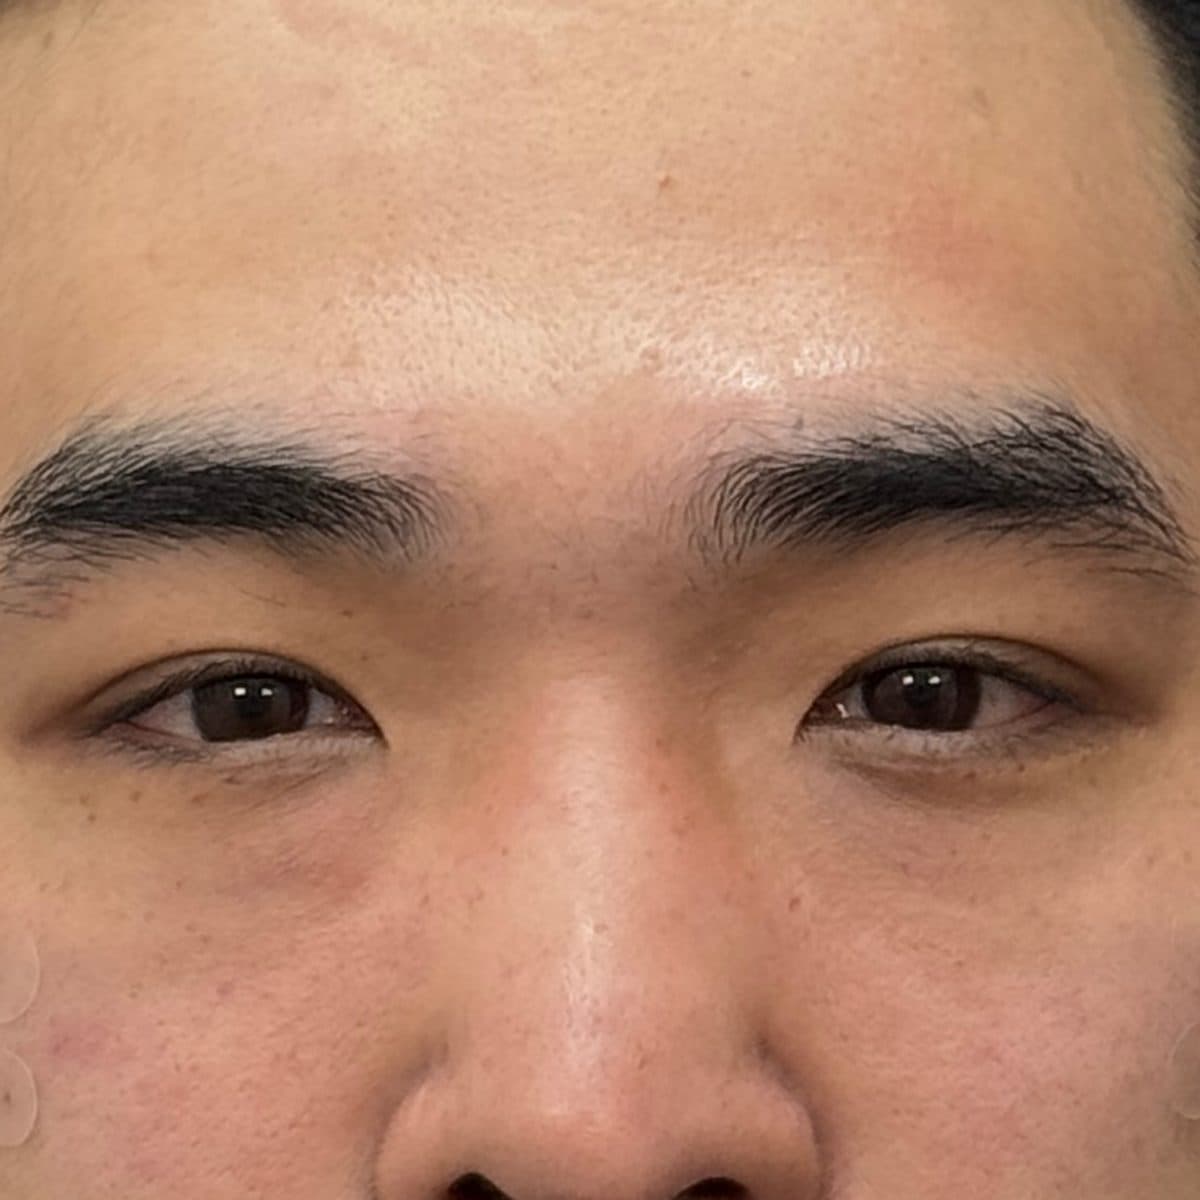 AfterUnder-Eye FillerEye Rejuvenation Filler
 Before
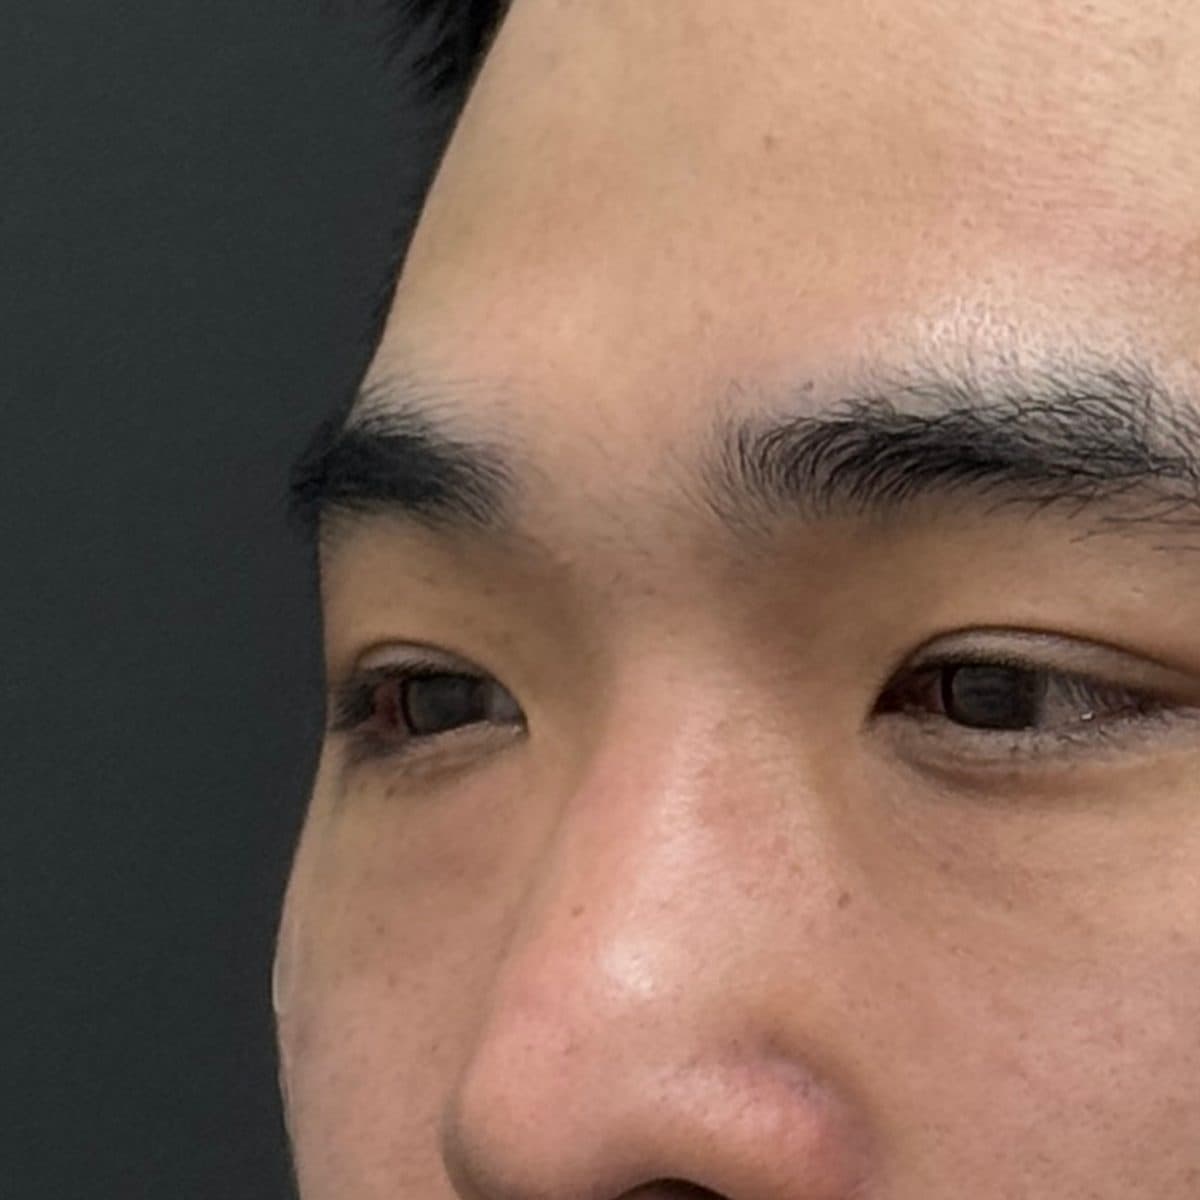 AfterUnder-Eye FillerEye Rejuvenation Filler
 Before
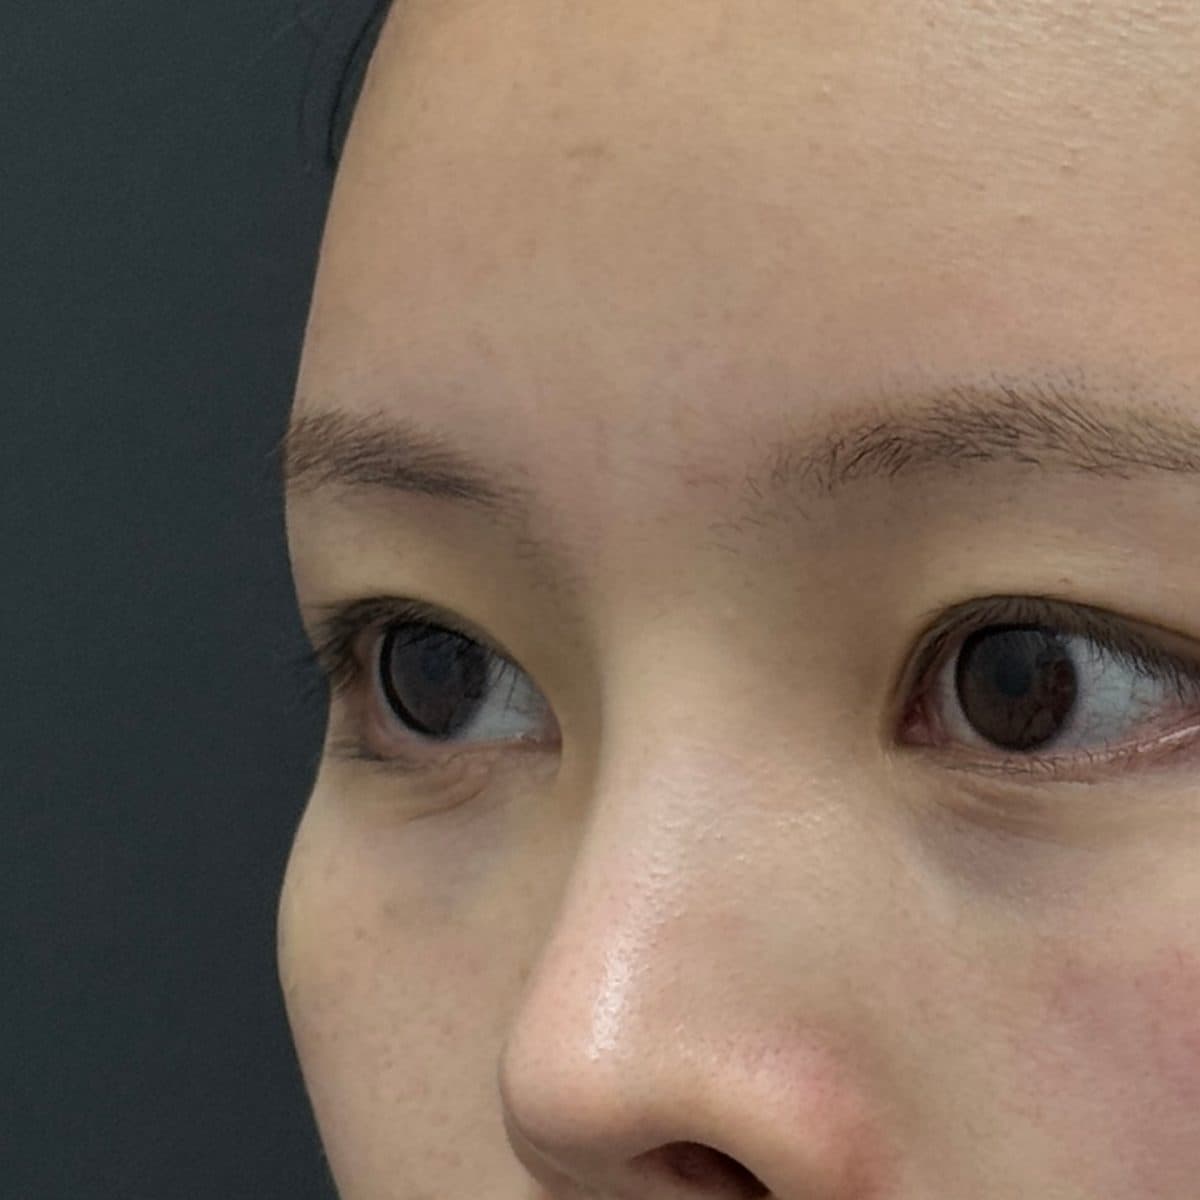 AfterUnder-Eye FillerEye Rejuvenation Filler
 Before
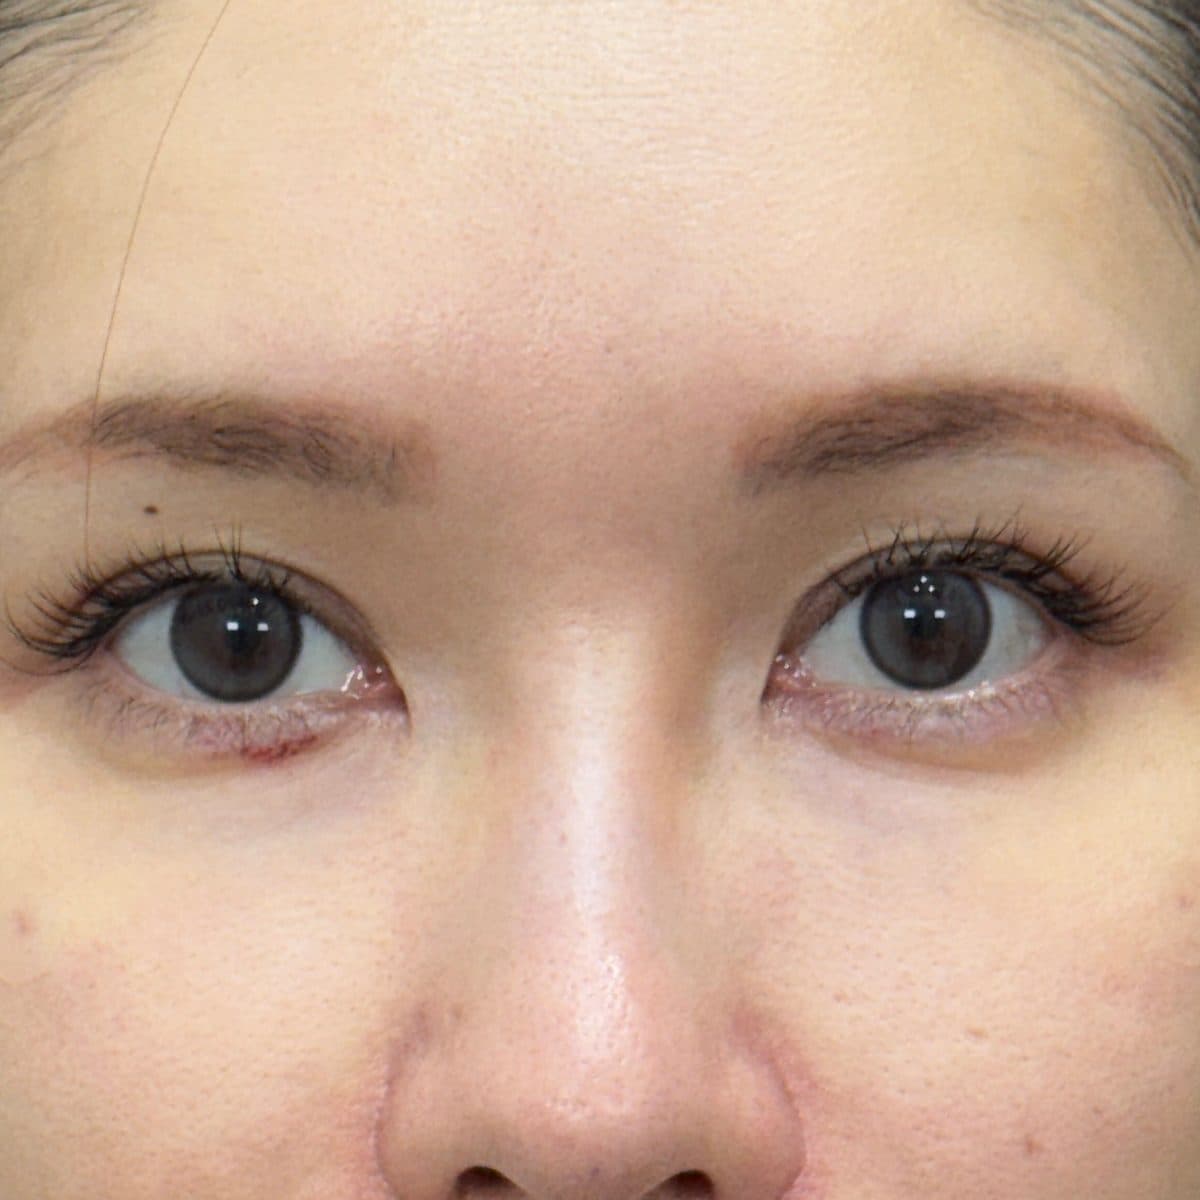 AfterUnder-Eye FillerEye Rejuvenation Filler
 Before
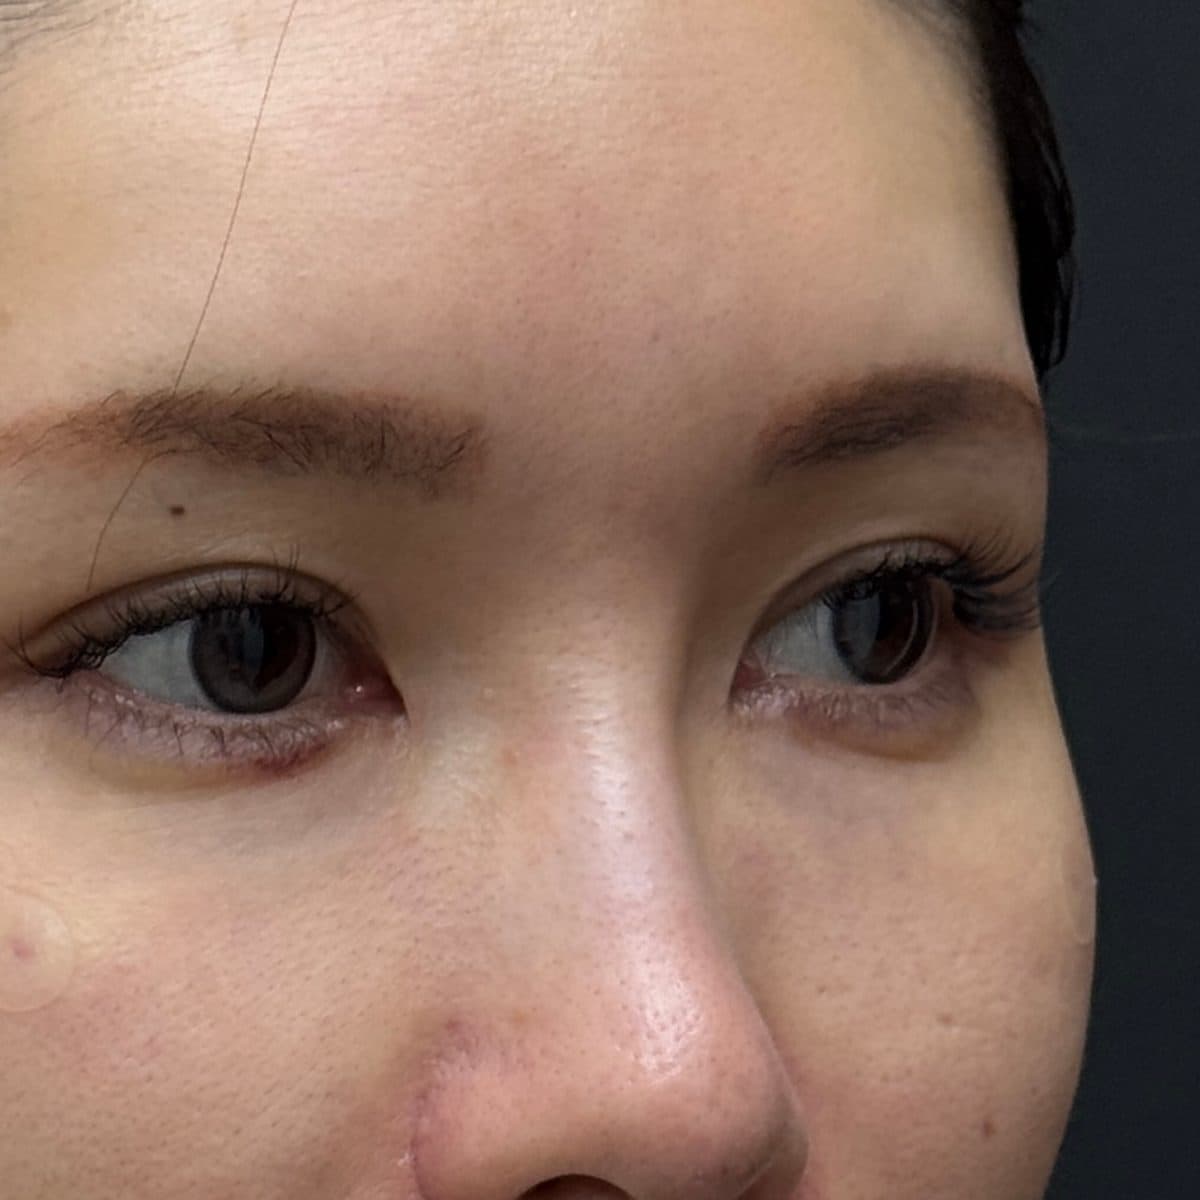 AfterUnder-Eye FillerEye Rejuvenation Filler
 Before
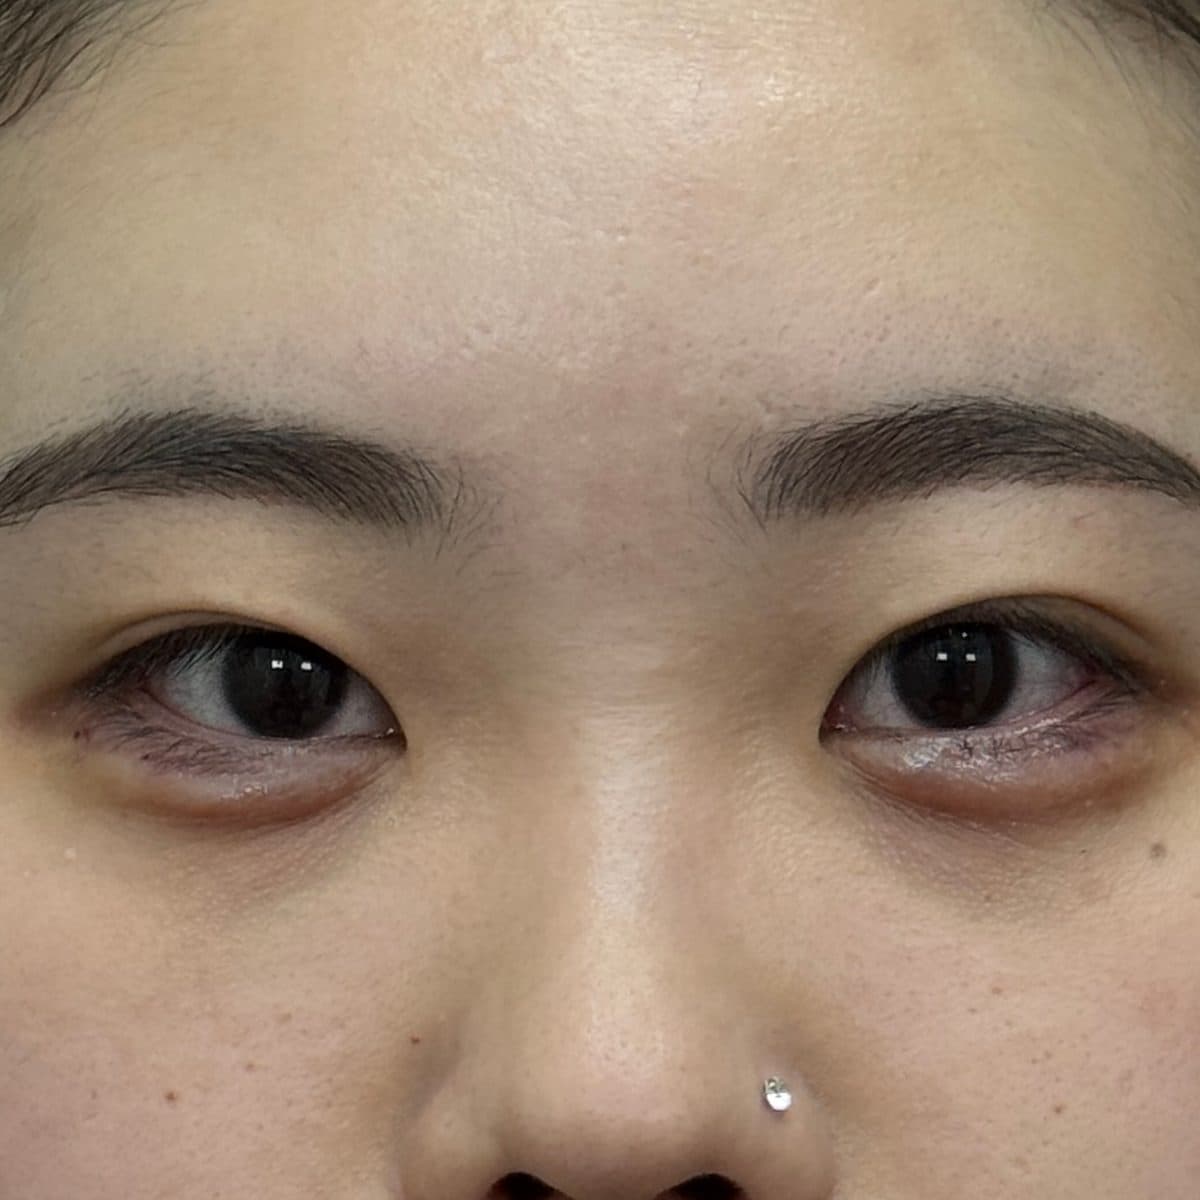 AfterAegyo-Sal FillerAegyo-Sal (Eye Smile) Filler
 Before
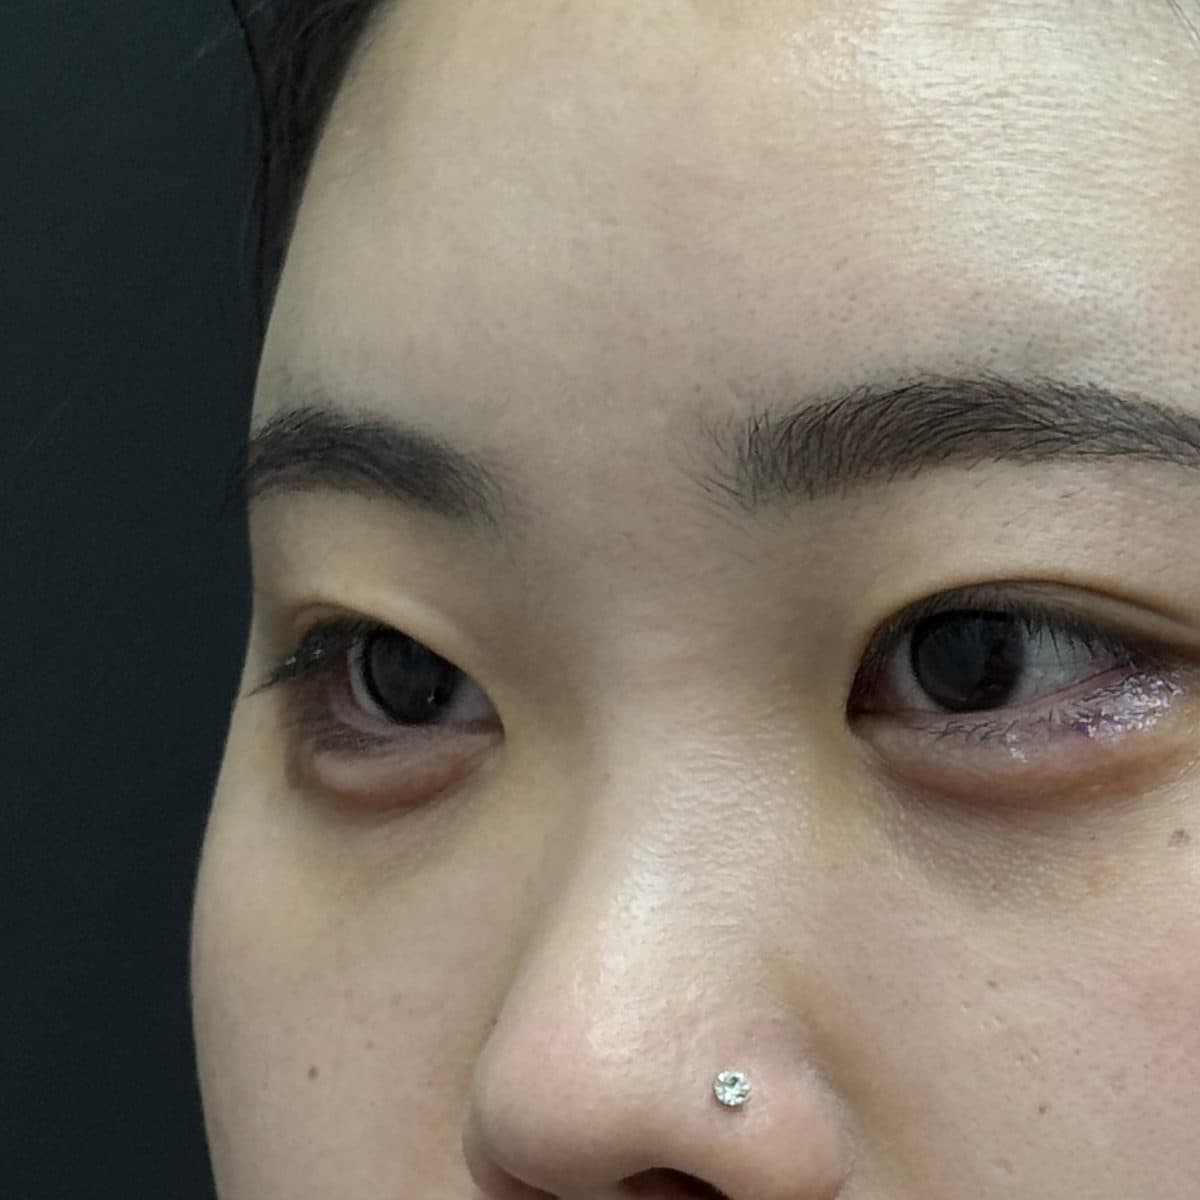 AfterAegyo-Sal FillerAegyo-Sal (Eye Smile) Filler
 Before
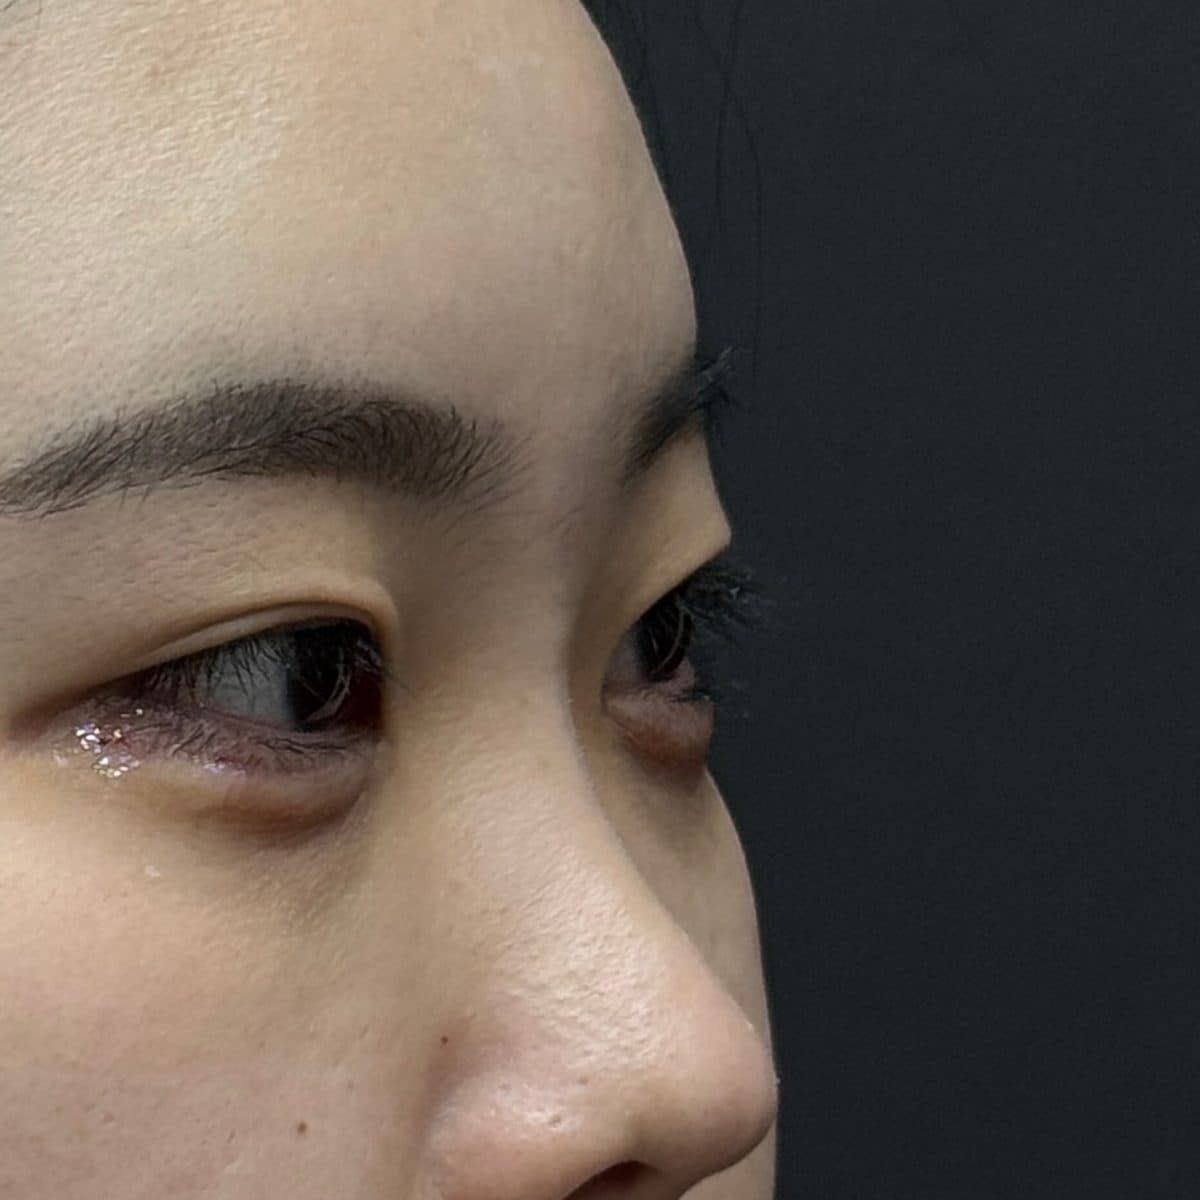 AfterAegyo-Sal FillerAegyo-Sal (Eye Smile) Filler
 Before
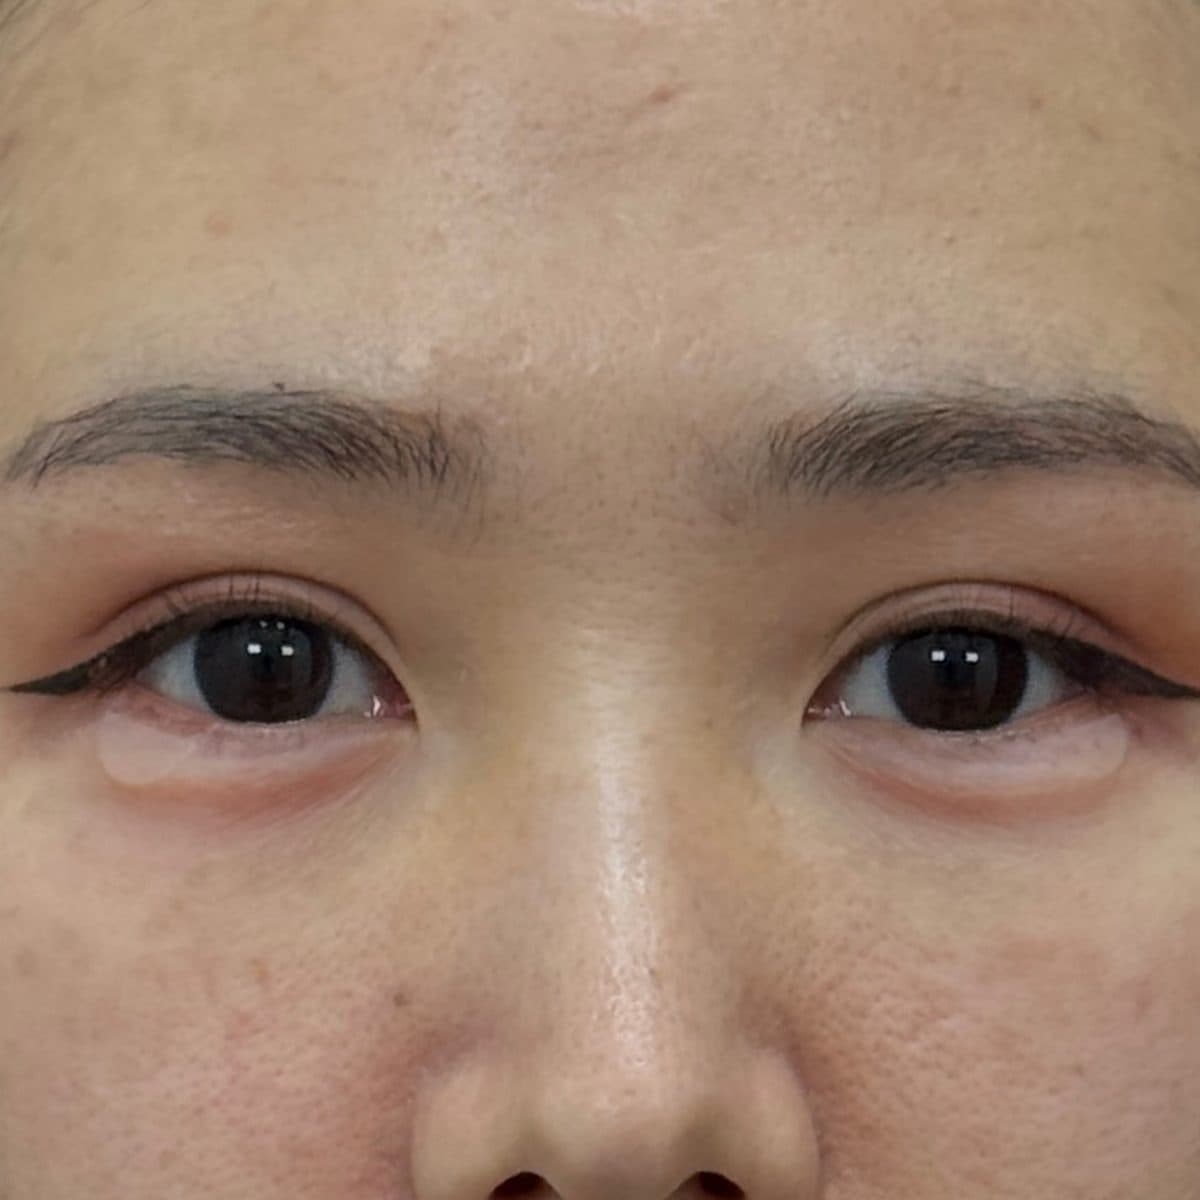 AfterAegyo-Sal FillerAegyo-Sal (Eye Smile) Filler
 Before
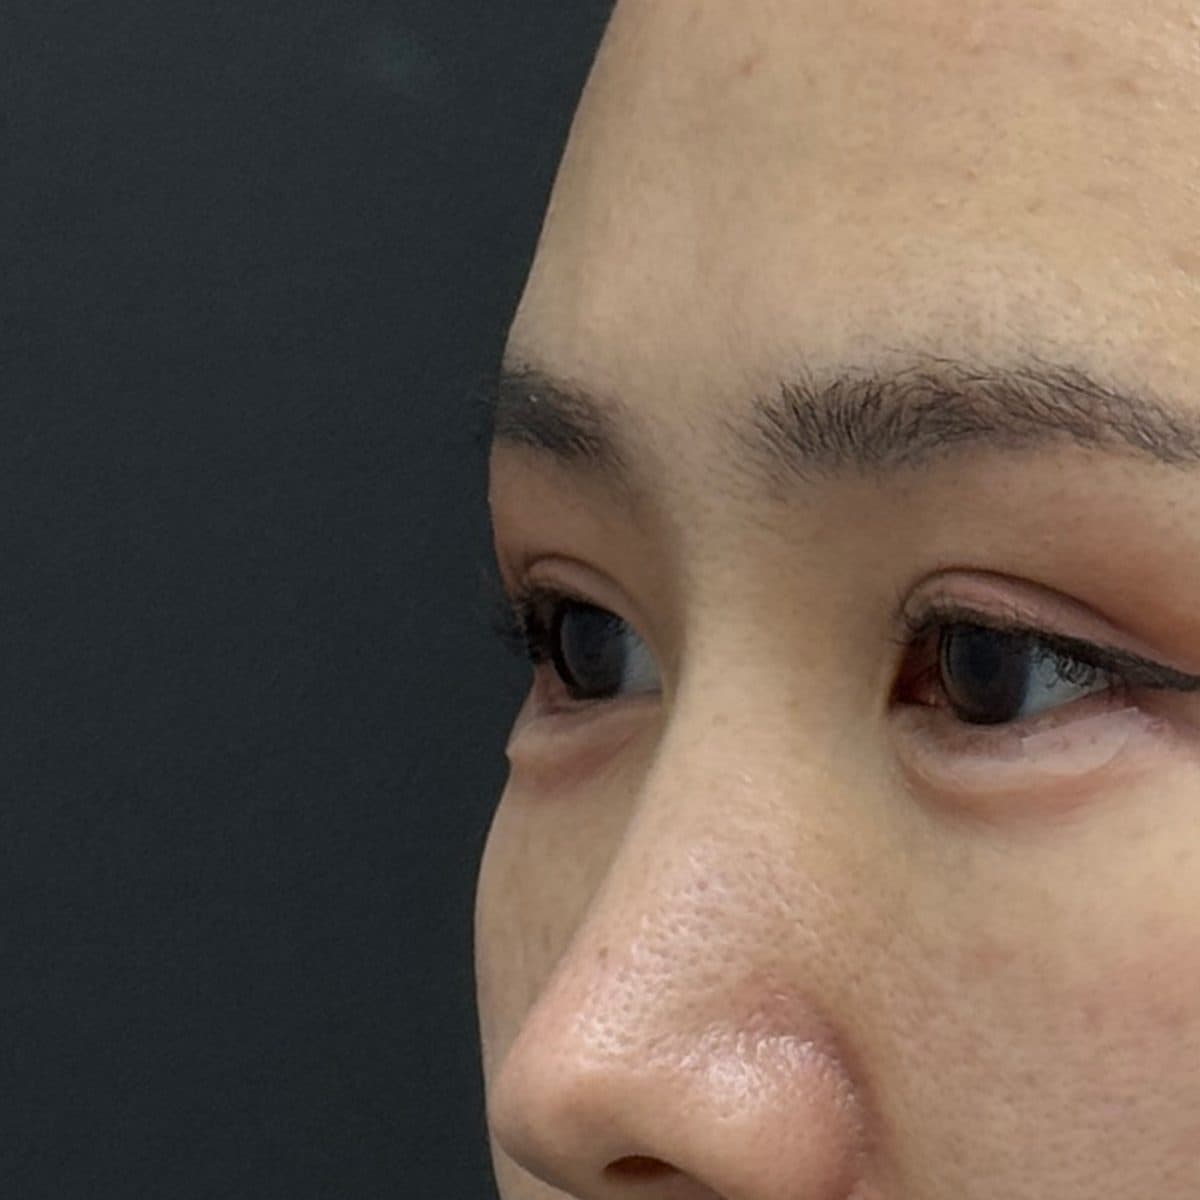 AfterAegyo-Sal FillerAegyo-Sal (Eye Smile) Filler
 Before
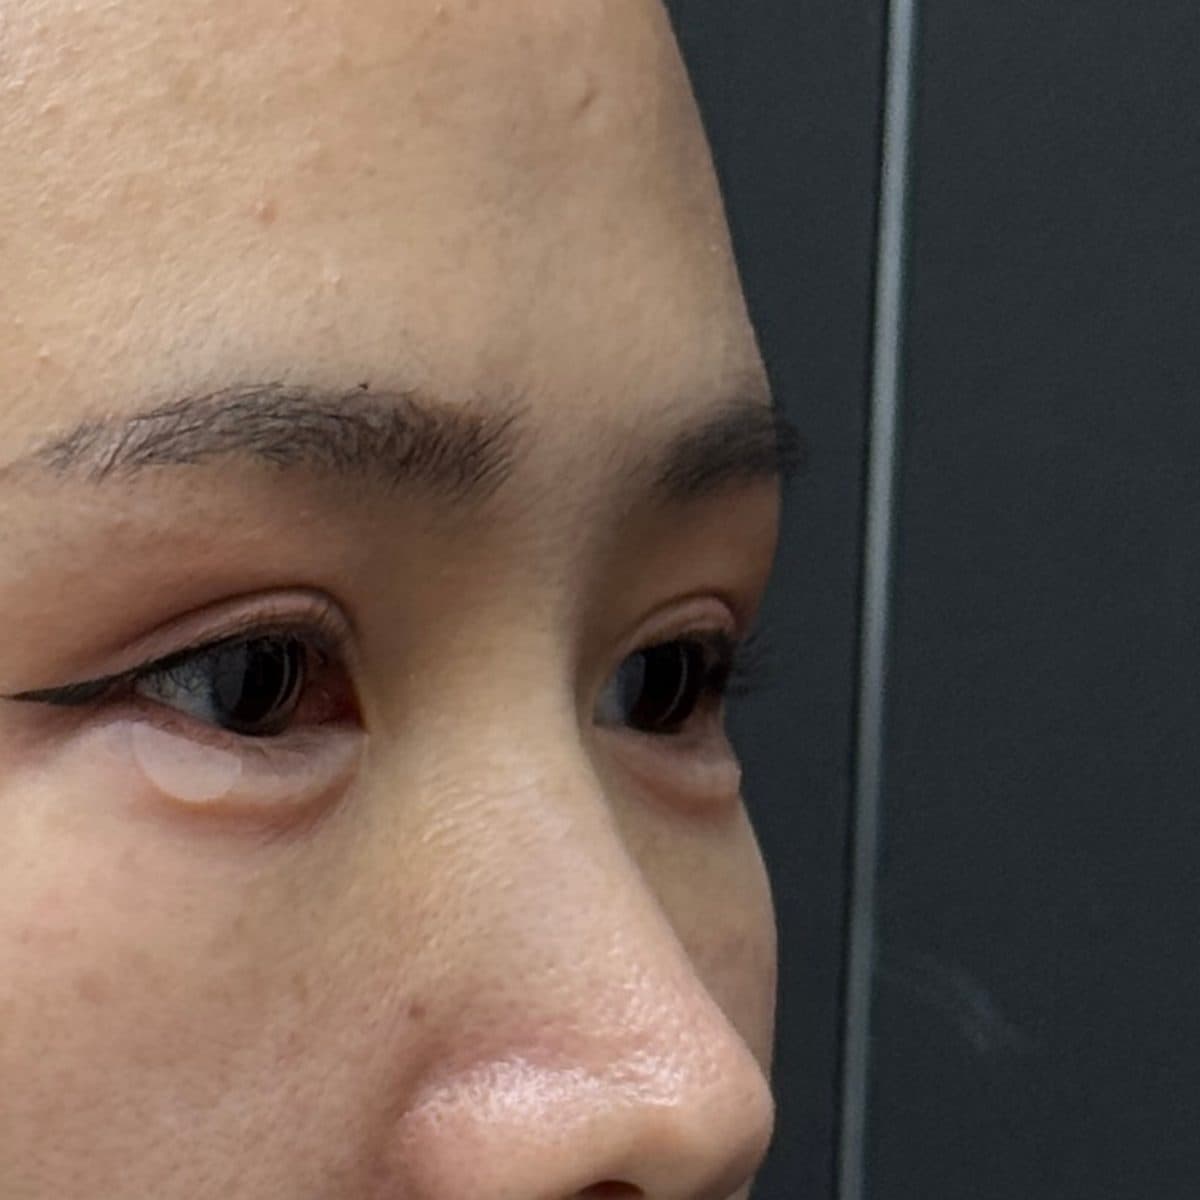 AfterAegyo-Sal FillerAegyo-Sal (Eye Smile) Filler
 Before
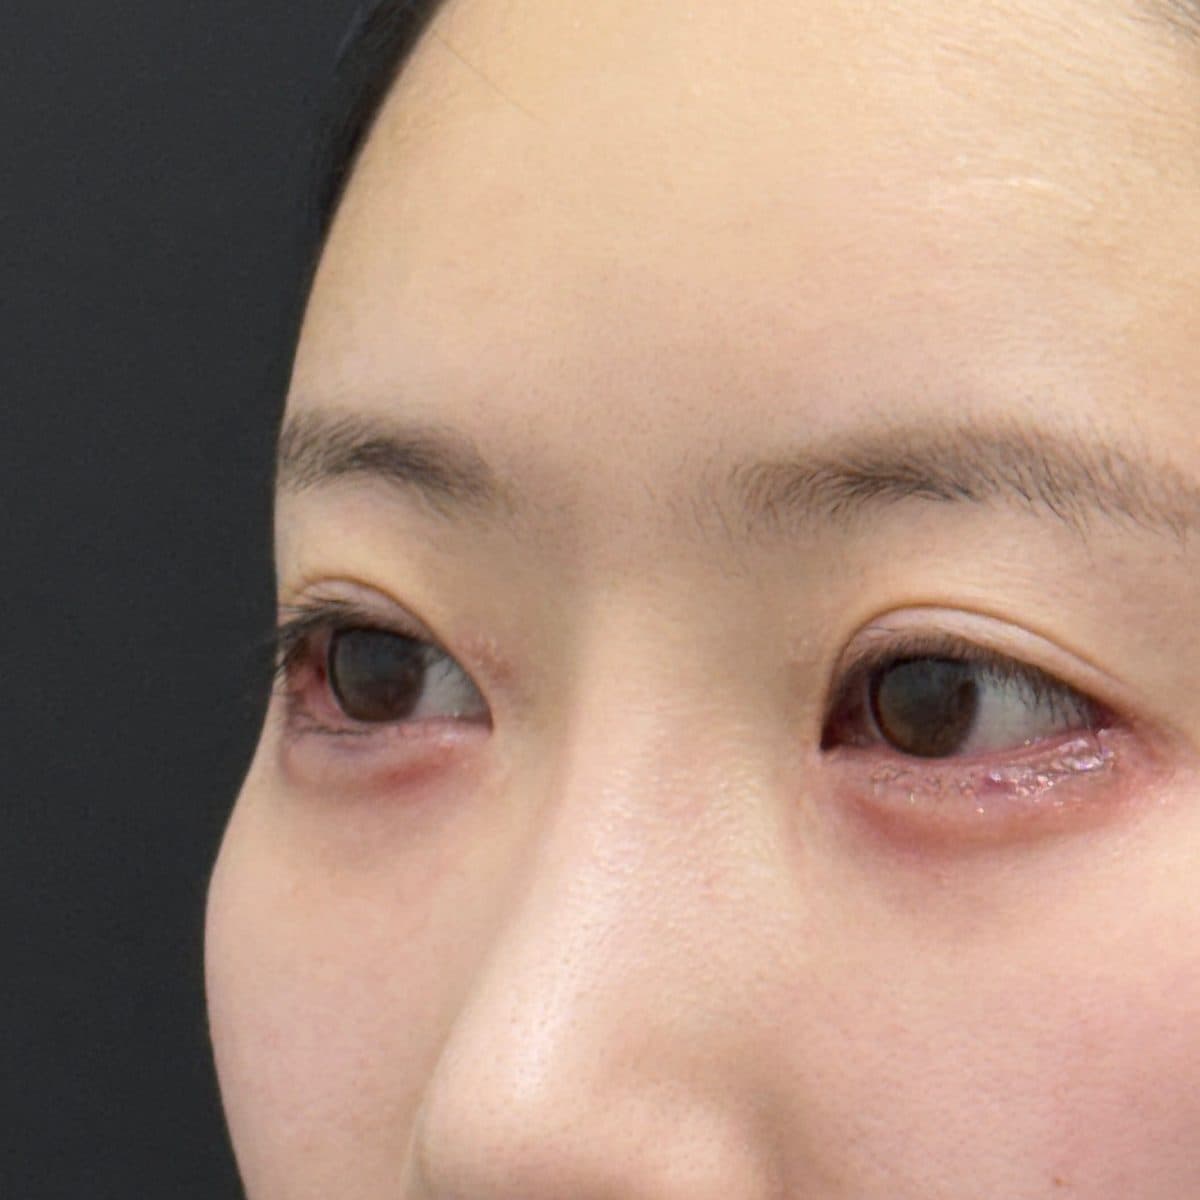 AfterAegyo-Sal FillerAegyo-Sal (Eye Smile) Filler
 Before
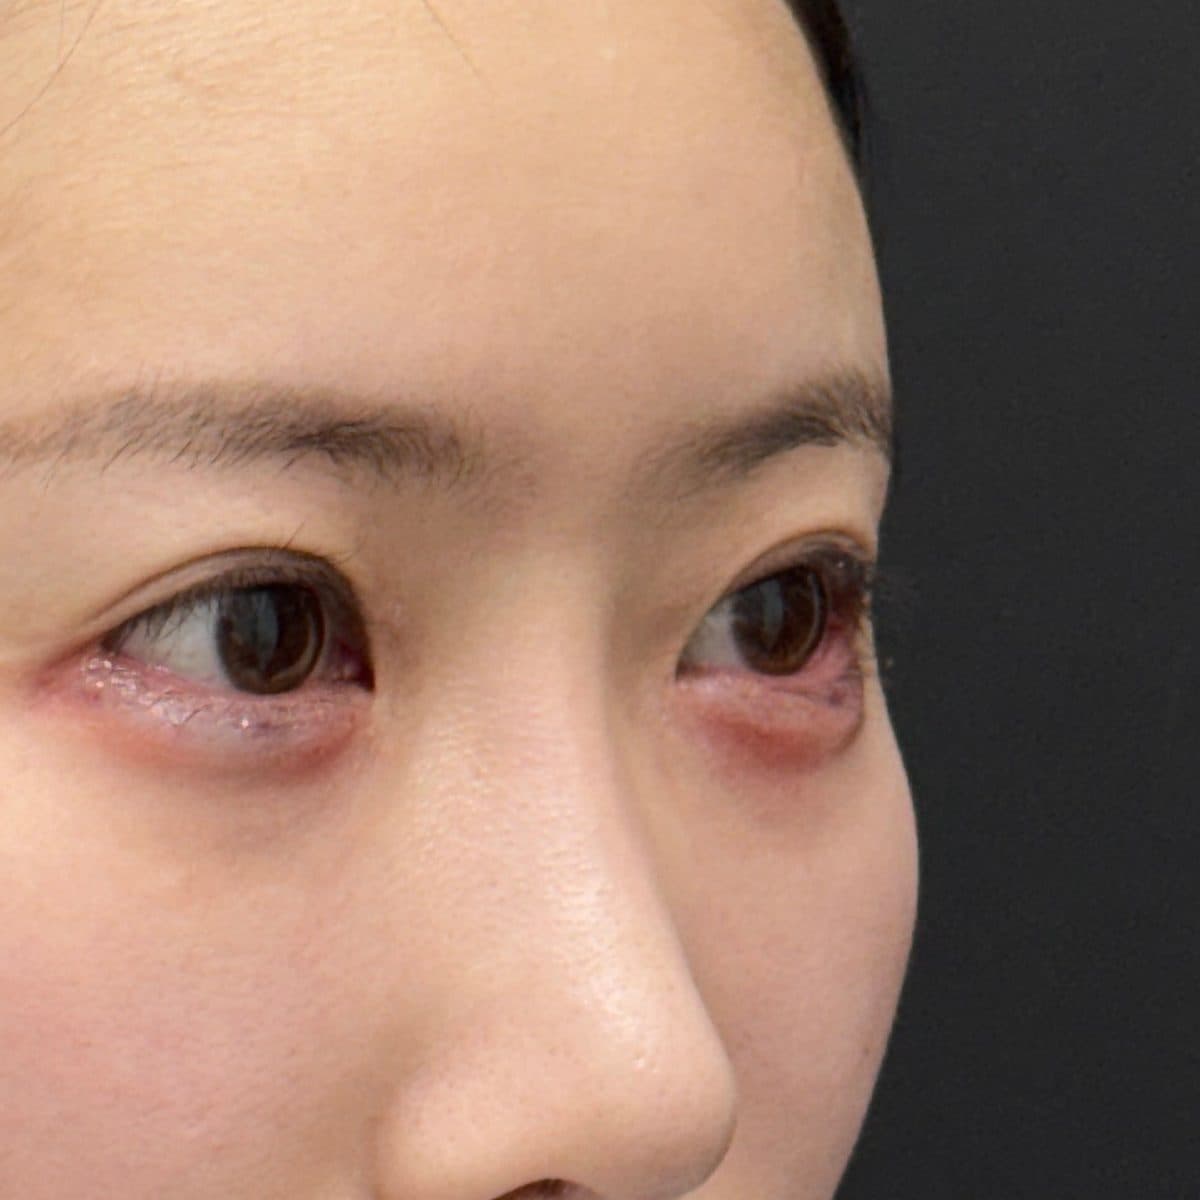 AfterAegyo-Sal FillerAegyo-Sal (Eye Smile) Filler
 Before
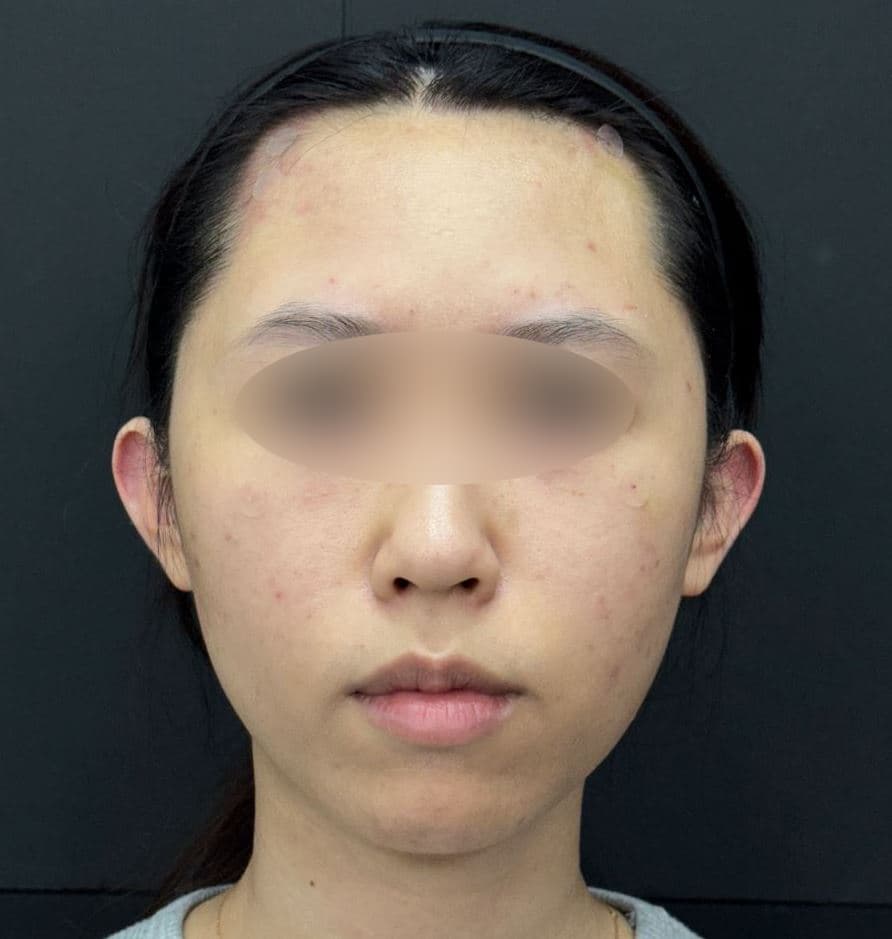 AfterEar FillerFillers
 Before
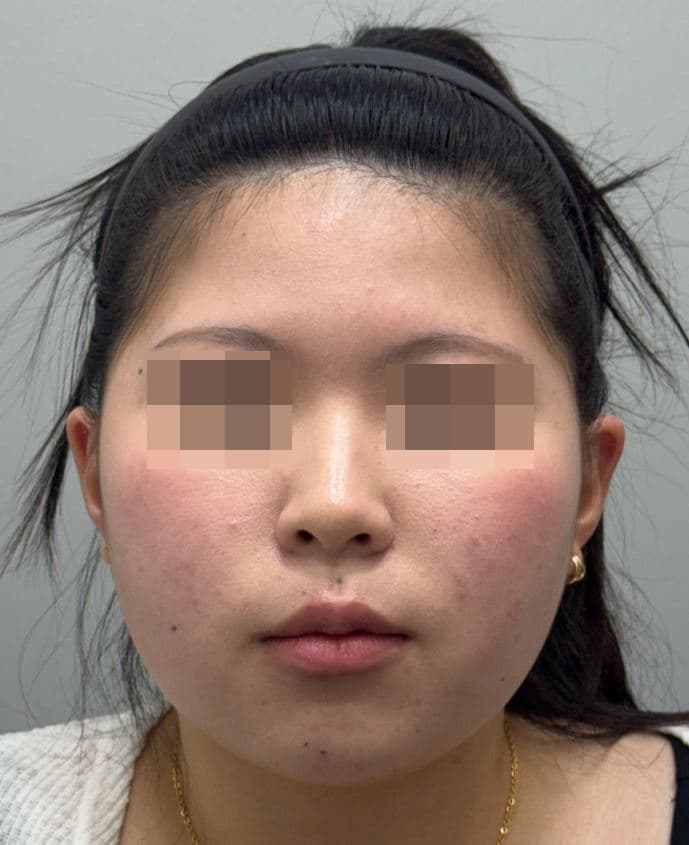 AfterEar FillerFillers
 Before
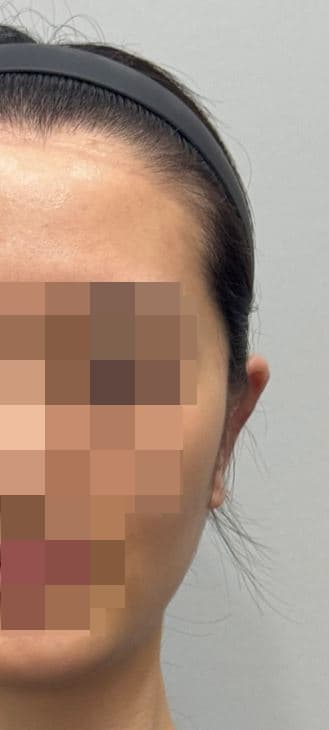 AfterEar FillerFillers
 Before
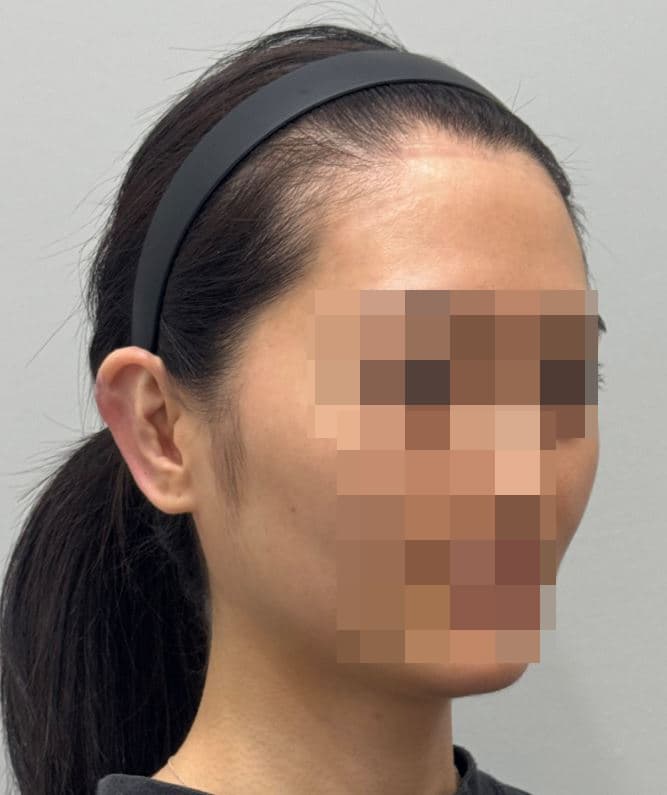 AfterEar FillerFillers
 Before
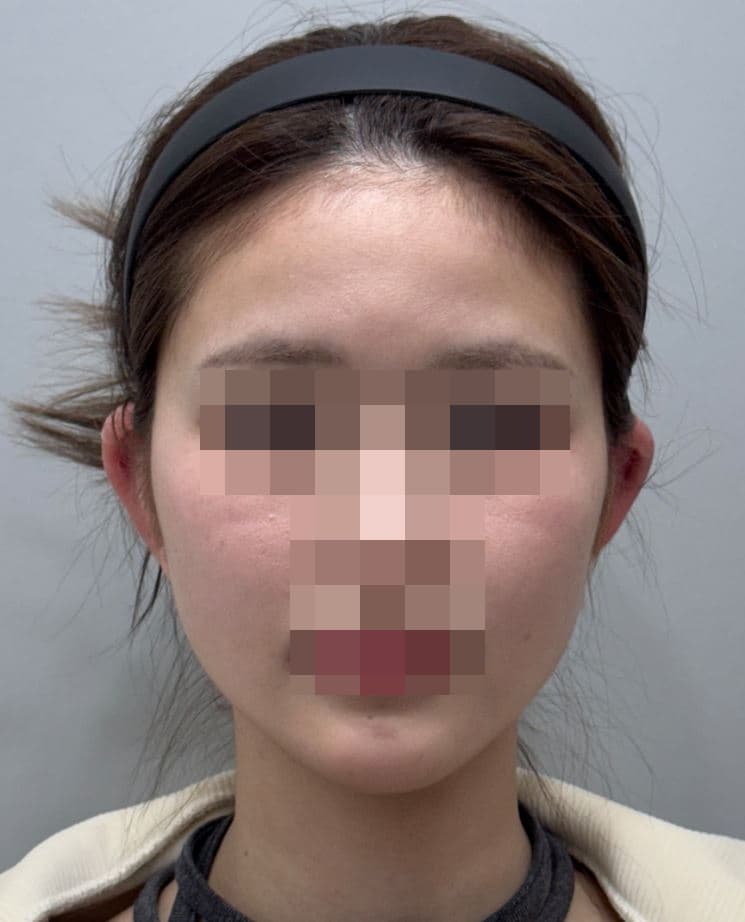 AfterEar FillerFillers
 Before
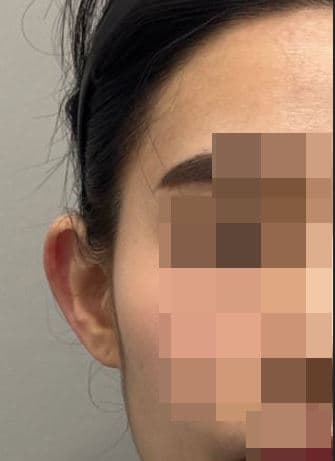 AfterEar FillerFillers
 Before
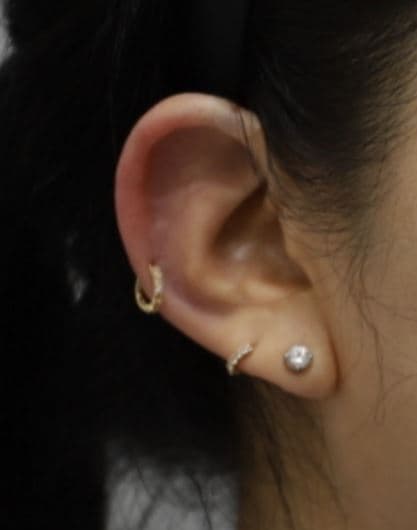 AfterEar FillerFillers
 Before
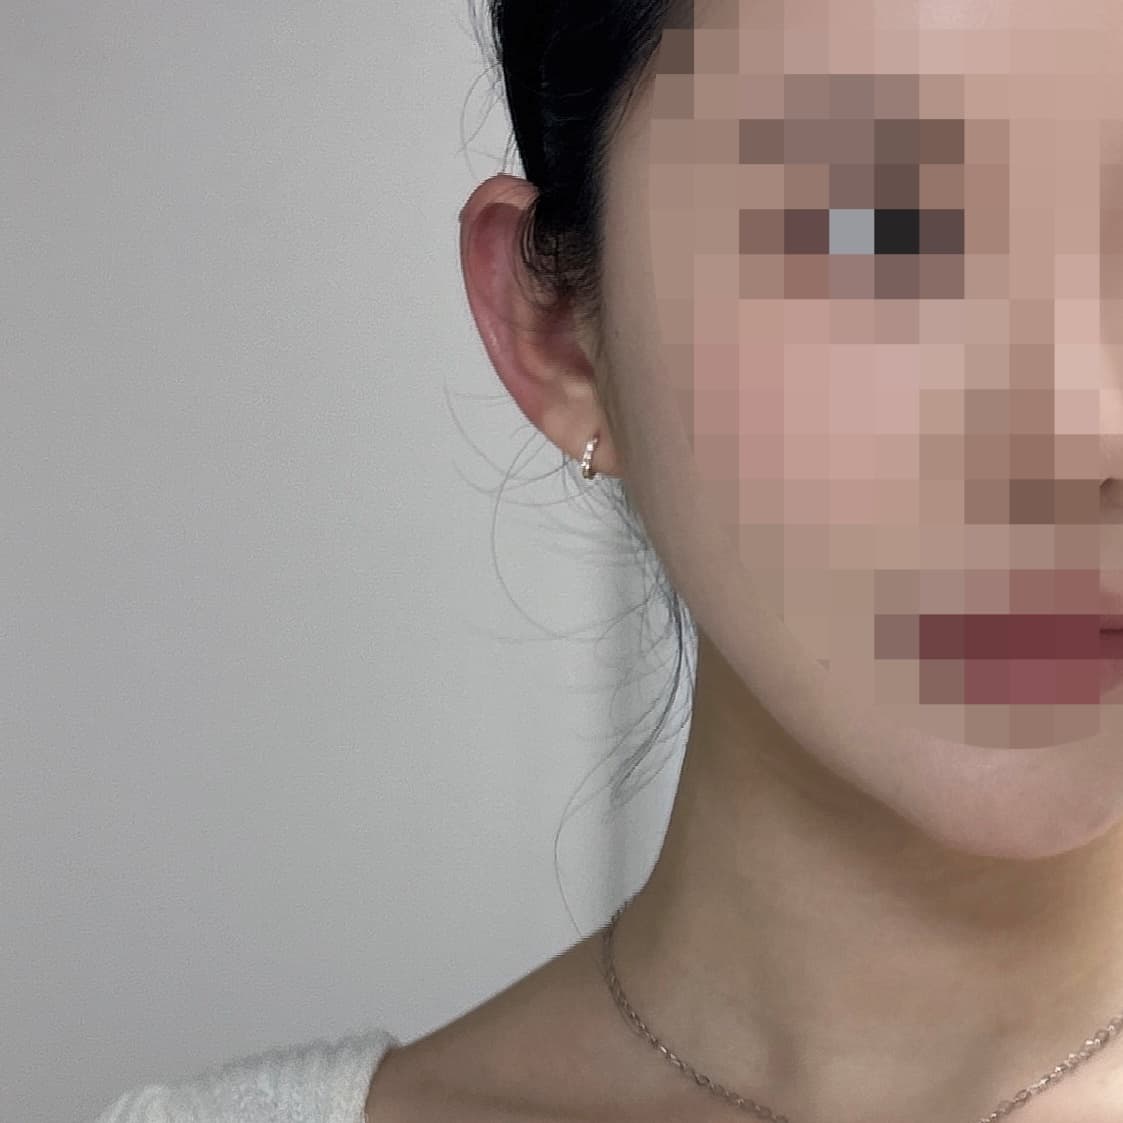 AfterEar FillerFillers
 Before
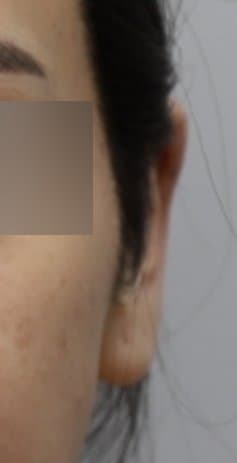 AfterEar FillerFillers
 Before
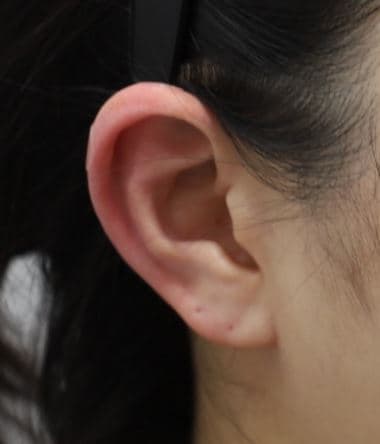 AfterEar FillerFillers
 Before
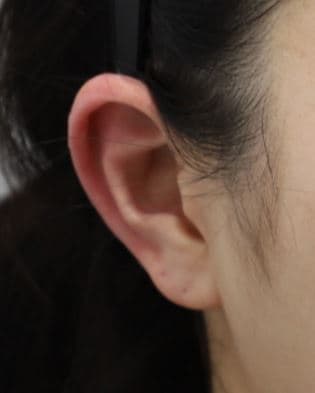 AfterEar FillerFillers
 Before
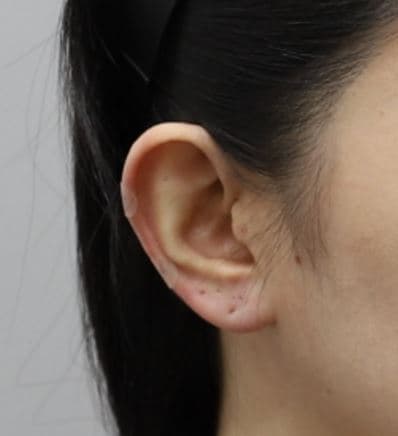 AfterEar FillerFillers
 Before
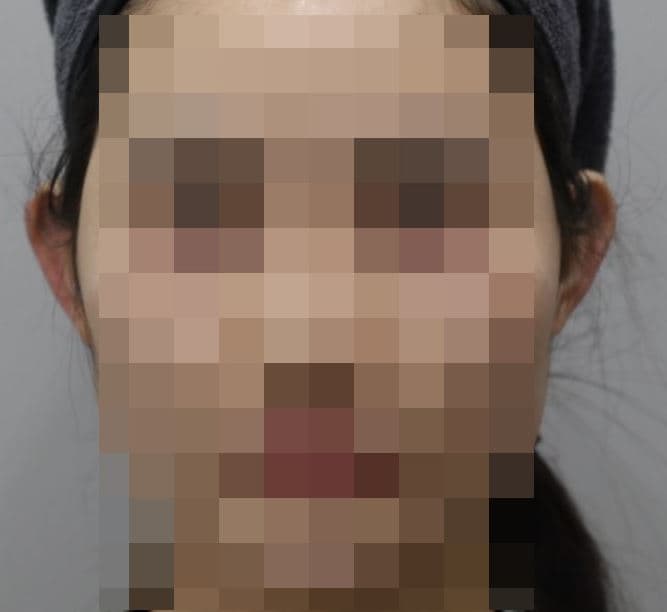 AfterEar FillerFillers
 Before
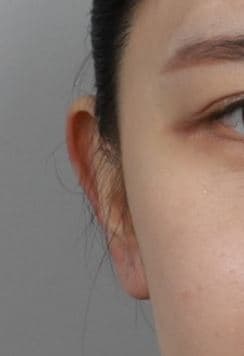 AfterEar FillerFillers
 Before
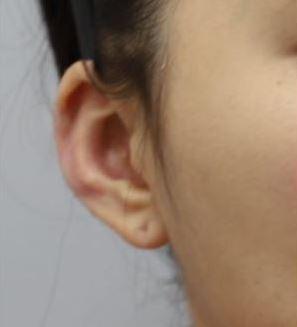 AfterEar FillerFillers
 Before
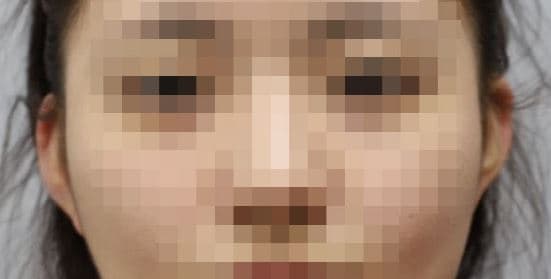 AfterEar FillerFillers
 Before
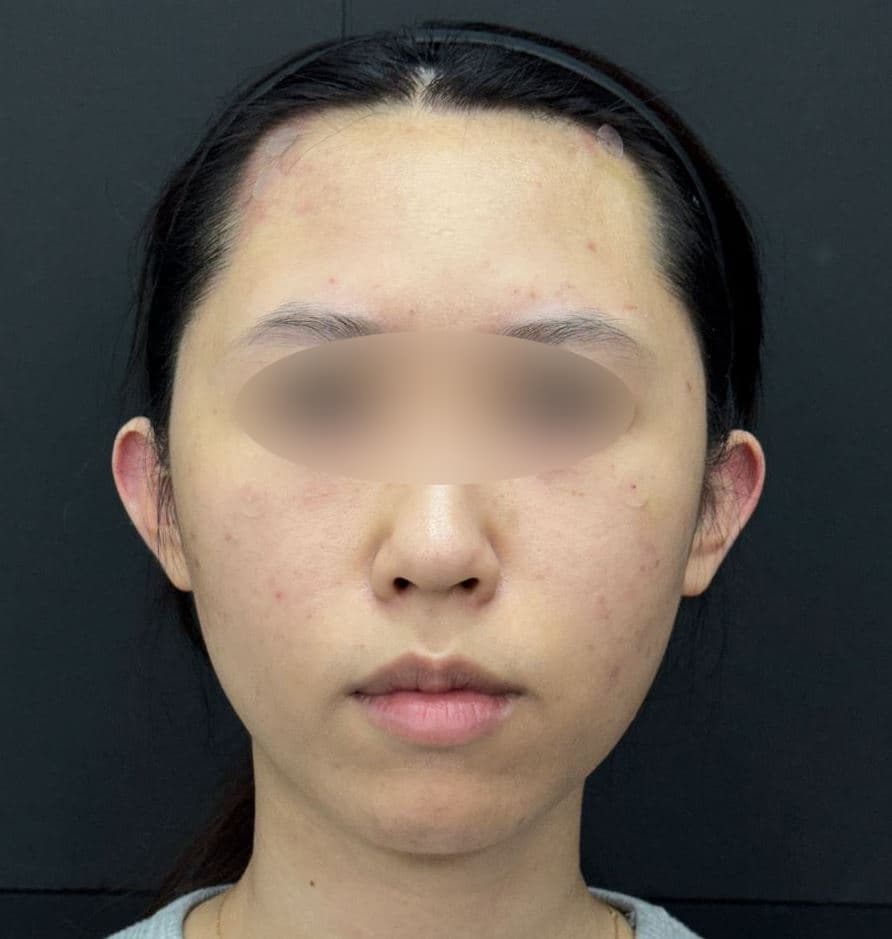 AfterEar FillerFillers
 Before
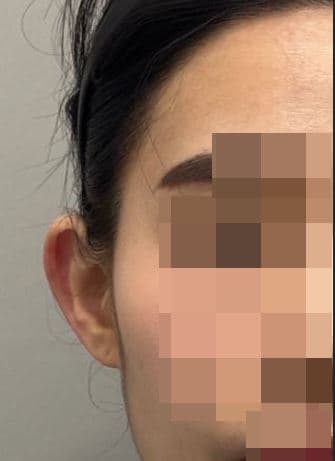 AfterEar FillerFillers
 Before
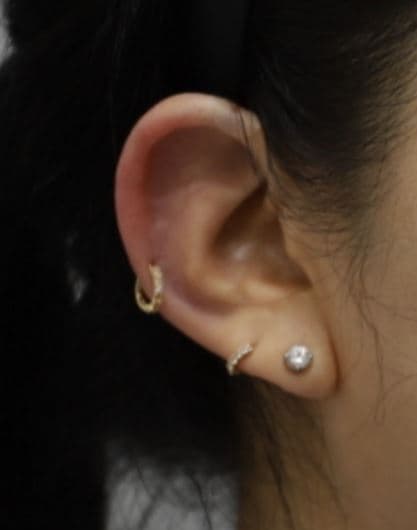 AfterEar FillerFillers
 Before
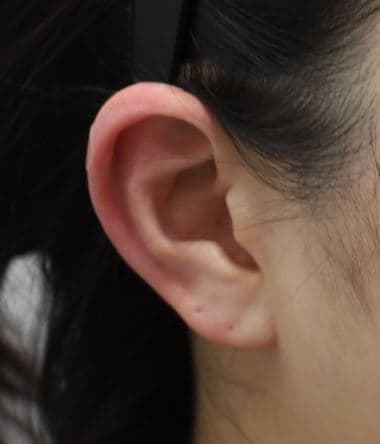 AfterEar FillerFillers
 Before
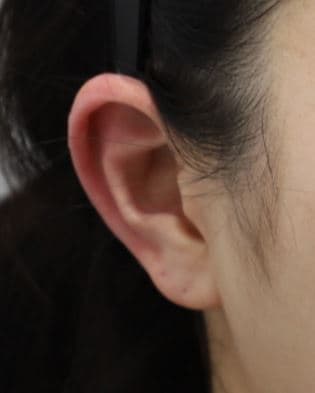 AfterEar FillerFillers
 Before
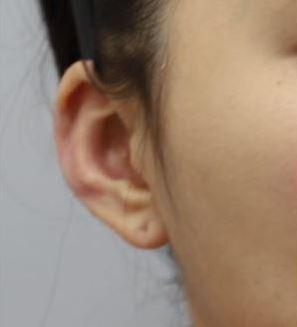 AfterEar FillerFillers
 Before
 AfterEar FillerFillers
 Before
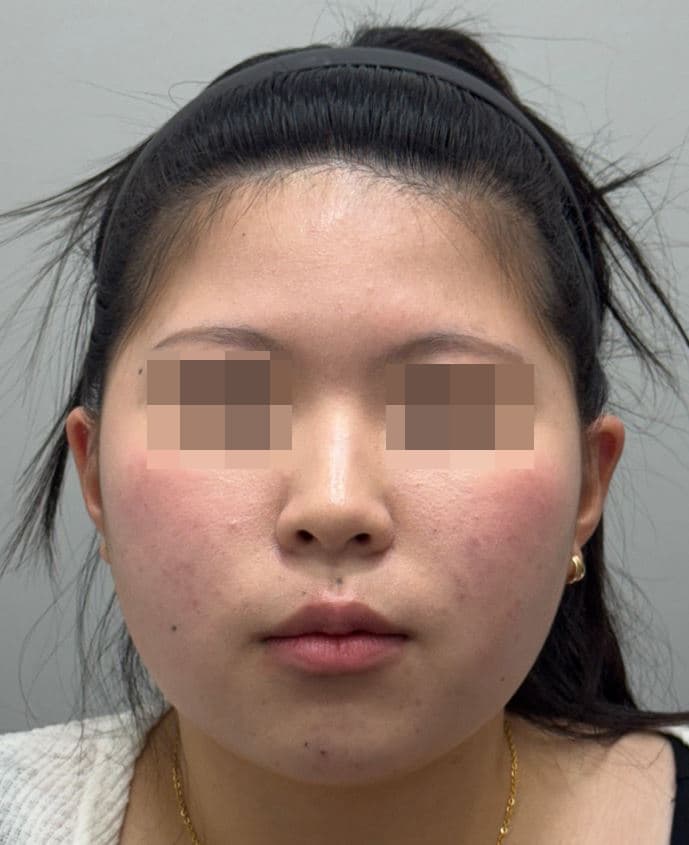 AfterEar FillerFillers
 Before
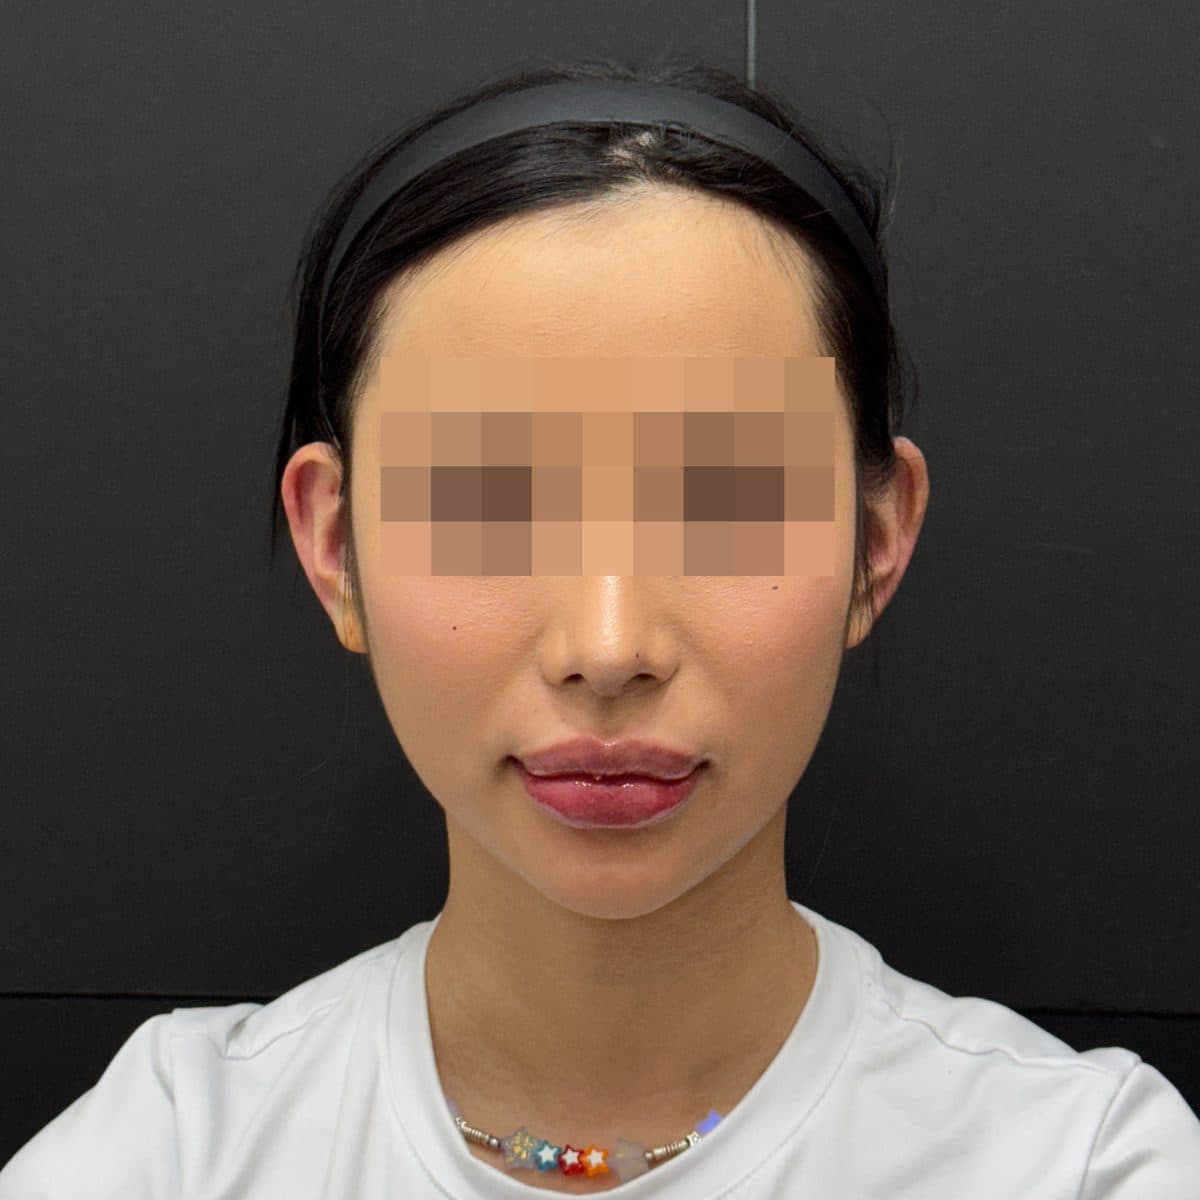 AfterEar FillerFillers
 Before
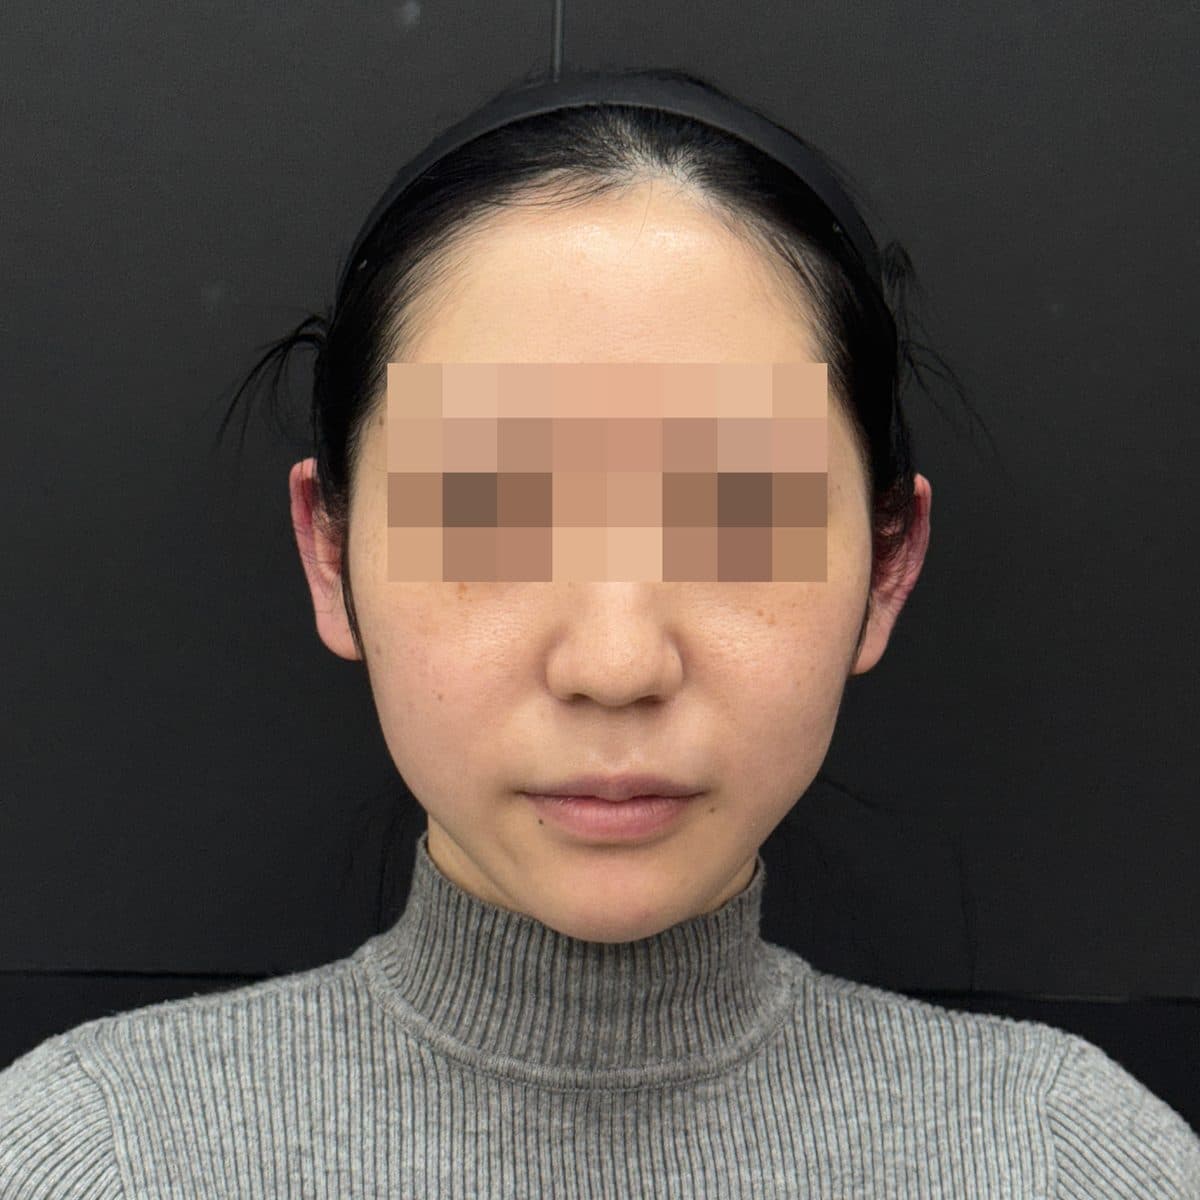 AfterEar FillerFillers
 Before
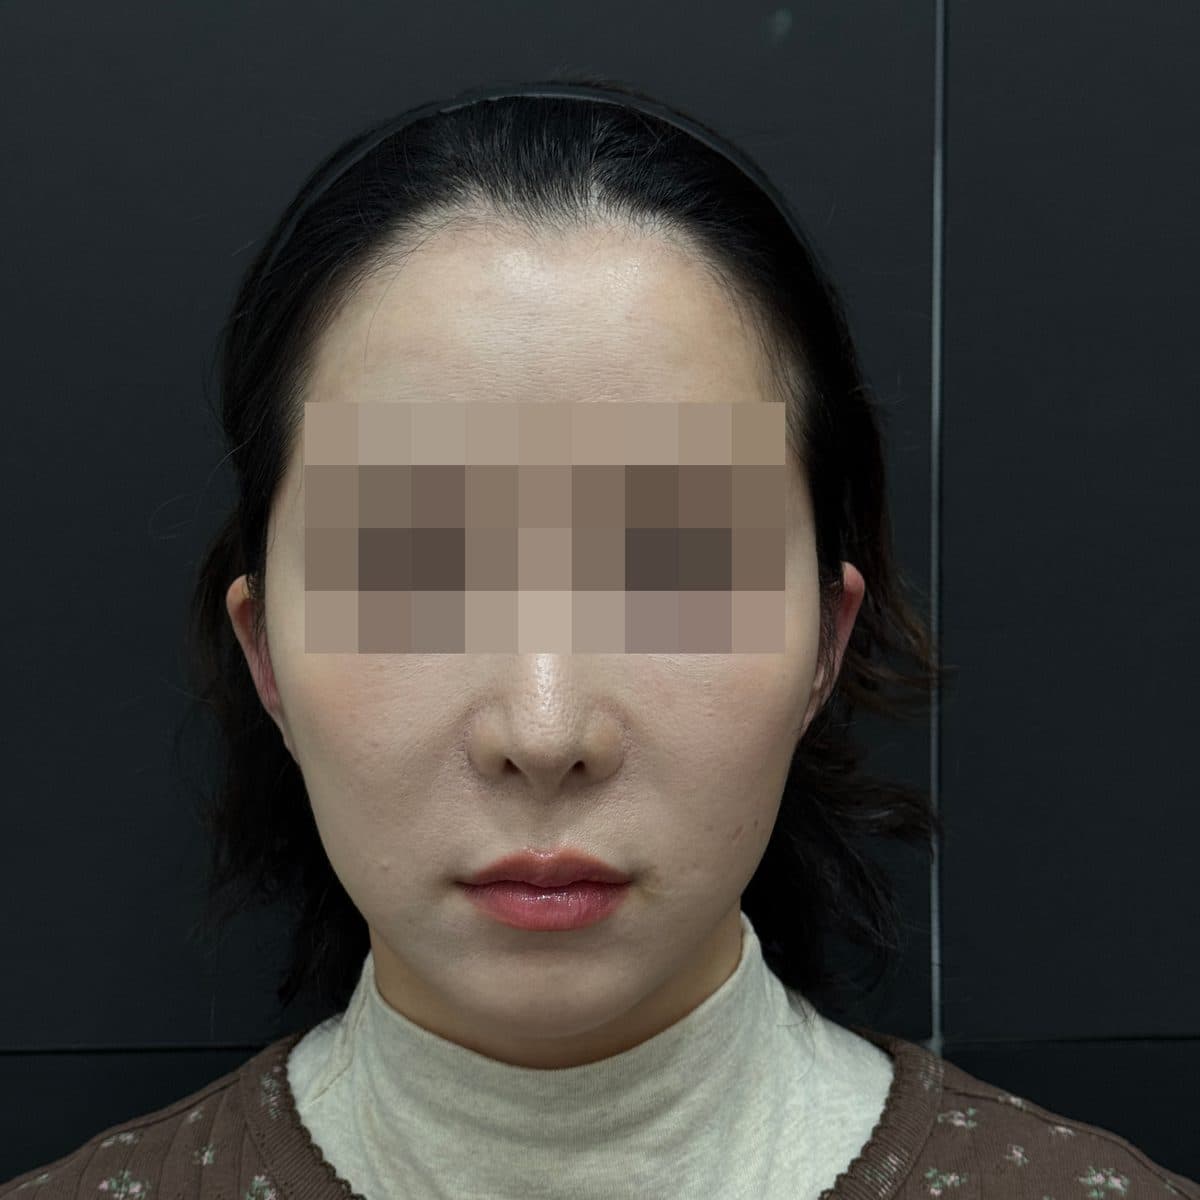 AfterEar FillerFillers
 Before
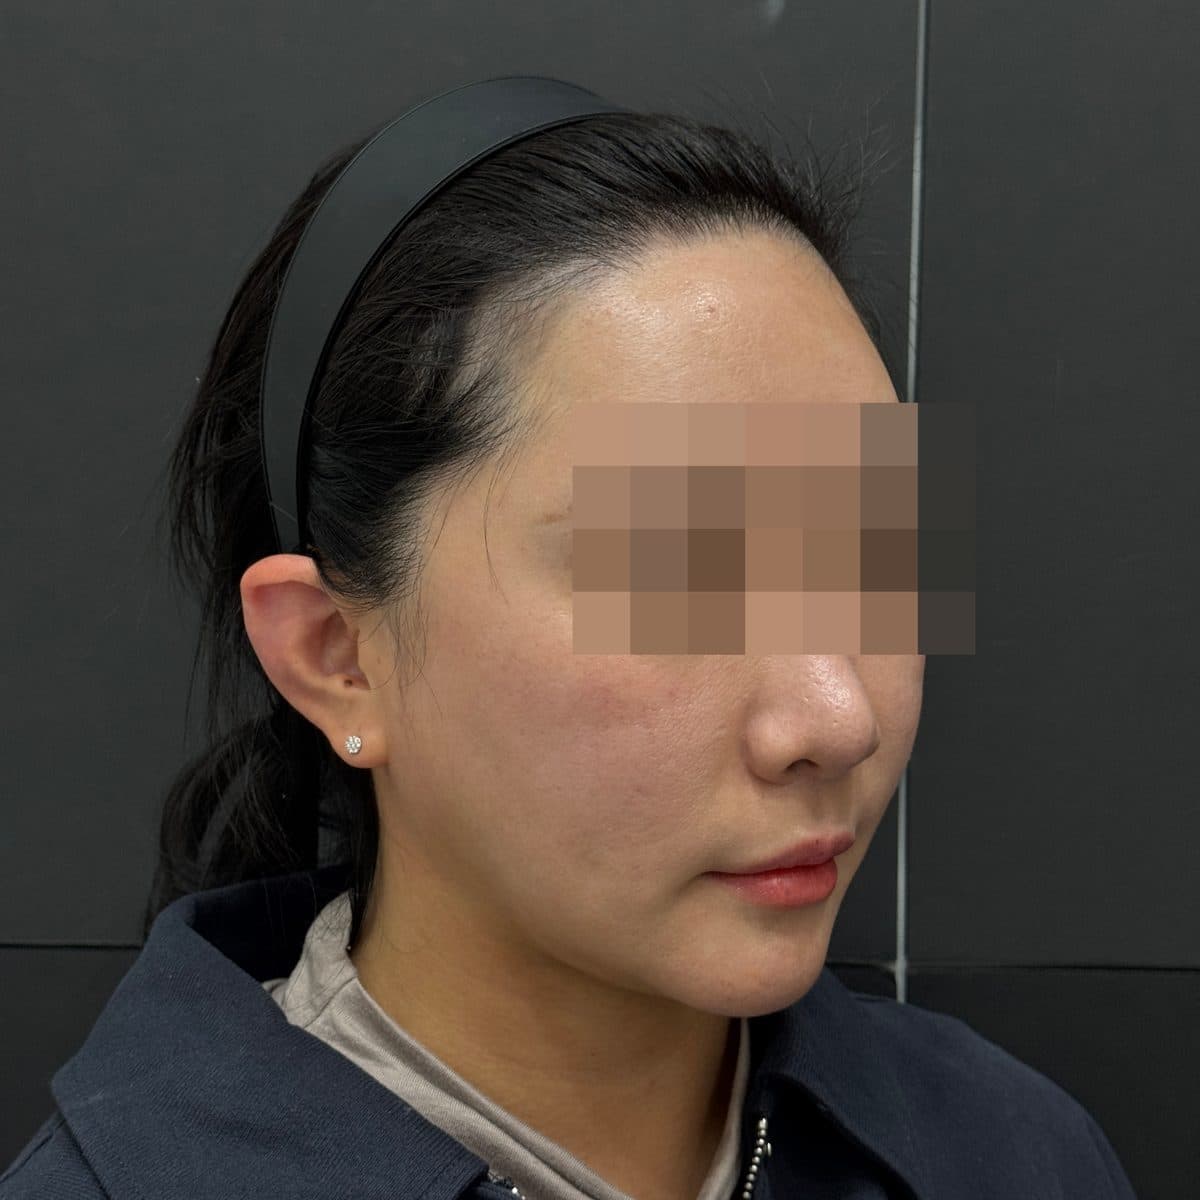 AfterEar FillerFillers
 Before
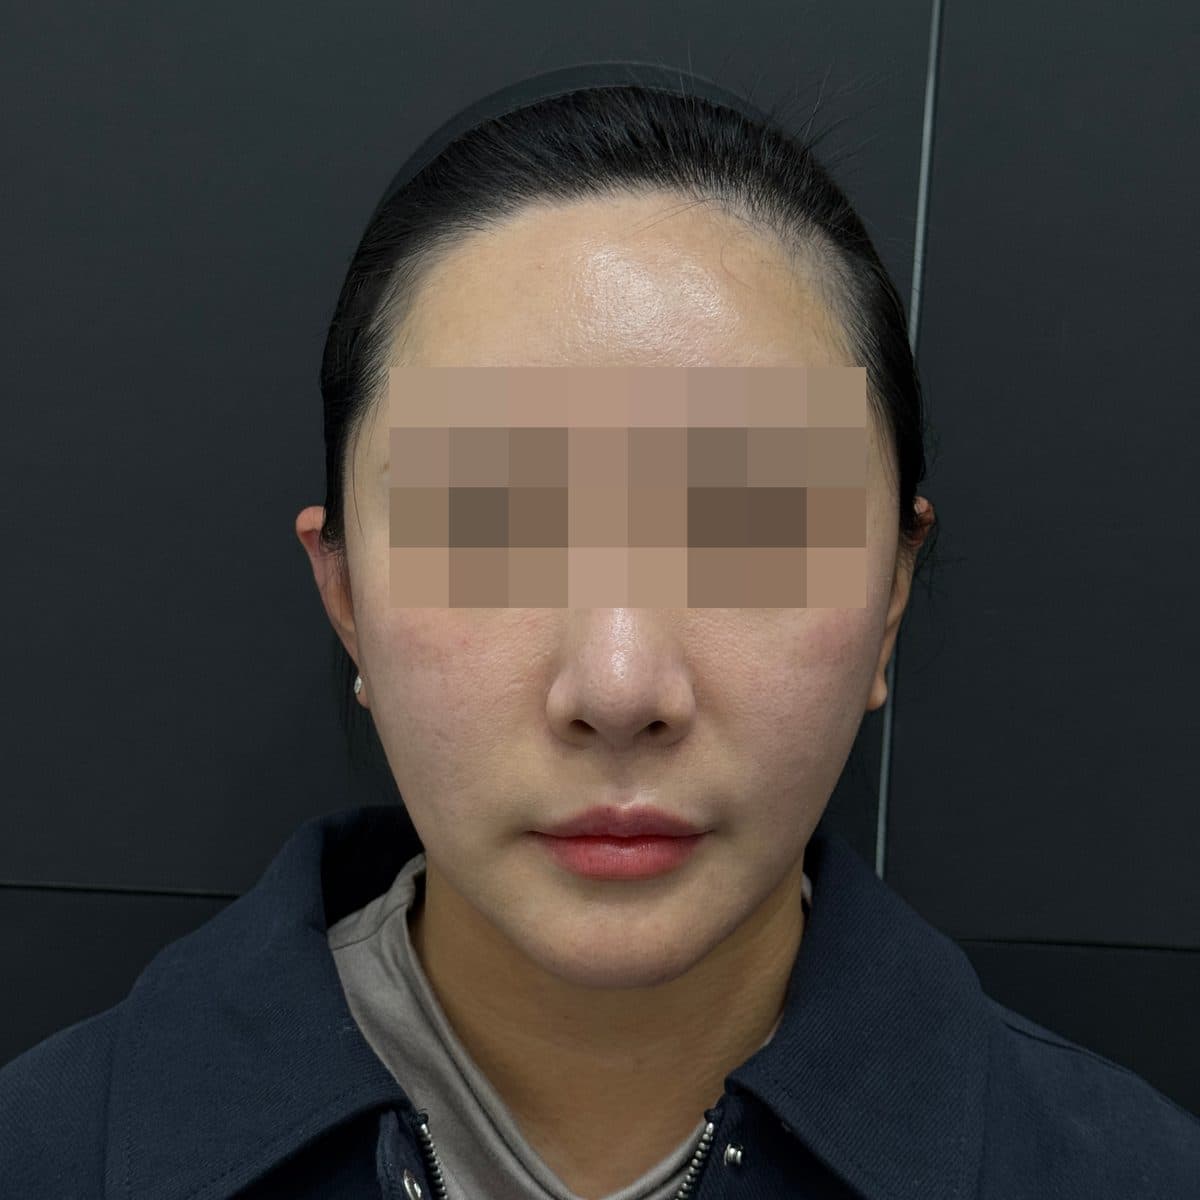 AfterEar FillerFillers
 Before
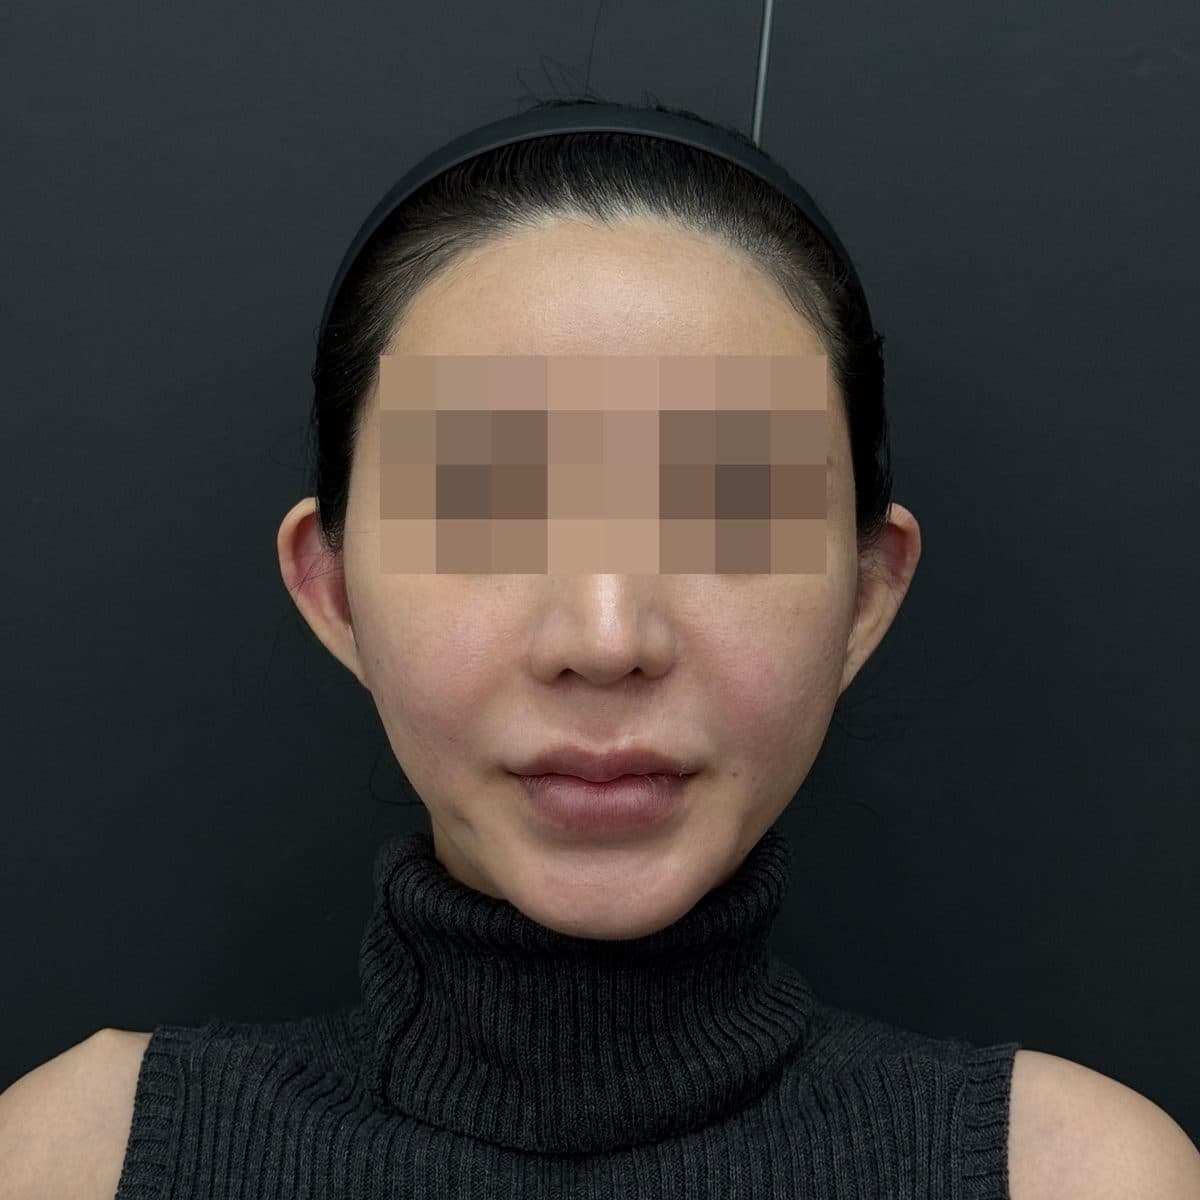 AfterEar FillerFillers
 Before
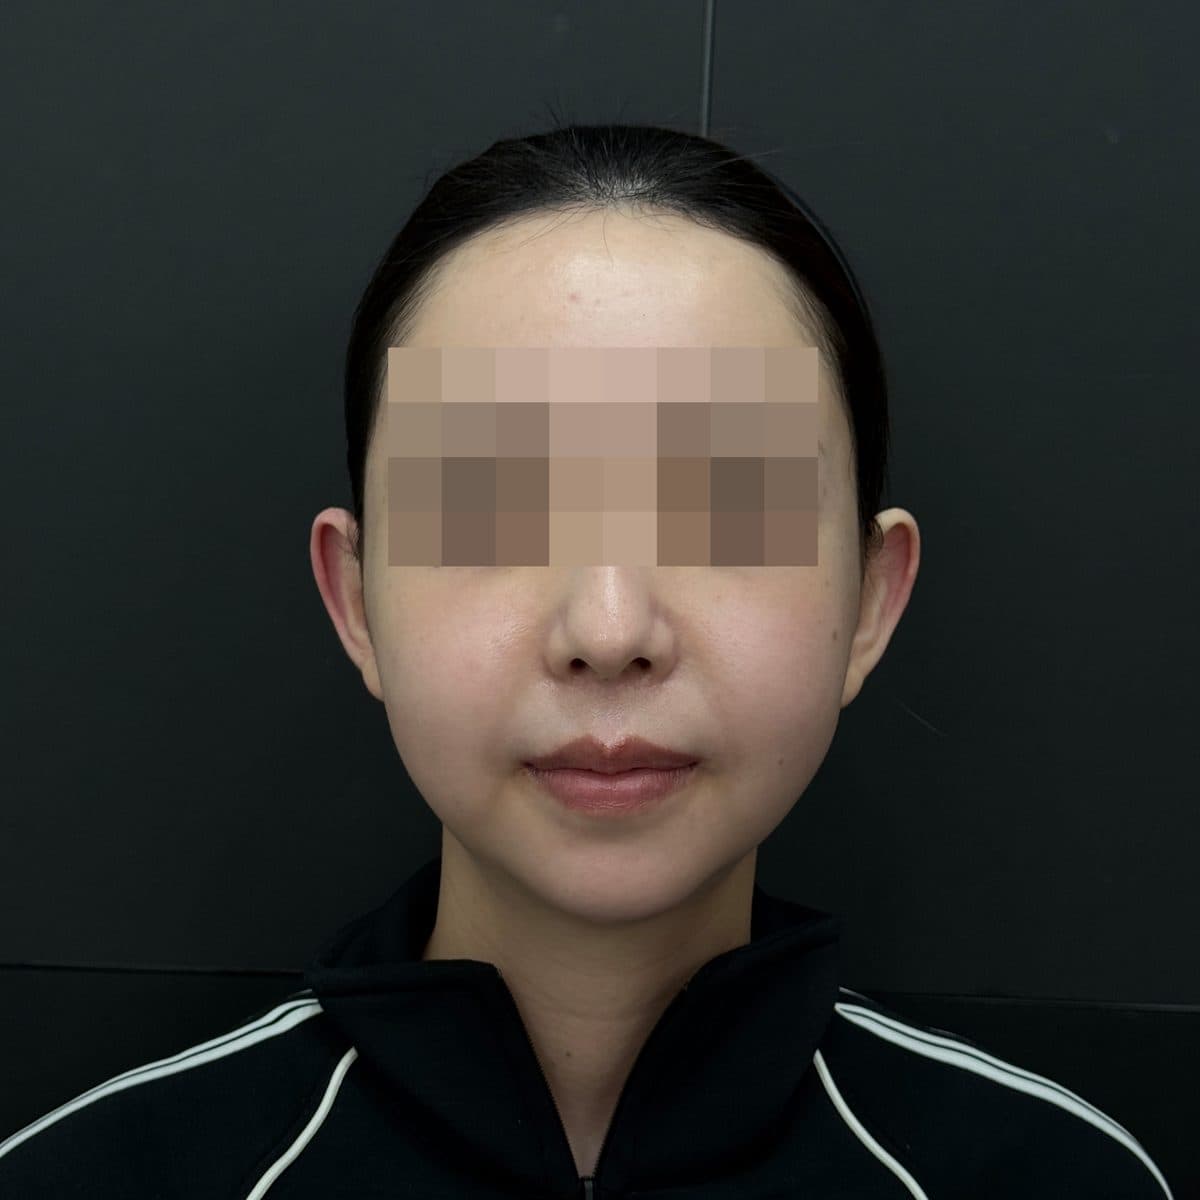 AfterEar FillerFillers
 Before
 AfterEar FillerFillers
 Before
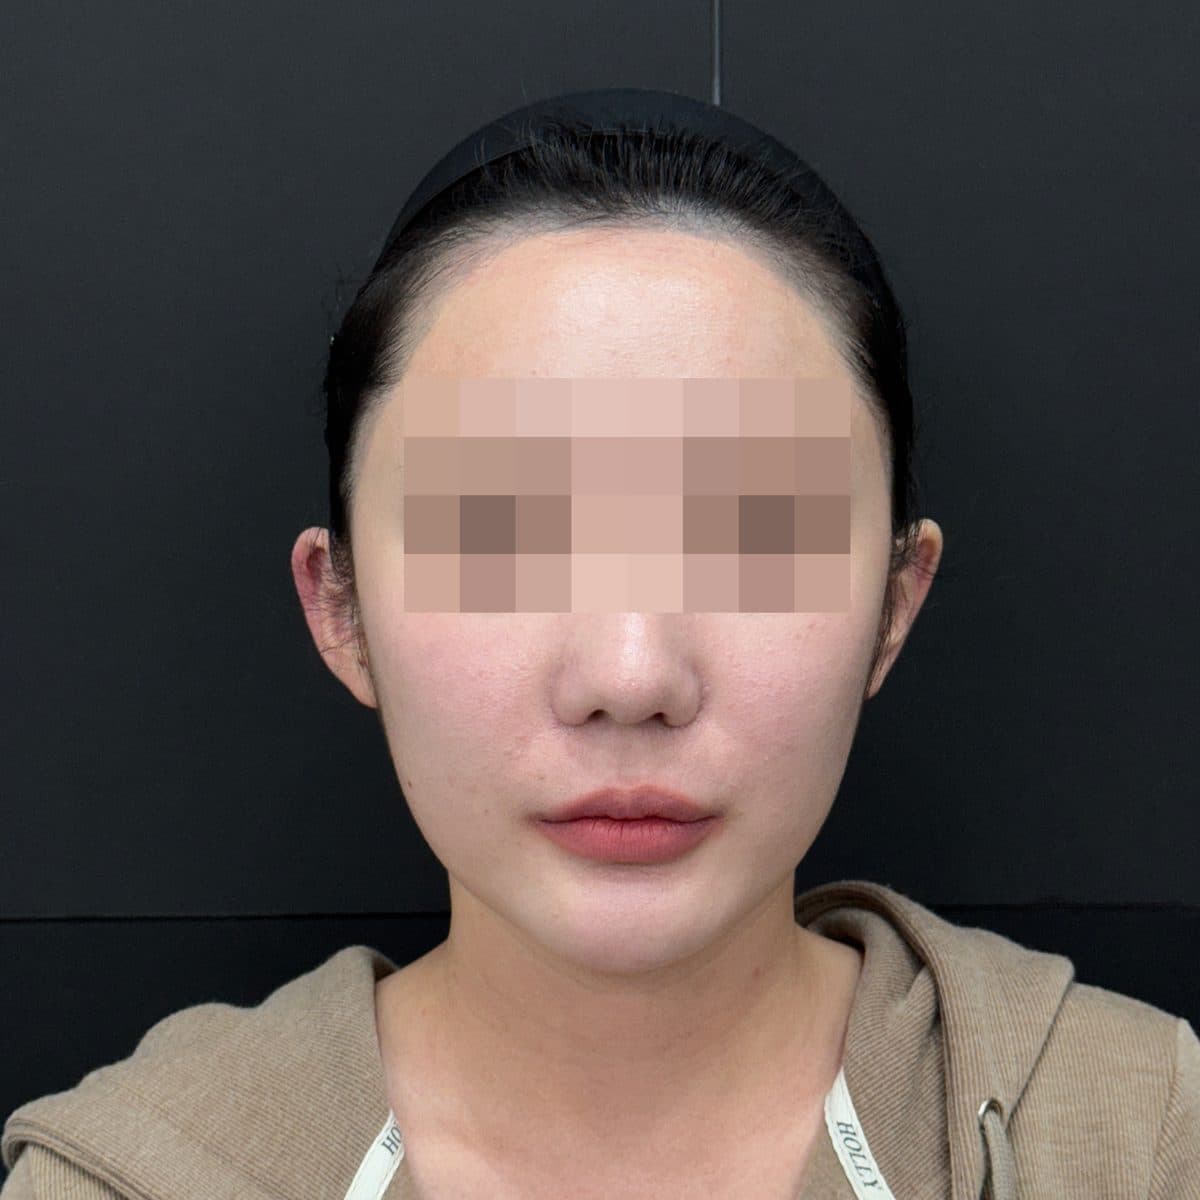 AfterEar FillerFillers
 Before
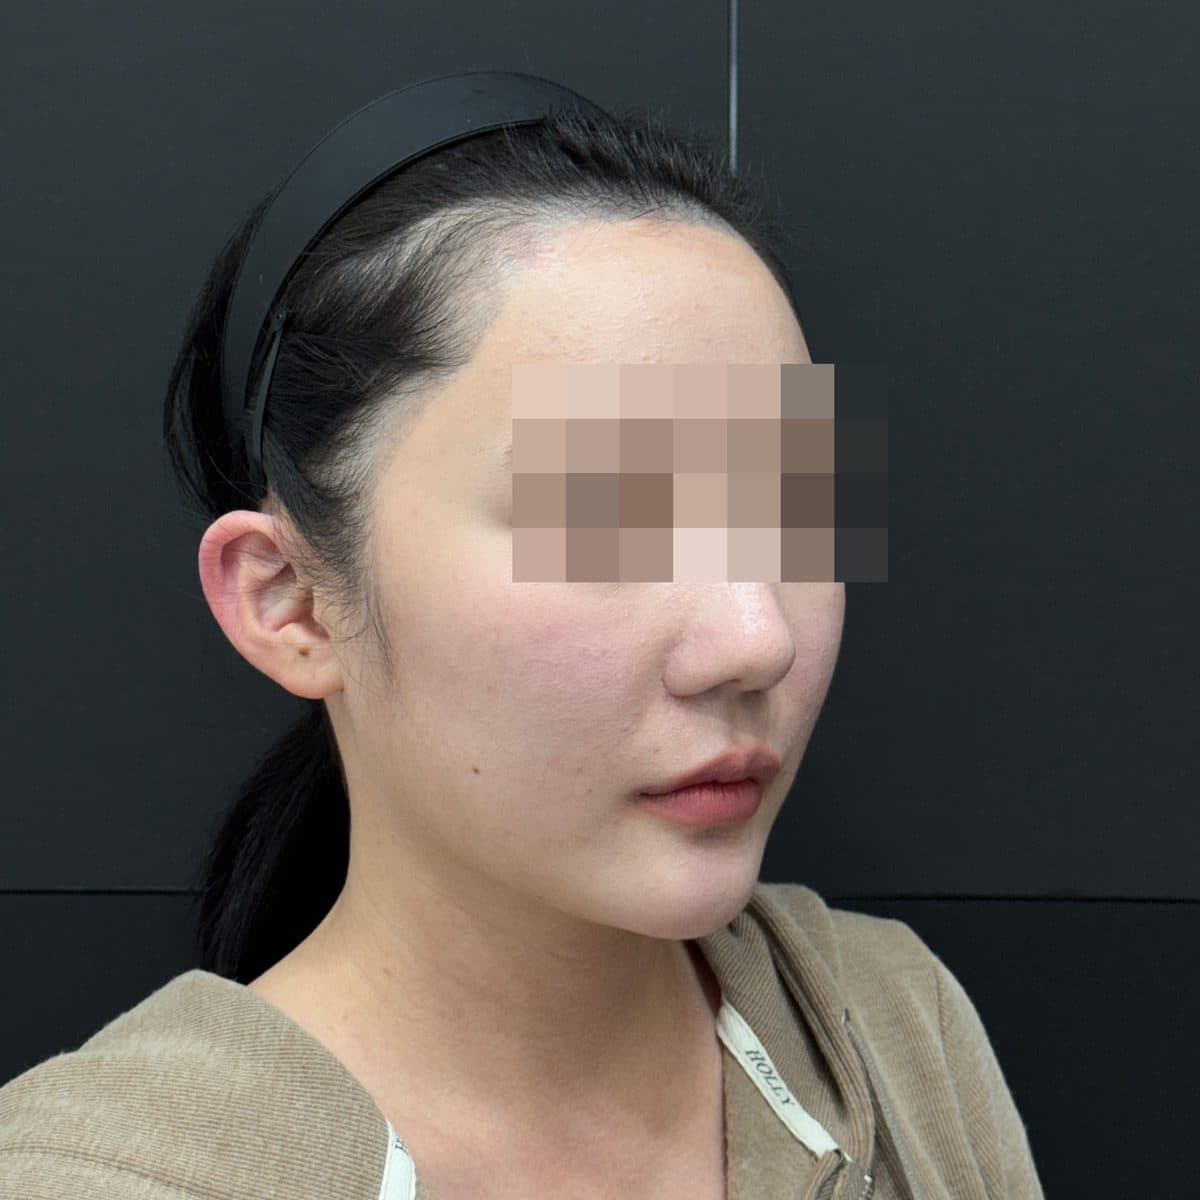 AfterEar FillerFillers
 Before
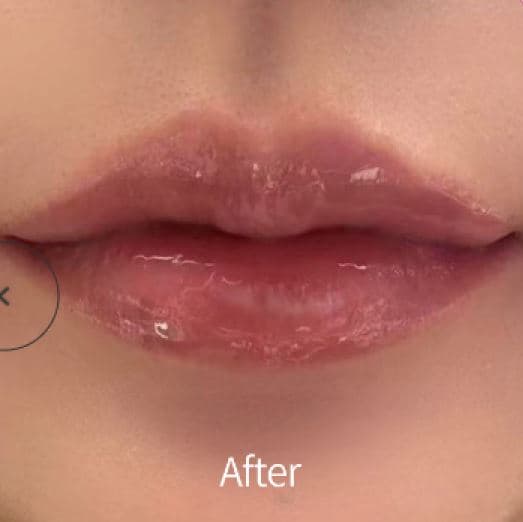 AfterLip FillerFillers
 Before
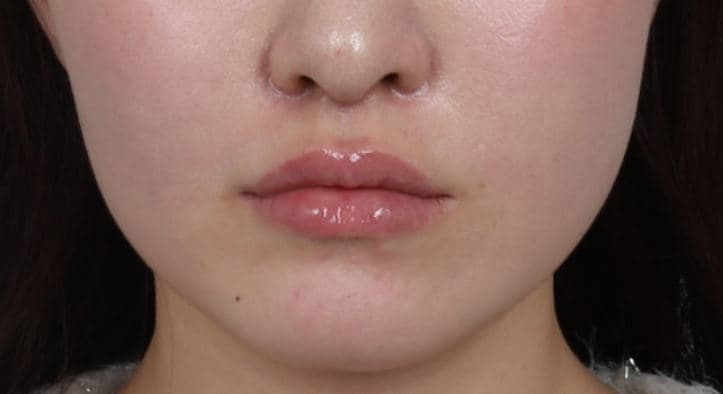 AfterLip FillerFillers
 Before
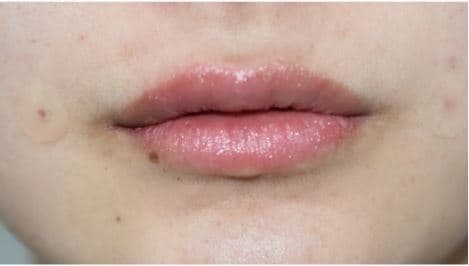 AfterLip FillerFillers
 Before
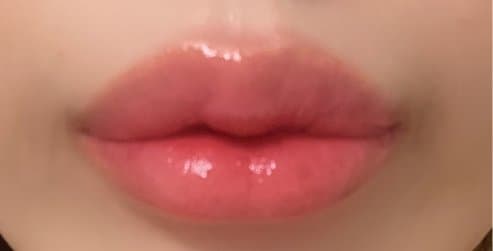 AfterLip FillerFillers
 Before
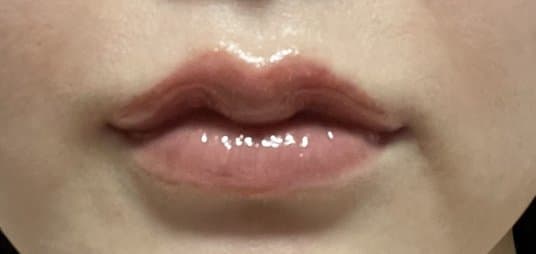 AfterLip FillerFillers
 Before
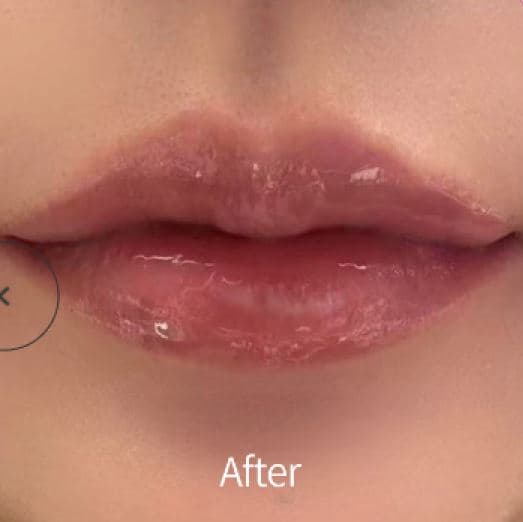 AfterLip FillerFillers
 Before
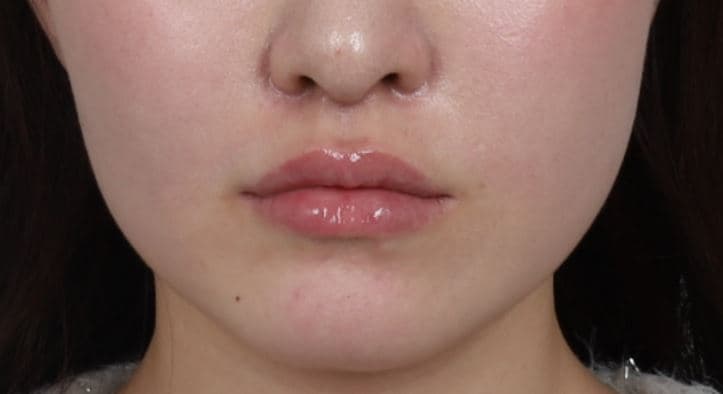 AfterLip FillerFillers
 Before
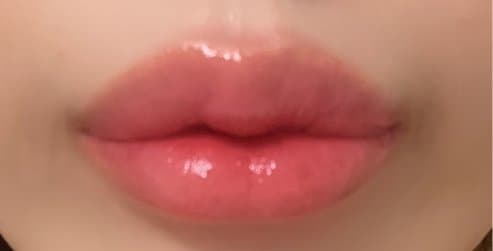 AfterLip FillerFillers
 Before
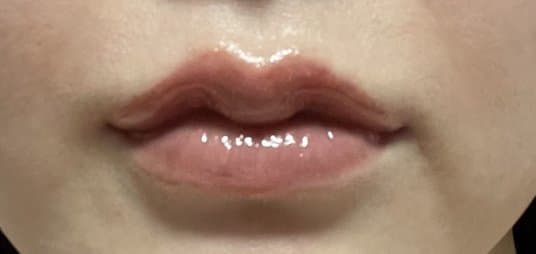 AfterLip FillerFillers
 Before
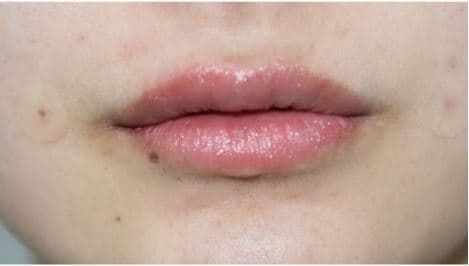 AfterLip FillerFillers
 Before
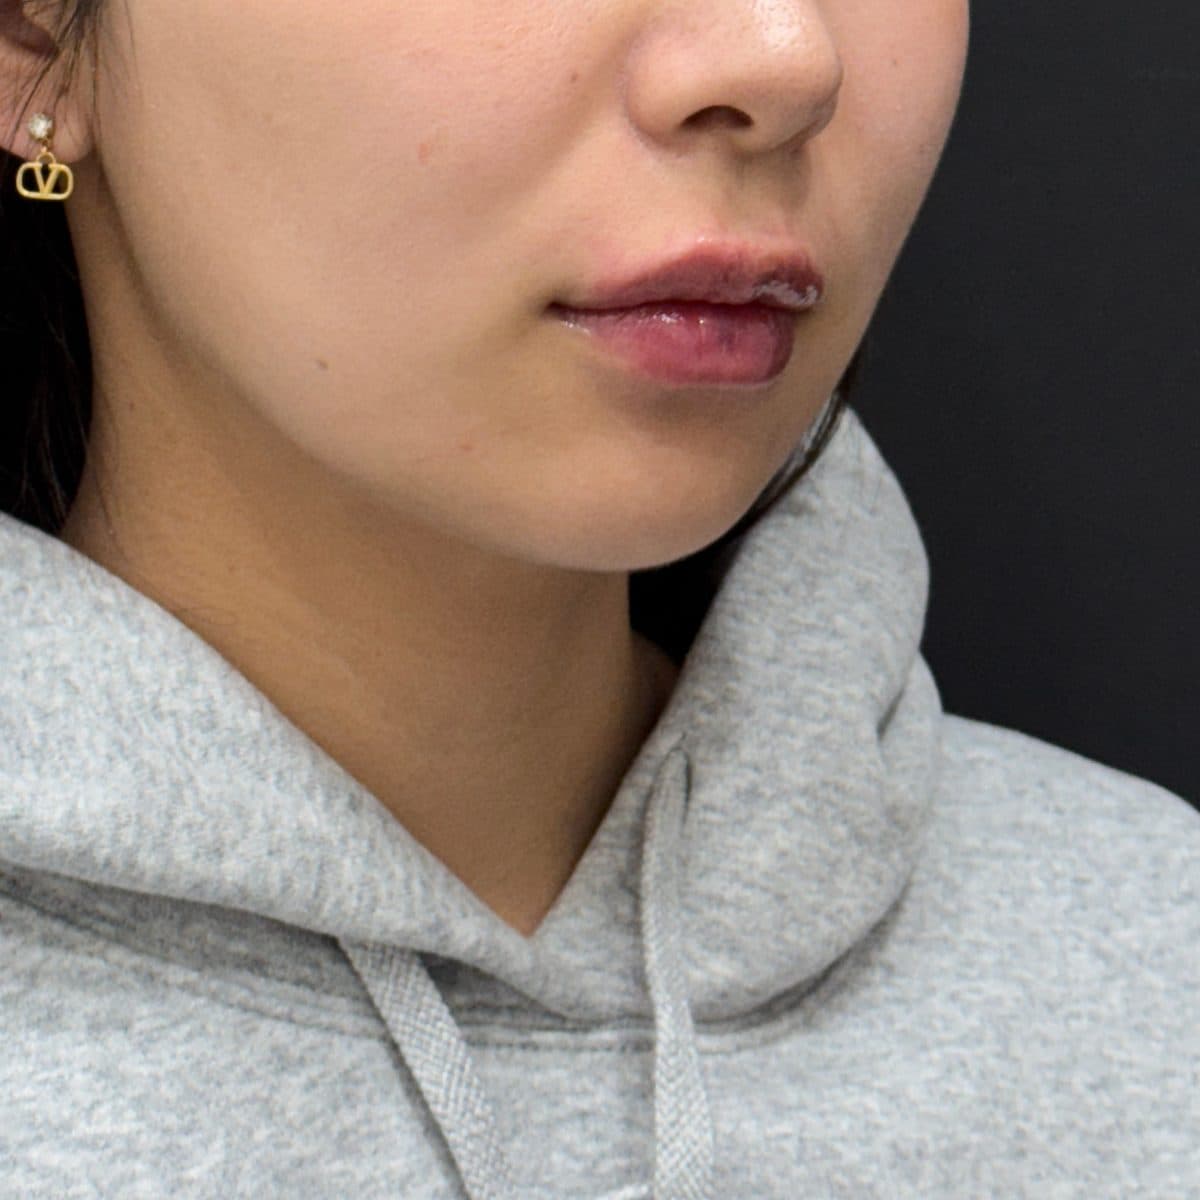 AfterLip FillerFillers
 Before
 AfterLip FillerFillers
 Before
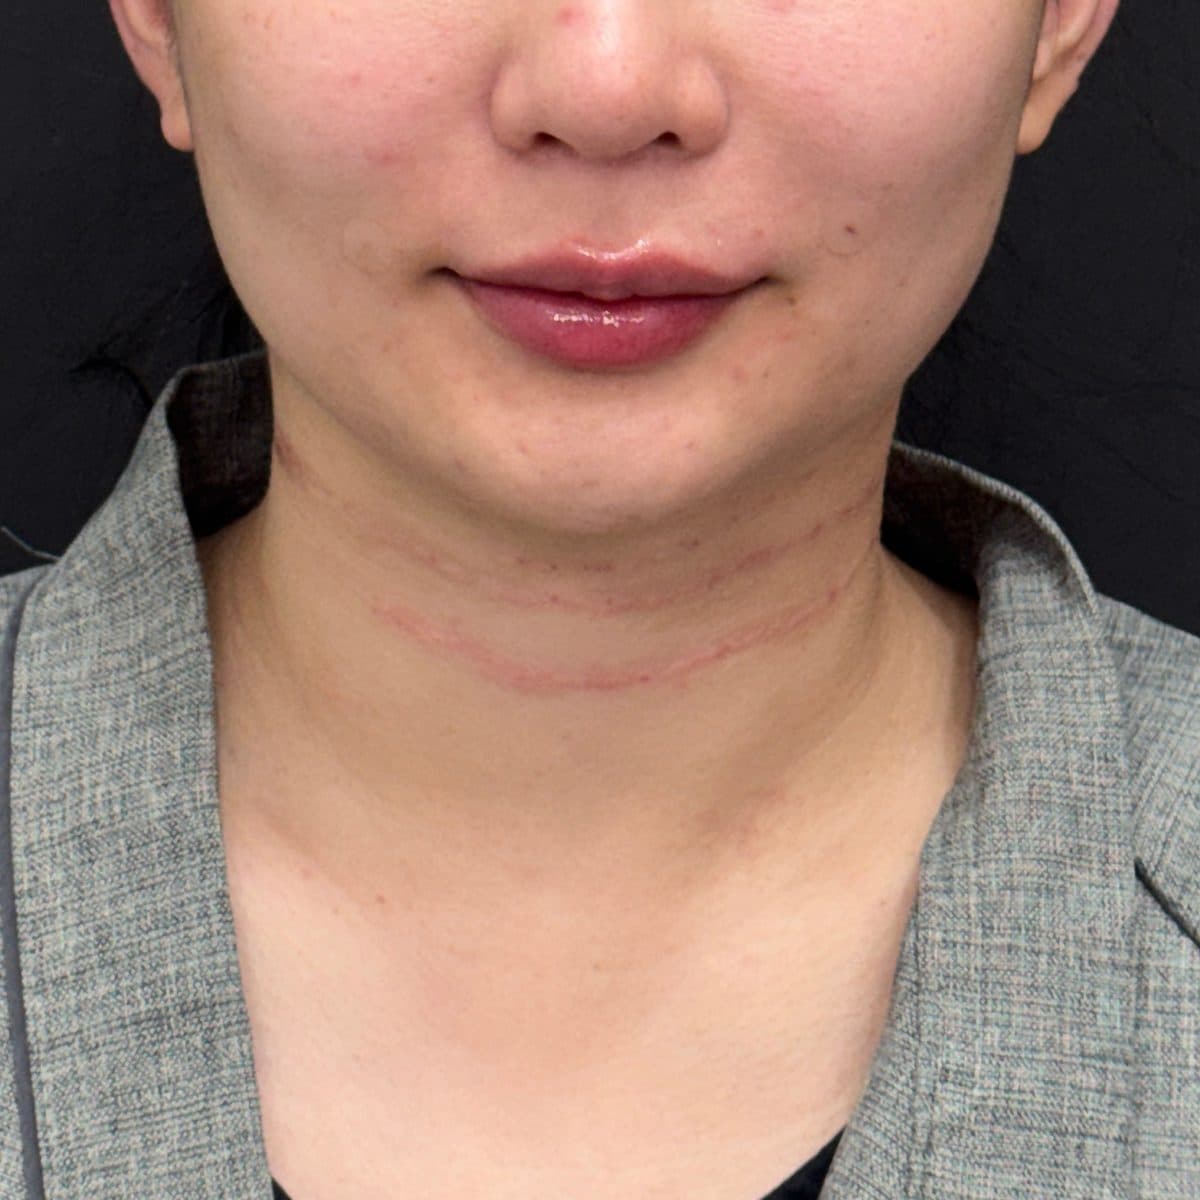 AfterLip FillerFillers
 Before
 AfterLip FillerFillers
 Before
 AfterLip FillerFillers
 Before
 AfterLip FillerFillers
 Before
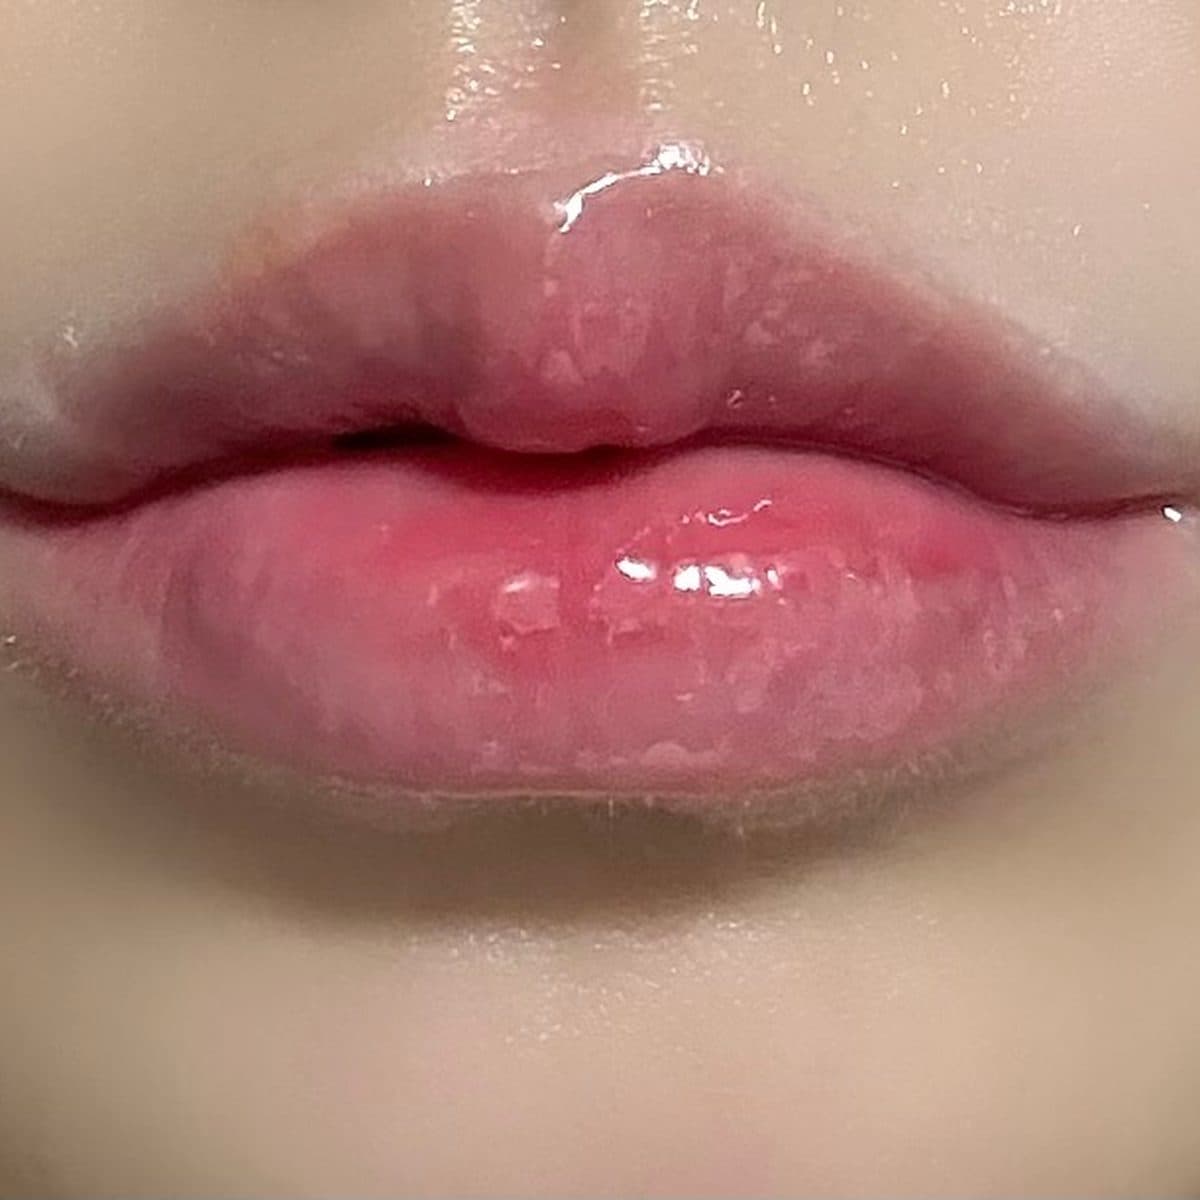 AfterLip FillerFillers
 Before
 AfterLip FillerFillers
 Before
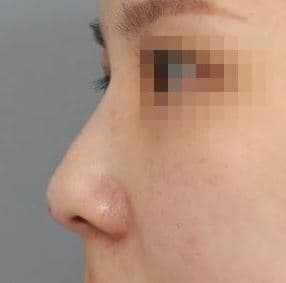 AfterNose FillerFillers
 Before
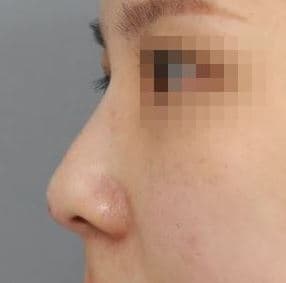 AfterNose FillerFillers
 Before
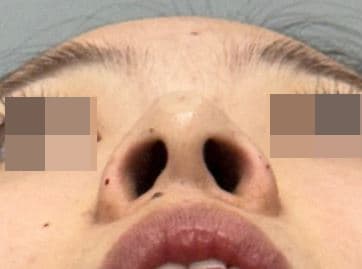 AfterNose FillerFillers
 Before
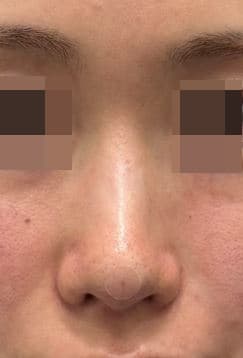 AfterNose FillerFillers
 Before
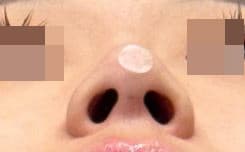 AfterNose FillerFillers
 Before
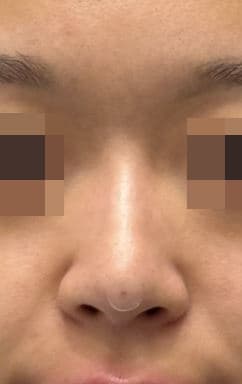 AfterNose FillerFillers
 Before
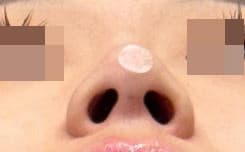 AfterNose FillerFillers
 Before
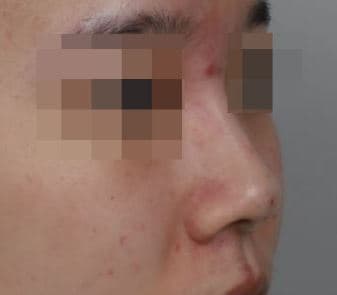 AfterNose FillerFillers
 Before
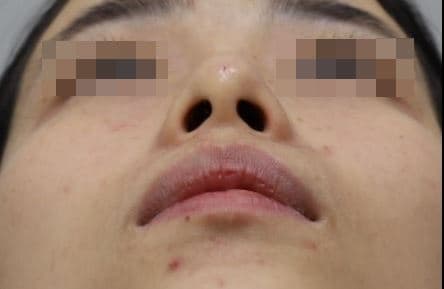 AfterNose FillerFillers
 Before
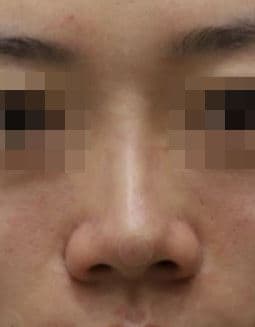 AfterNose FillerFillers
 Before
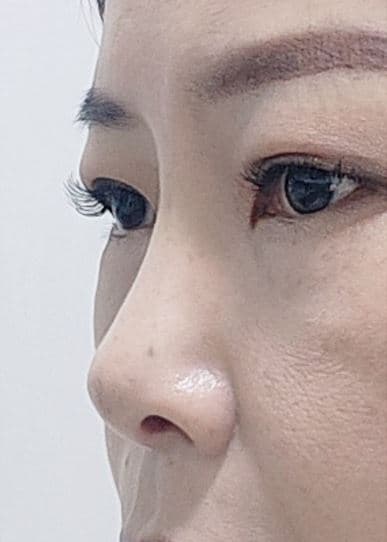 AfterNose FillerFillers
 Before
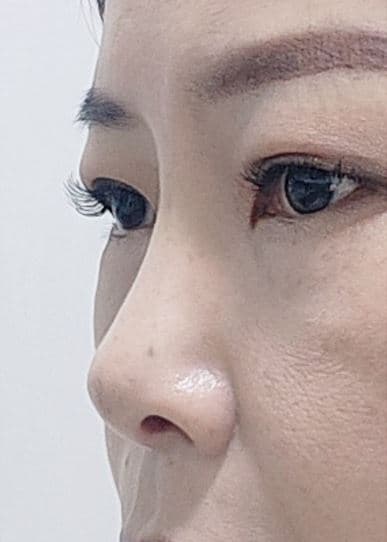 AfterNose FillerFillers
 Before
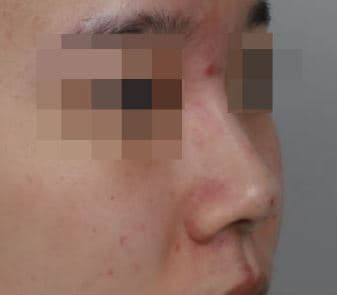 AfterNose FillerFillers
 Before
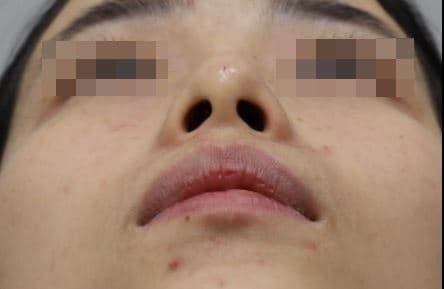 AfterNose FillerFillers
 Before
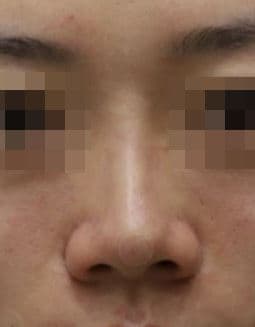 AfterNose FillerFillers
 Before
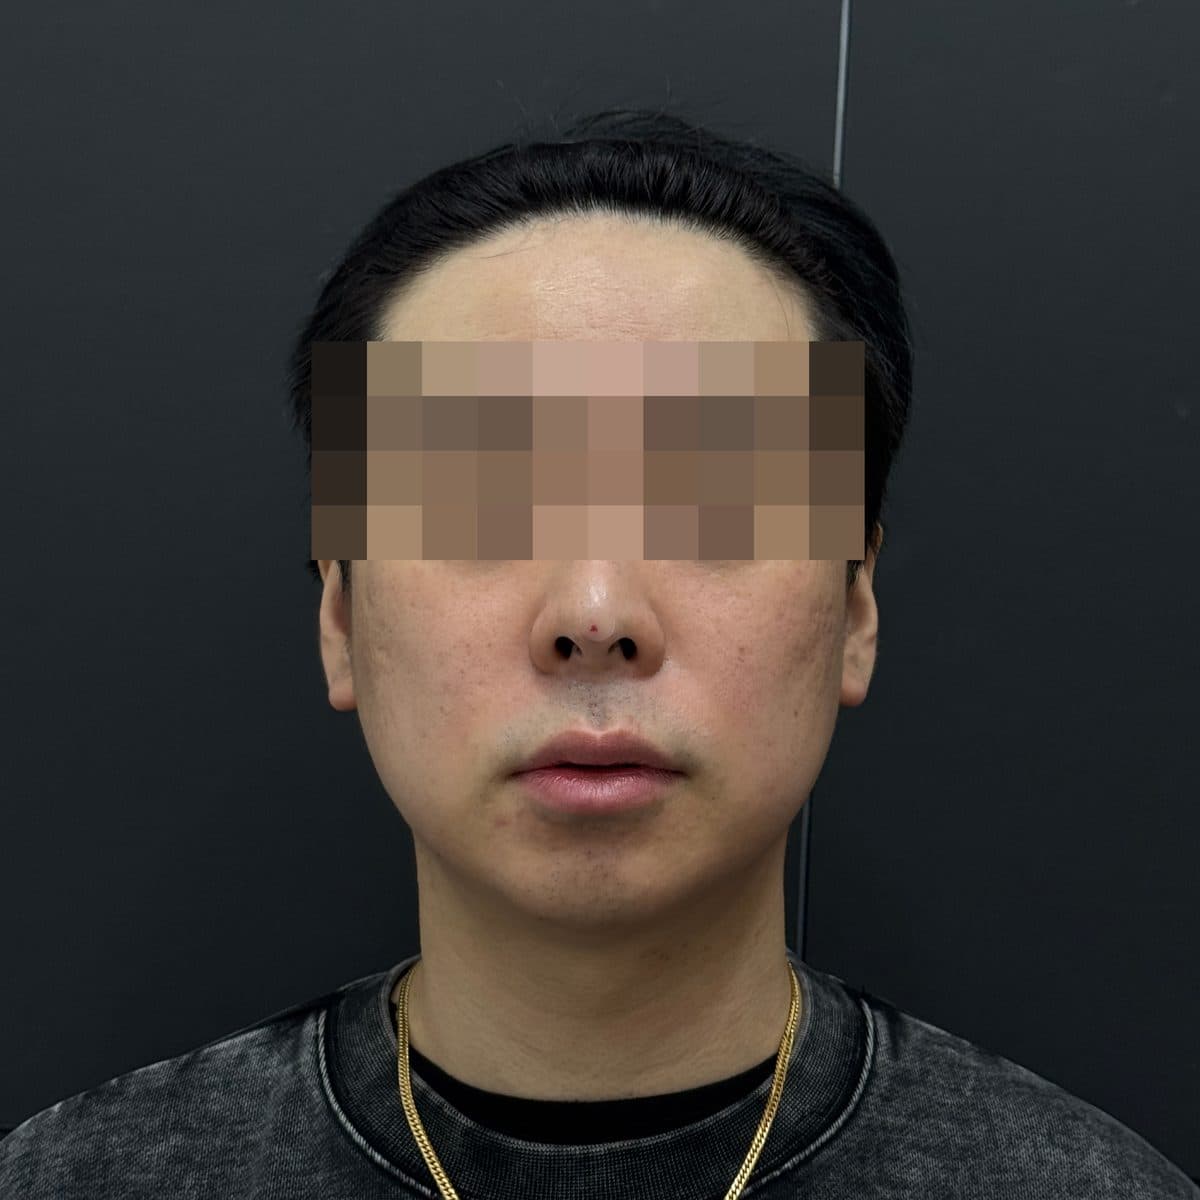 AfterNose FillerFillers
 Before
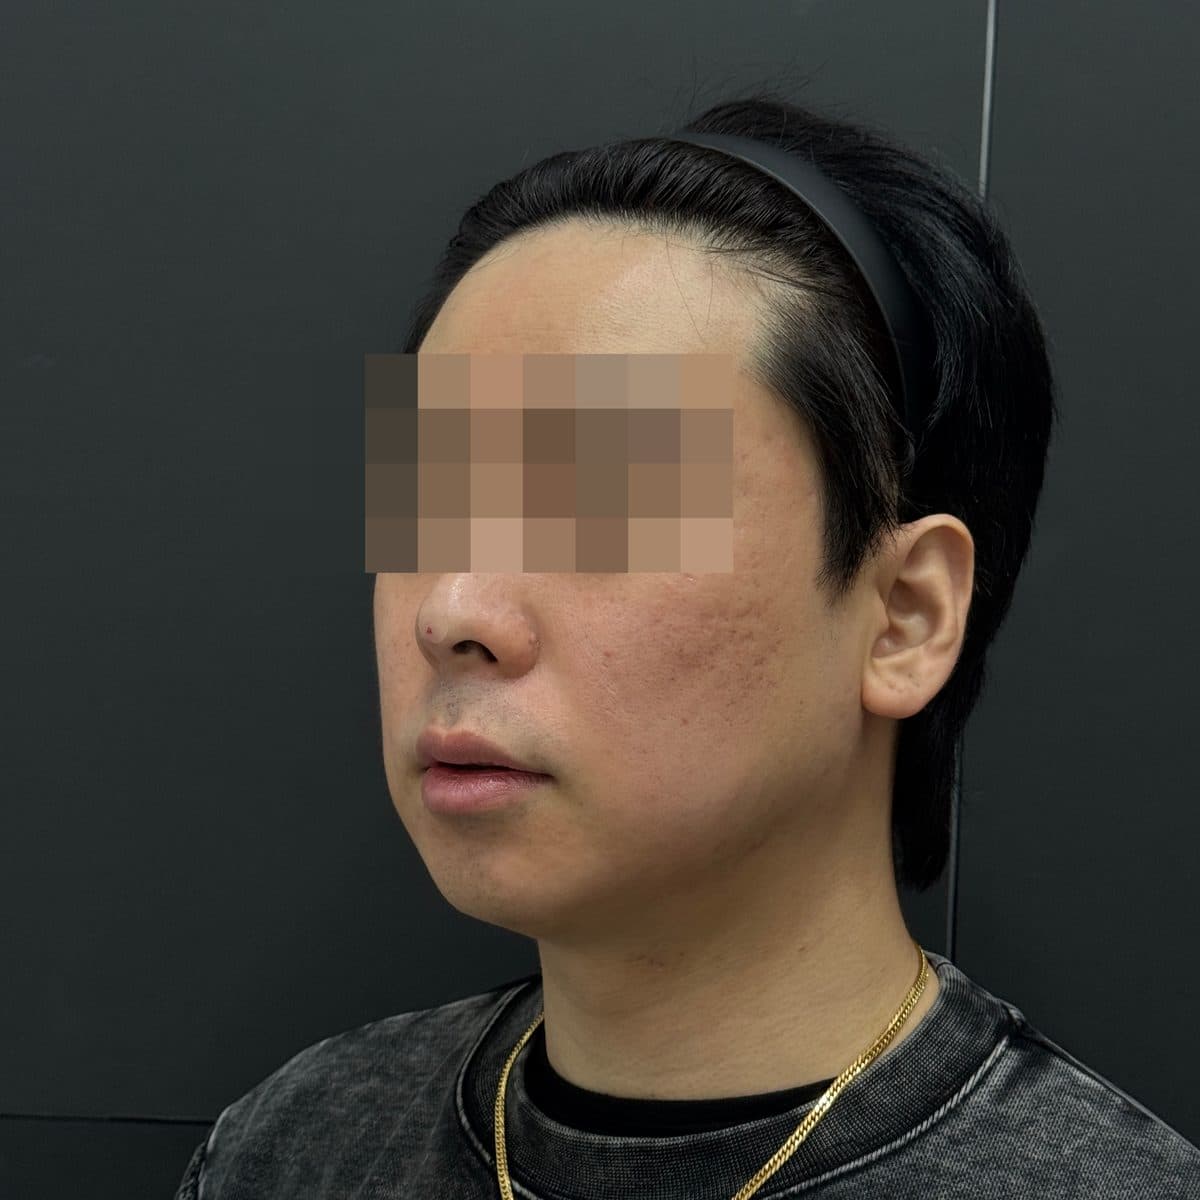 AfterNose FillerFillers
 Before
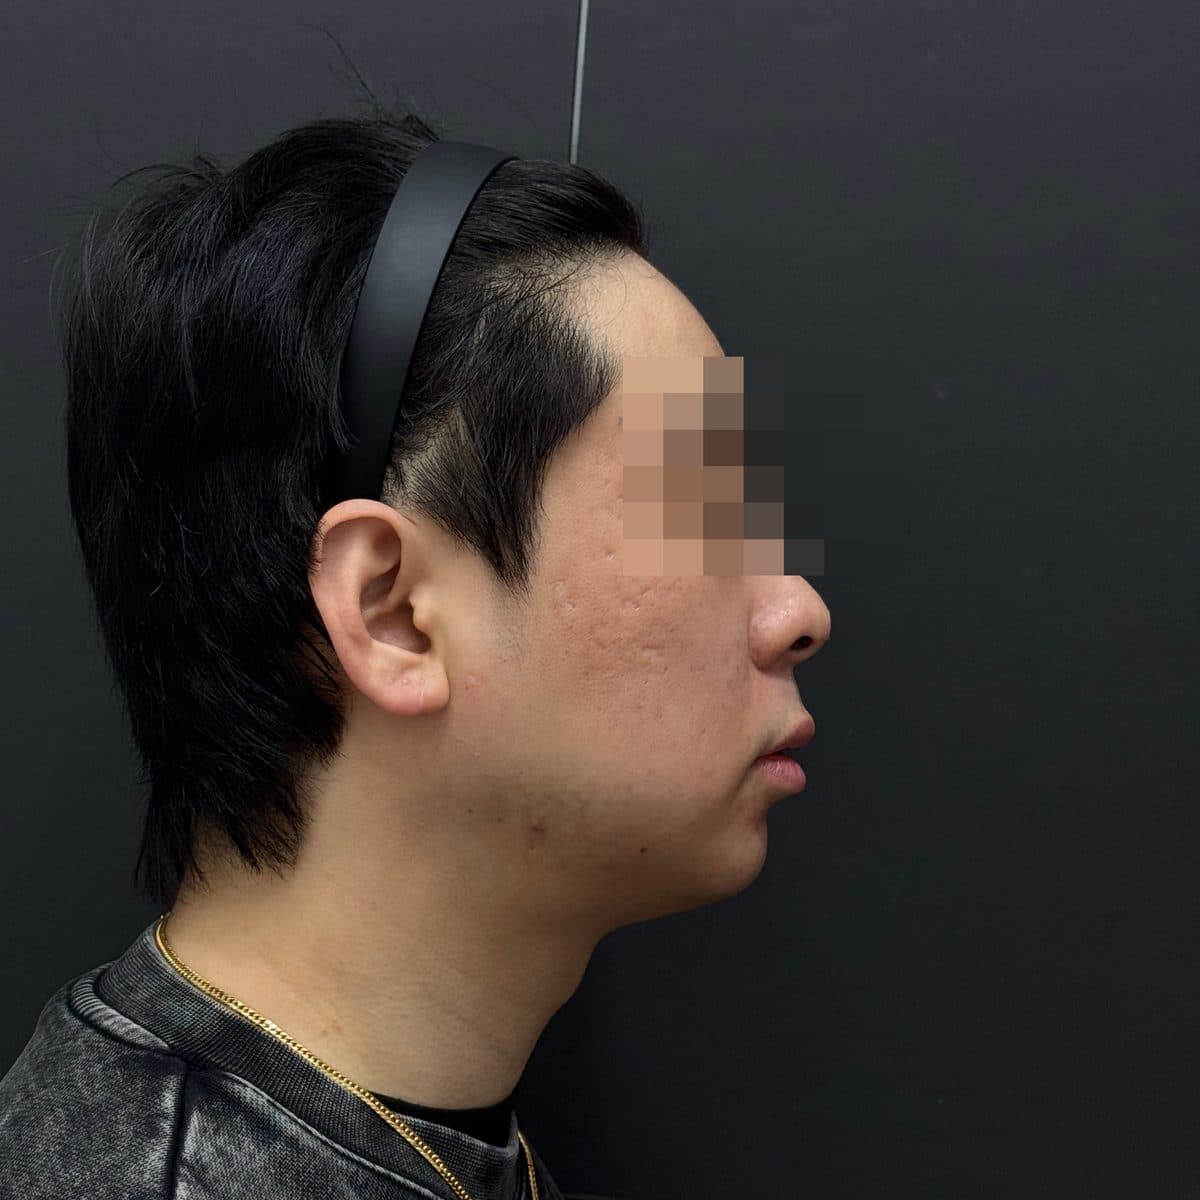 AfterNose FillerFillers
 Before
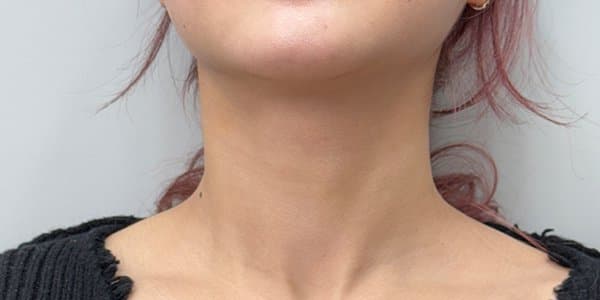 AfterNeck Line FillerFillers
 Before
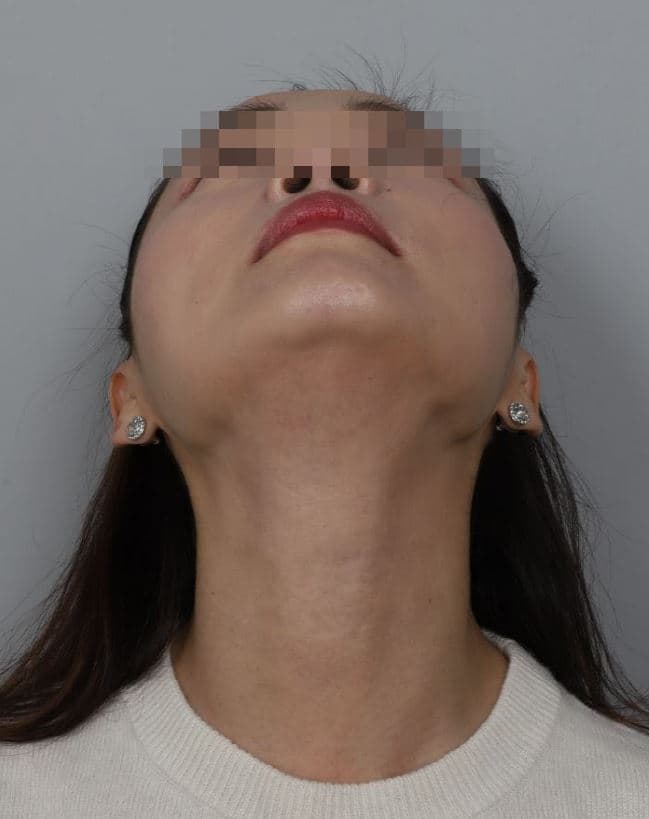 AfterNeck Line FillerFillers
 Before
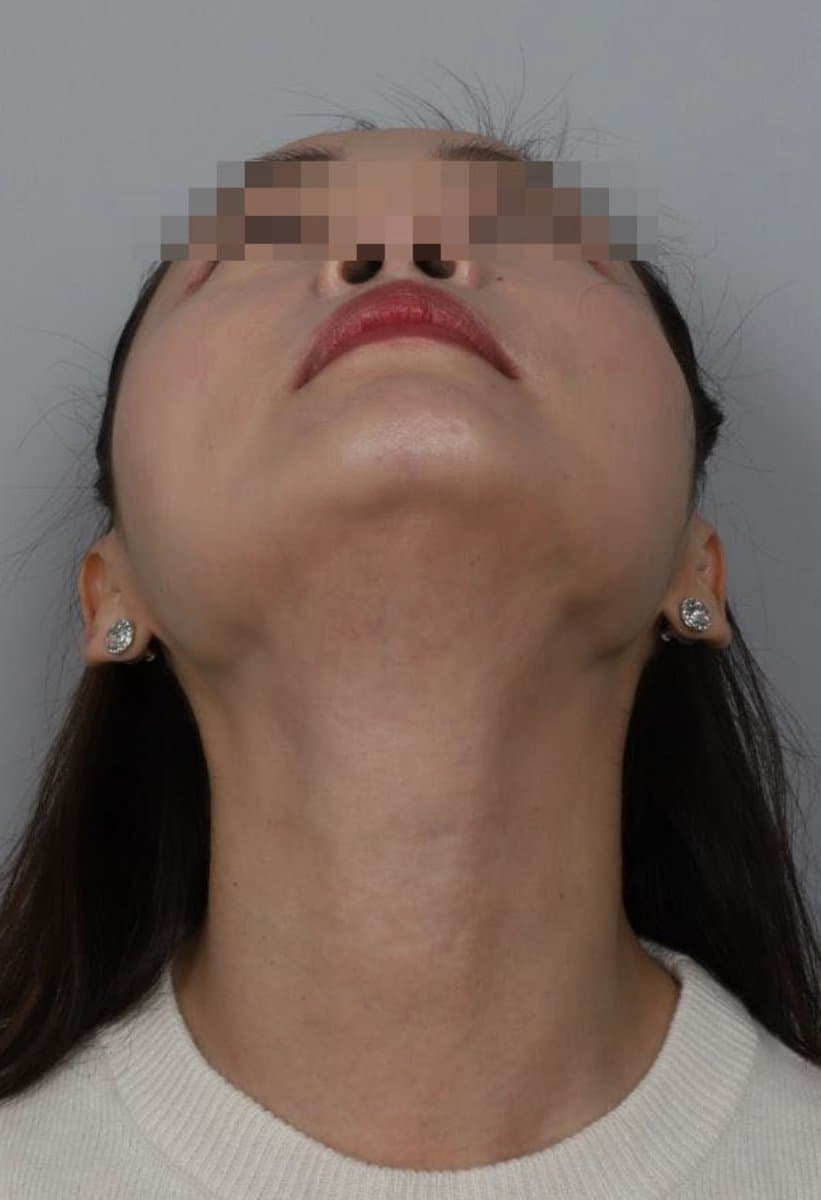 AfterNeck Line FillerFillers
 Before
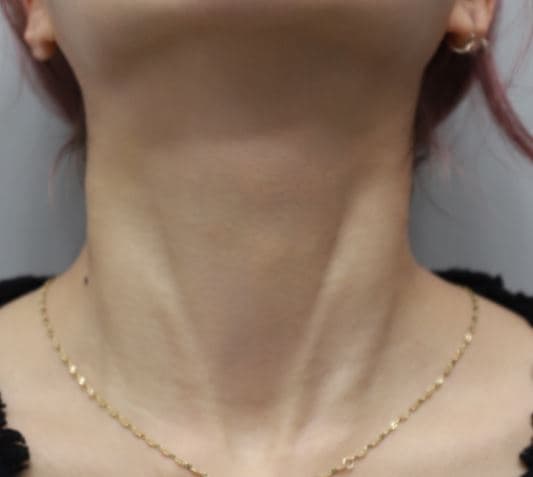 AfterNeck Line FillerFillers
 Before
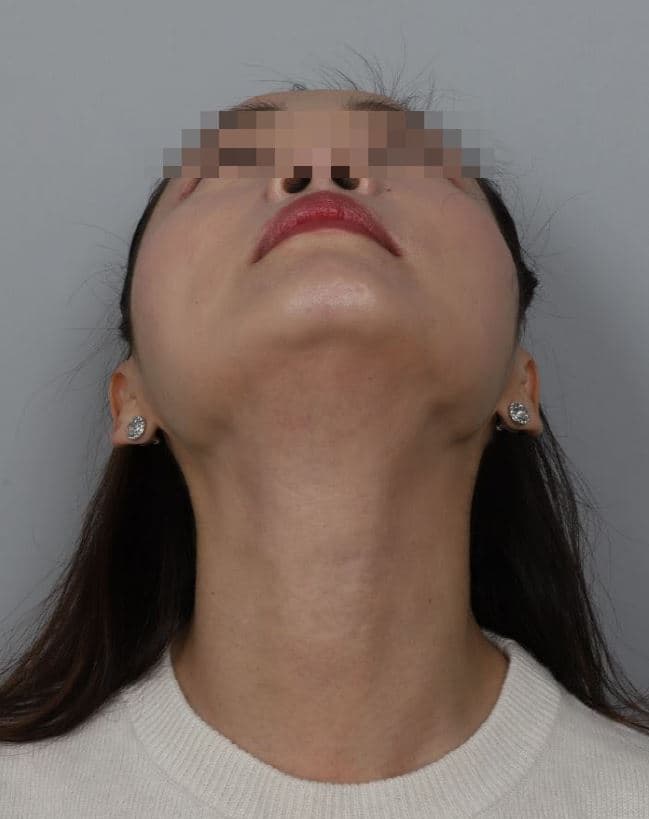 AfterNeck Line FillerFillers
 Before
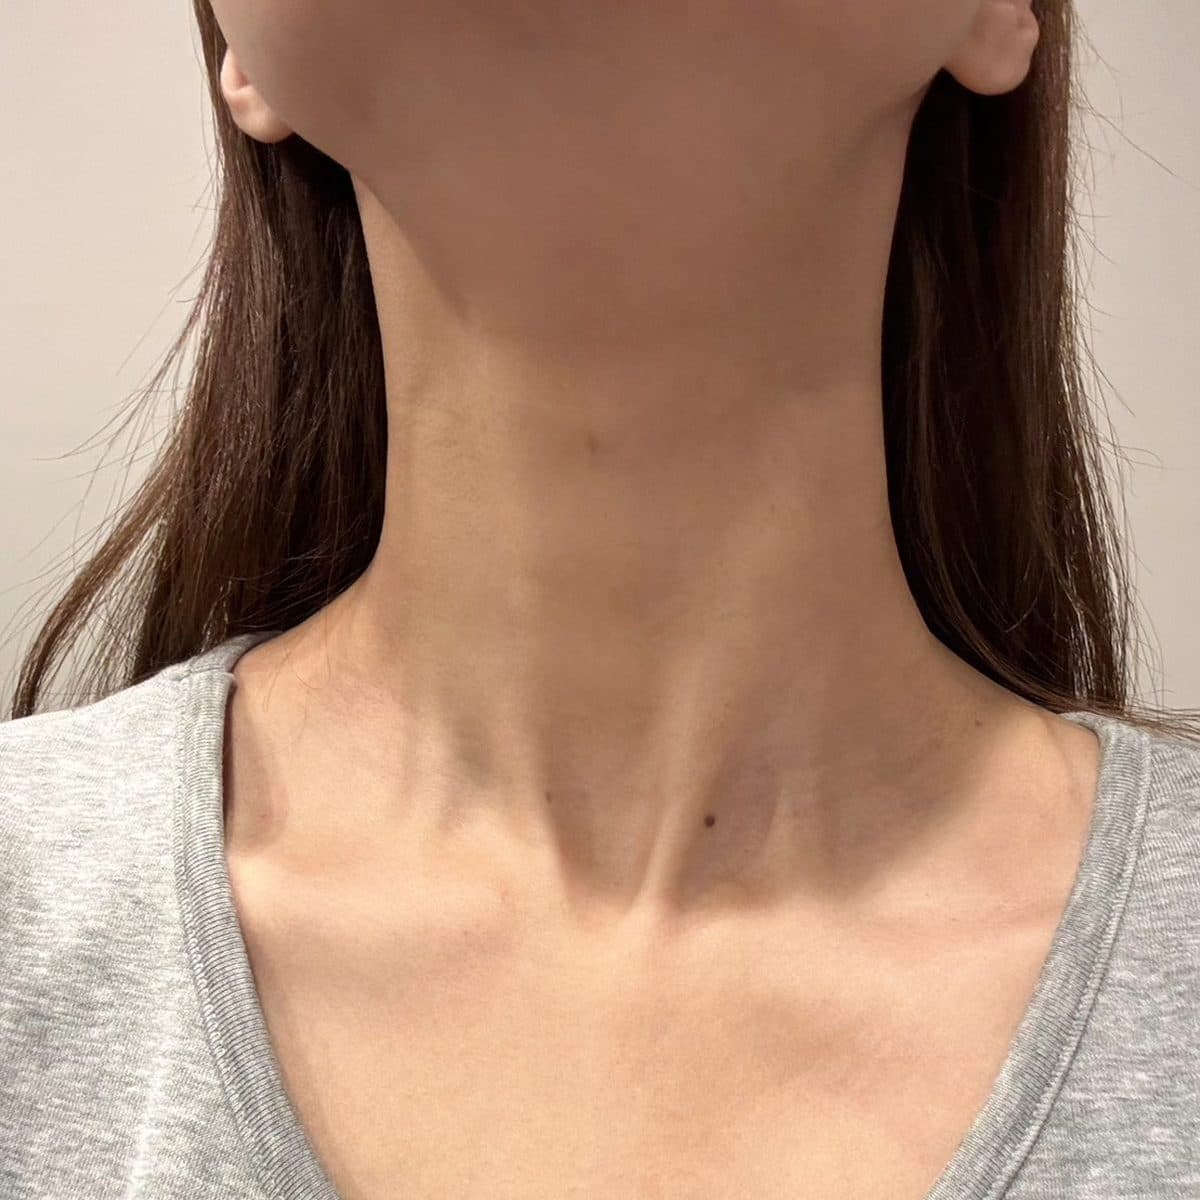 AfterNeck Line FillerFillers
 Before
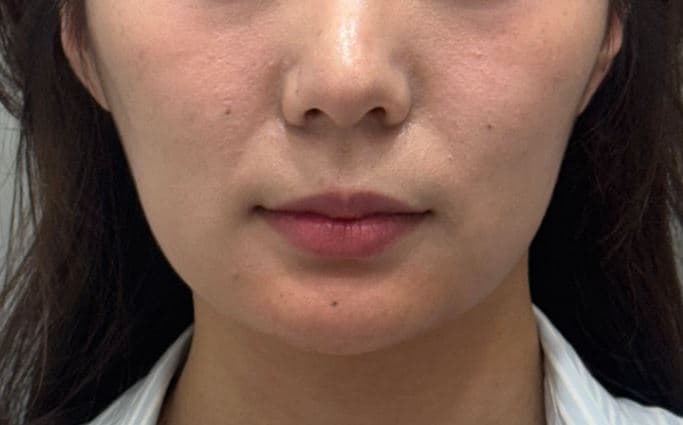 AfterChin FillerC-Line Lifting Filler
 Before
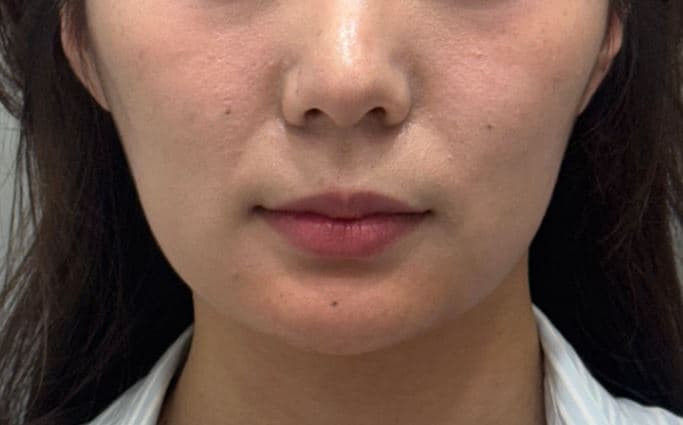 AfterChin FillerC-Line Lifting Filler
 Before
 AfterChin FillerC-Line Lifting Filler
 Before
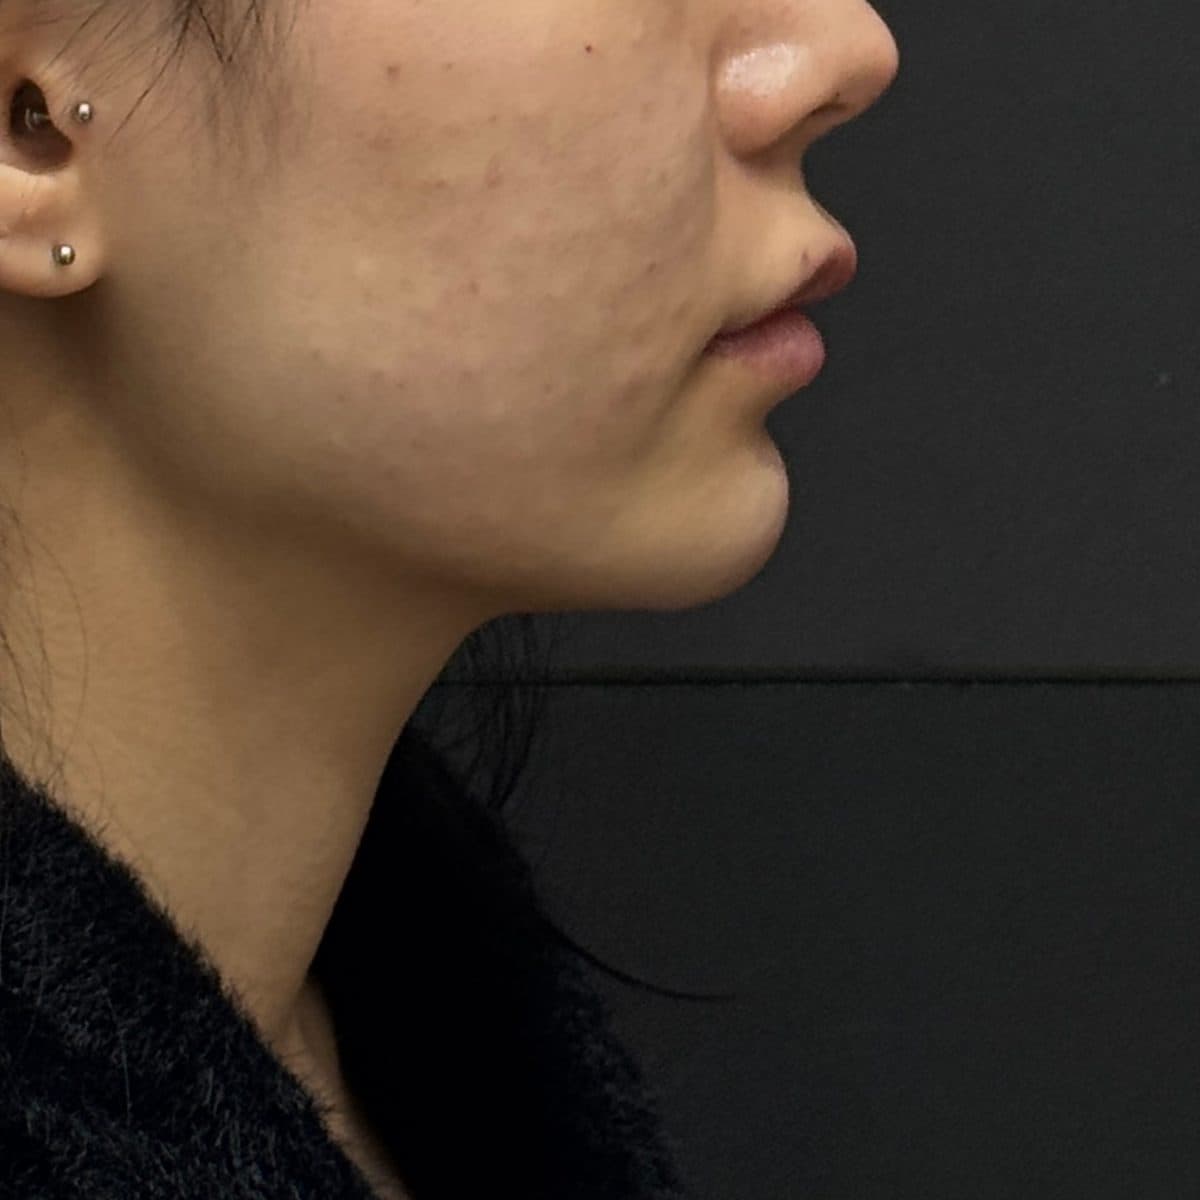 AfterChin FillerC-Line Lifting Filler
 Before
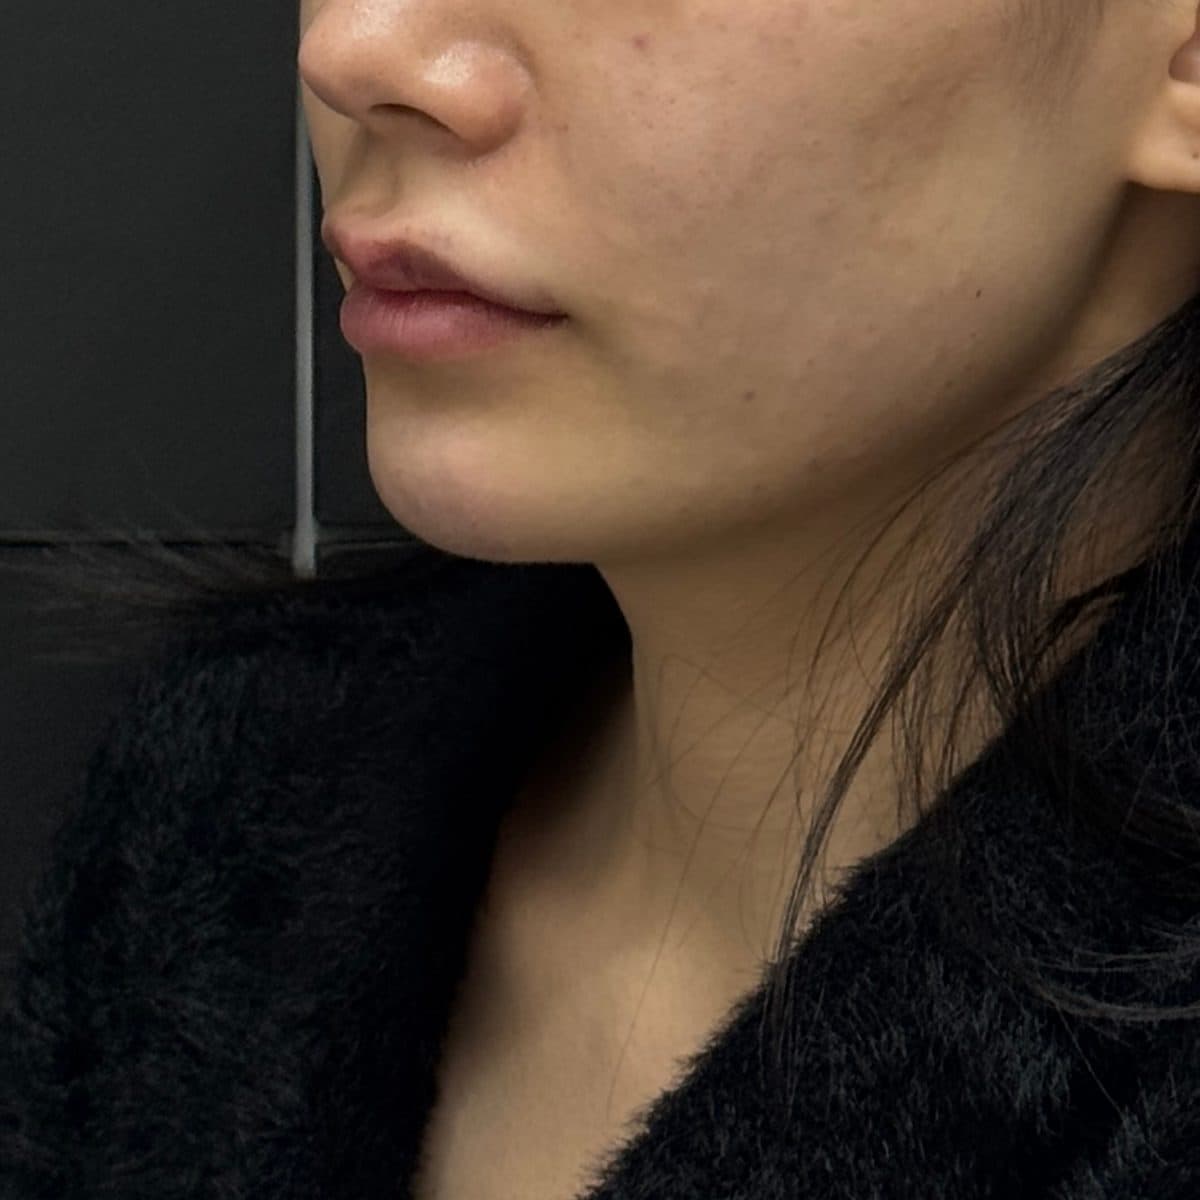 AfterChin FillerC-Line Lifting Filler
 Before
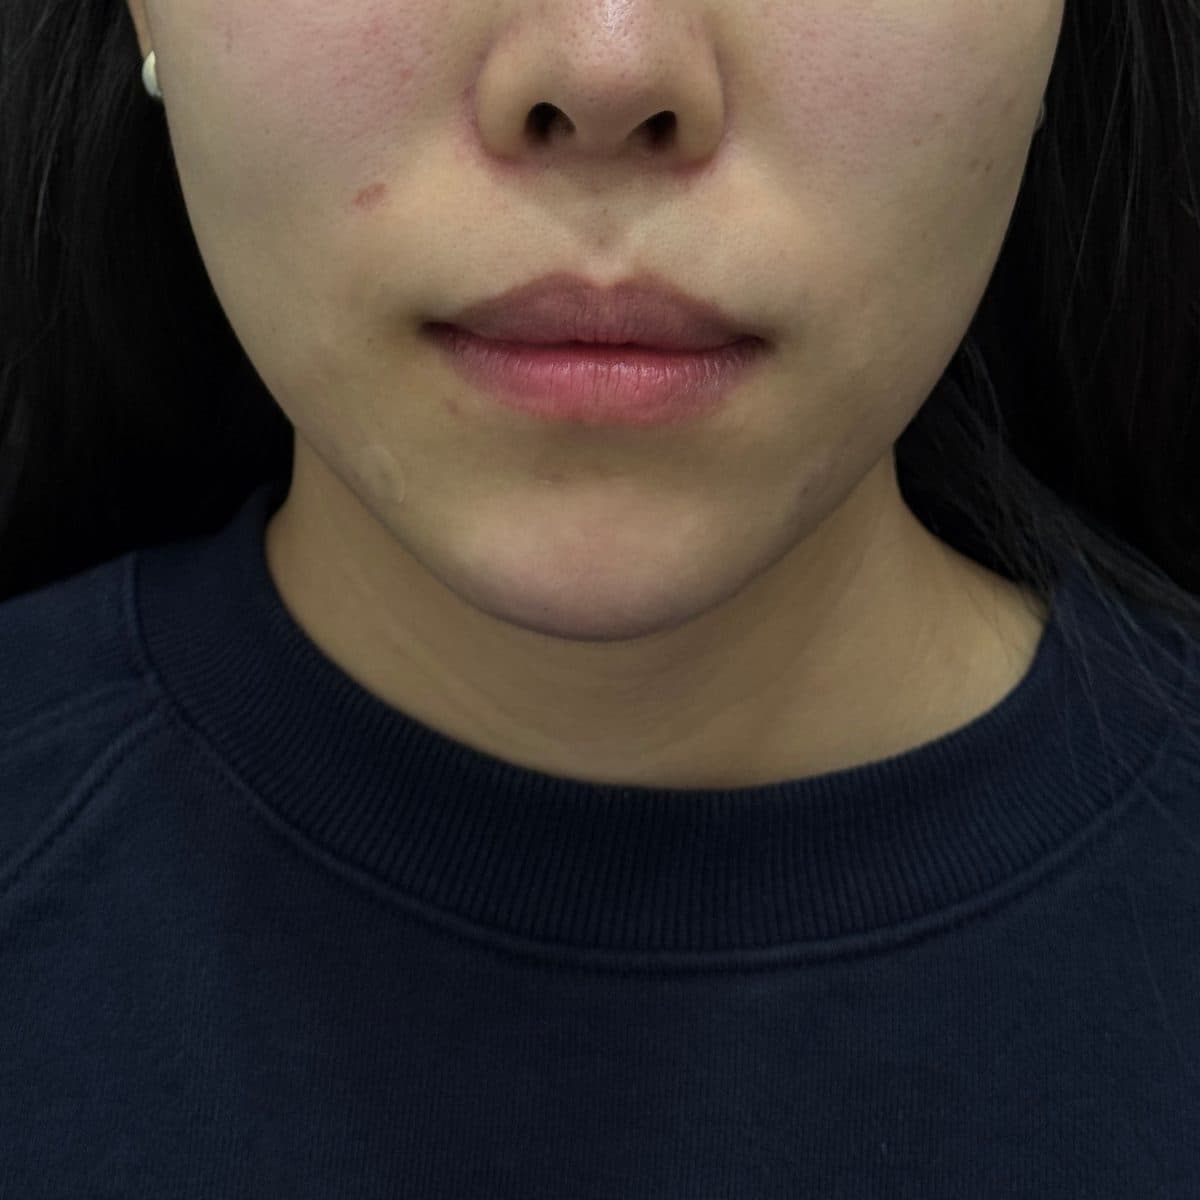 AfterChin FillerC-Line Lifting Filler
 Before
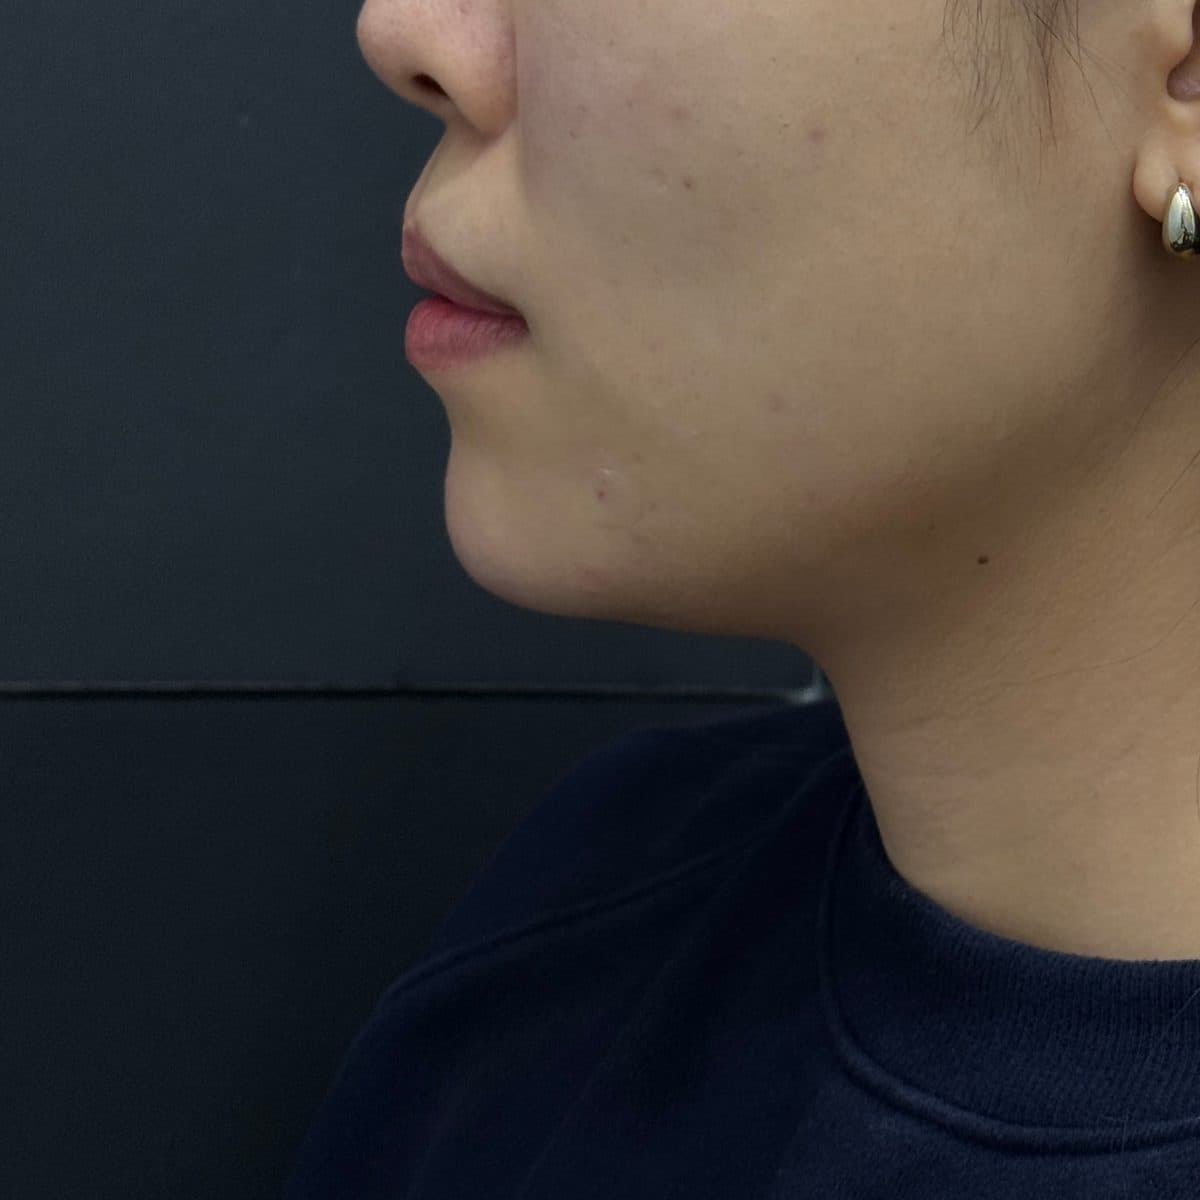 AfterChin FillerC-Line Lifting Filler
 Before
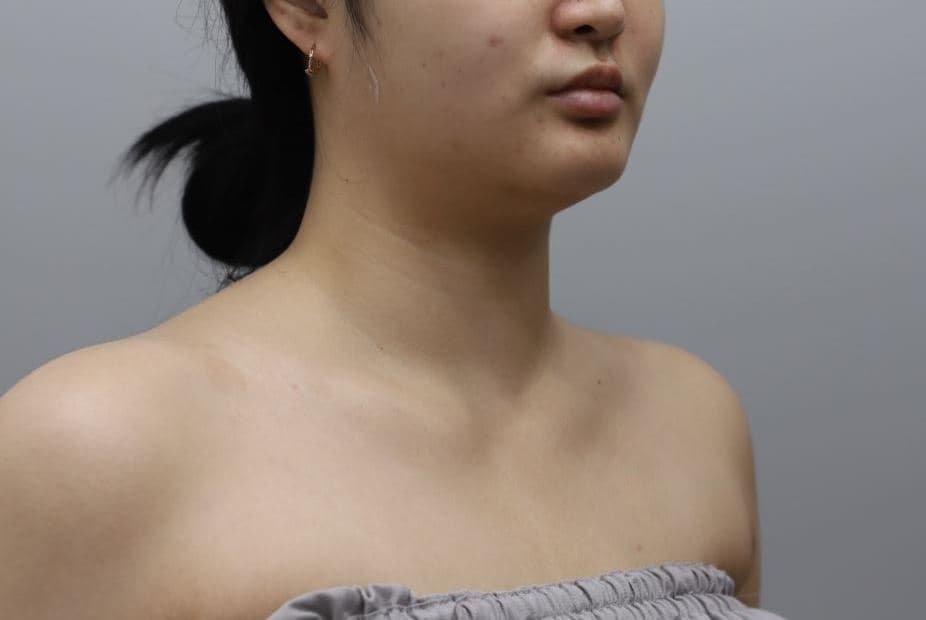 AfterCollarbone FillerShoulder & Collarbone Filler
 Before
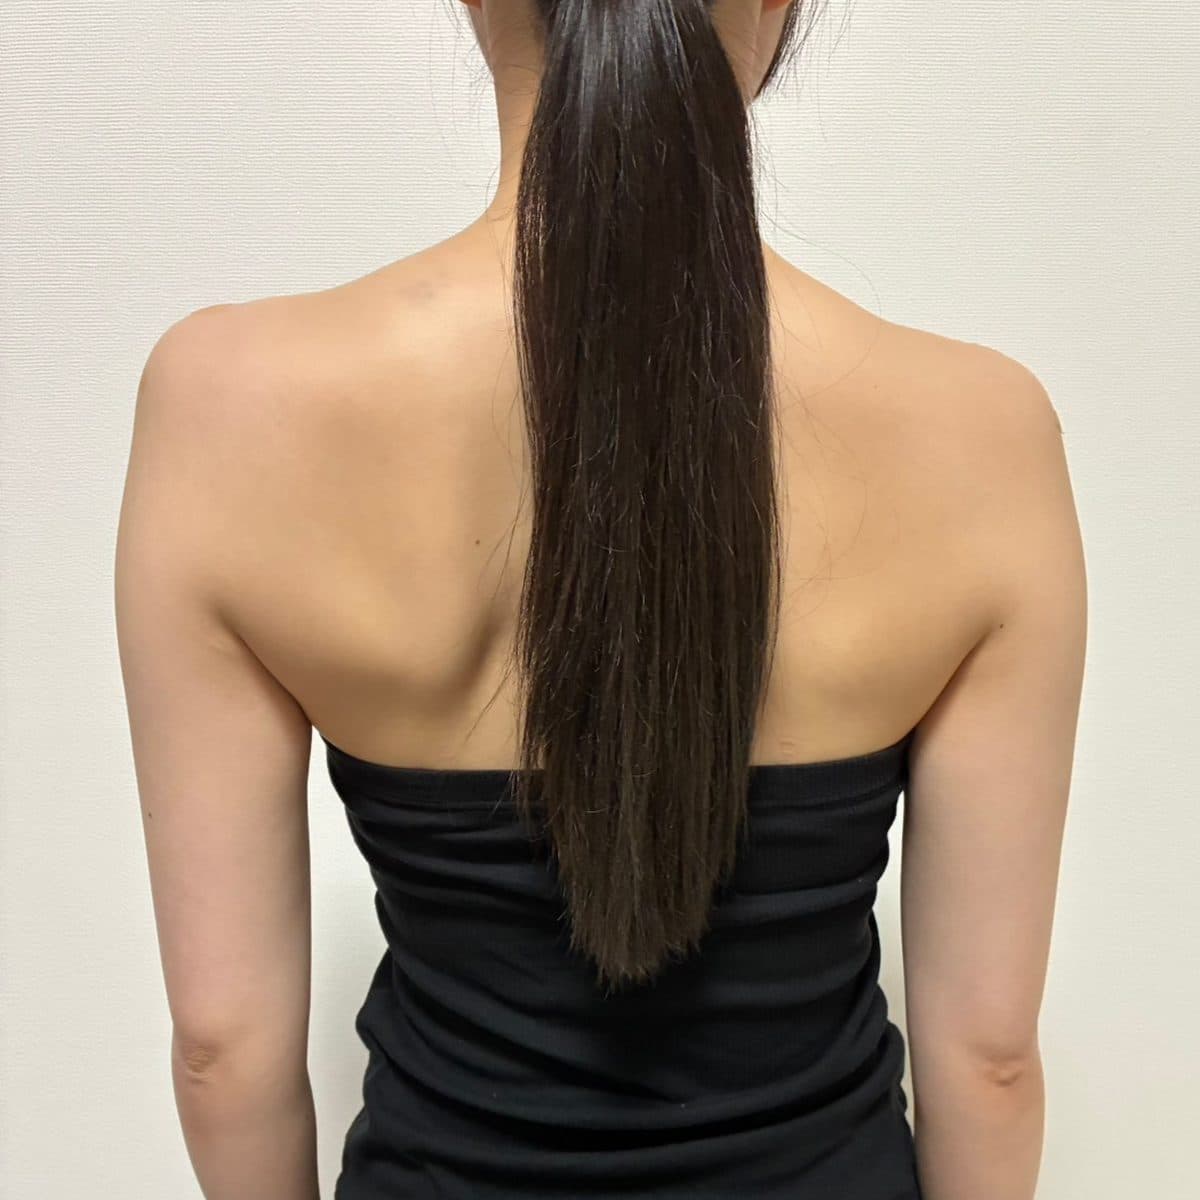 AfterShoulder & Trapezius FillerShoulder & Collarbone Filler
 Before
 AfterShoulder & Trapezius FillerShoulder & Collarbone Filler
 Before
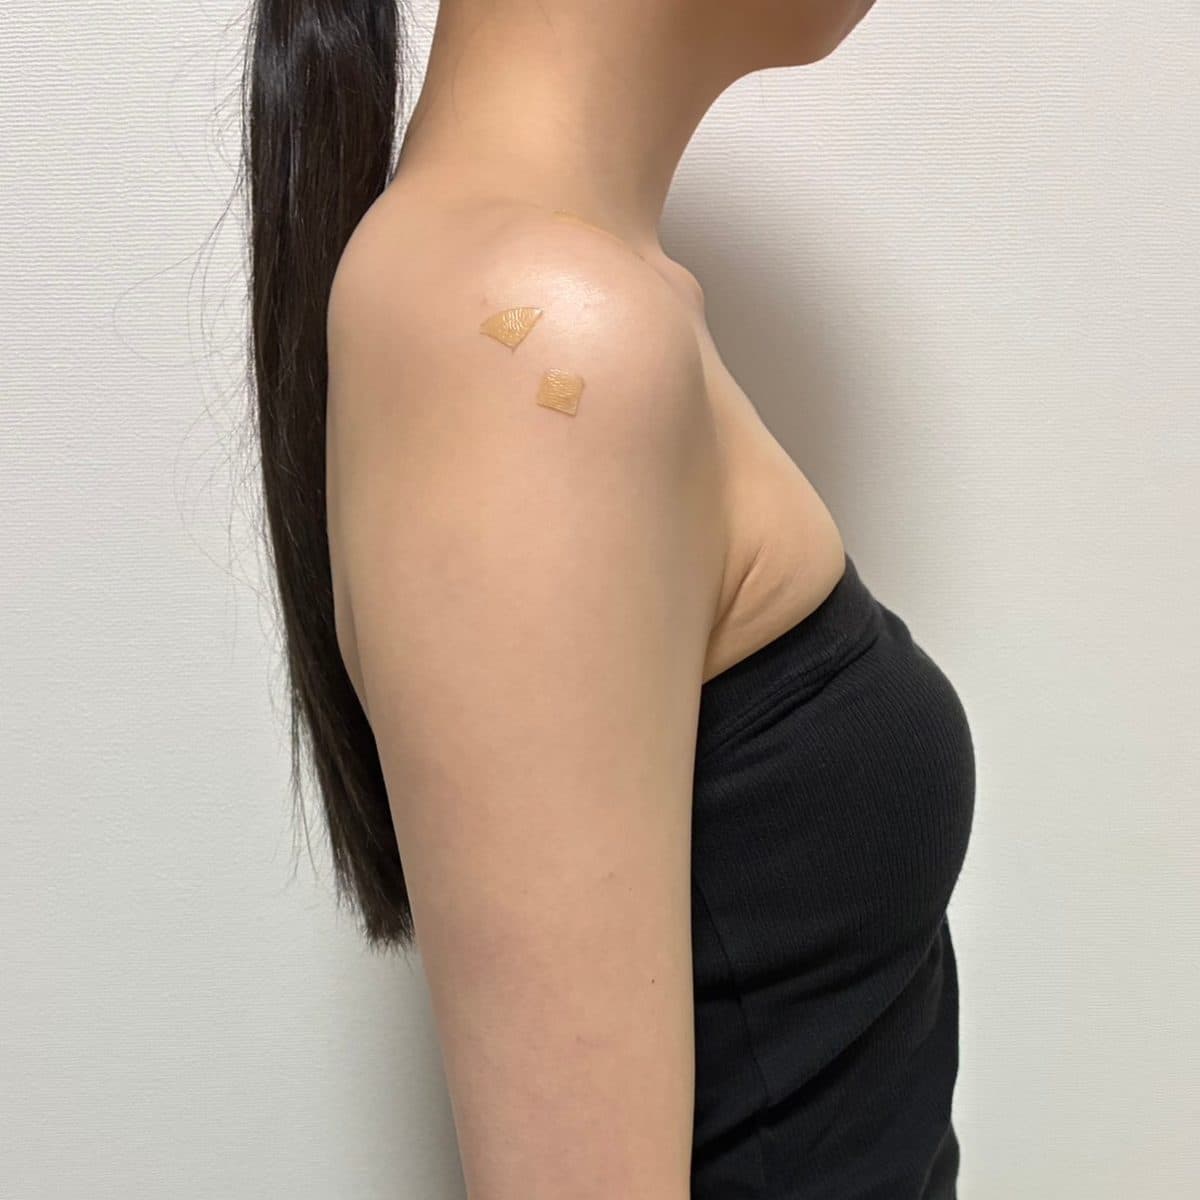 AfterShoulder & Trapezius FillerShoulder & Collarbone Filler
 Before
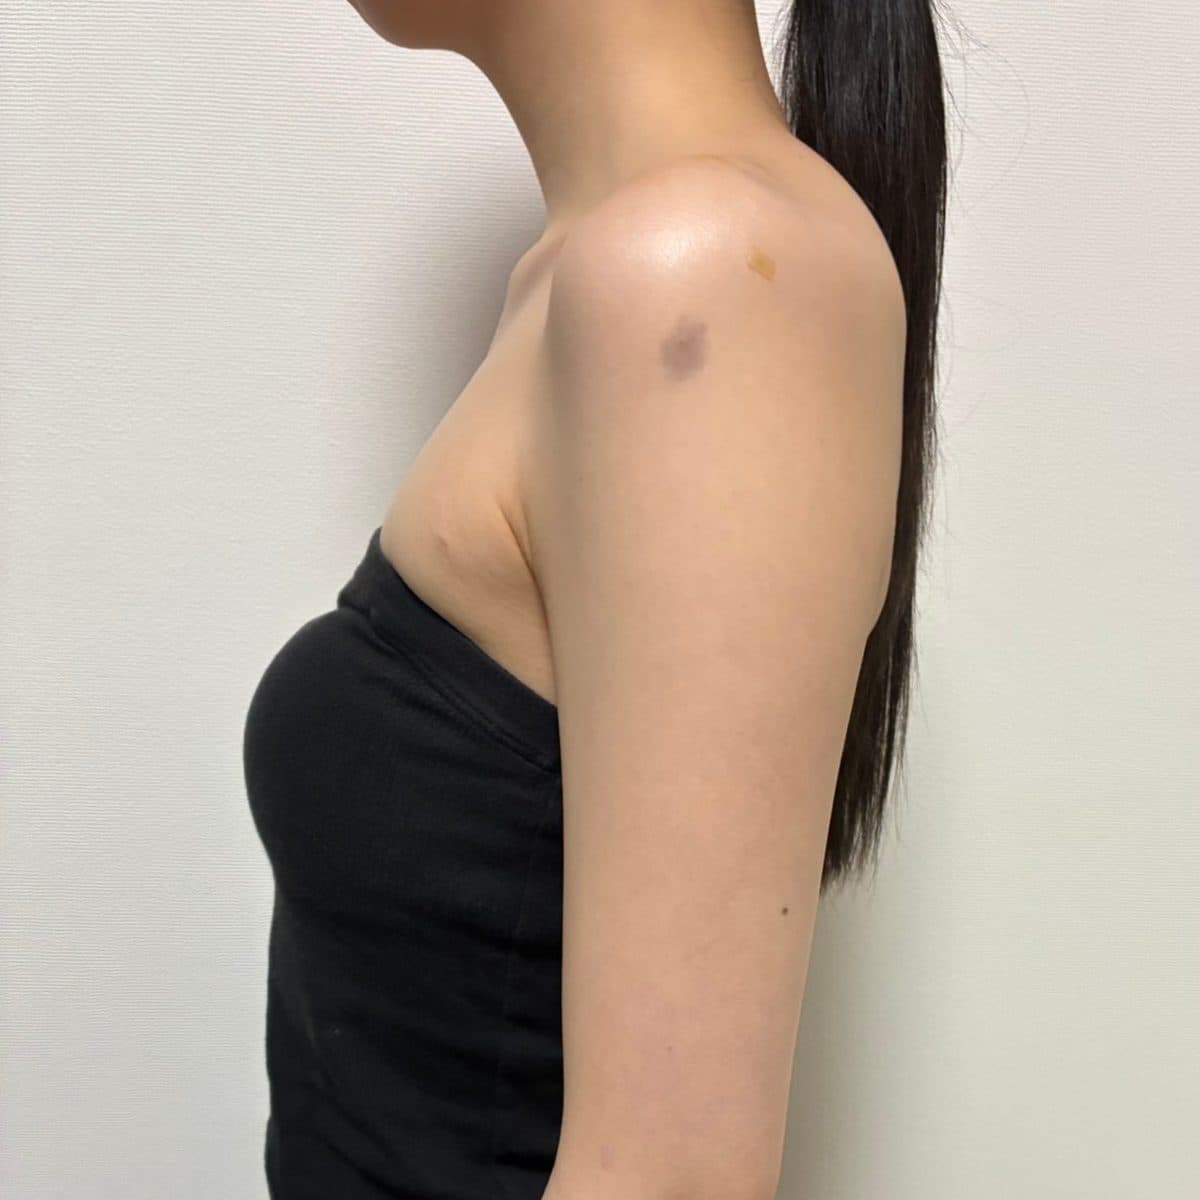 AfterShoulder & Trapezius FillerShoulder & Collarbone Filler
 Before
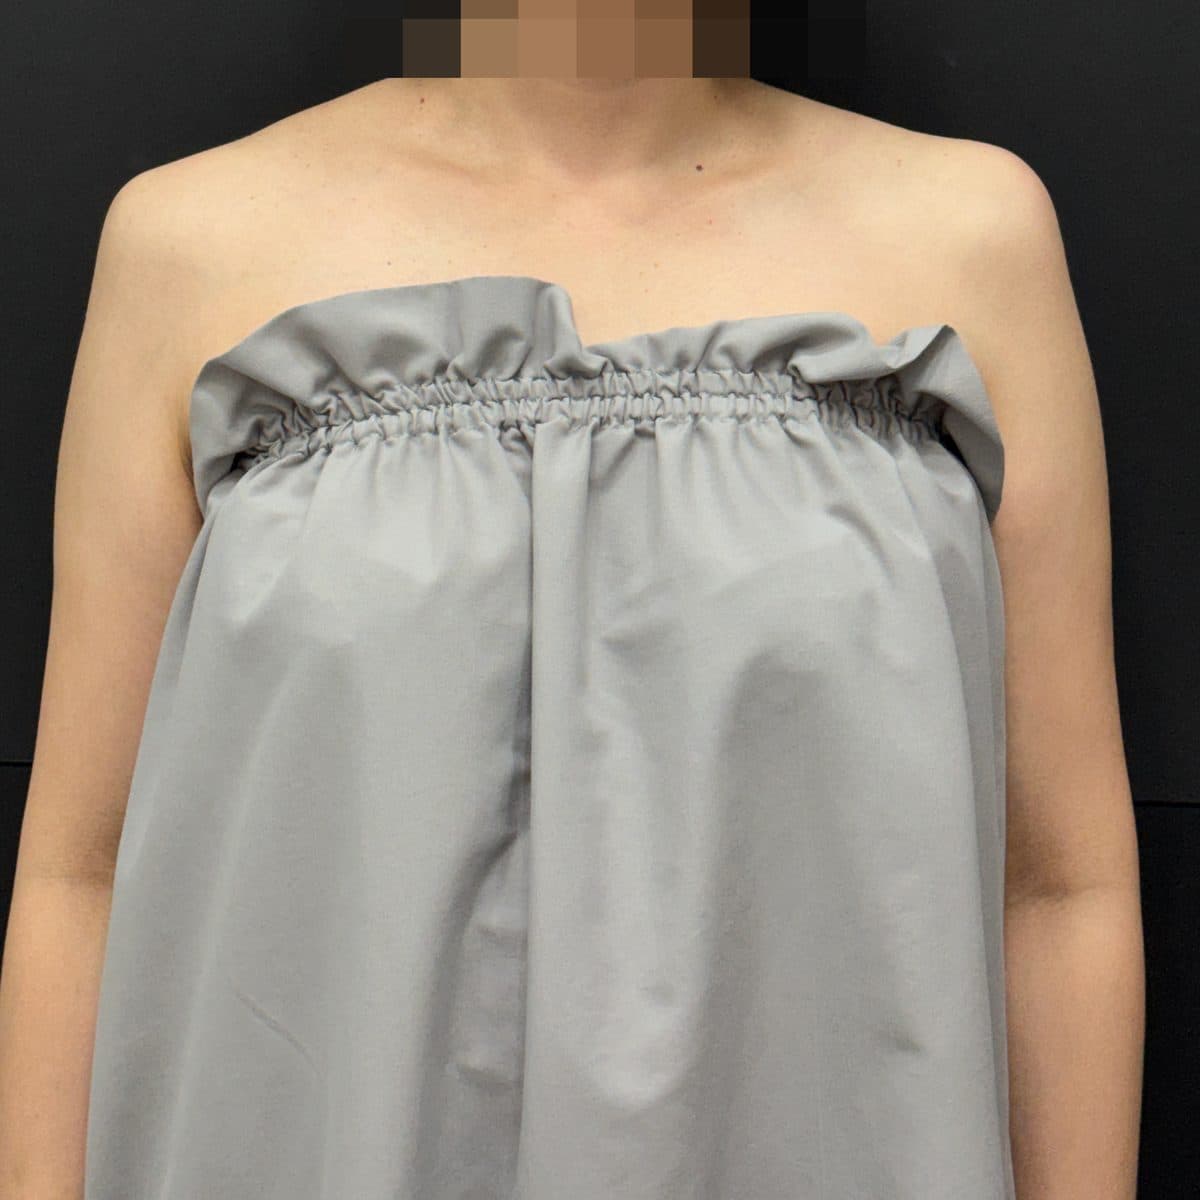 AfterShoulder & Trapezius FillerShoulder & Collarbone Filler
 Before
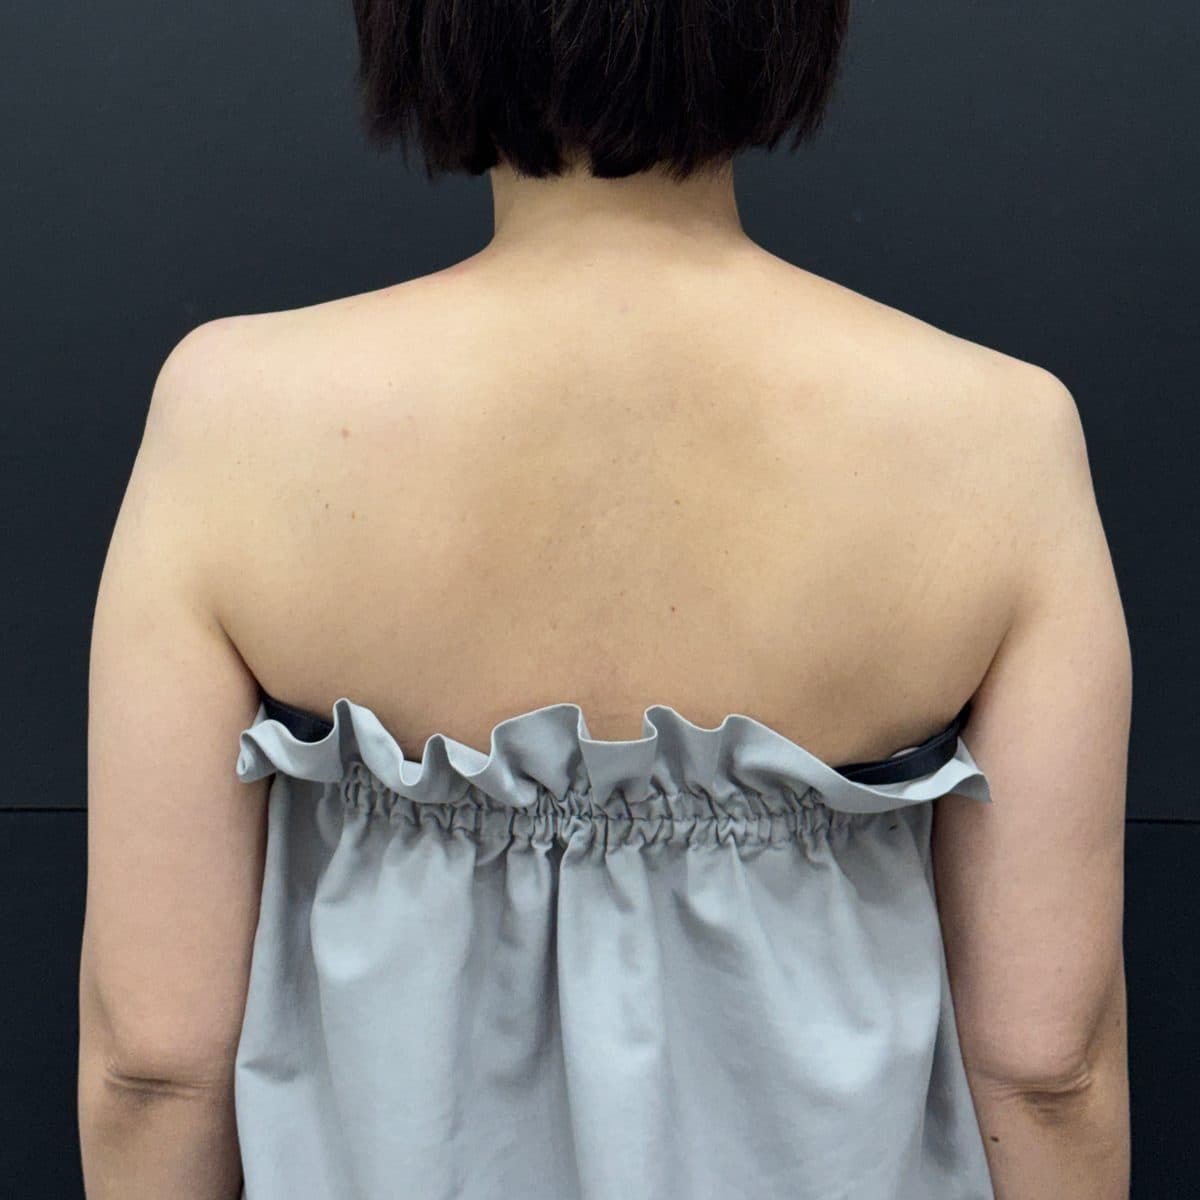 AfterShoulder & Trapezius FillerShoulder & Collarbone Filler
 Before
 AfterHand FillerSpecial Area Filler
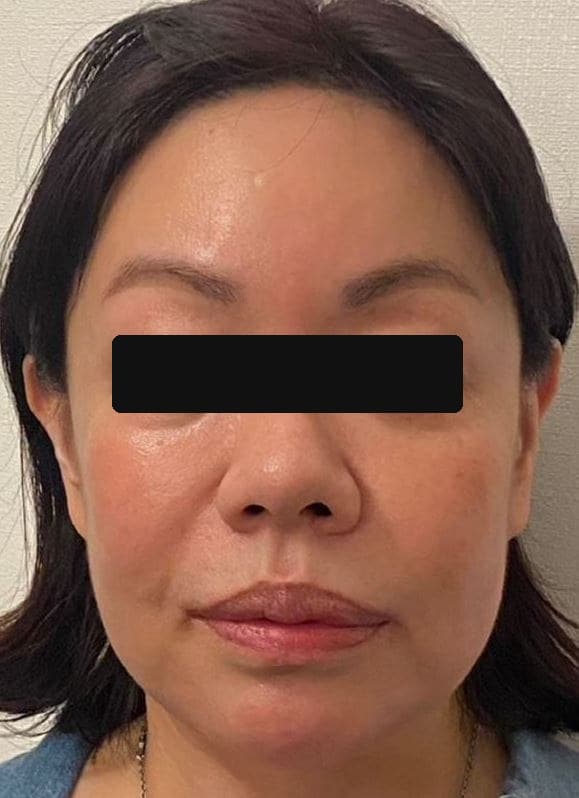 Before
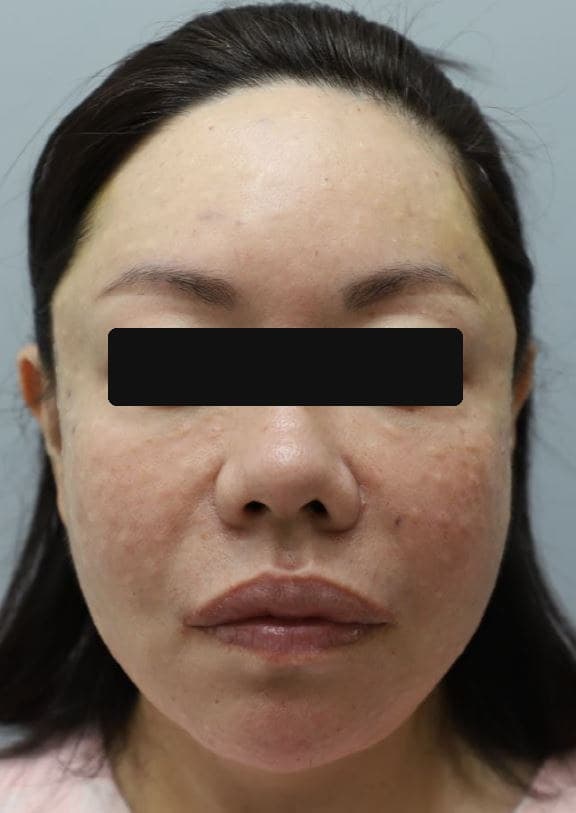 AfterThread LiftingLifting Treatments
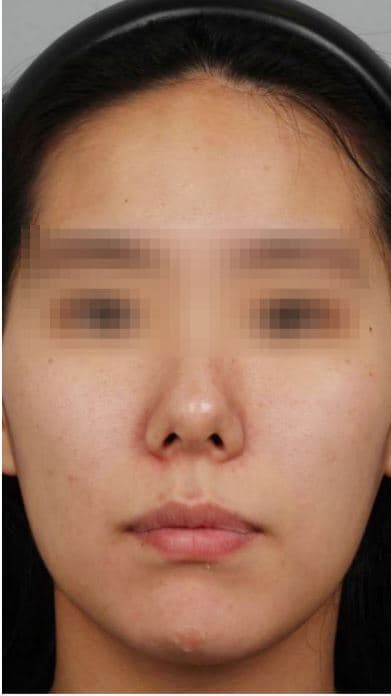 Before
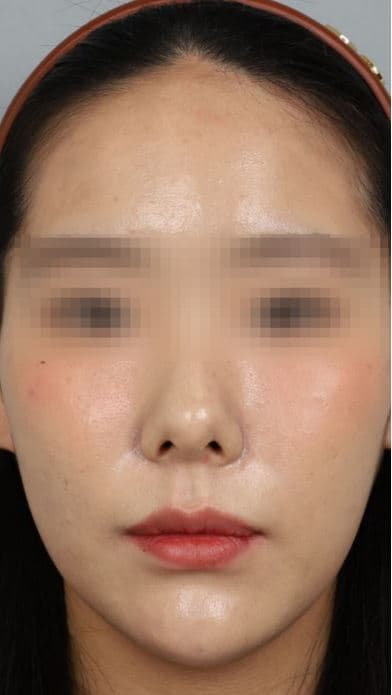 AfterThread LiftingLifting Treatments
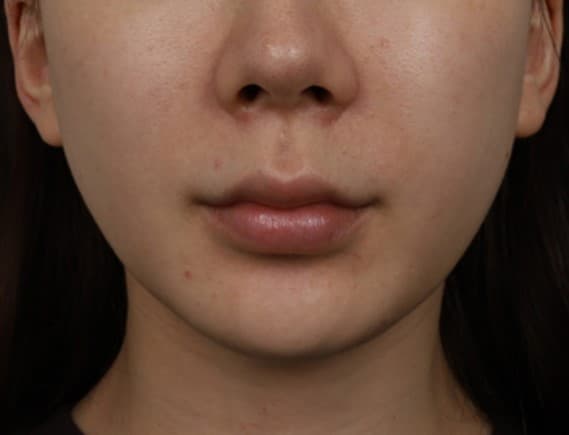 Before
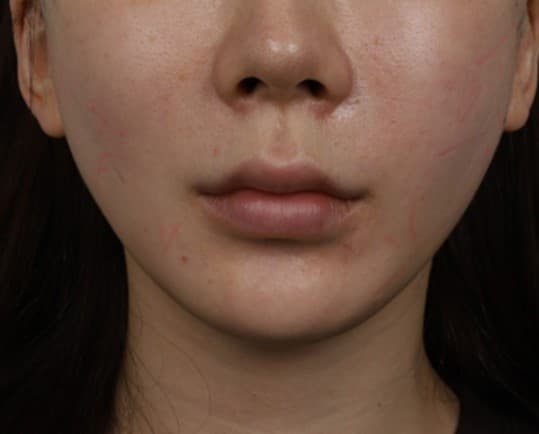 AfterThread LiftingLifting Treatments
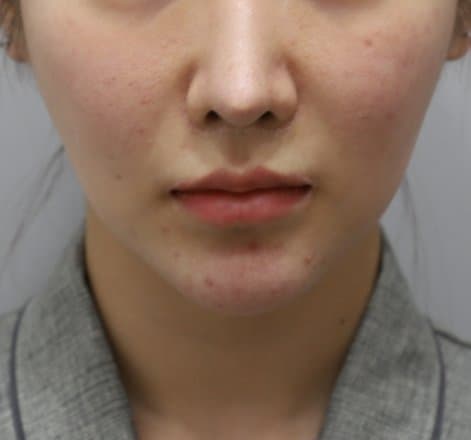 Before
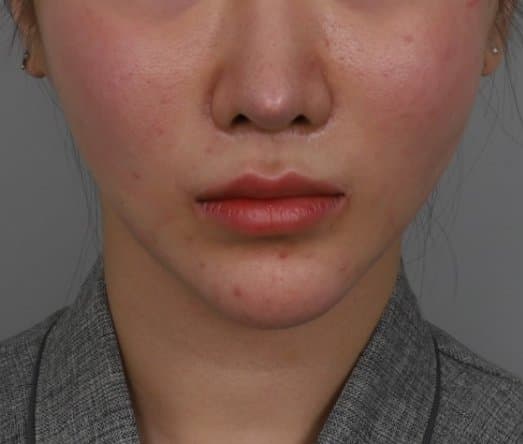 AfterThread LiftingLifting Treatments
 Before
 AfterThread LiftingLifting Treatments
 Before
 AfterThread LiftingLifting Treatments
 Before
 AfterThread LiftingLifting Treatments
 Before
 AfterThread LiftingLifting Treatments
 Before
 AfterThread LiftingLifting Treatments
 Before
 AfterThread LiftingLifting Treatments
 Before
 AfterThread LiftingLifting Treatments
 Before
 AfterThread LiftingLifting Treatments
 Before
 AfterThread LiftingLifting Treatments
 Before
 AfterThread LiftingLifting Treatments
 Before
 AfterThread LiftingLifting Treatments
 Before
 AfterThread LiftingLifting Treatments
 Before
 AfterAptos Thread LiftThread Lifting
 Before
 AfterAptos Thread LiftThread Lifting
 Before
 AfterAptos Thread LiftThread Lifting
 Before
 AfterAptos Thread LiftThread Lifting
 Before
 AfterAptos Thread LiftThread Lifting
 Before
 AfterAptos Thread LiftThread Lifting
 Before
 AfterAptos Thread LiftThread Lifting
 Before
 AfterAptos Thread LiftThread Lifting
 Before
 AfterAptos Thread LiftThread Lifting
 Before
 AfterAptos Thread LiftThread Lifting
 Before
 AfterAptos Thread LiftThread Lifting
 Before
 AfterAptos Thread LiftThread Lifting
 Before
 AfterSilthera & SiltaniumThread Lifting
 Before
 AfterSilthera & SiltaniumThread Lifting
 Before
 AfterSilthera & SiltaniumThread Lifting
 Before
 AfterSilthera & SiltaniumThread Lifting
 Before
 AfterSilthera & SiltaniumThread Lifting
 Before
 AfterSilthera & SiltaniumThread Lifting
 Before
 AfterSilthera & SiltaniumThread Lifting
 Before
 AfterSilthera & SiltaniumThread Lifting
 Before
 AfterSilthera & SiltaniumThread Lifting
 Before
 AfterSilthera & SiltaniumThread Lifting
 Before
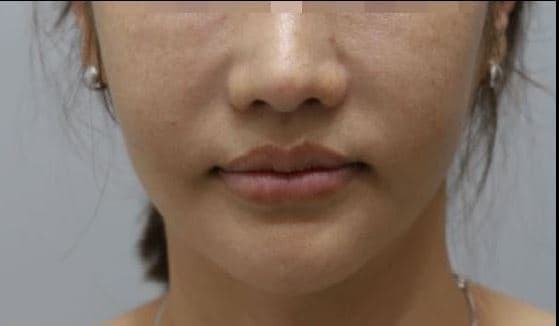 AfterSok-Sok Face InjectionFace & Body Contouring
 Before
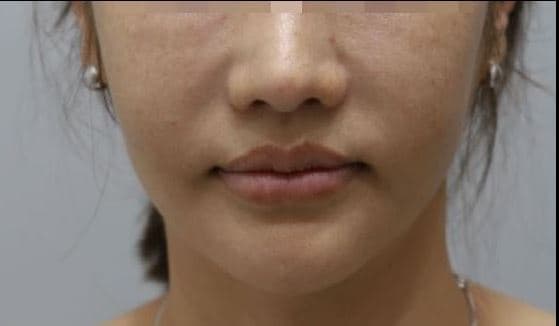 AfterSok-Sok Face InjectionFace & Body Contouring
 Before
 AfterAbdomen Sok-Sok InjectionSok-Sok Body Injection
 Before
 AfterAbdomen Sok-Sok InjectionSok-Sok Body Injection
 Before
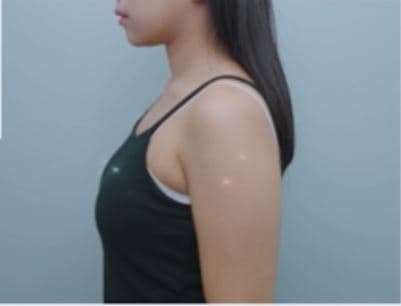 AfterArm Sok-Sok InjectionSok-Sok Body Injection
 Before
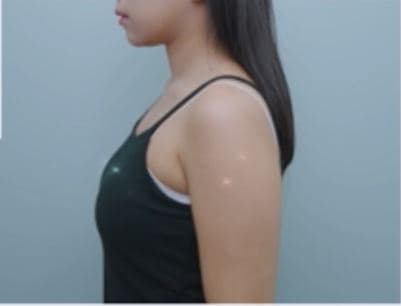 AfterArm Sok-Sok InjectionSok-Sok Body Injection
 Before
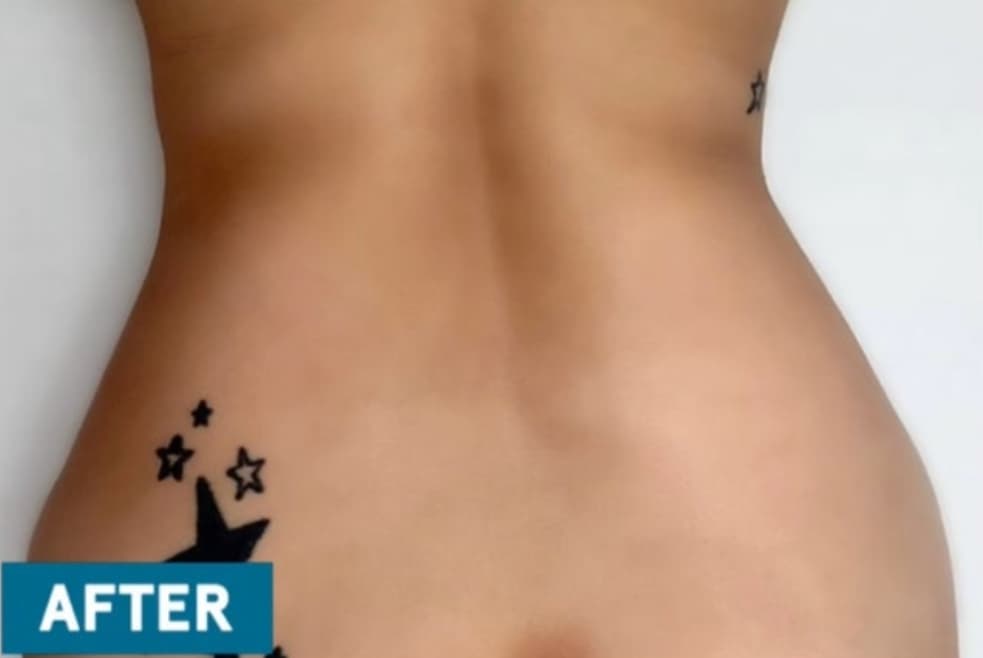 AfterLove Handle Sok-Sok InjectionSok-Sok Body Injection
 Before
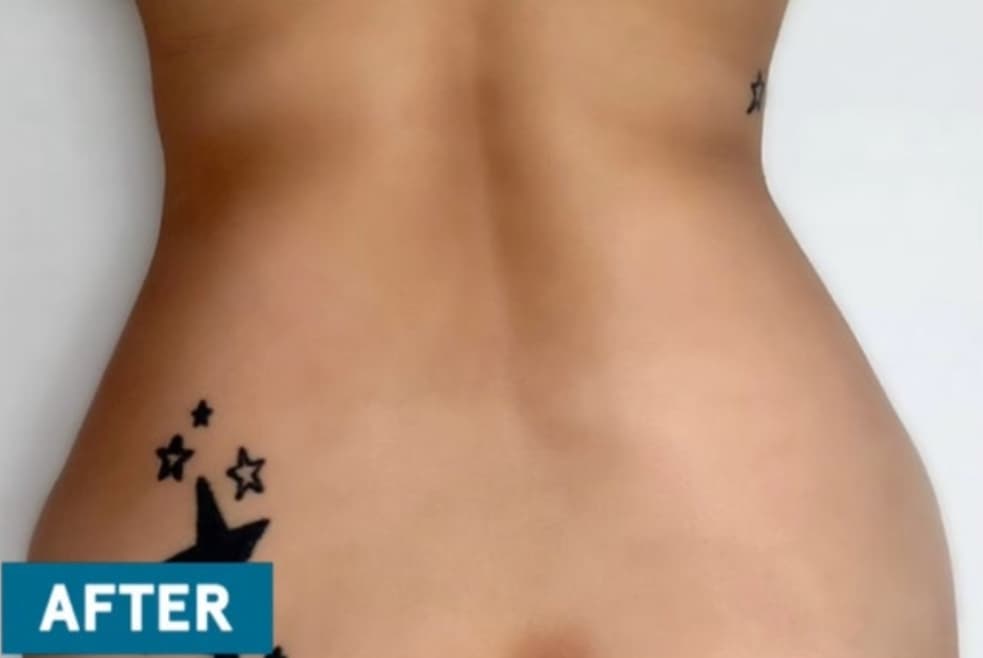 AfterLove Handle Sok-Sok InjectionSok-Sok Body Injection
 Before
 AfterAbdomen Sok-Sok InjectionSok-Sok Body Injection
 Before
 AfterAbdomen Sok-Sok InjectionSok-Sok Body Injection
 Before
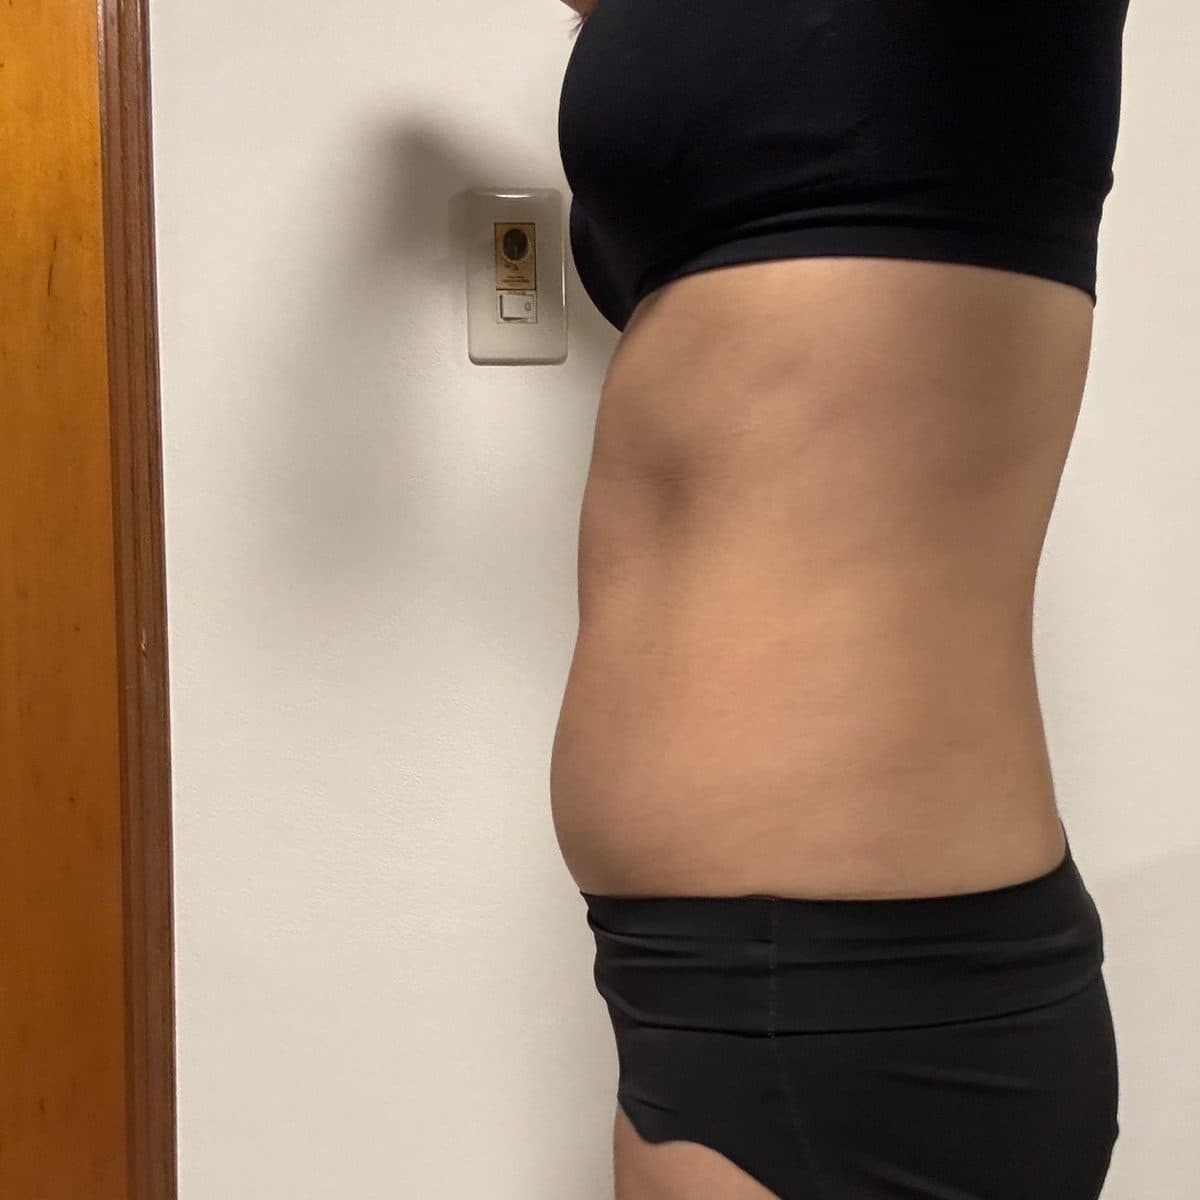 AfterAbdomen Sok-Sok InjectionSok-Sok Body Injection
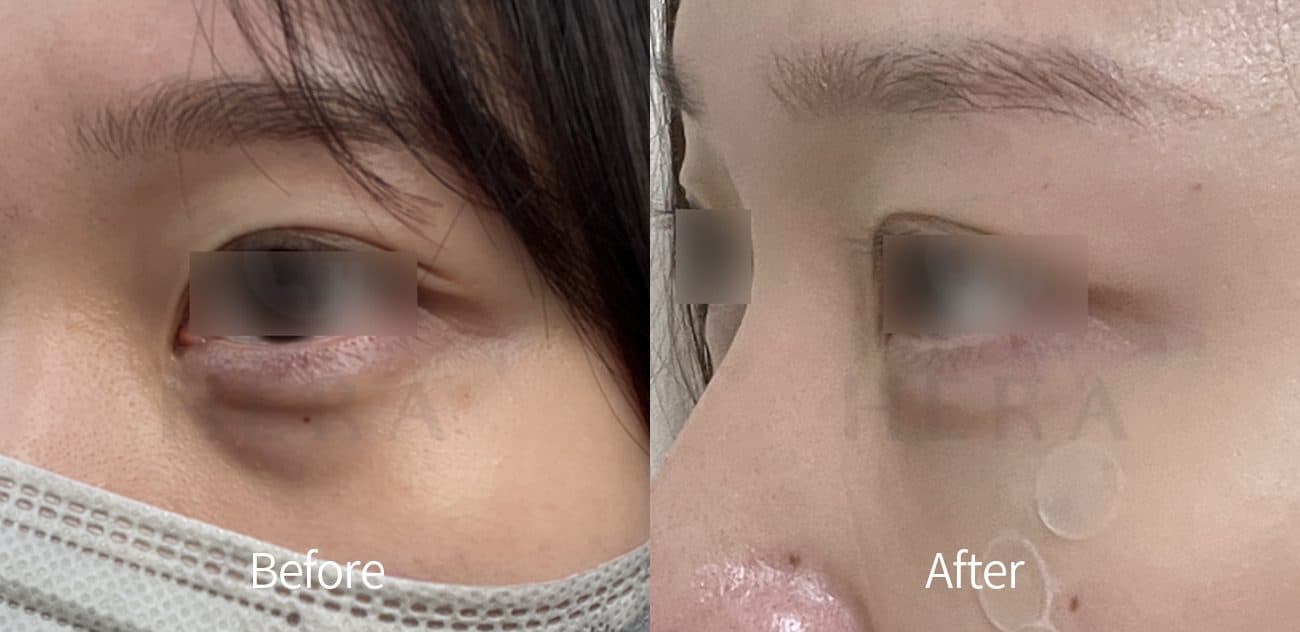 General Facial FillersFillers
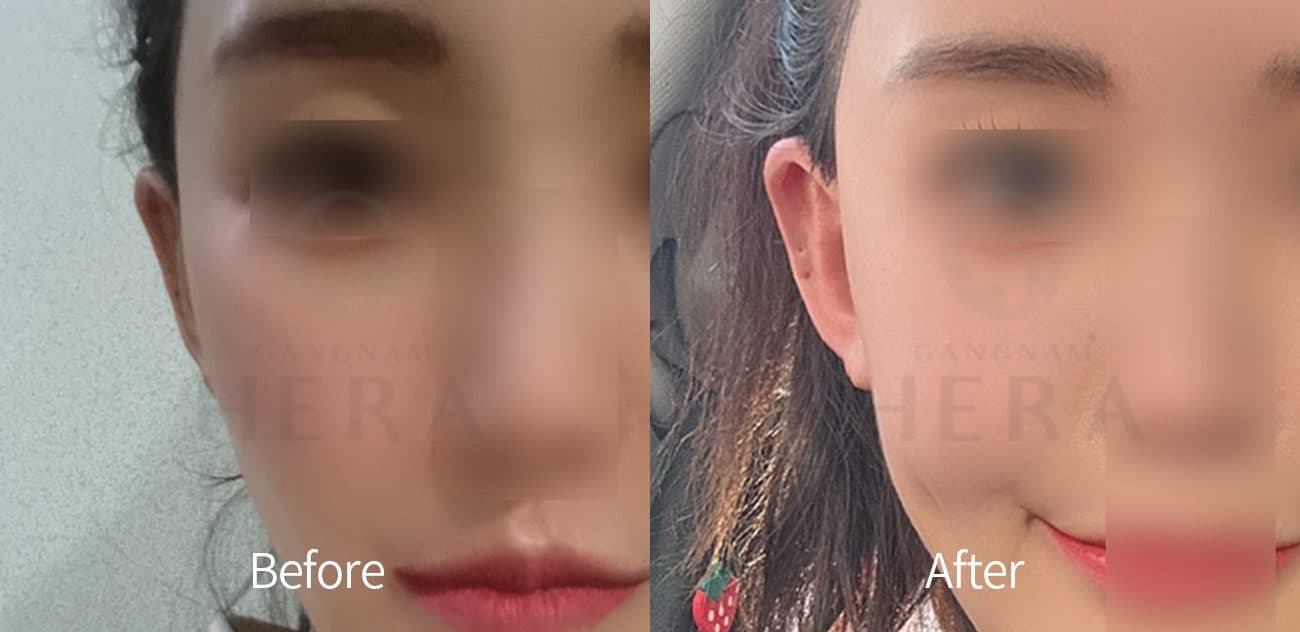 General Facial FillersFillers
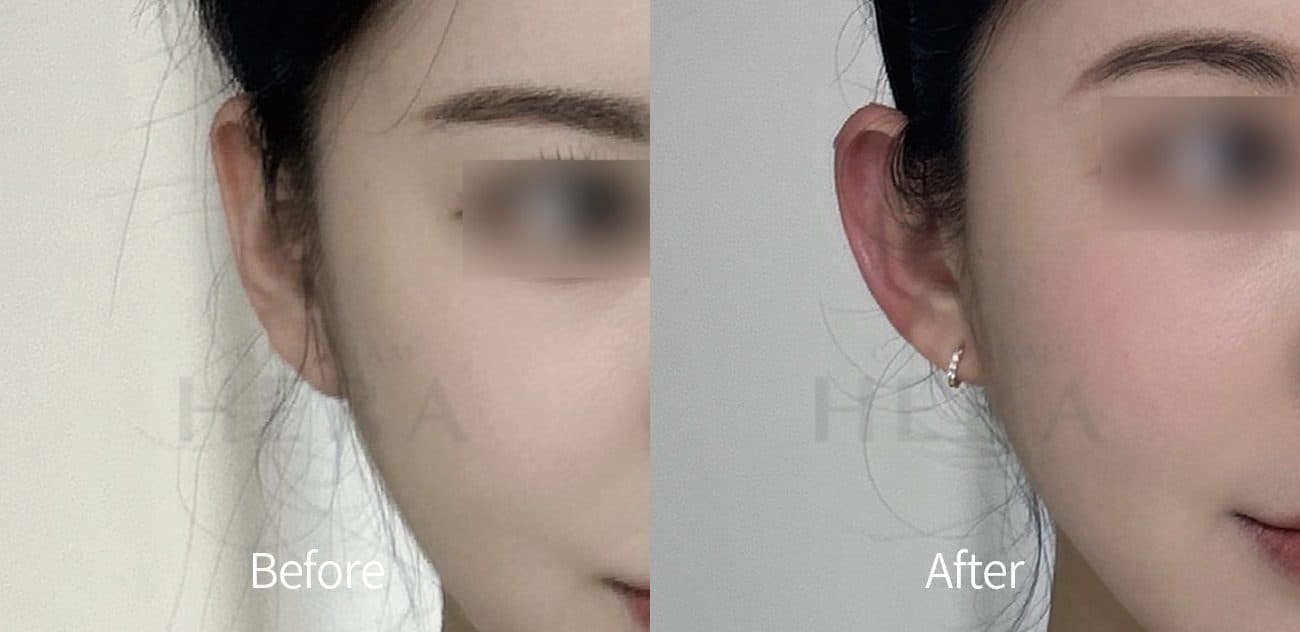 General Facial FillersFillers
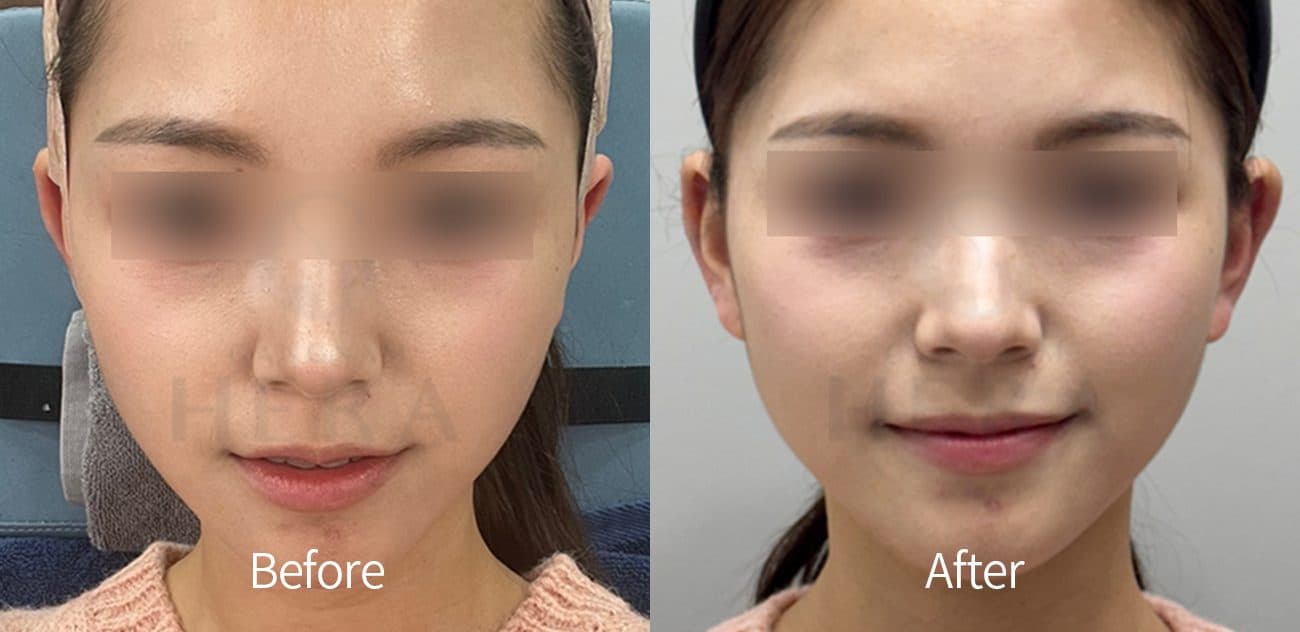 General Facial FillersFillers
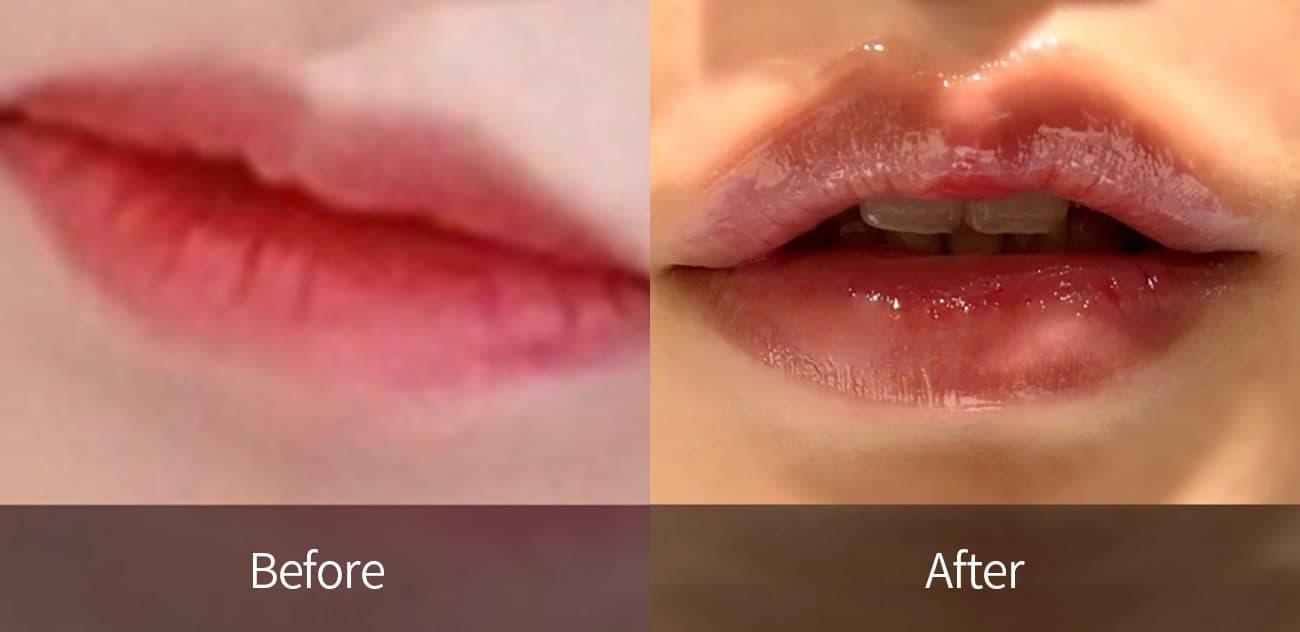 General Facial FillersFillers
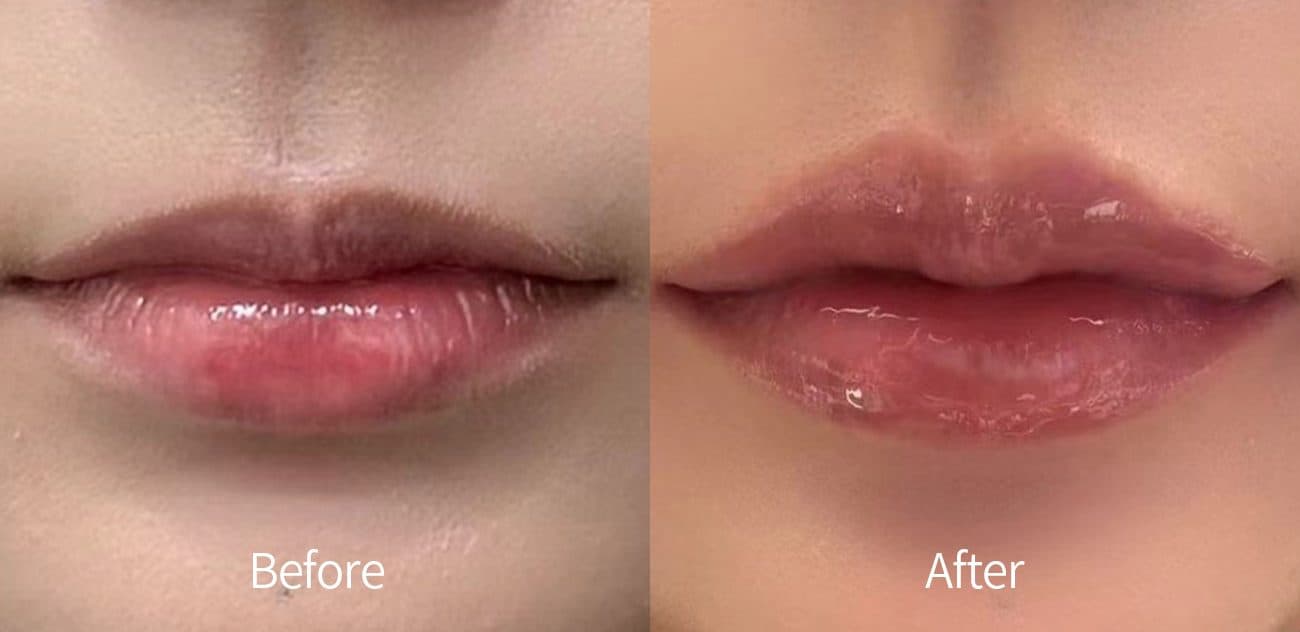 General Facial FillersFillers
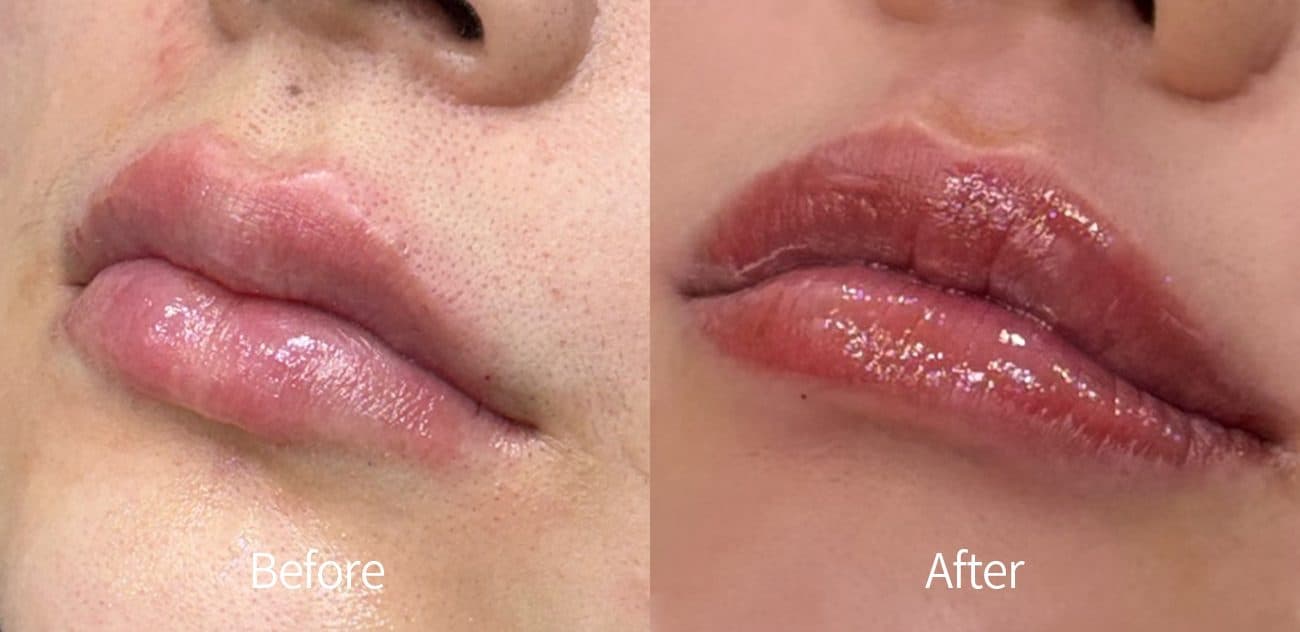 General Facial FillersFillers
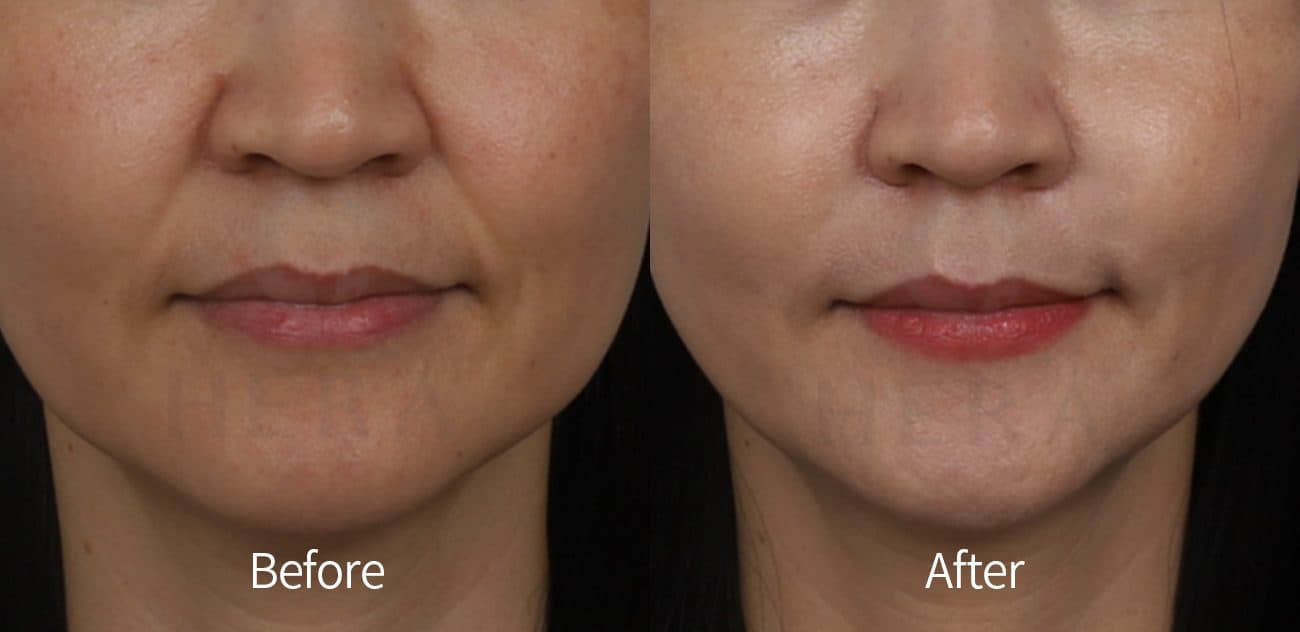 General Facial FillersFillers
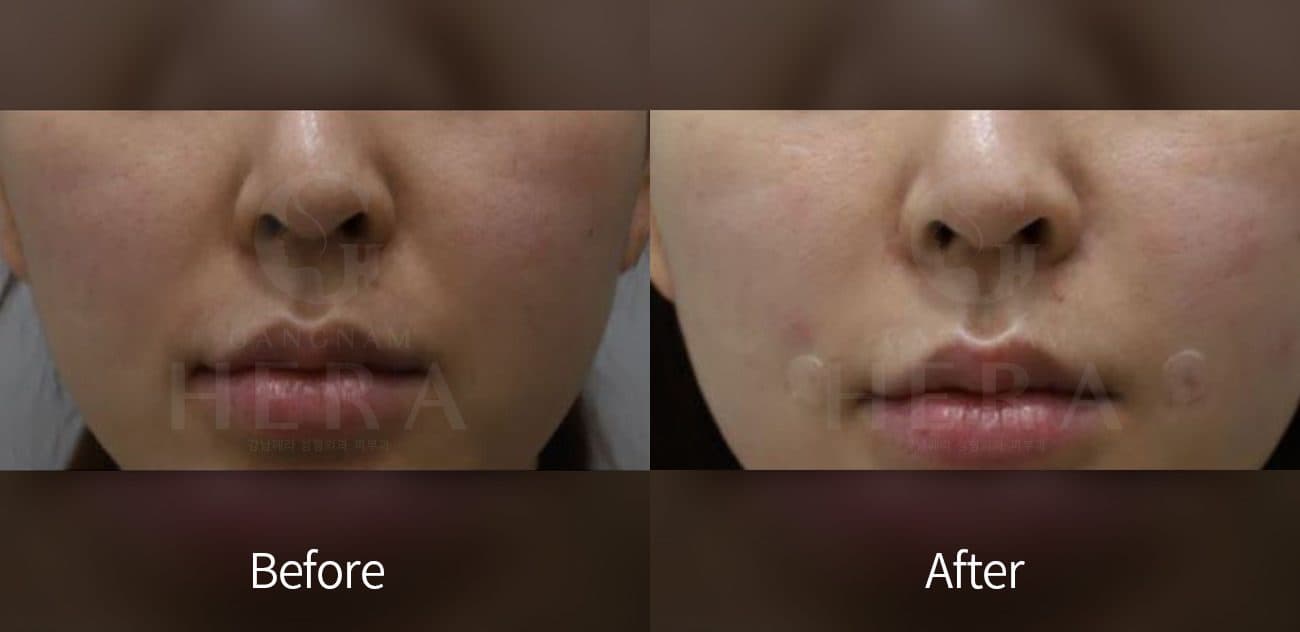 General Facial FillersFillers
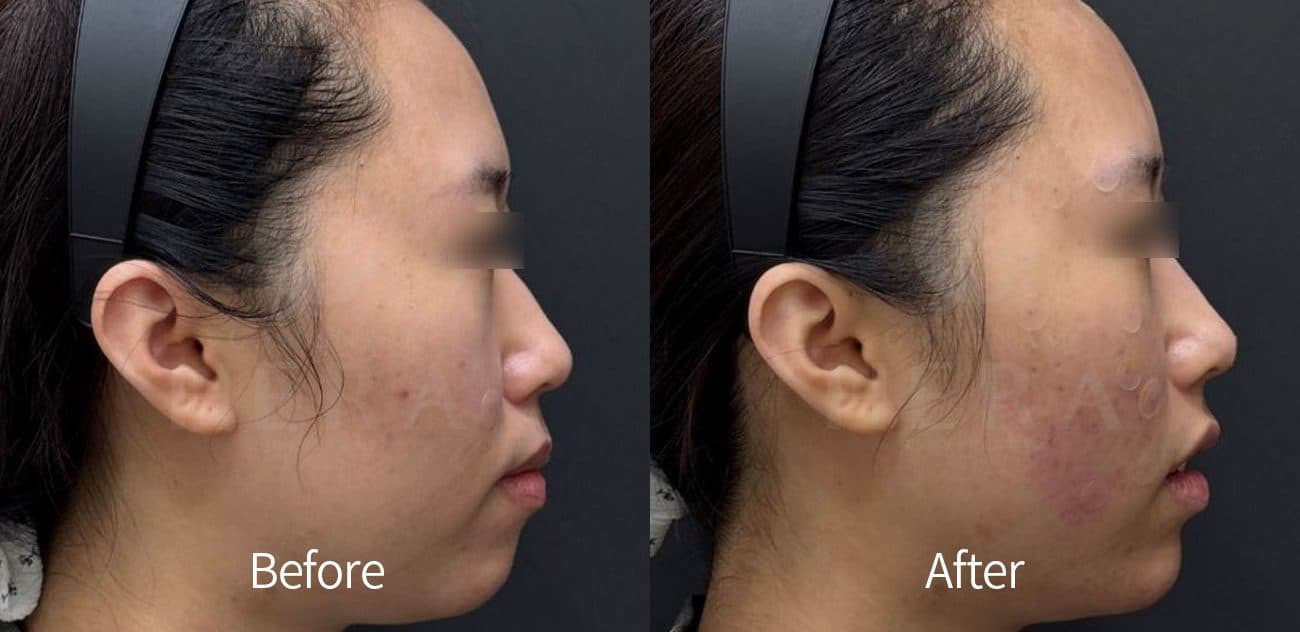 General Facial FillersFillers
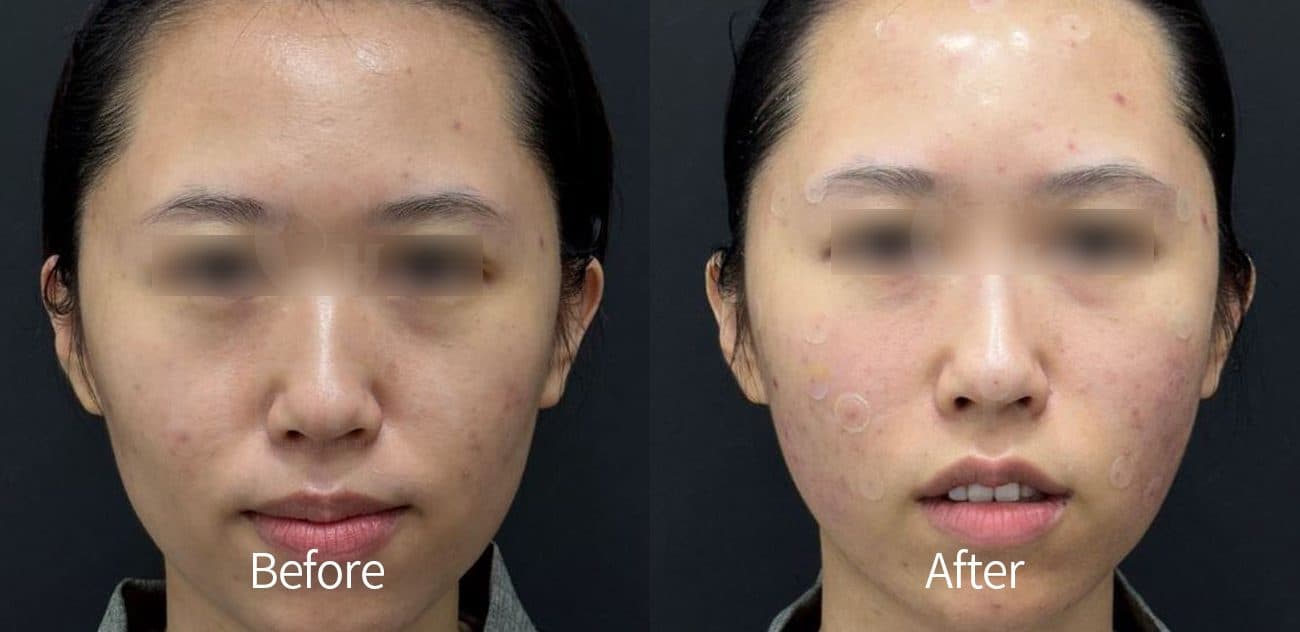 General Facial FillersFillers
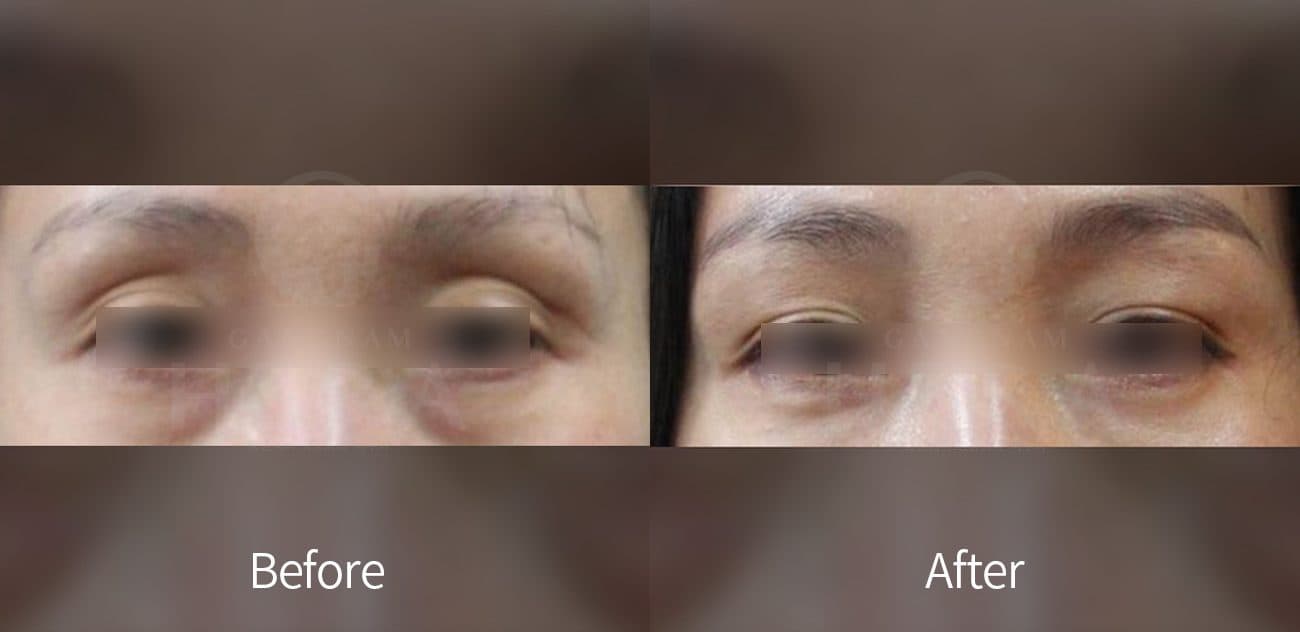 Eye Area FillerEye Rejuvenation Filler
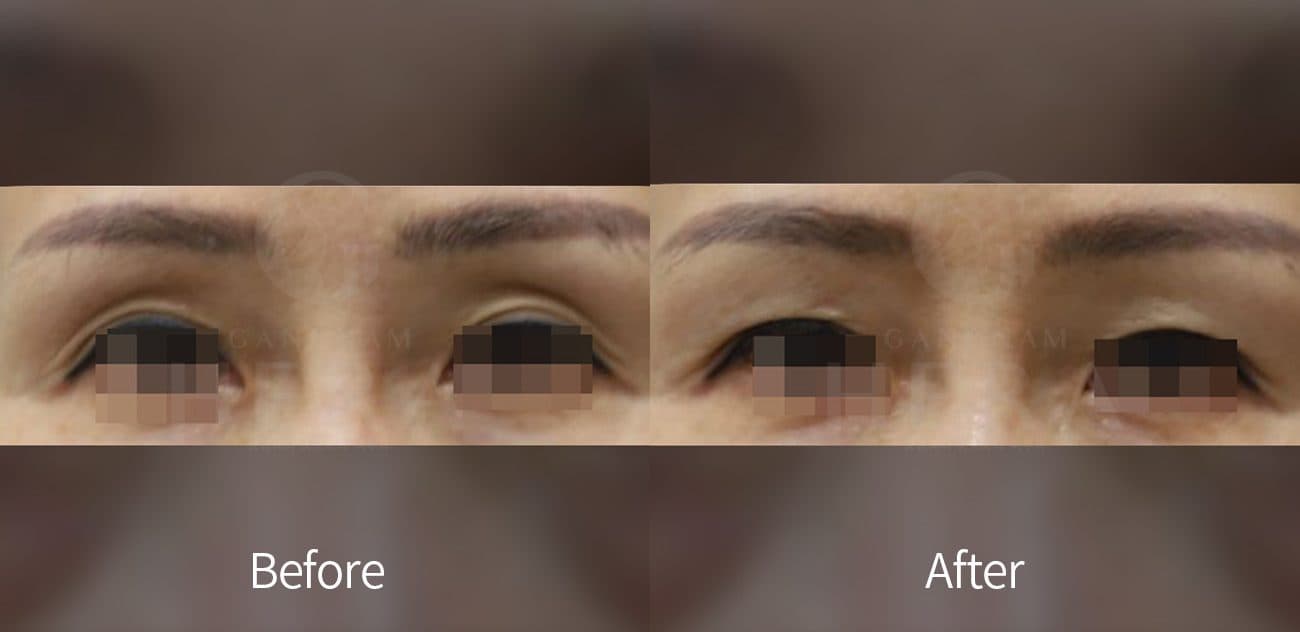 Eye Area FillerEye Rejuvenation Filler
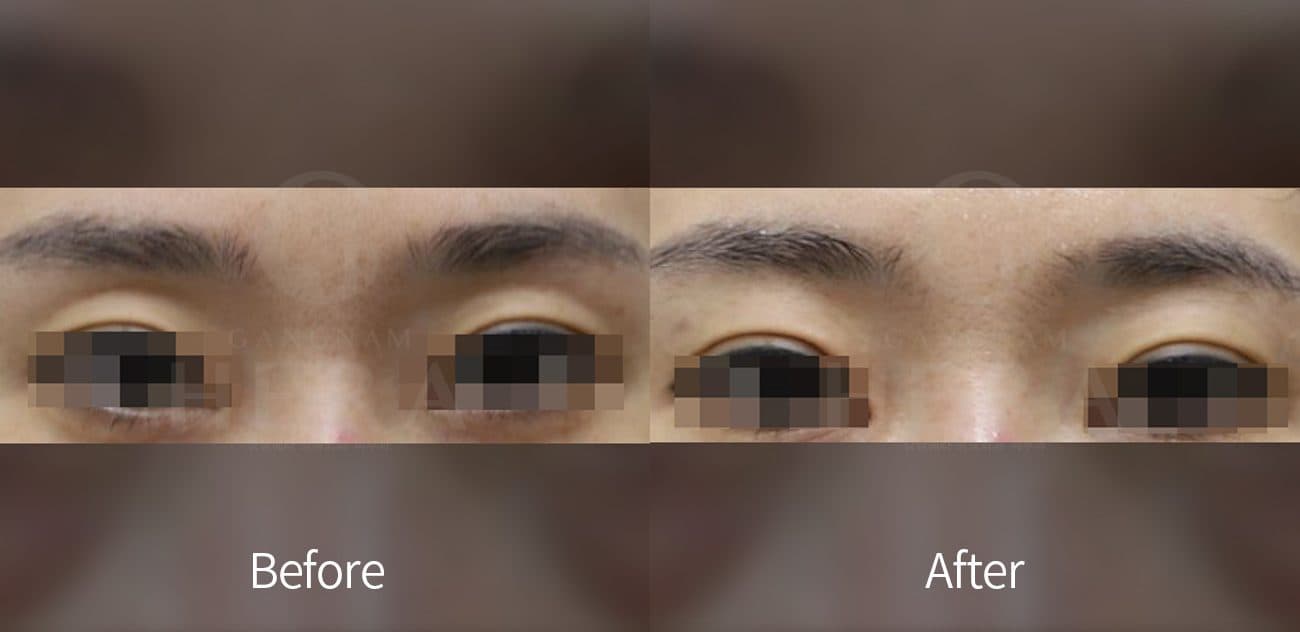 Eye Area FillerEye Rejuvenation Filler
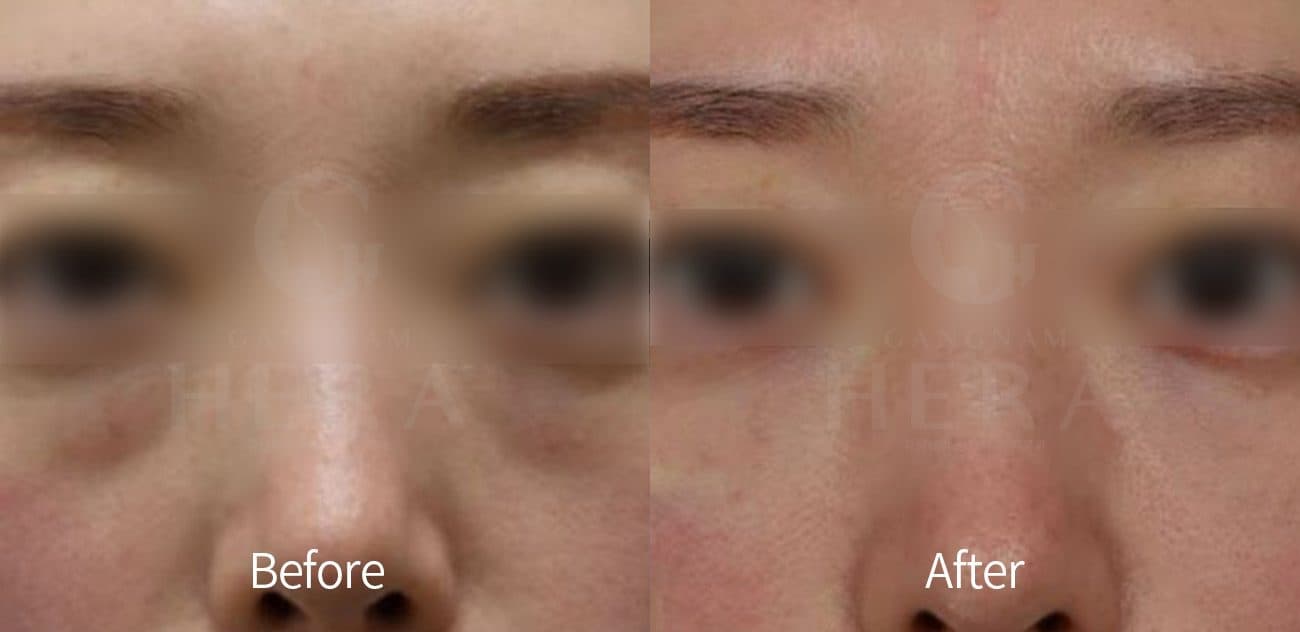 Eye Area FillerEye Rejuvenation Filler
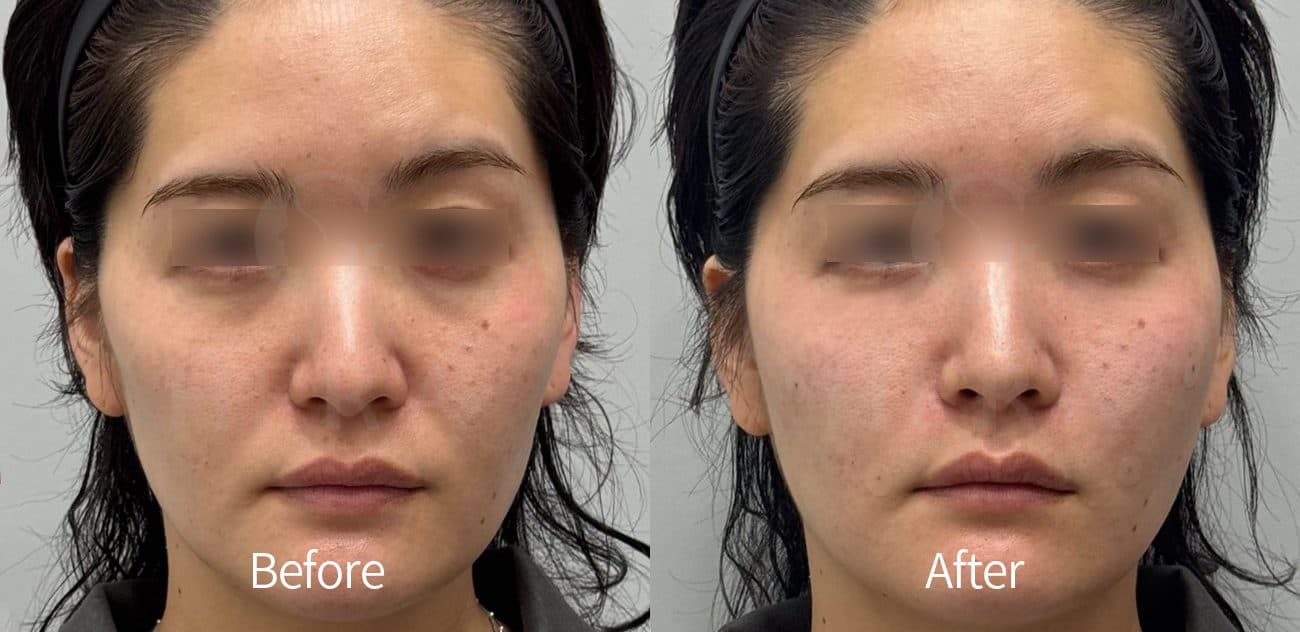 Eye Area FillerEye Rejuvenation Filler
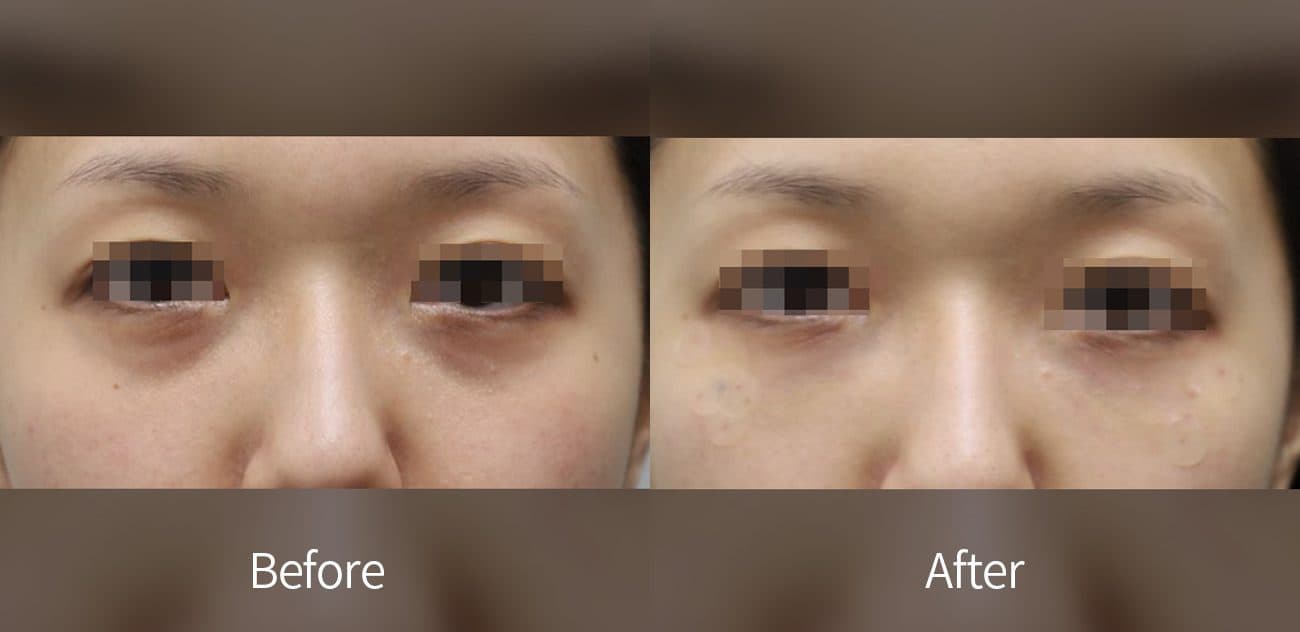 Eye Area FillerEye Rejuvenation Filler
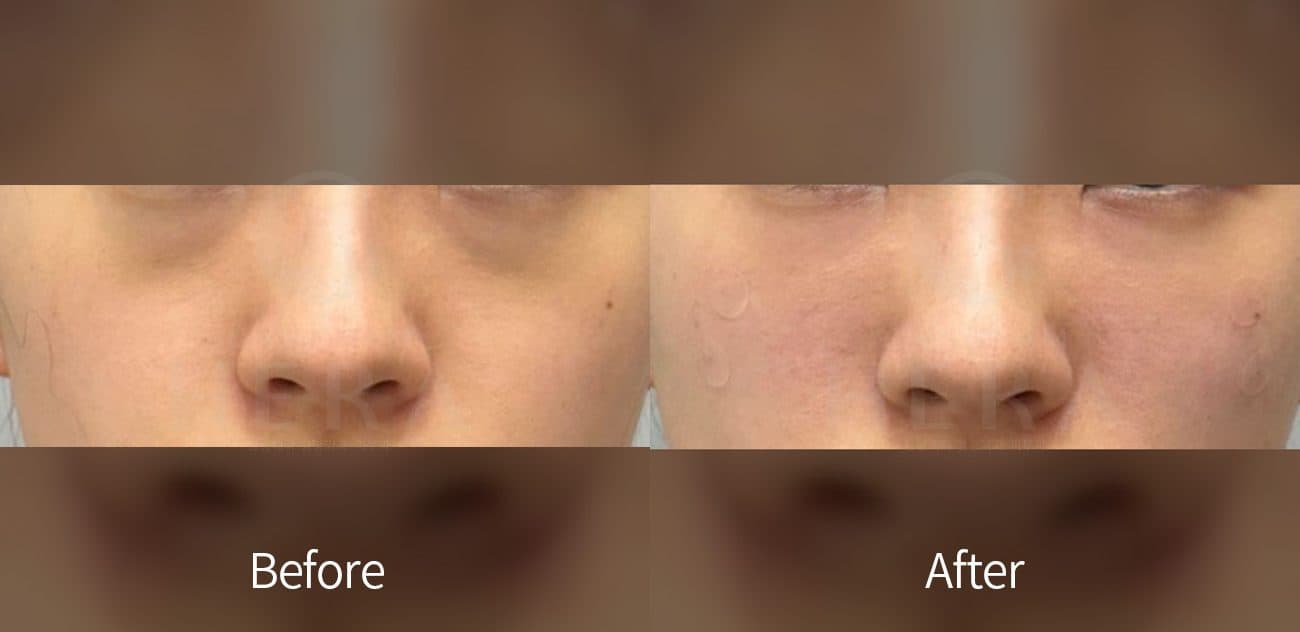 Eye Area FillerEye Rejuvenation Filler
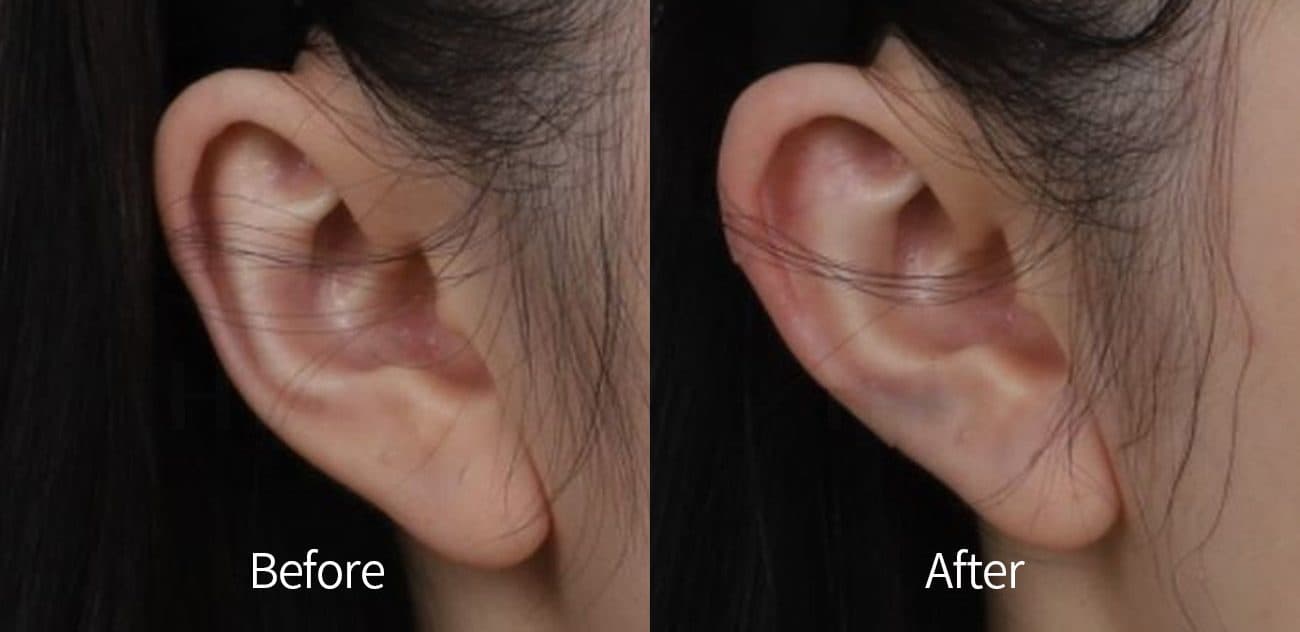 Ear FillerFillers
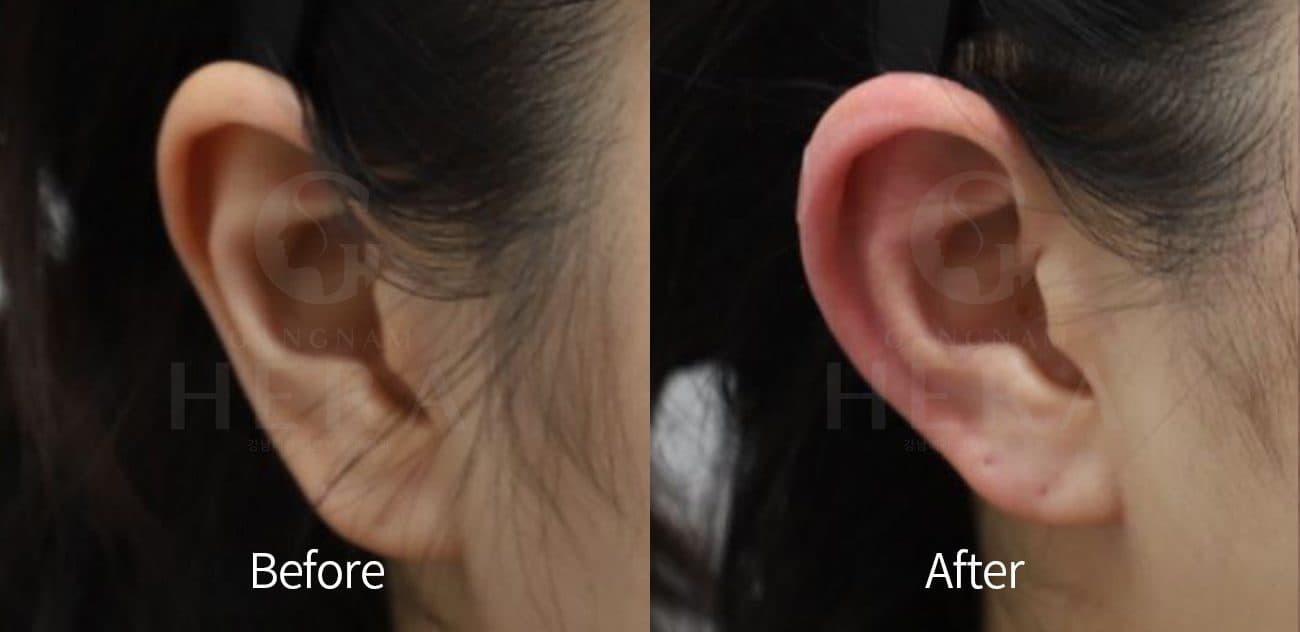 Ear FillerFillers
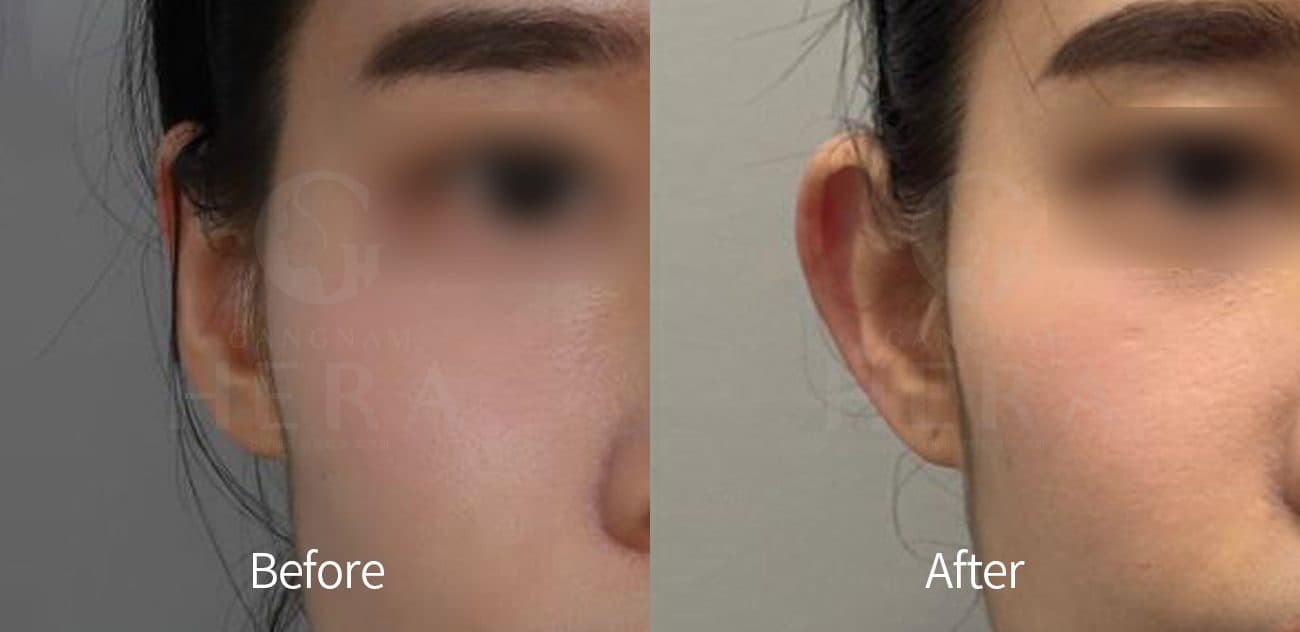 Ear FillerFillers
 Ear FillerFillers
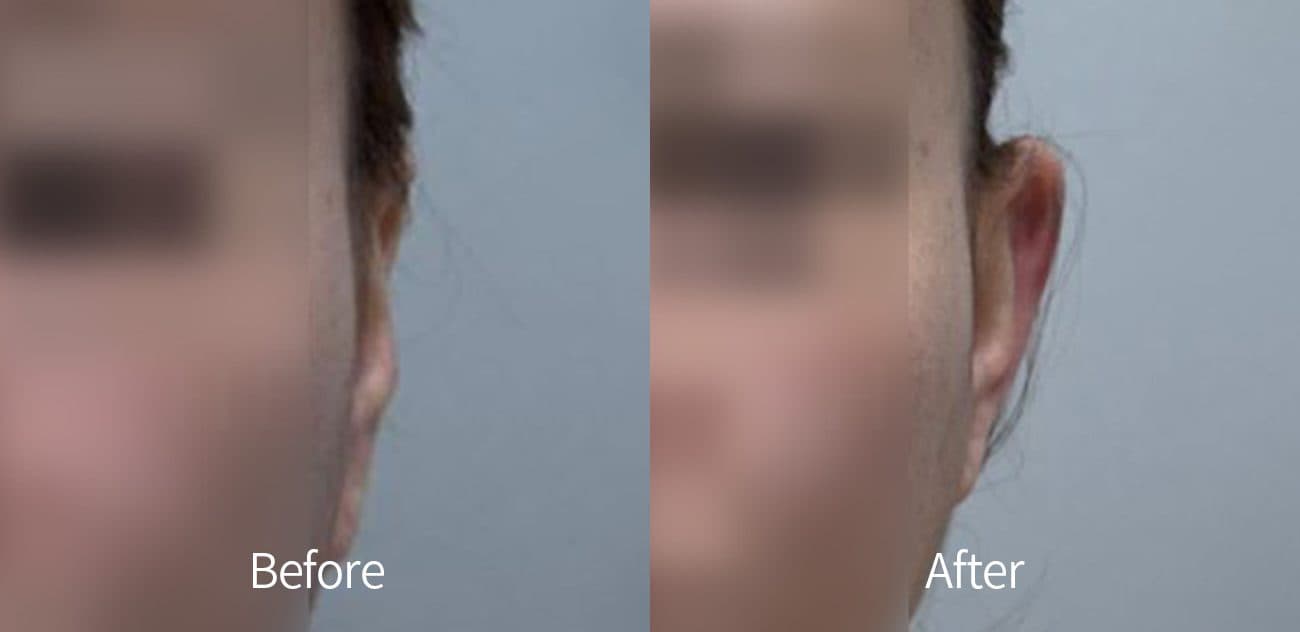 Ear FillerFillers
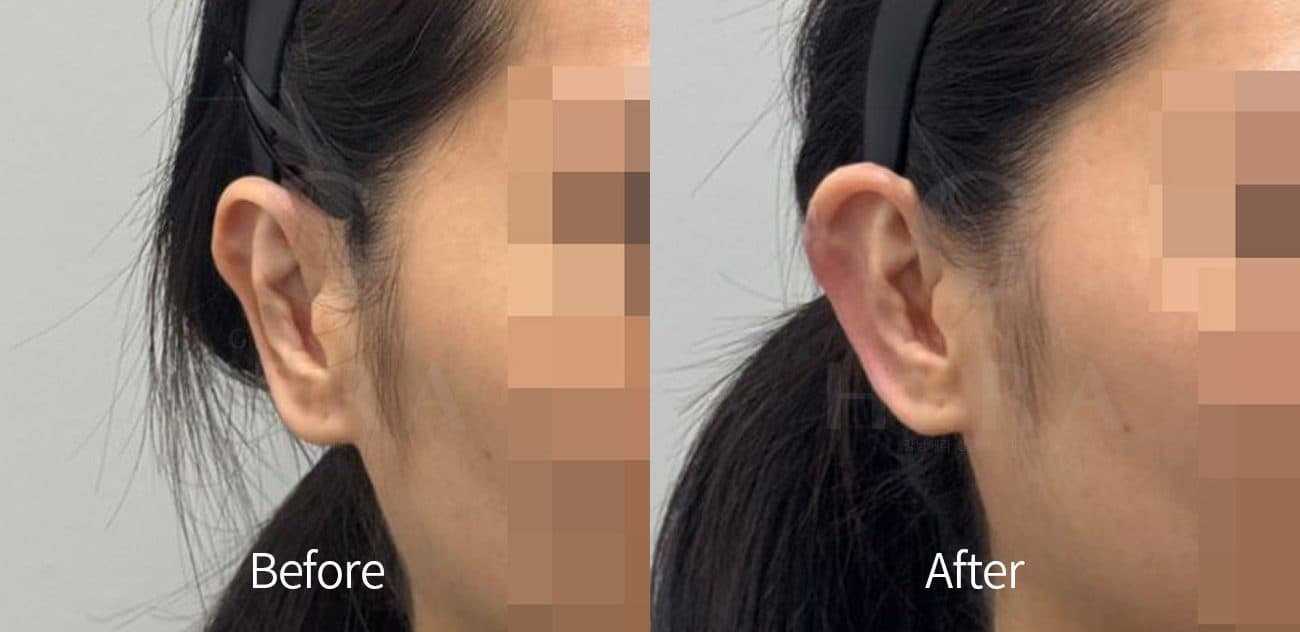 Ear FillerFillers
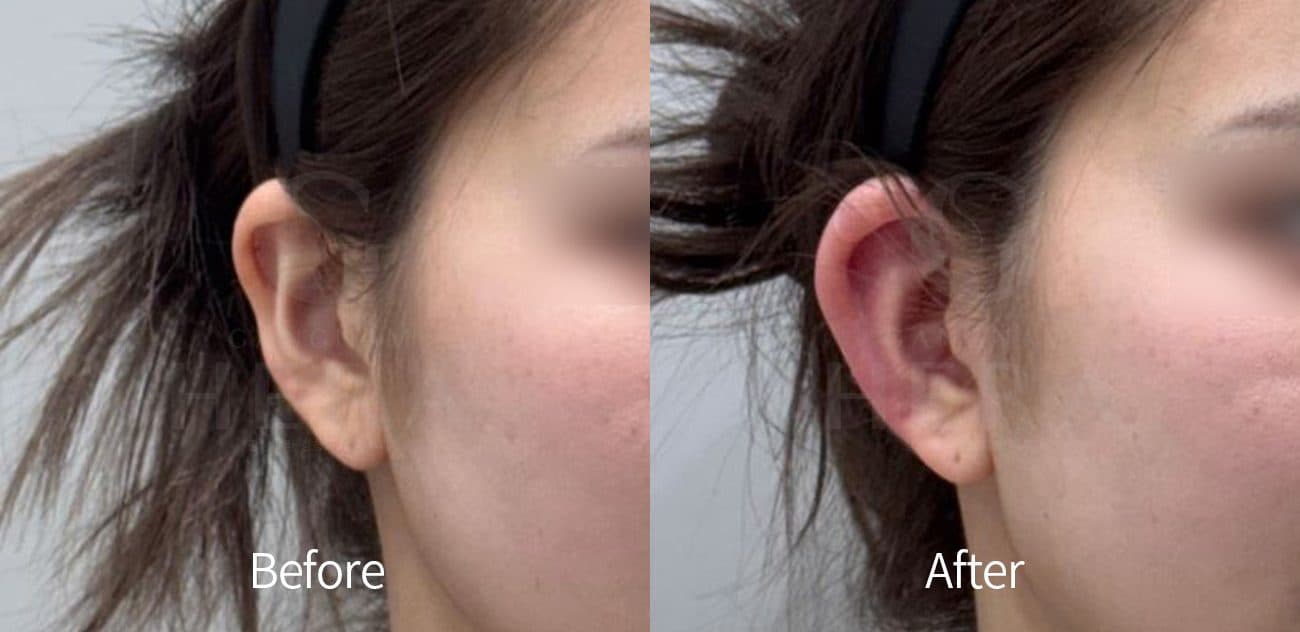 Ear FillerFillers
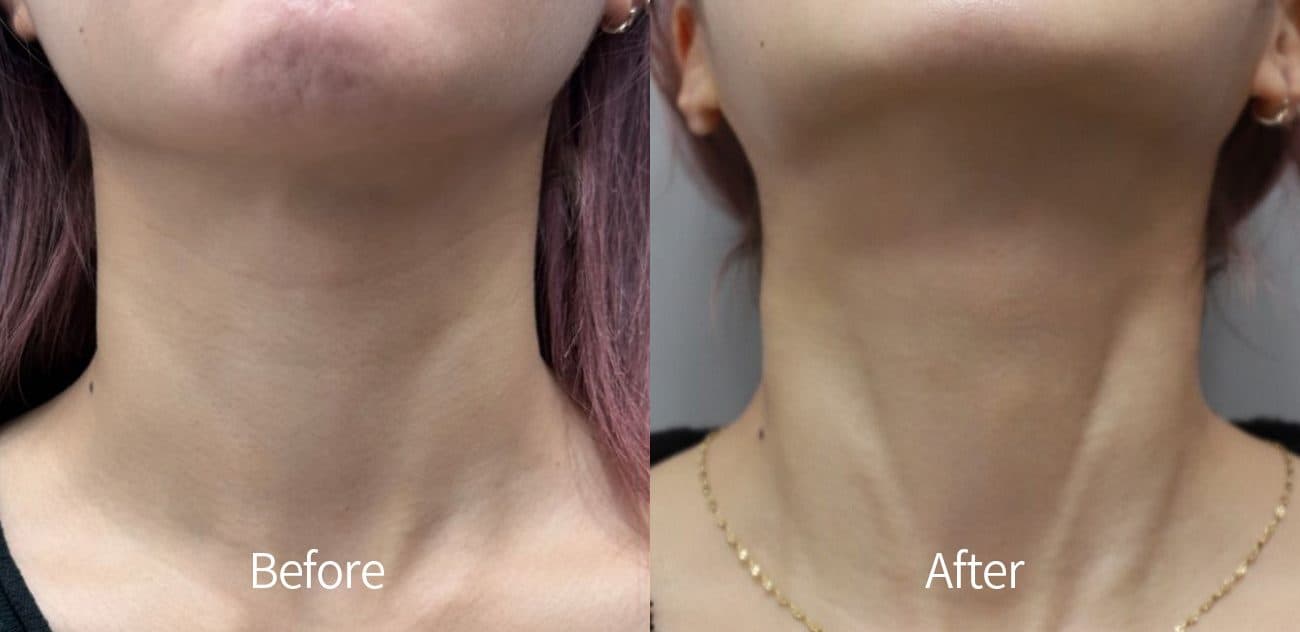 Neck Line FillerFillers
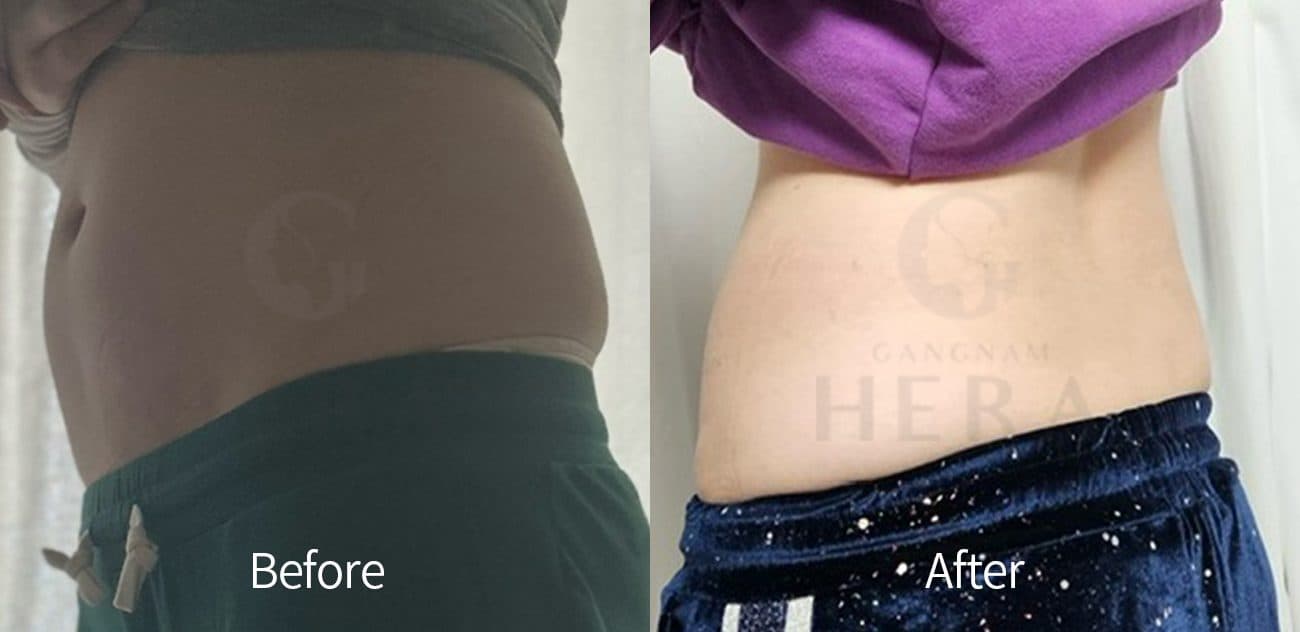 Sok-Sok Body InjectionFace & Body Contouring
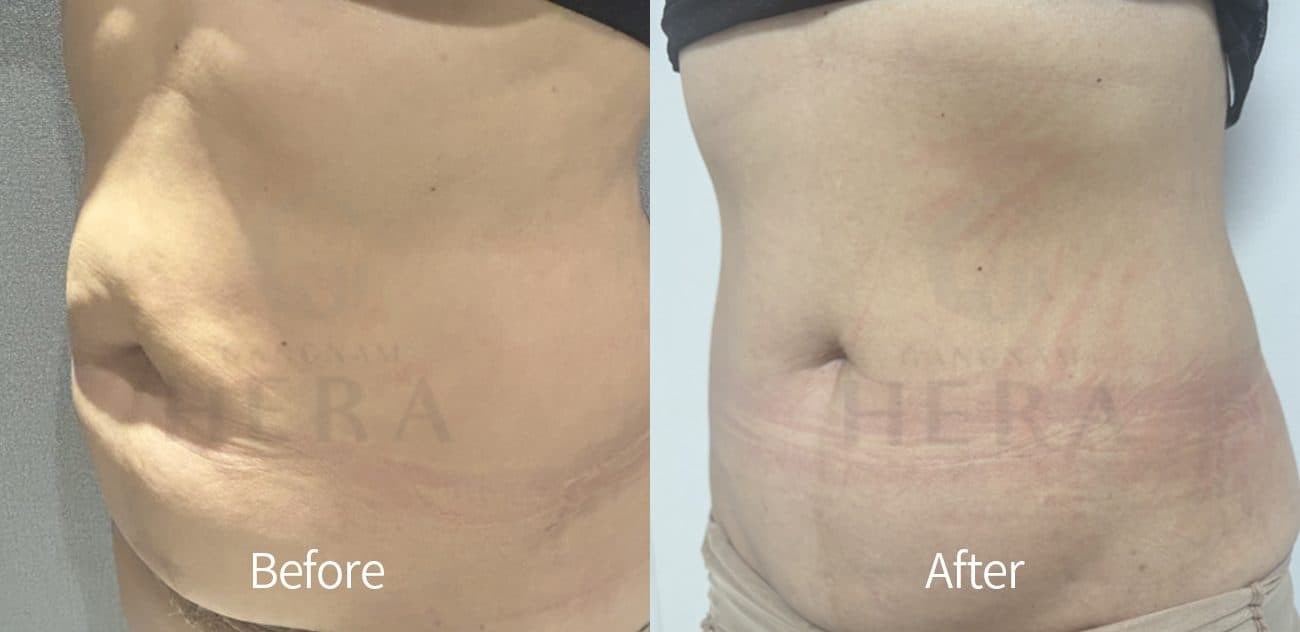 Sok-Sok Body InjectionFace & Body Contouring
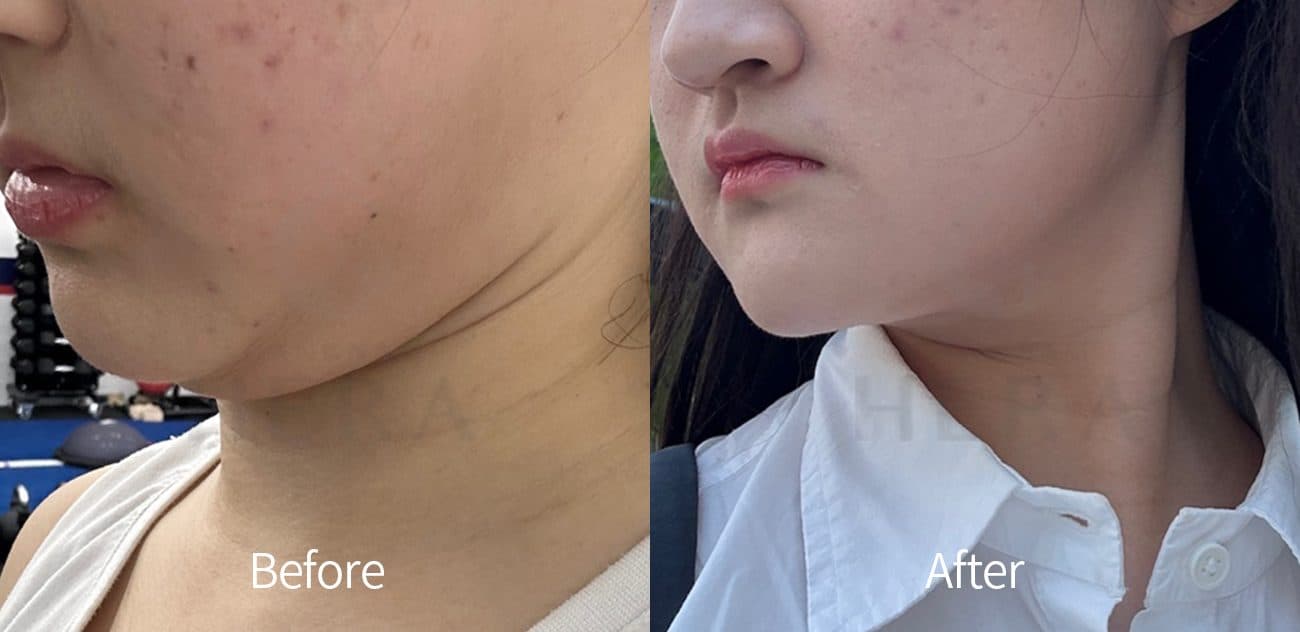 Sok-Sok Body InjectionFace & Body Contouring
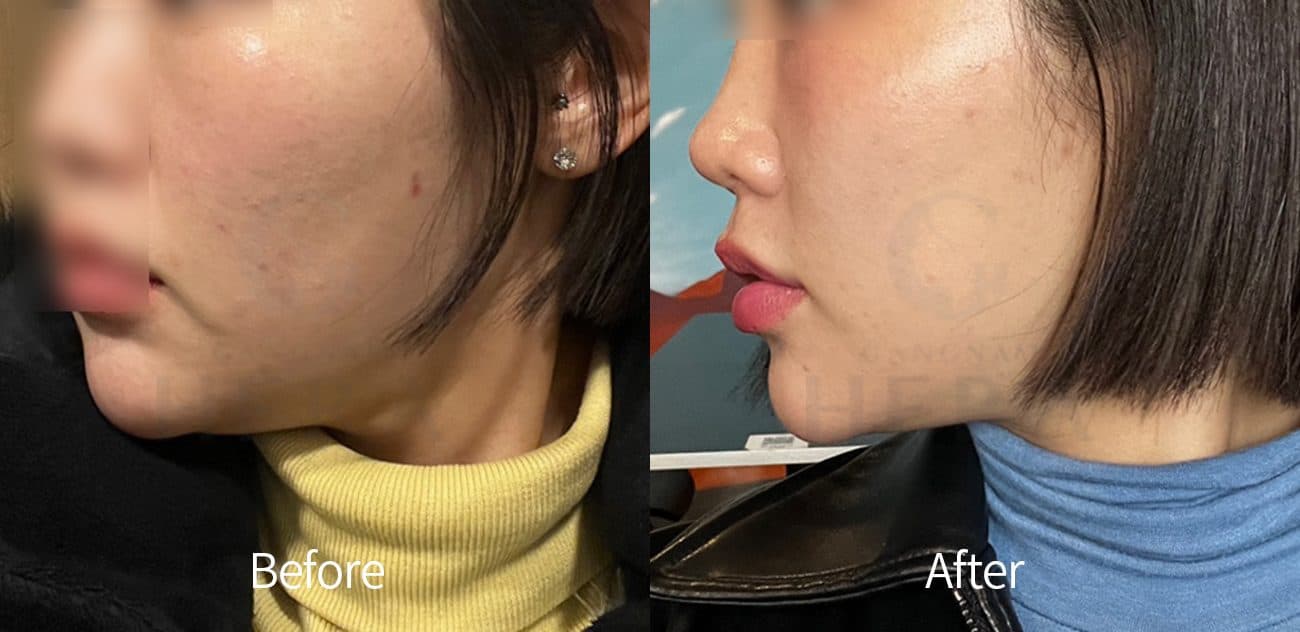 Sok-Sok Body InjectionFace & Body Contouring
 Sok-Sok Body InjectionFace & Body Contouring
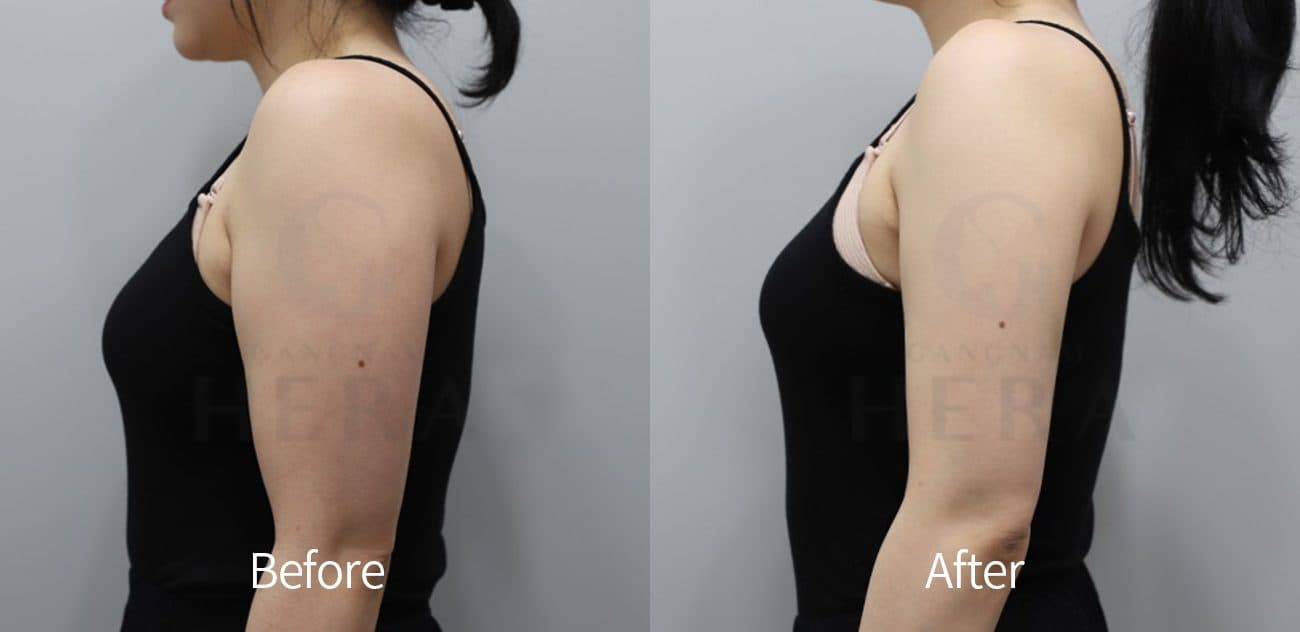 Sok-Sok Body InjectionFace & Body Contouring
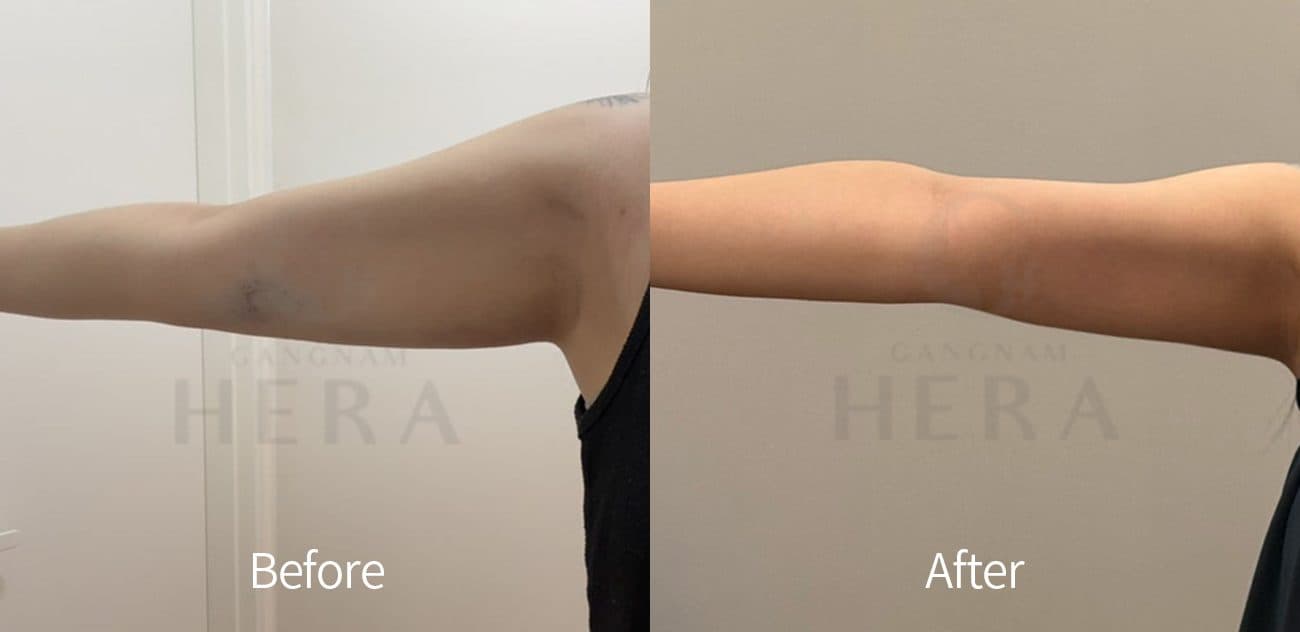 Sok-Sok Body InjectionFace & Body Contouring
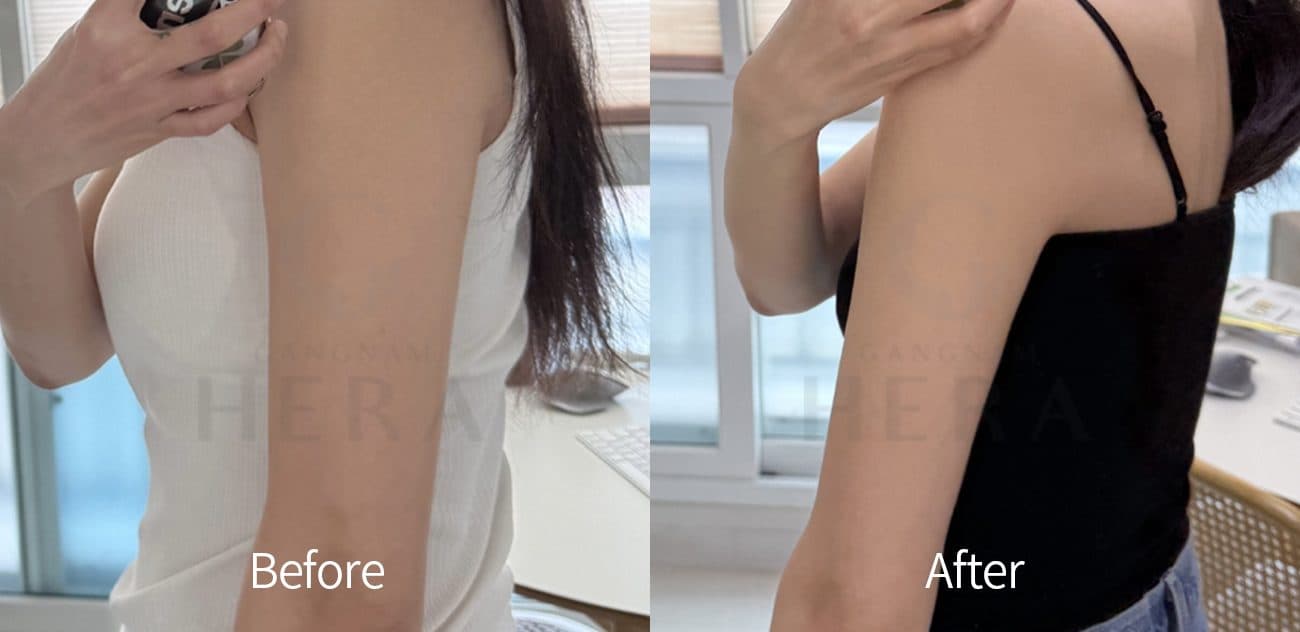 Sok-Sok Body InjectionFace & Body Contouring
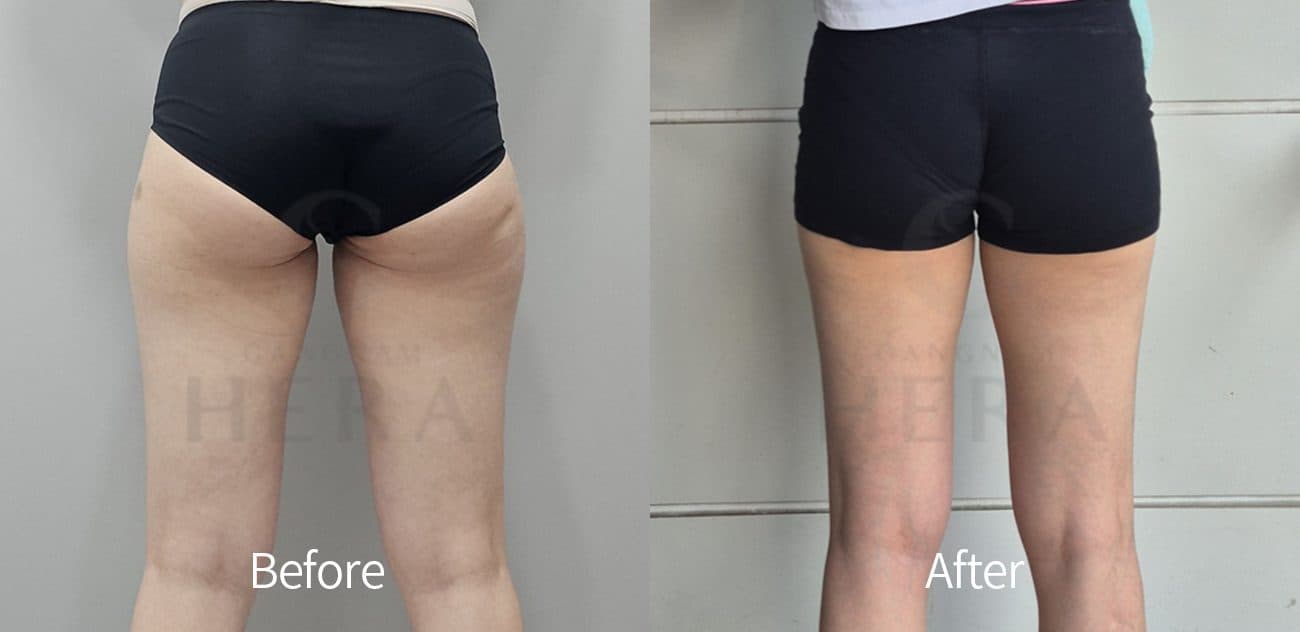 Sok-Sok Body InjectionFace & Body Contouring
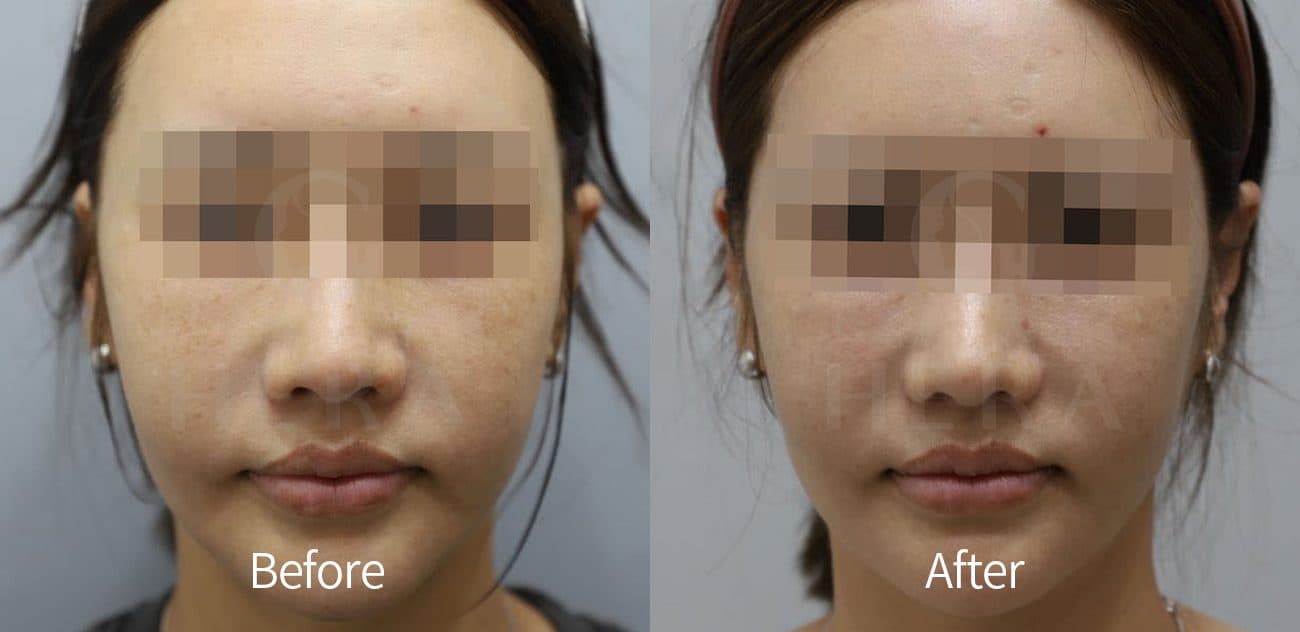 Sok-Sok Body InjectionFace & Body Contouring
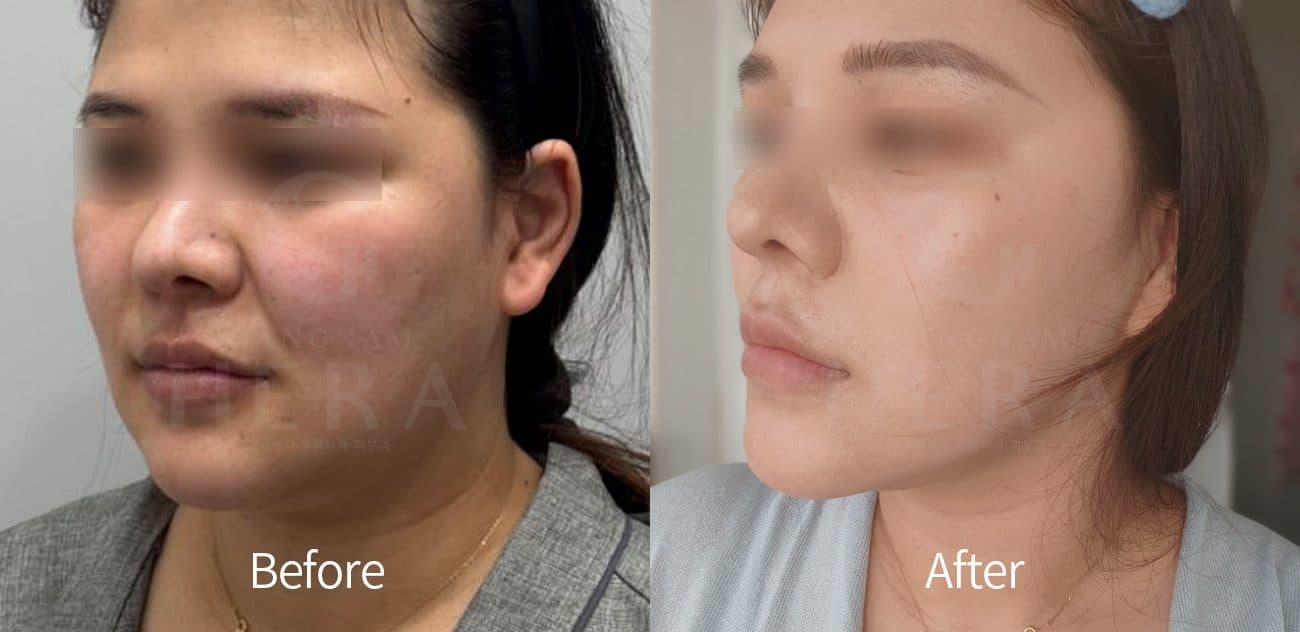 Sok-Sok Body InjectionFace & Body Contouring
Photos are of real patients and shared with consent. Individual results vary; these images are not a guarantee of outcome. Broad category labels are illustrative groupings, not verified per-case treatment records.