
真實患者案例
術前術後對比圖庫
在首爾江南HERA接受療程的352個真實案例,經患者同意後分享。可依分類篩選,點開任一案例查看大圖。
真實患者照片
Free consultation. Ask: availability · open dates · interpreter. Replies in English.
顯示24/352個
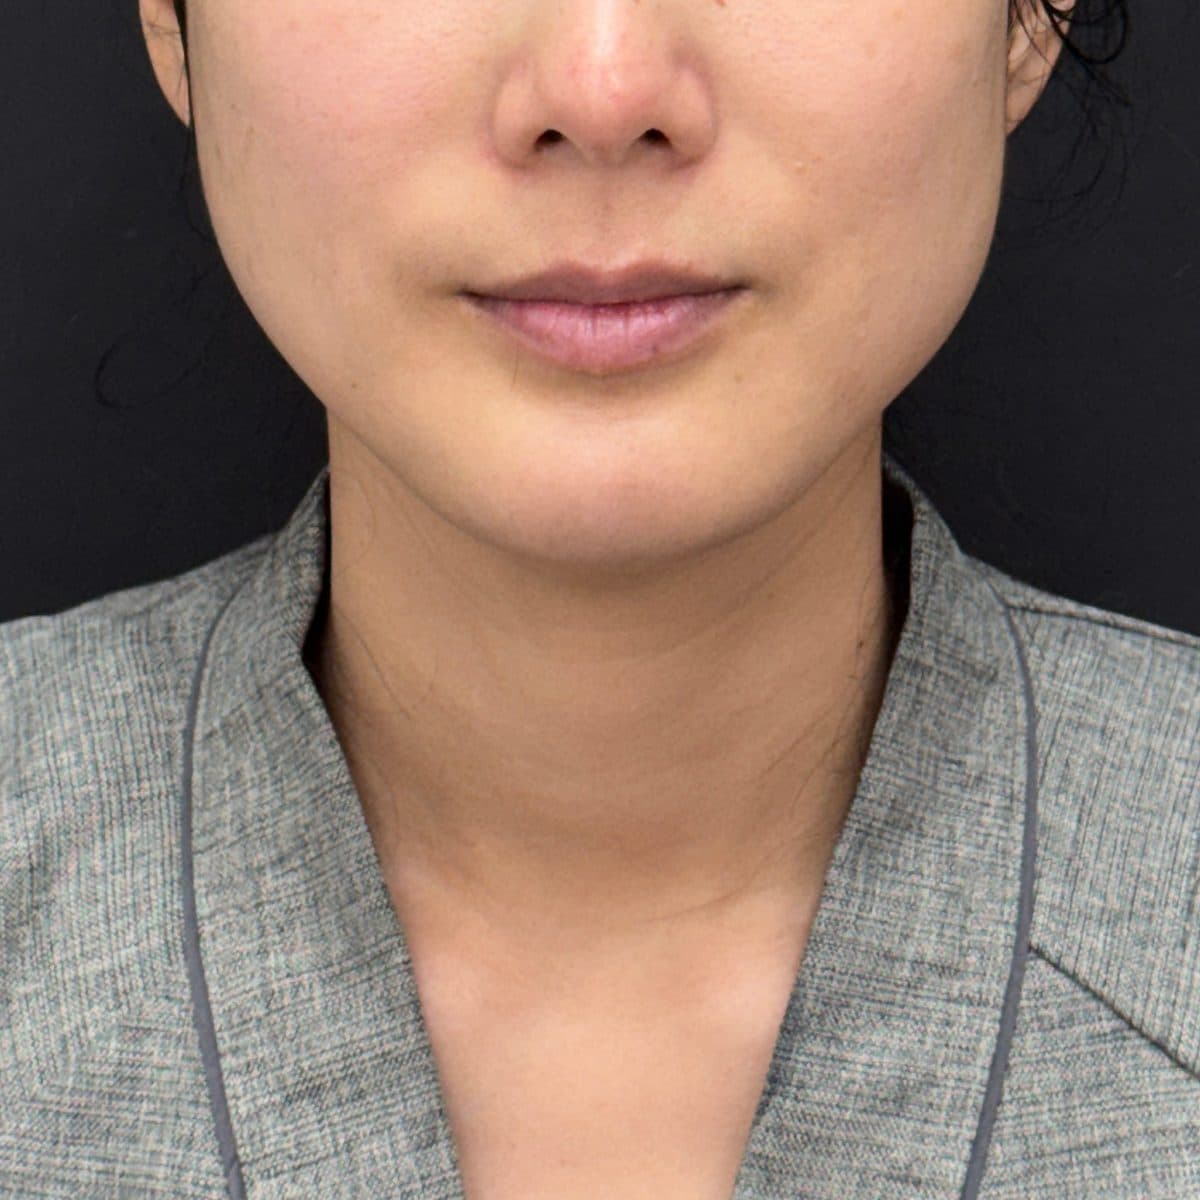 術前
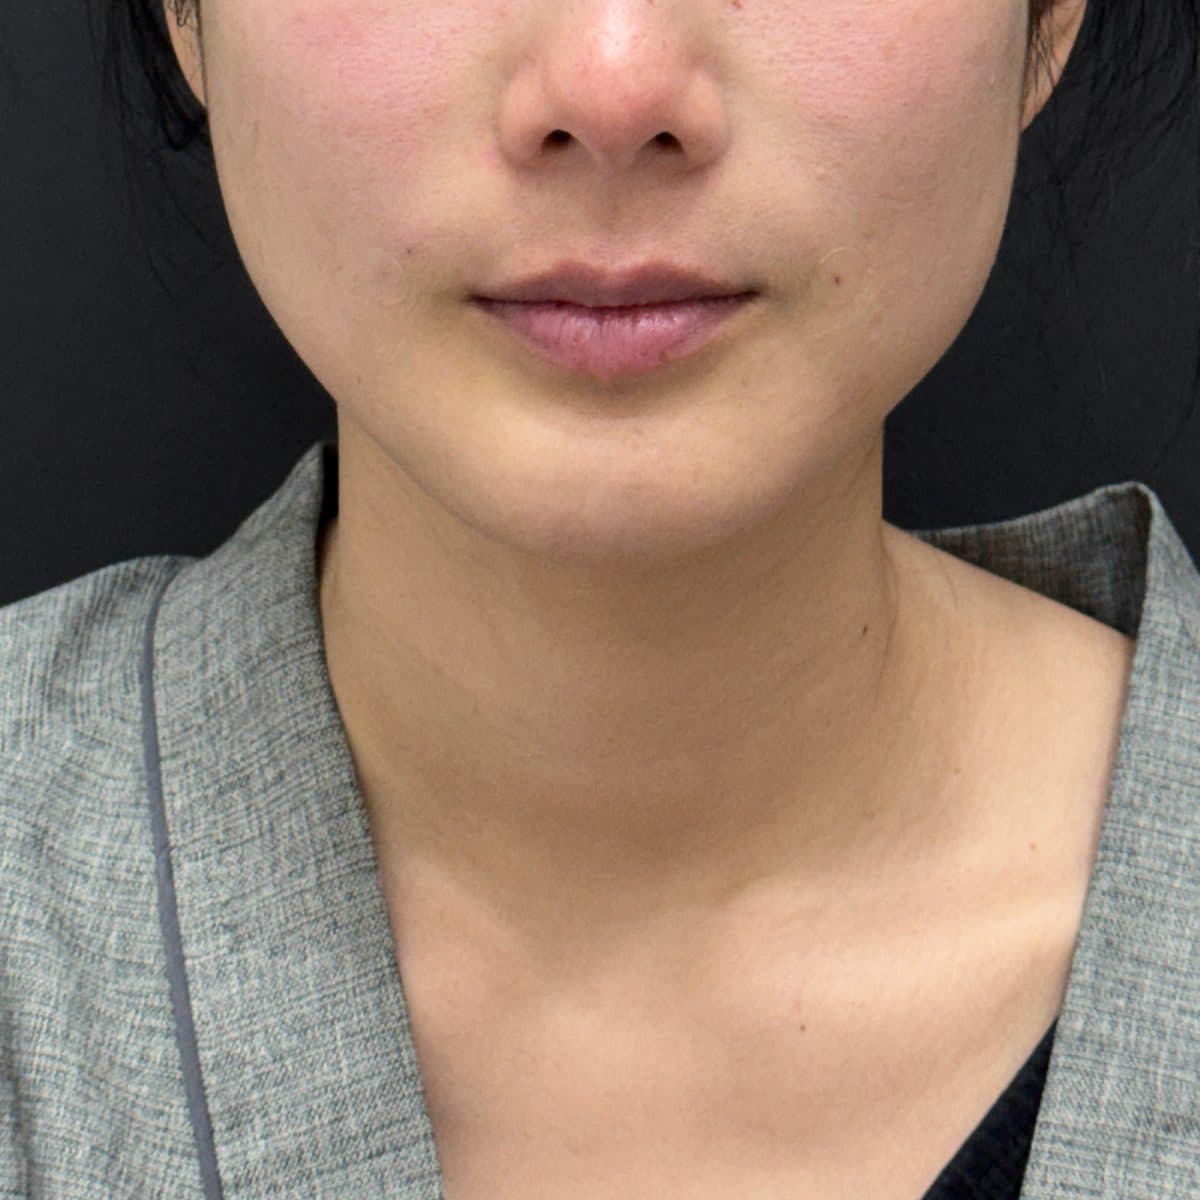 術後Nasolabial Fold FillerGeneral Facial Fillers
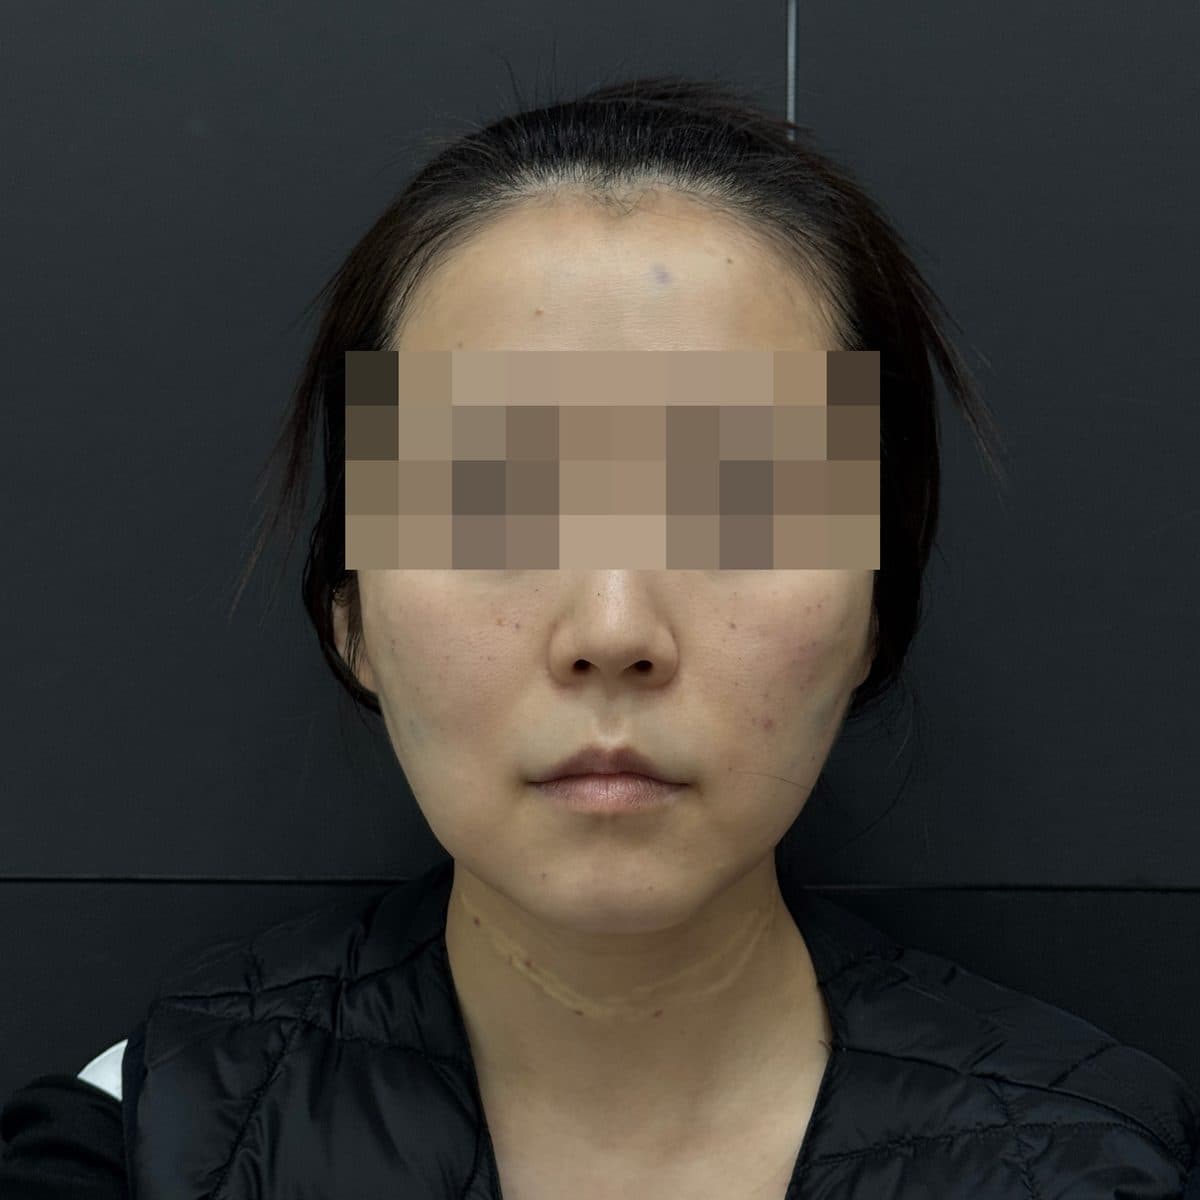 術前
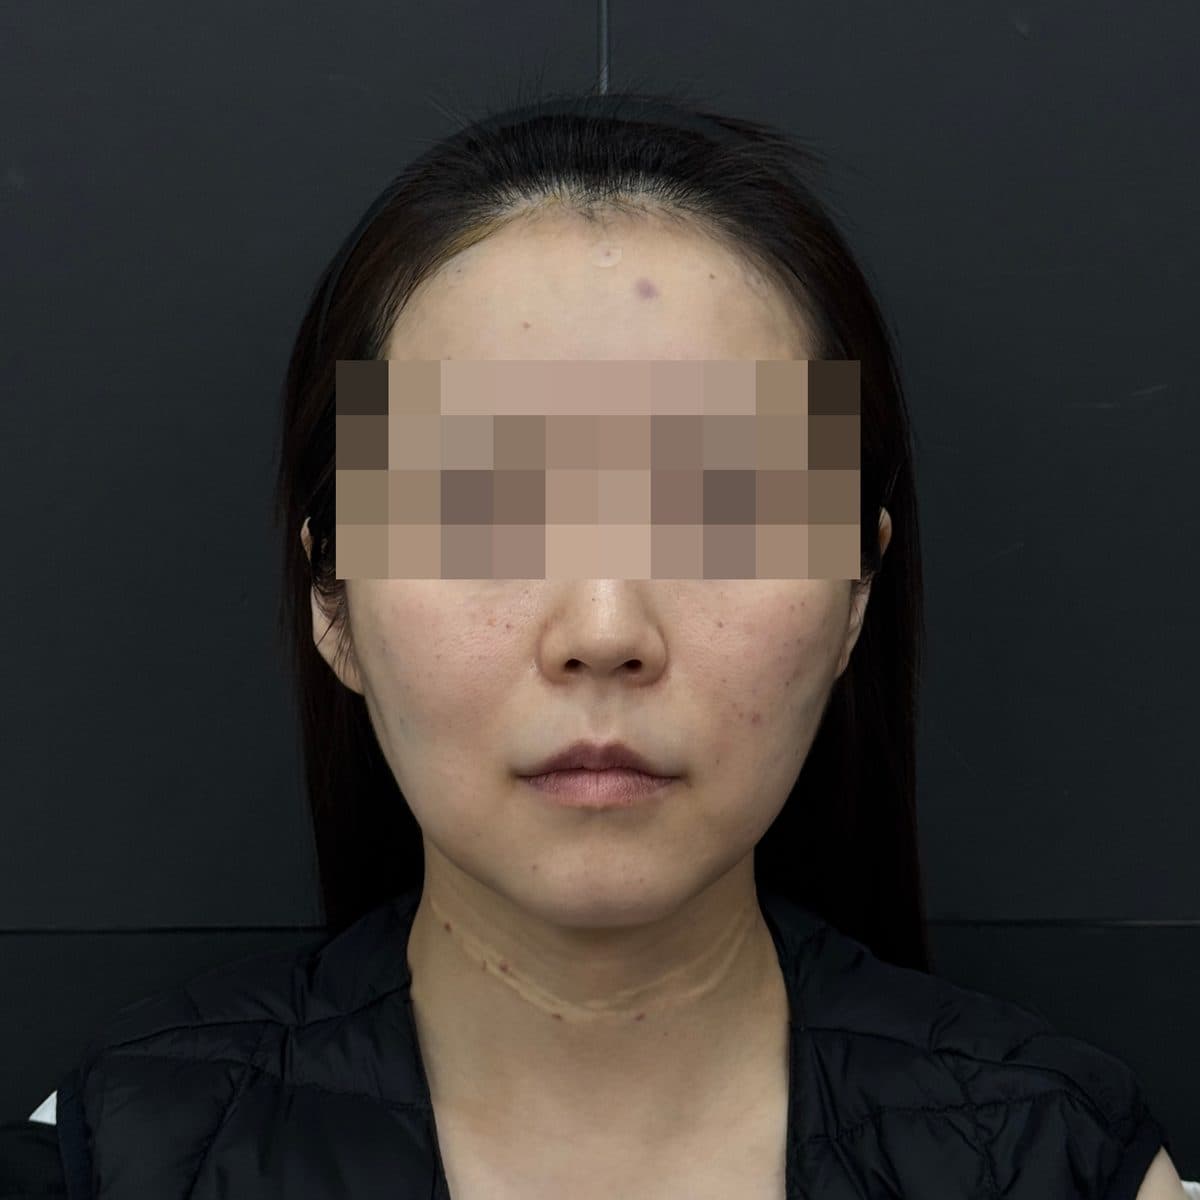 術後Forehead FillerGeneral Facial Fillers
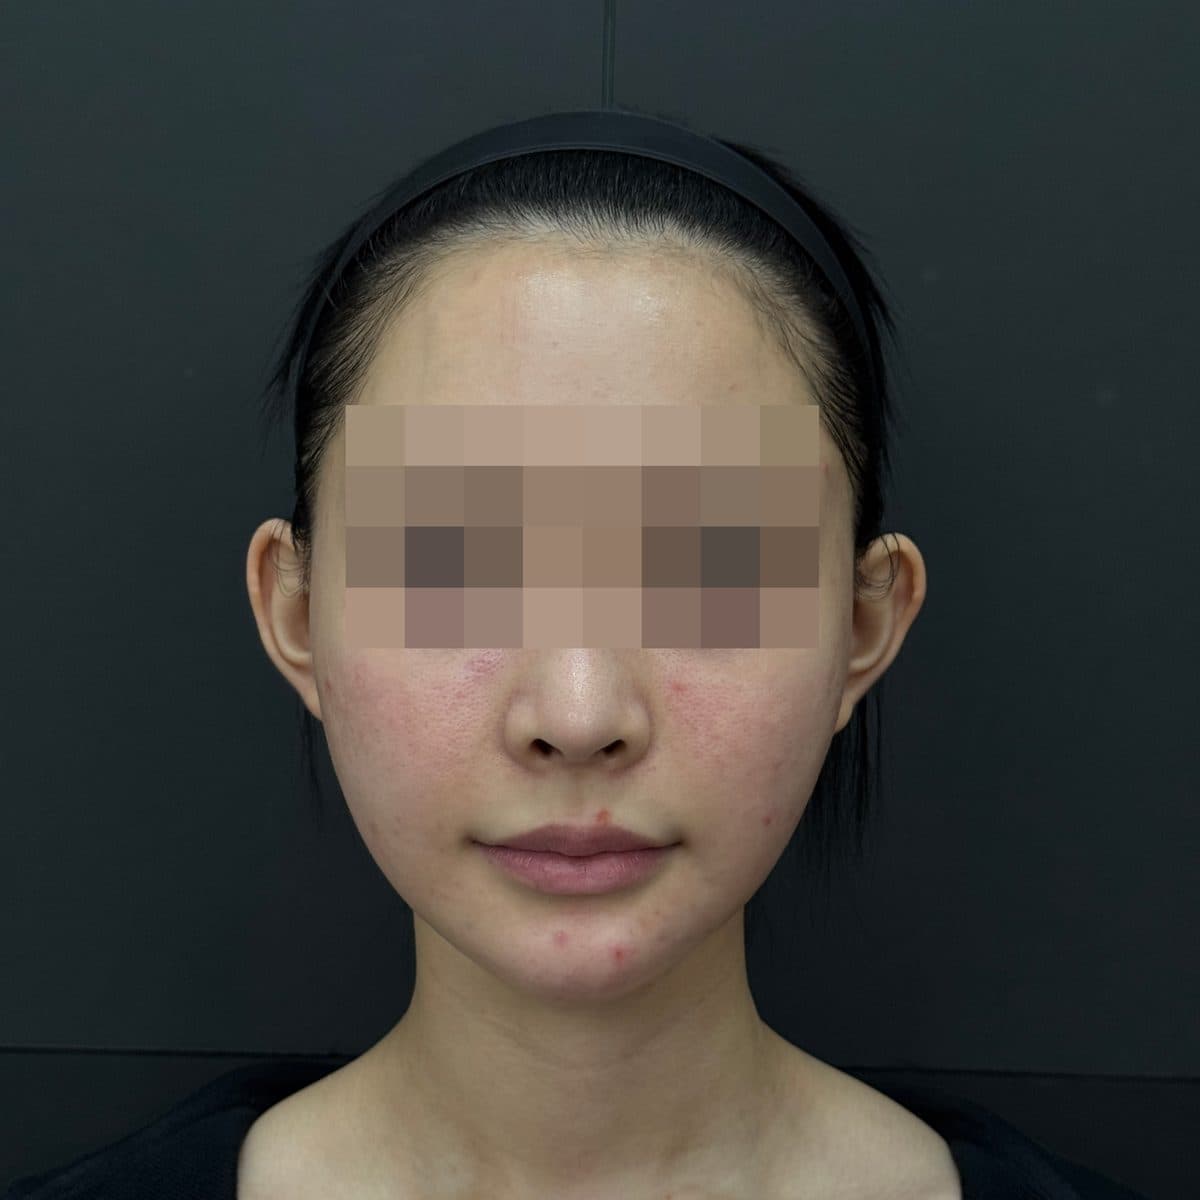 術前
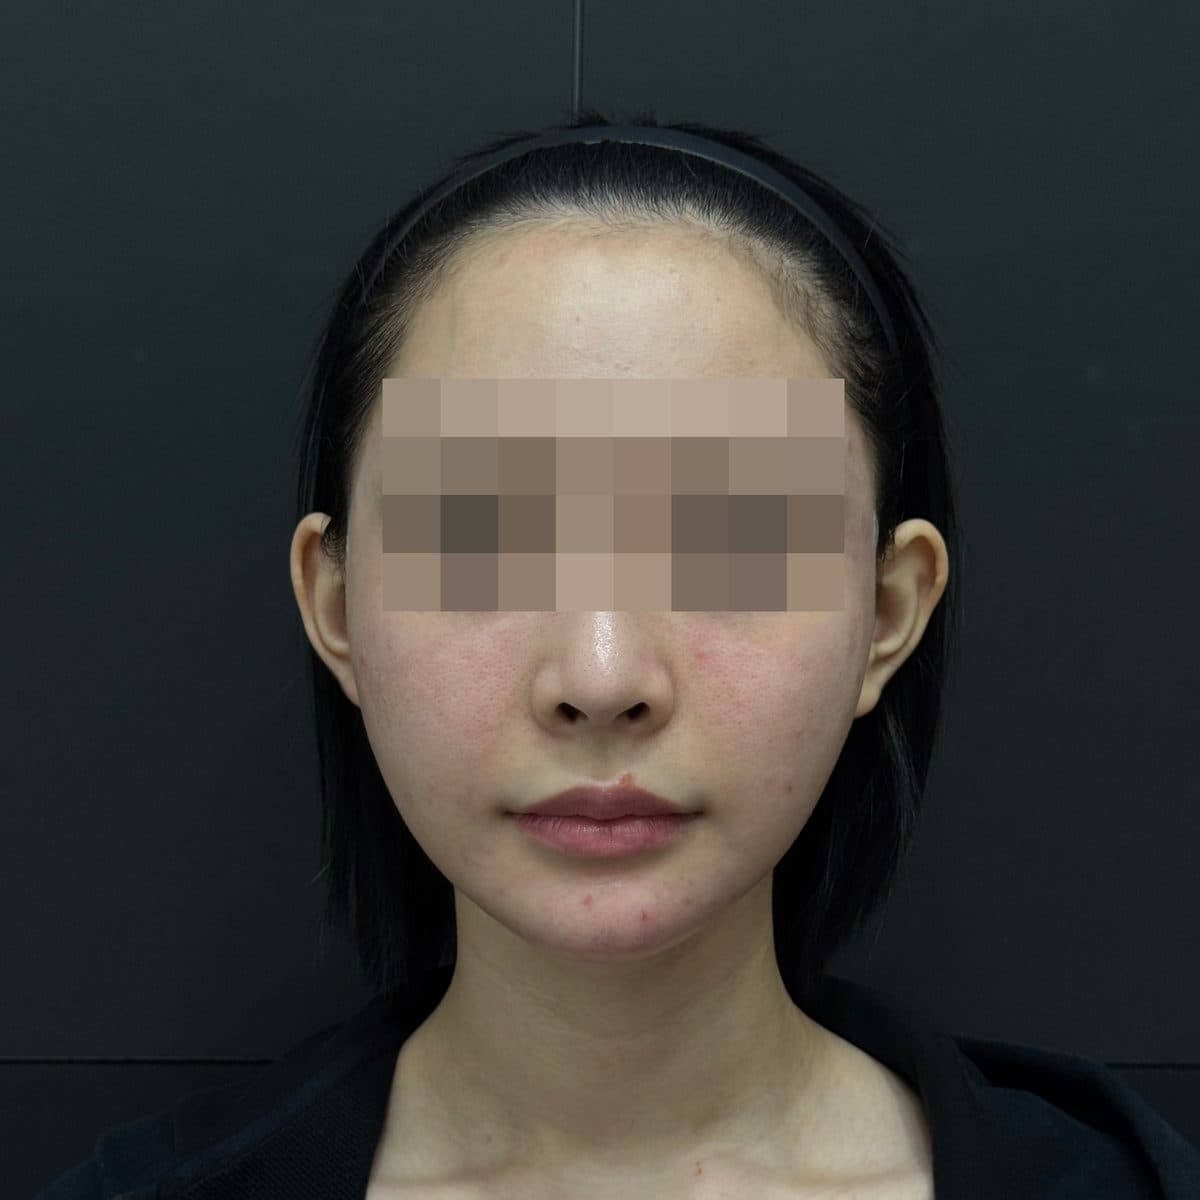 術後Temple FillerGeneral Facial Fillers
 術前
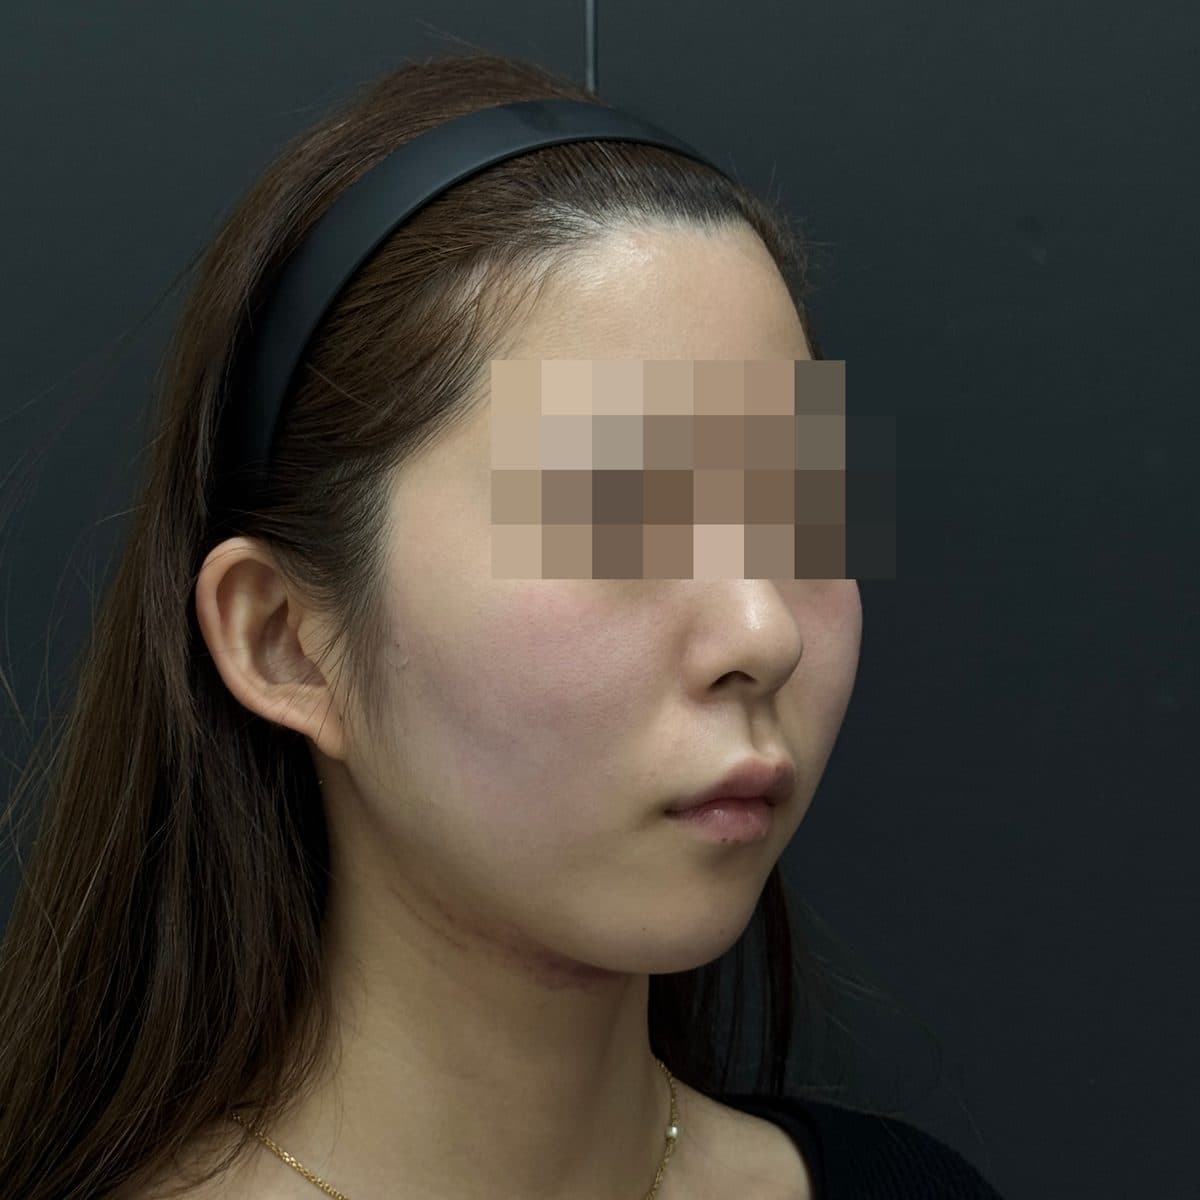 術後Side Cheek FillerGeneral Facial Fillers
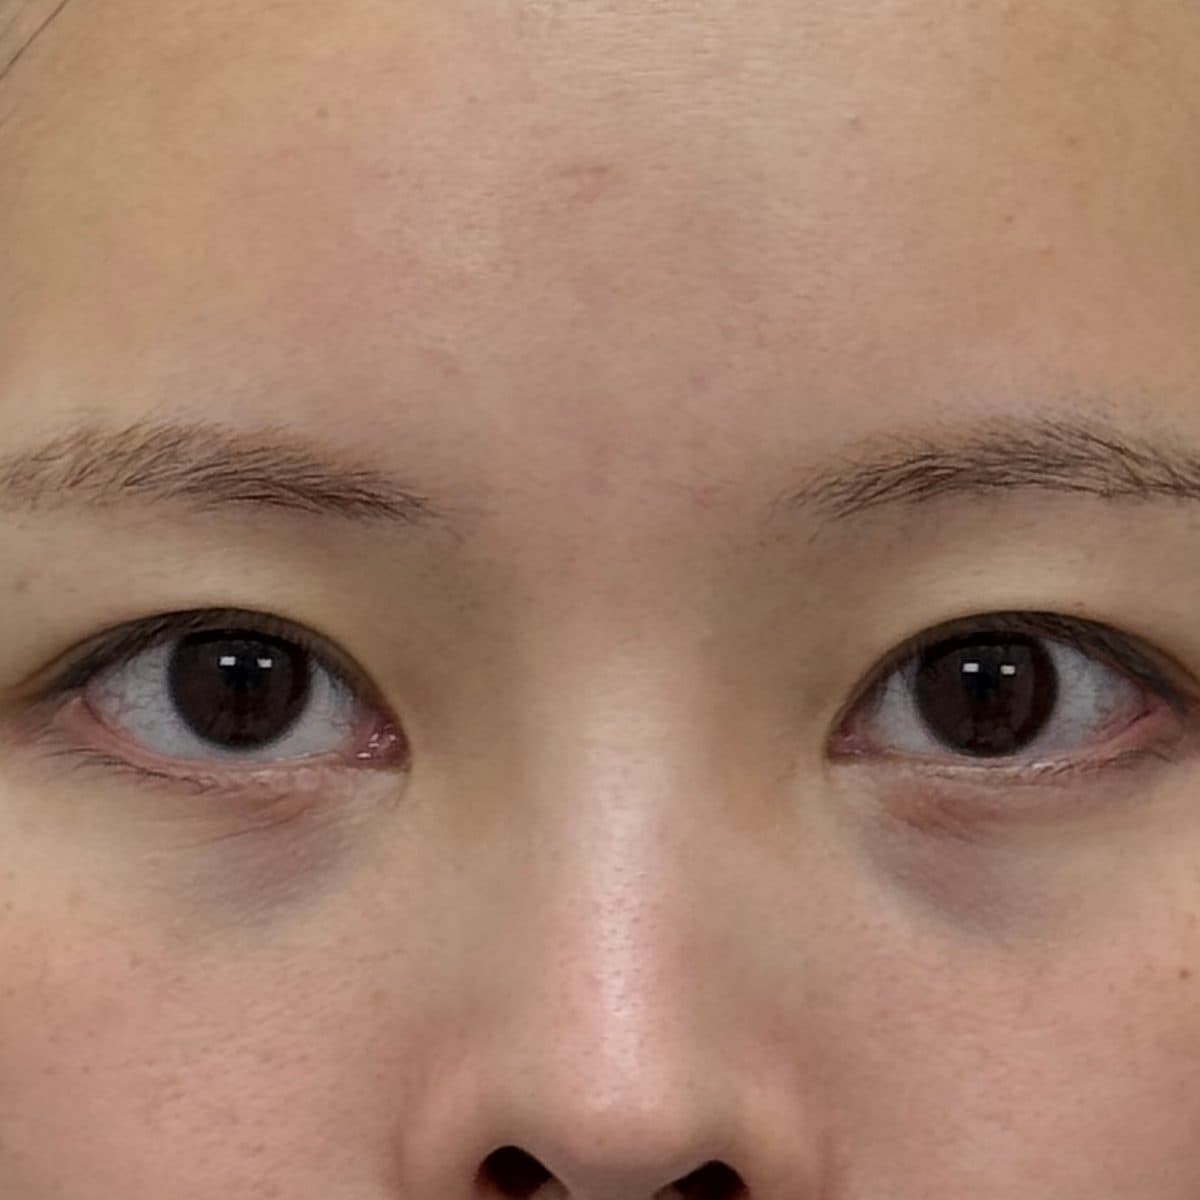 術前
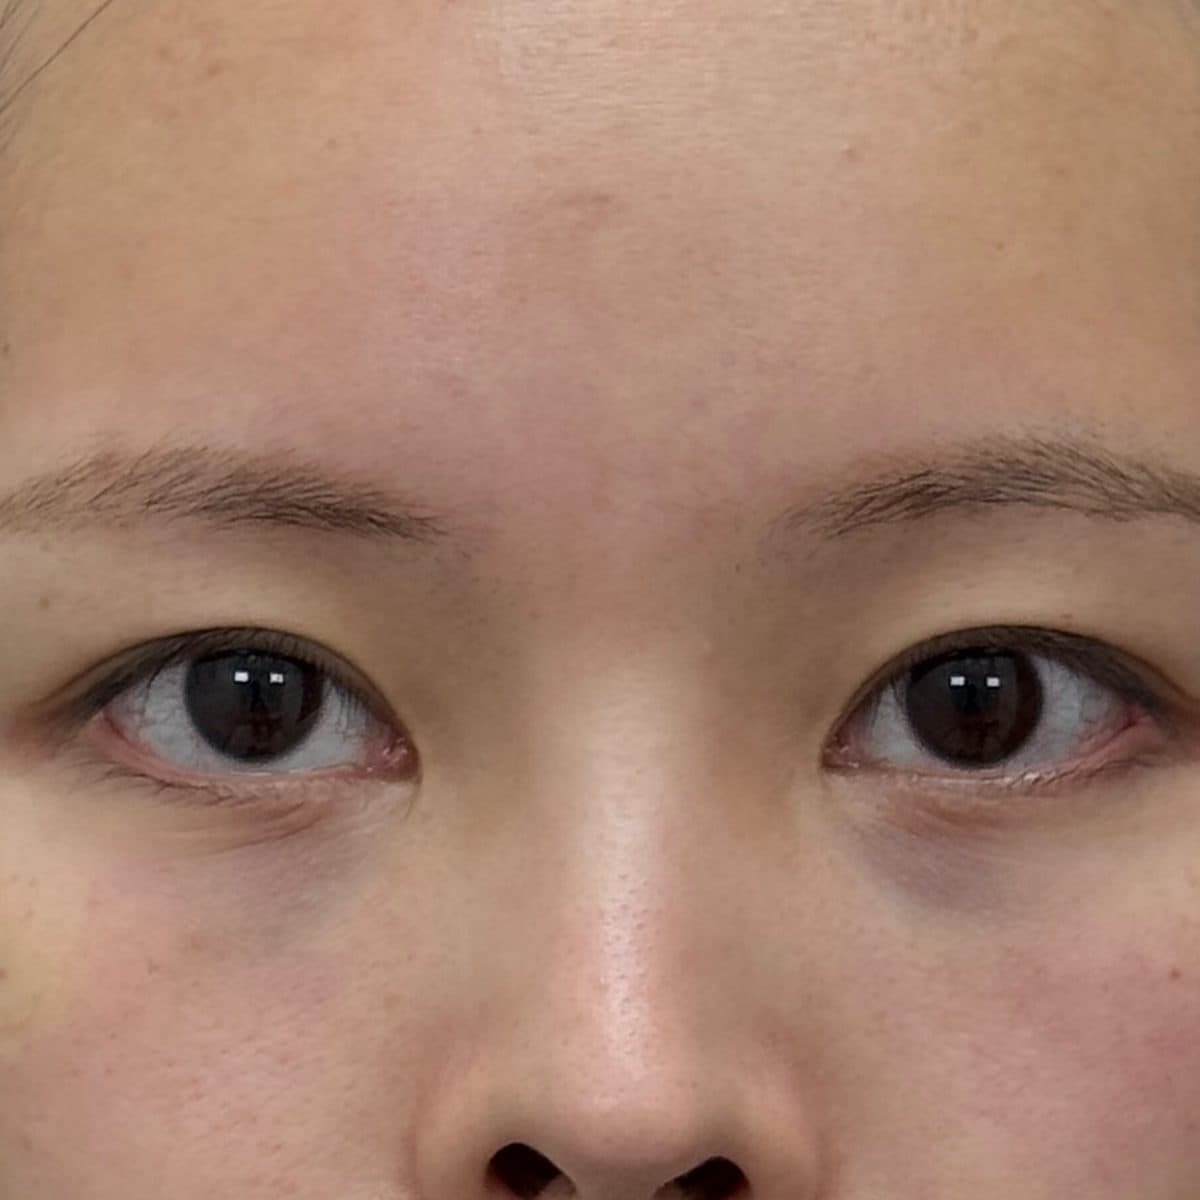 術後Under-Eye FillerEye Rejuvenation Filler
 術前
 術後Aegyo-Sal FillerAegyo-Sal (Eye Smile) Filler
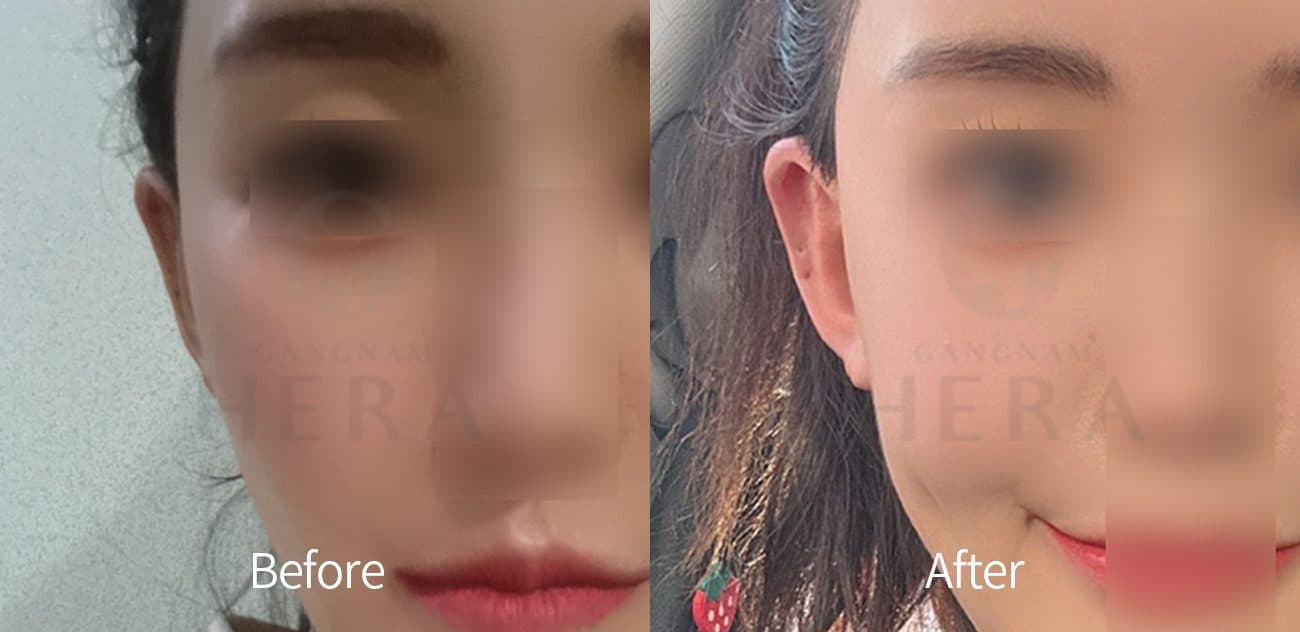
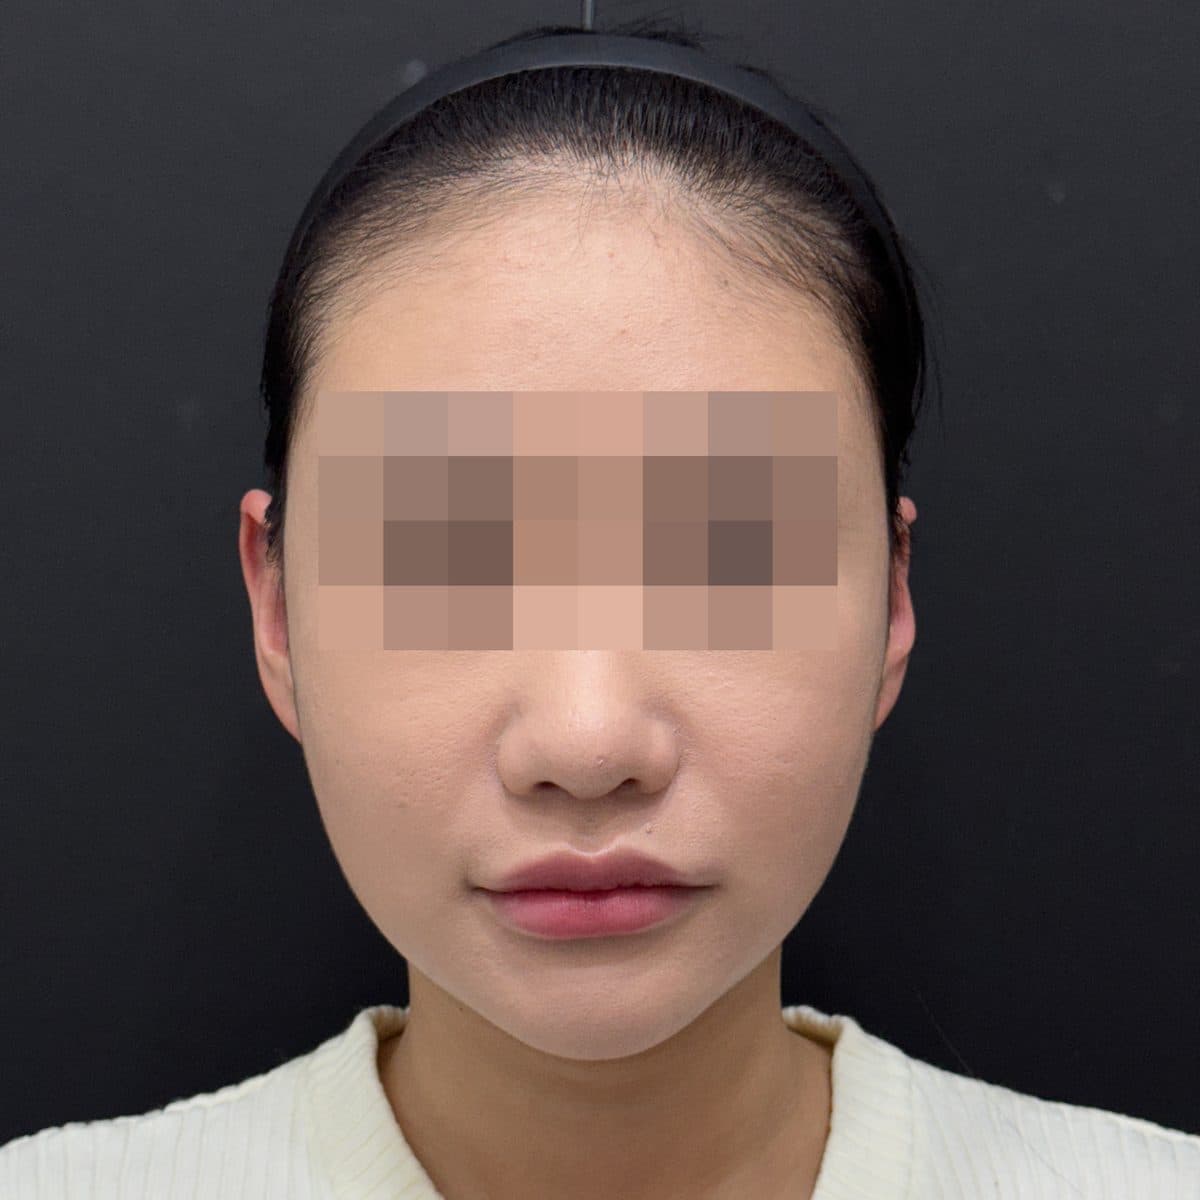 術前
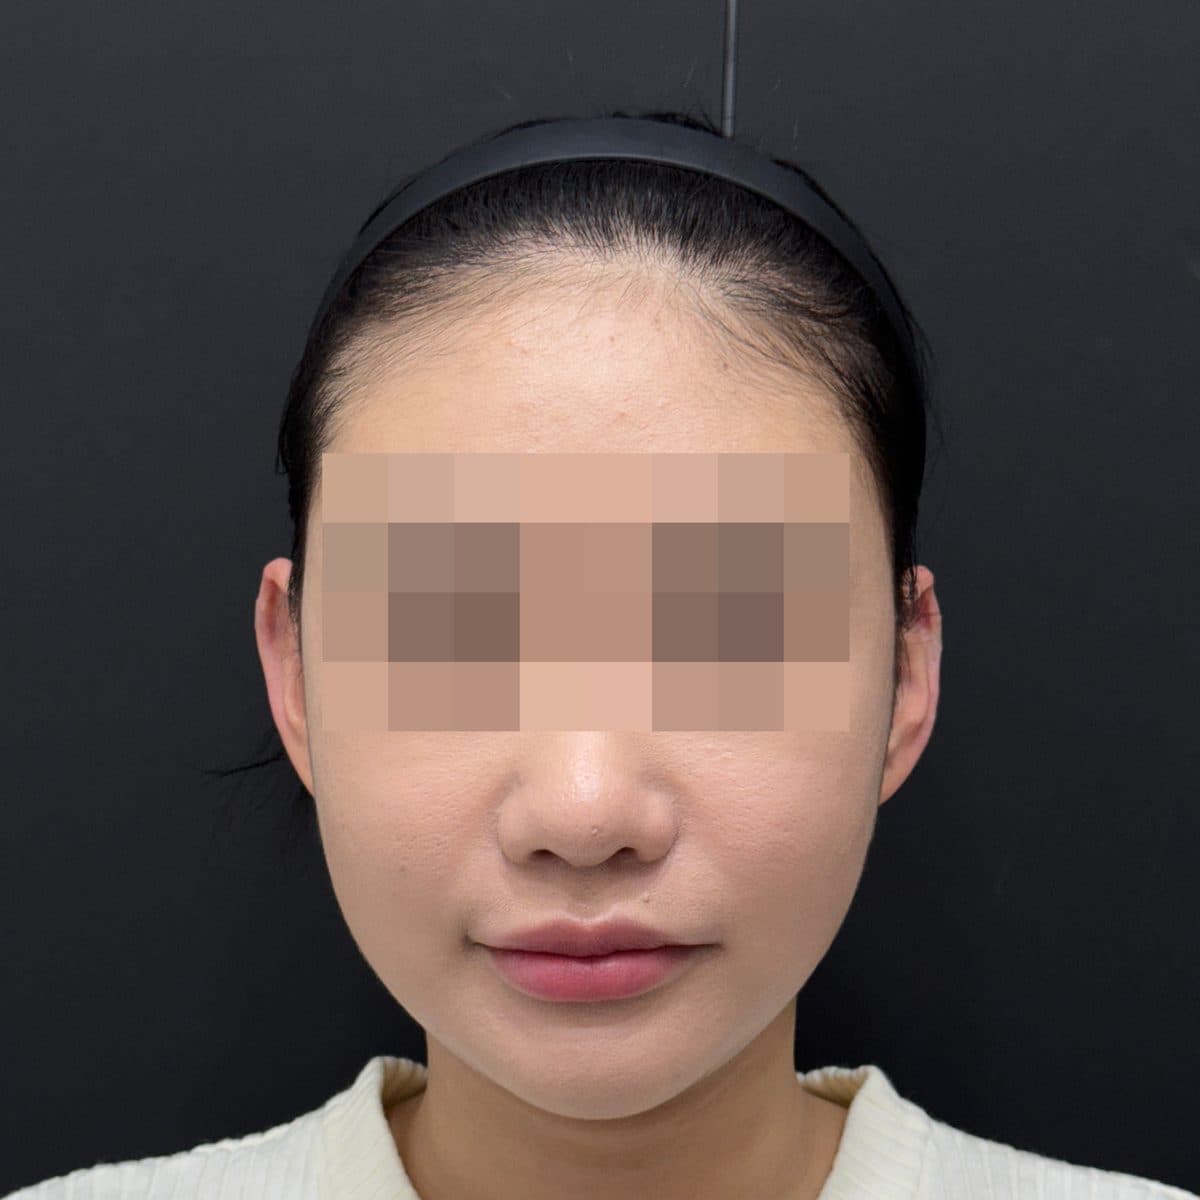 術後Ear FillerFillers
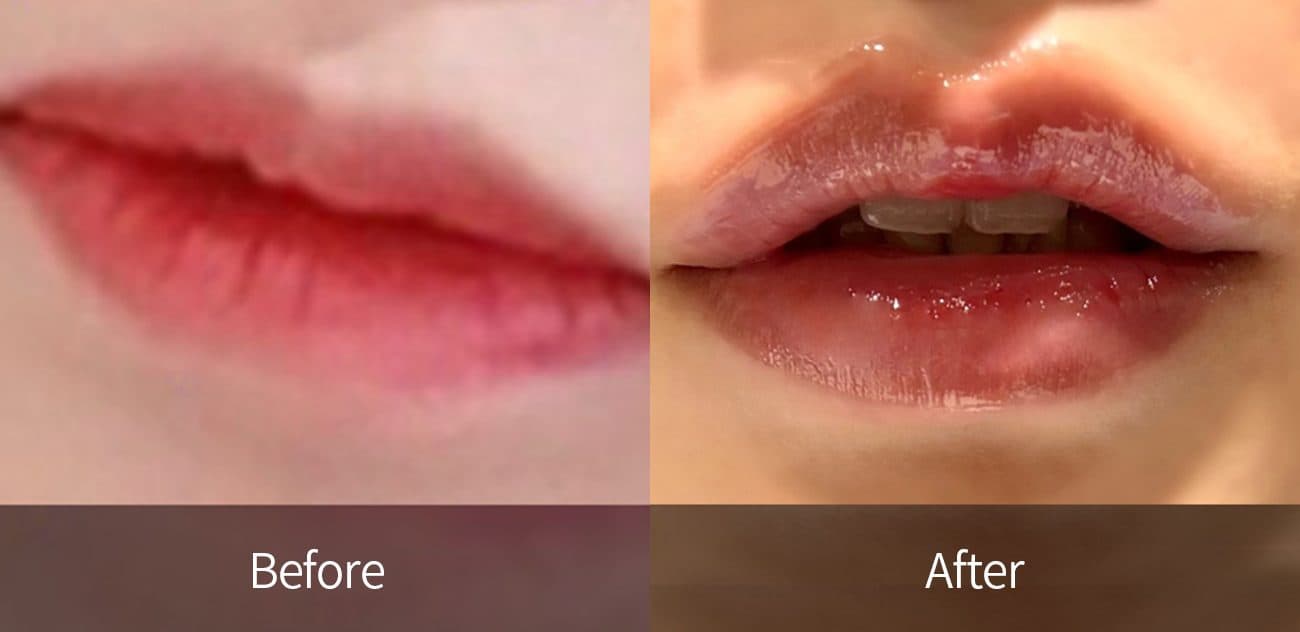
 術前
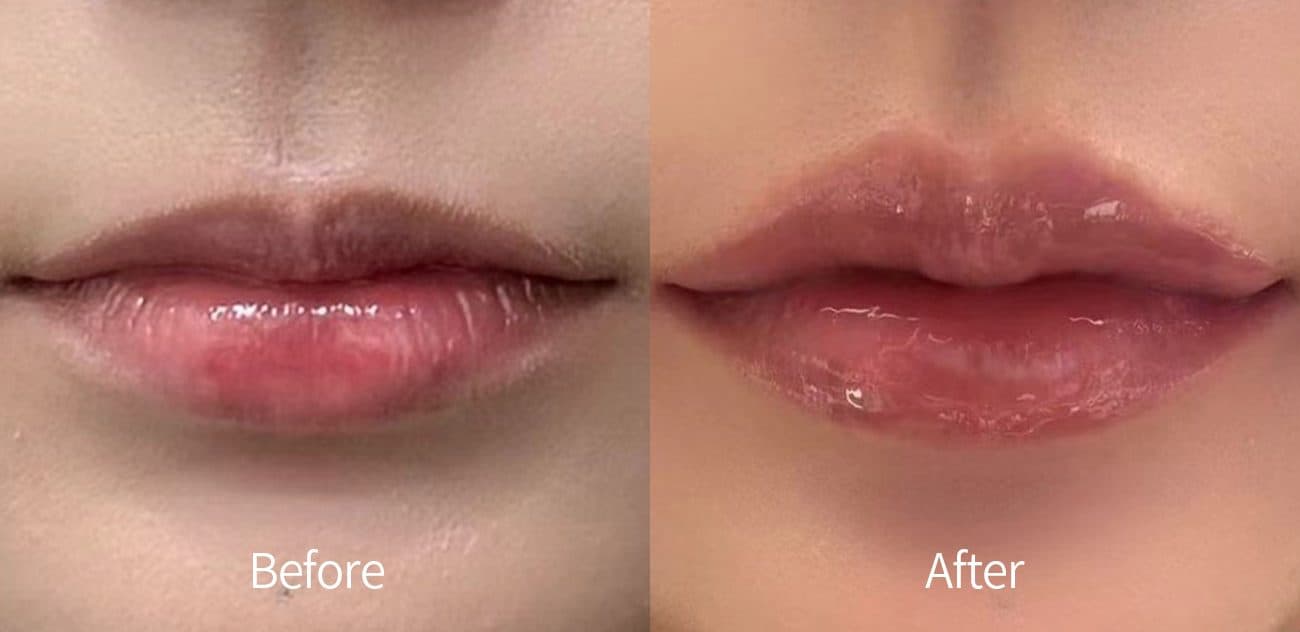
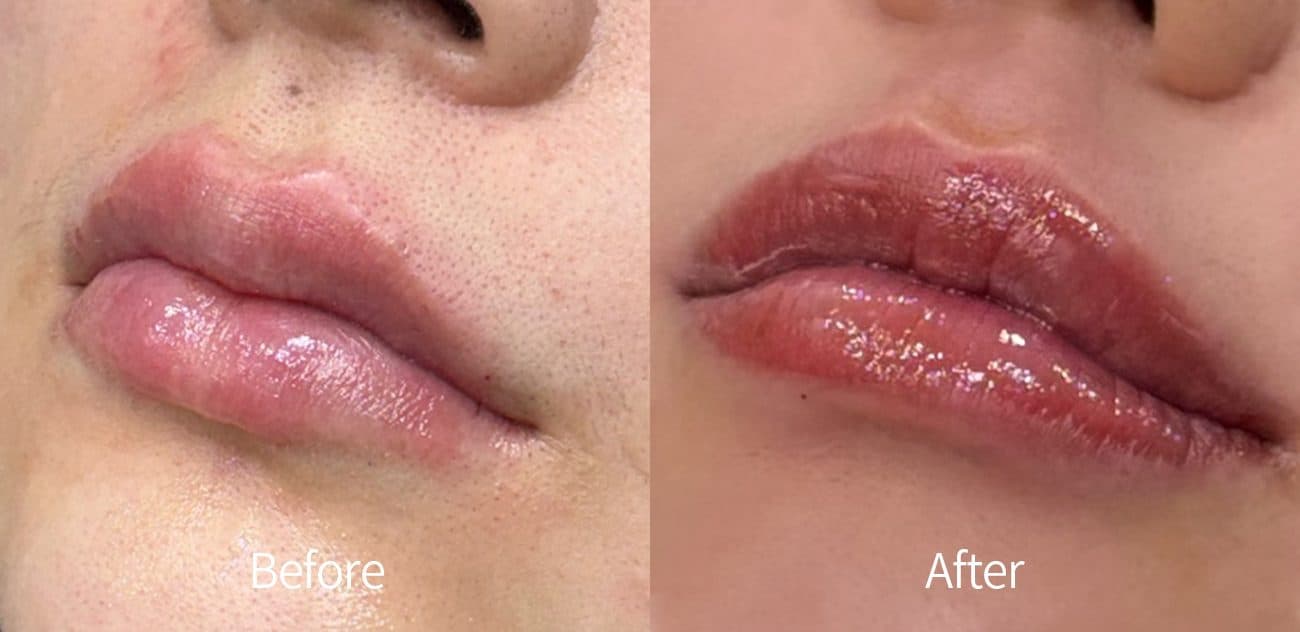
 術後Lip FillerFillers
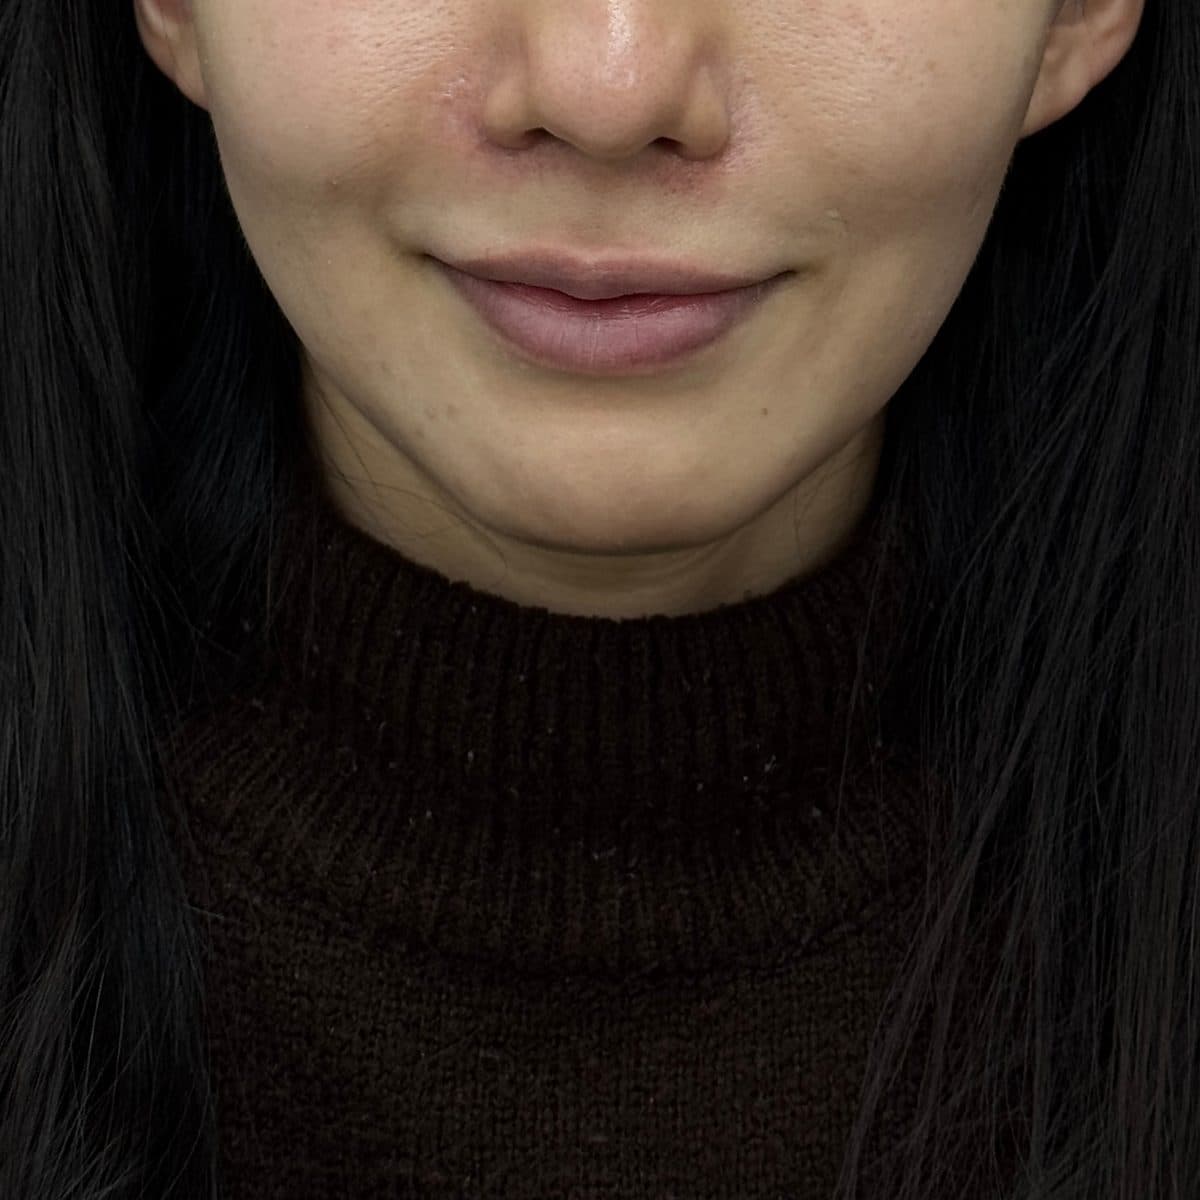 術前
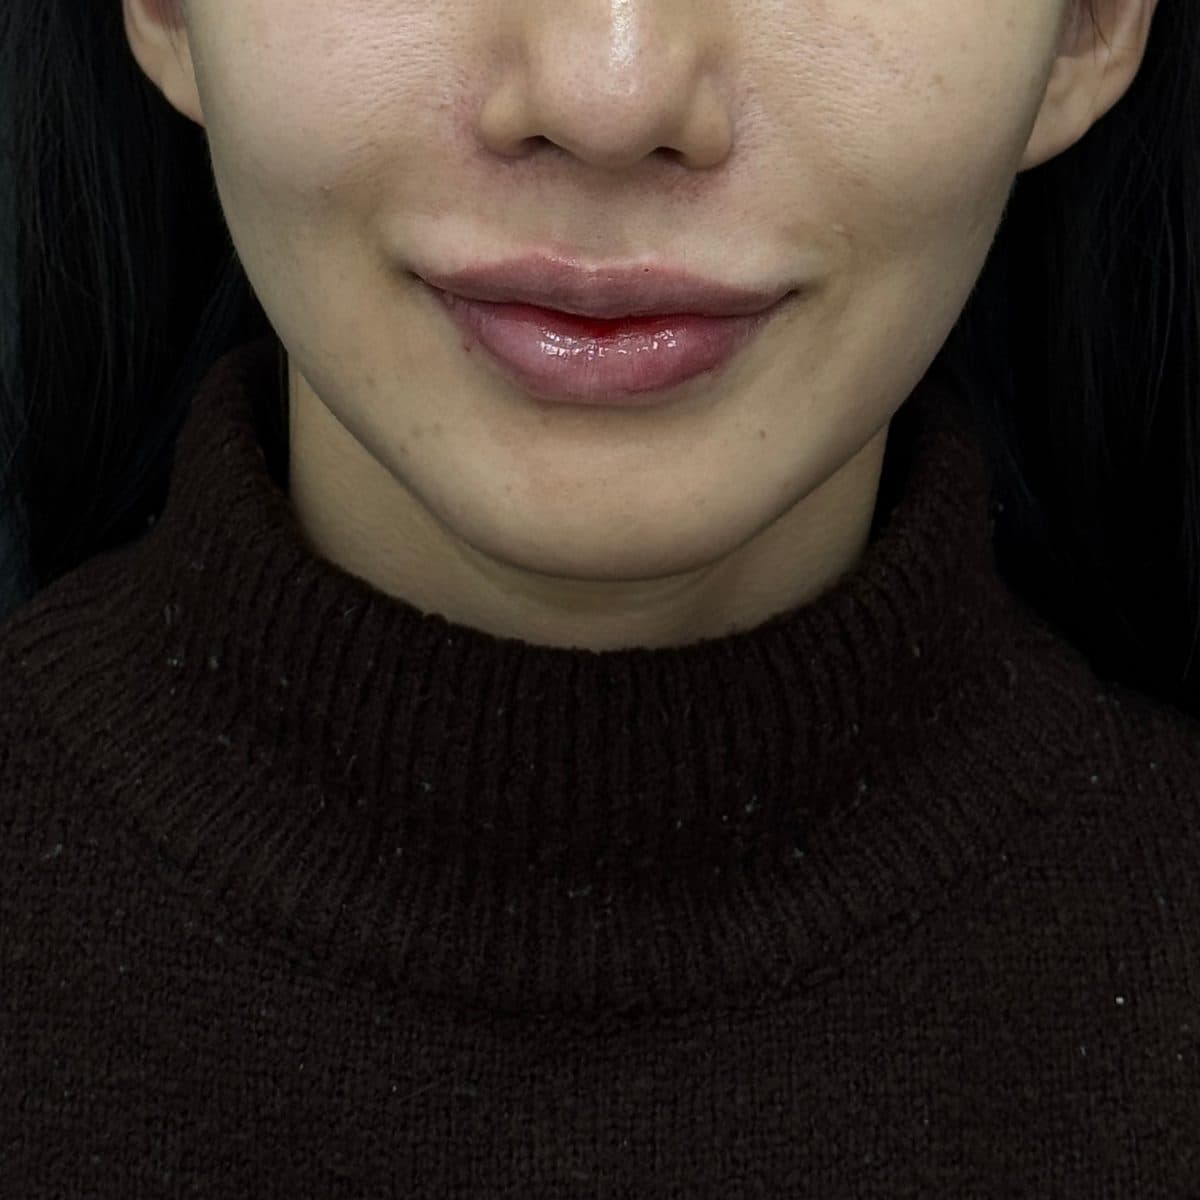 術後Lip FillerFillers
 術前
 術後Chin FillerC-Line Lifting Filler
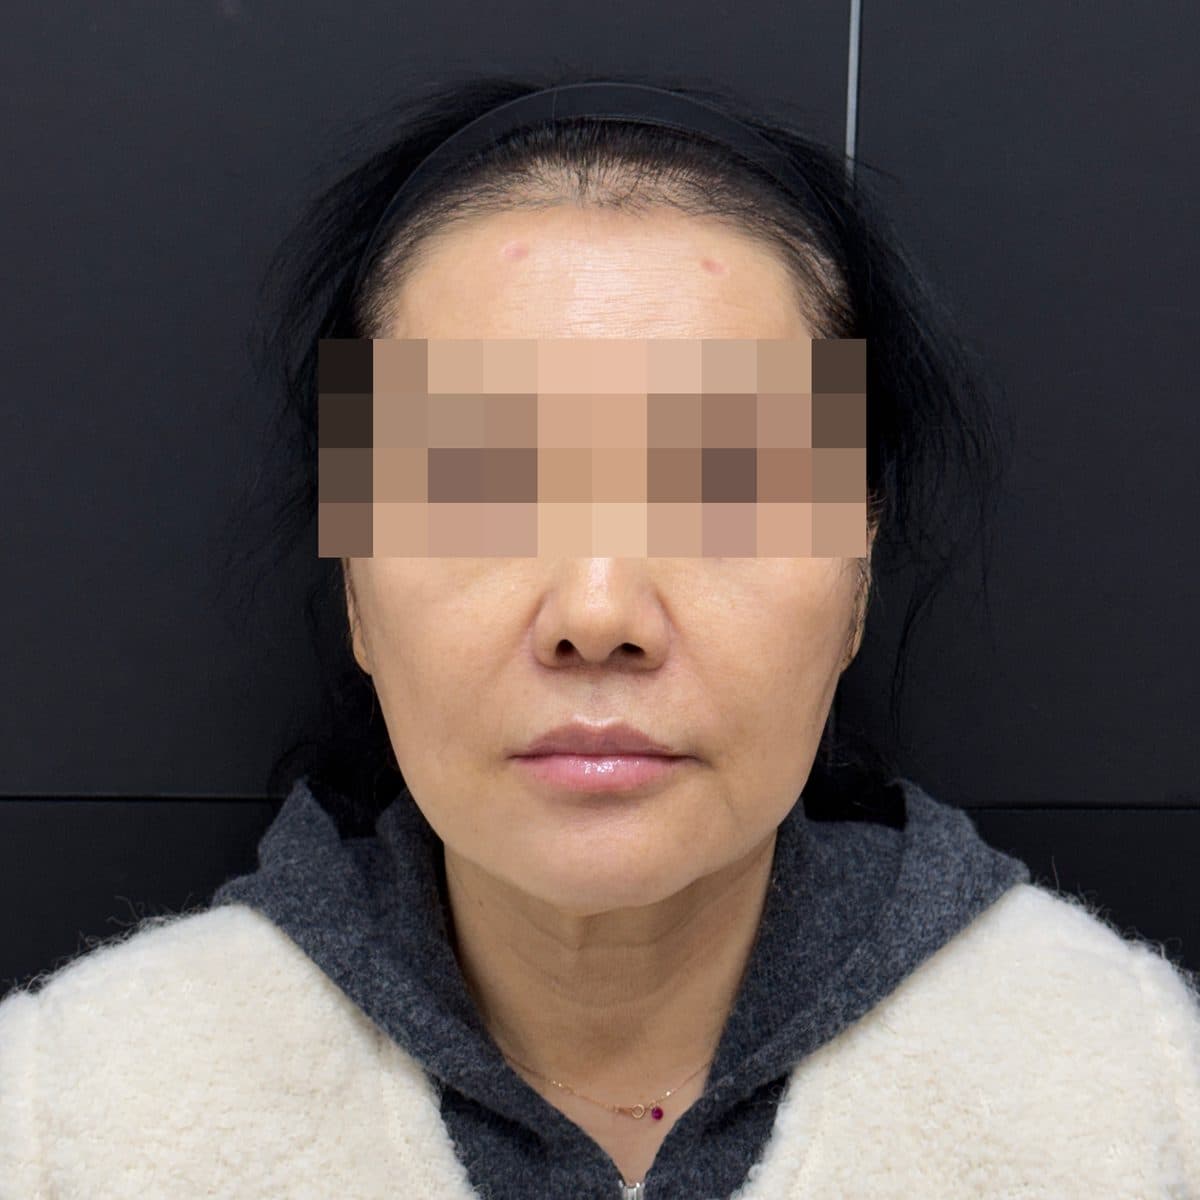 術前
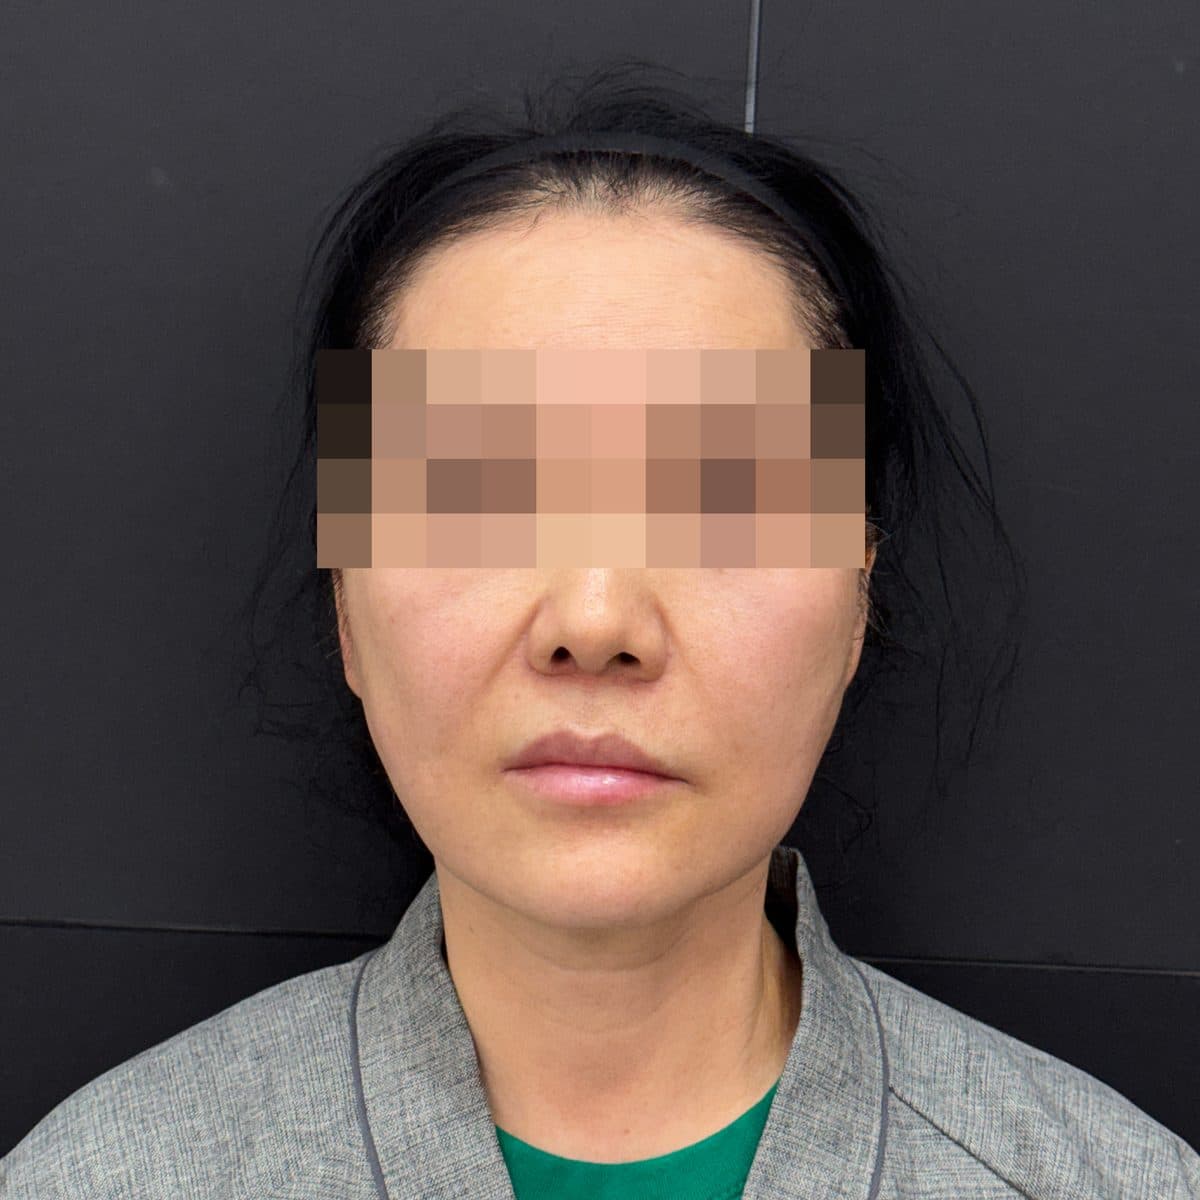 術後Aptos Thread LiftThread Lifting
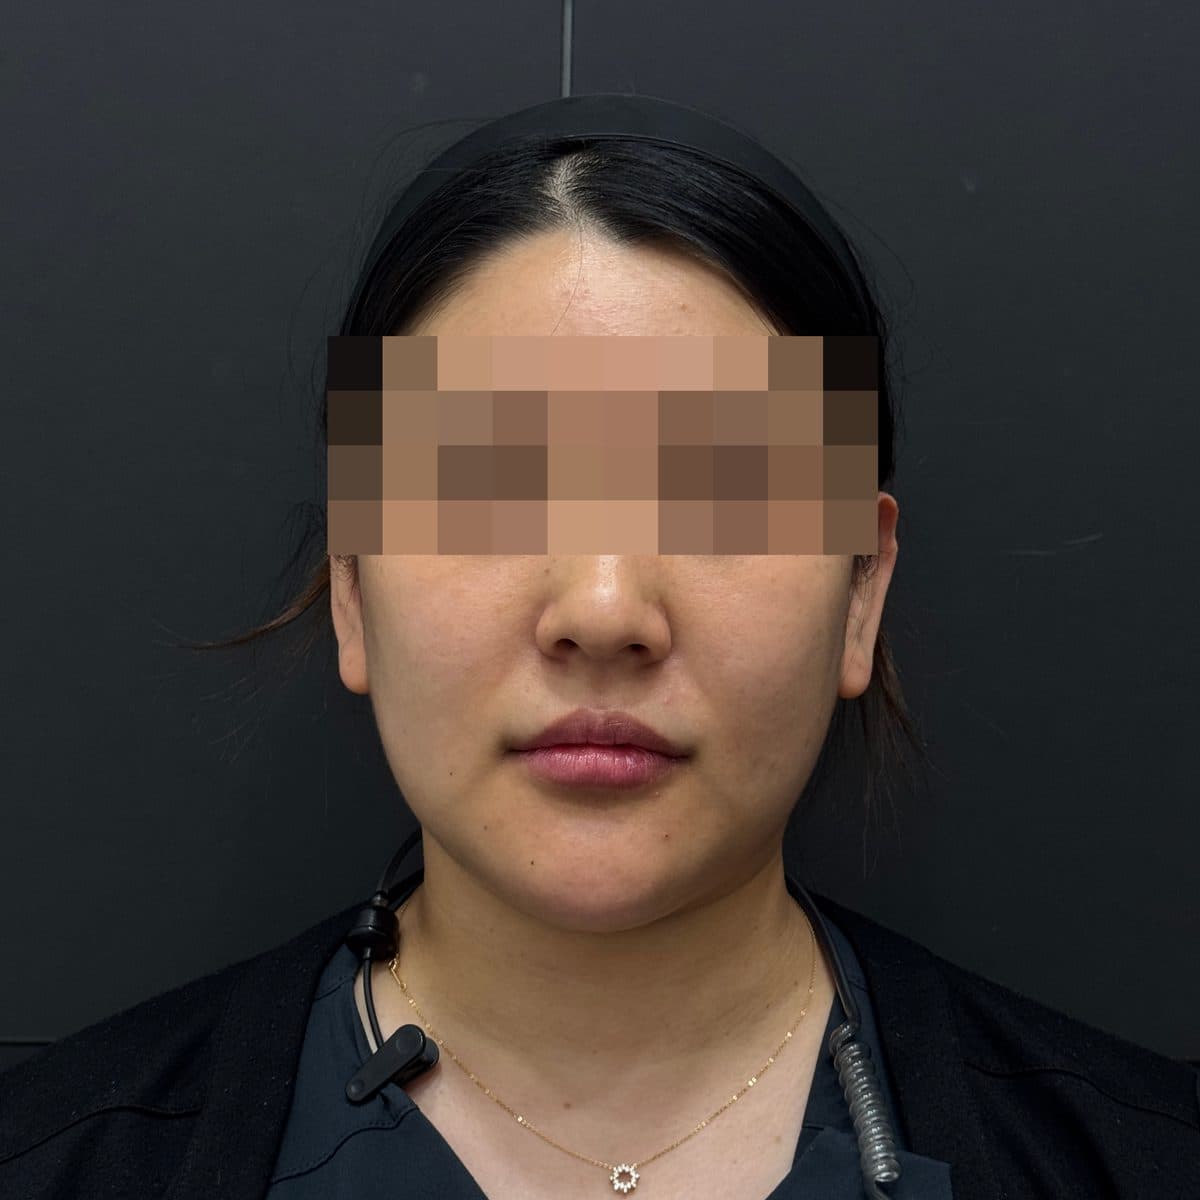 術前
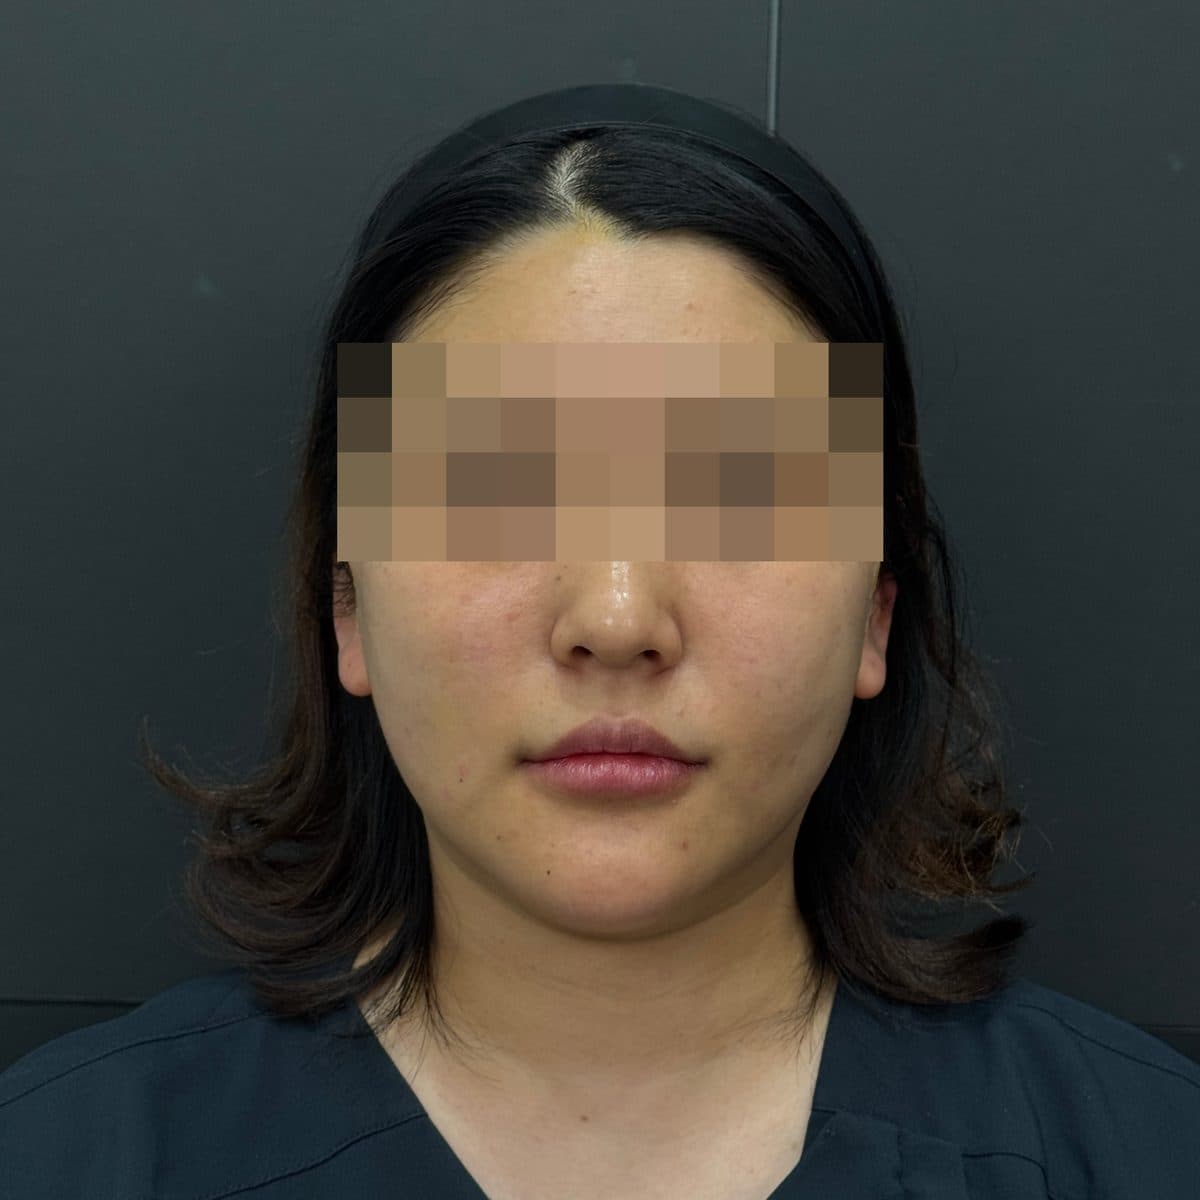 術後Aptos Thread LiftThread Lifting
 術前
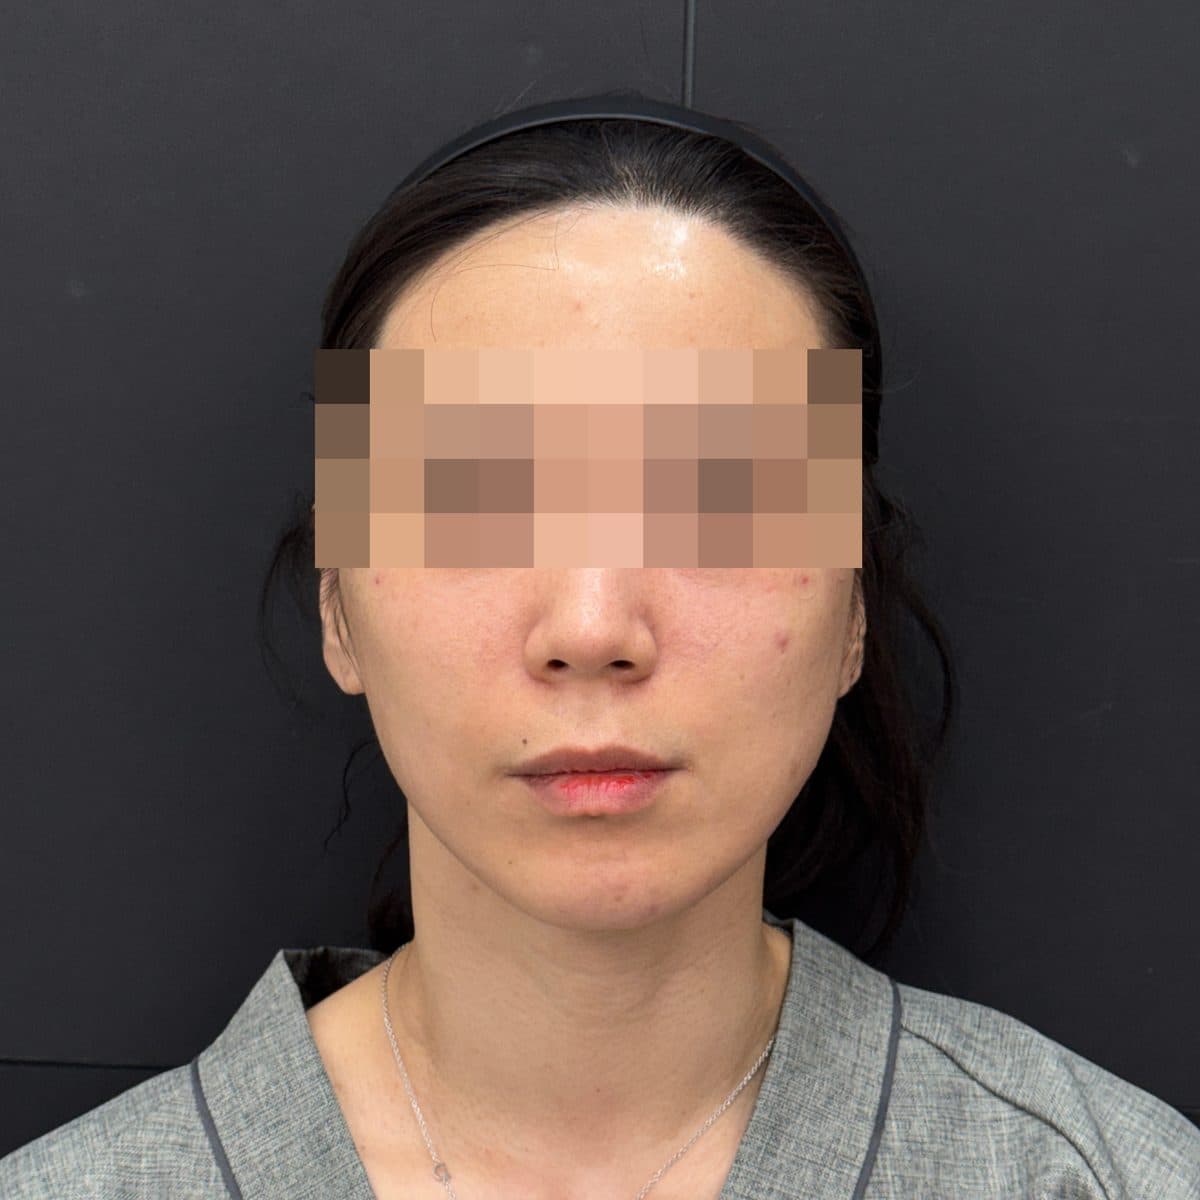 術後Silthera & SiltaniumThread Lifting
 術前
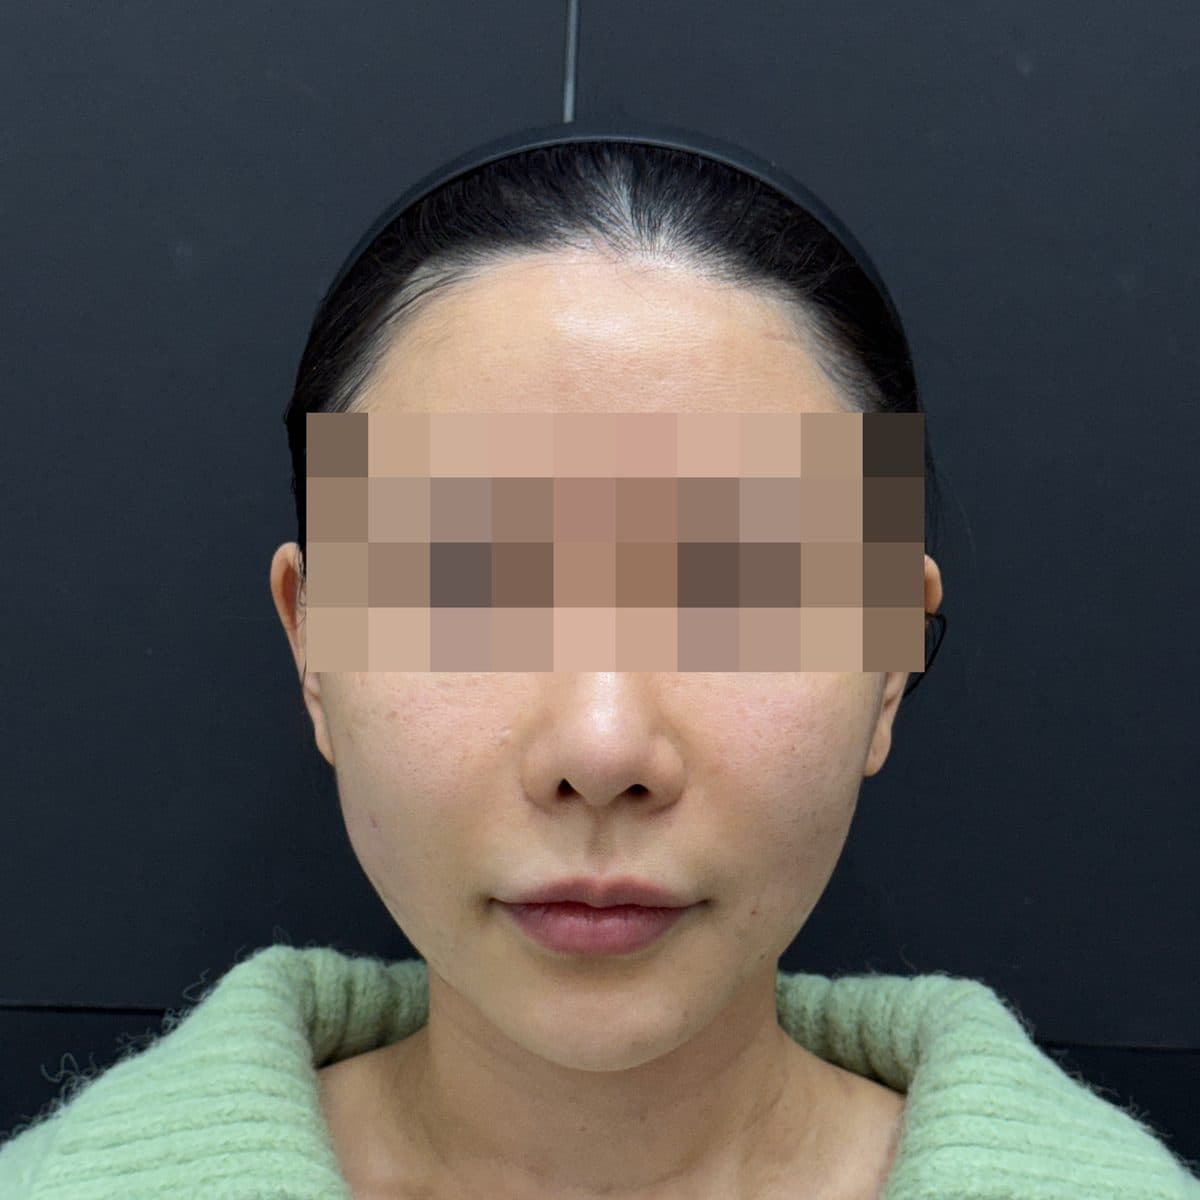 術後Silthera & SiltaniumThread Lifting
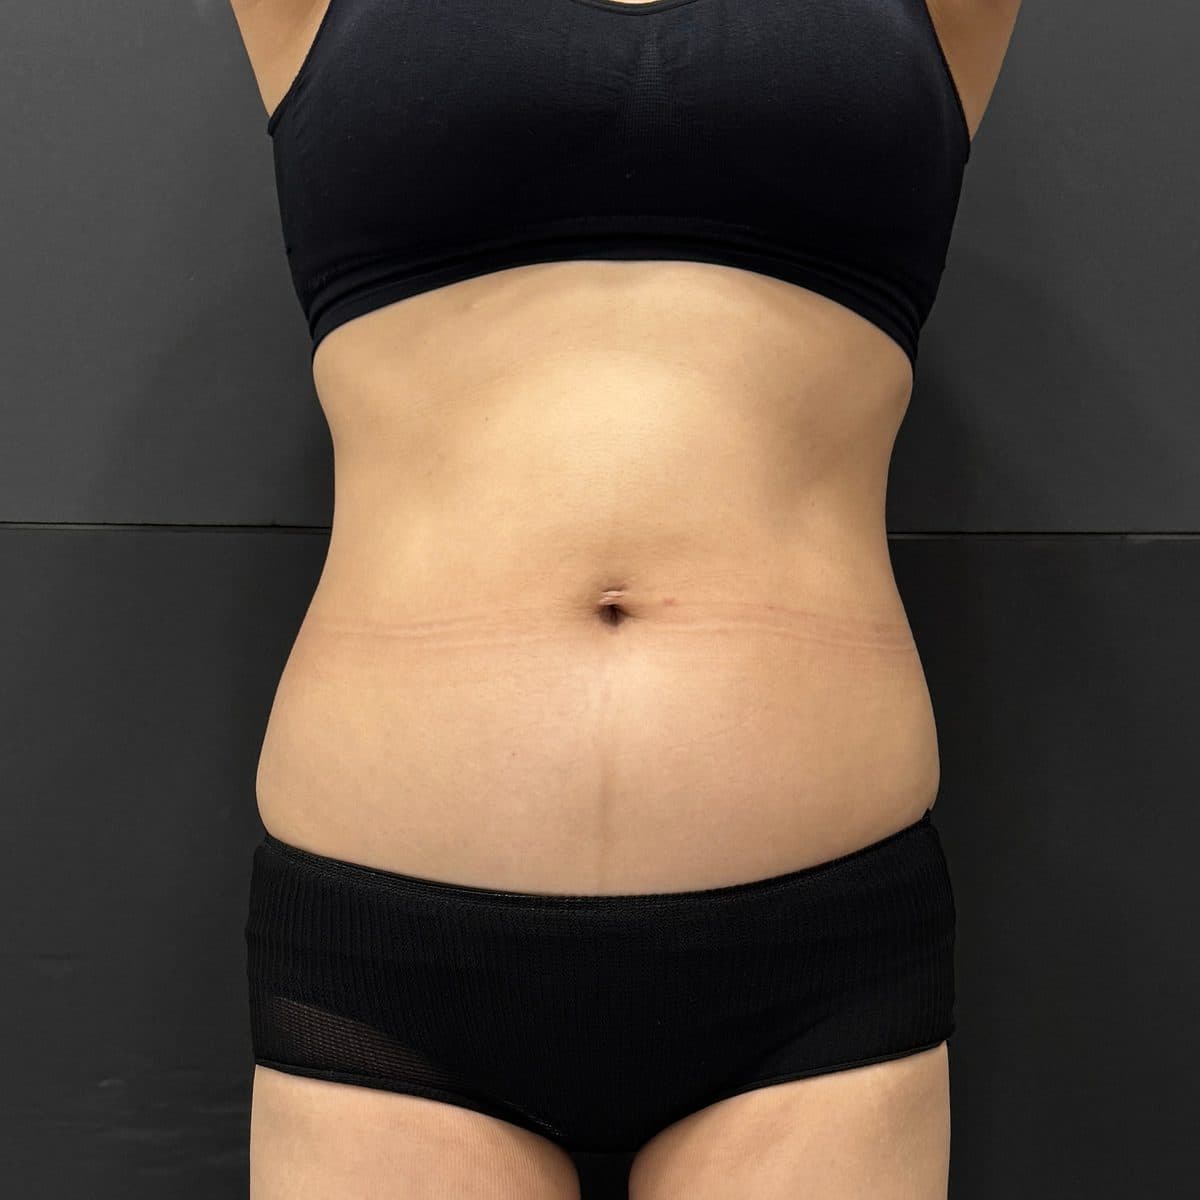 術前
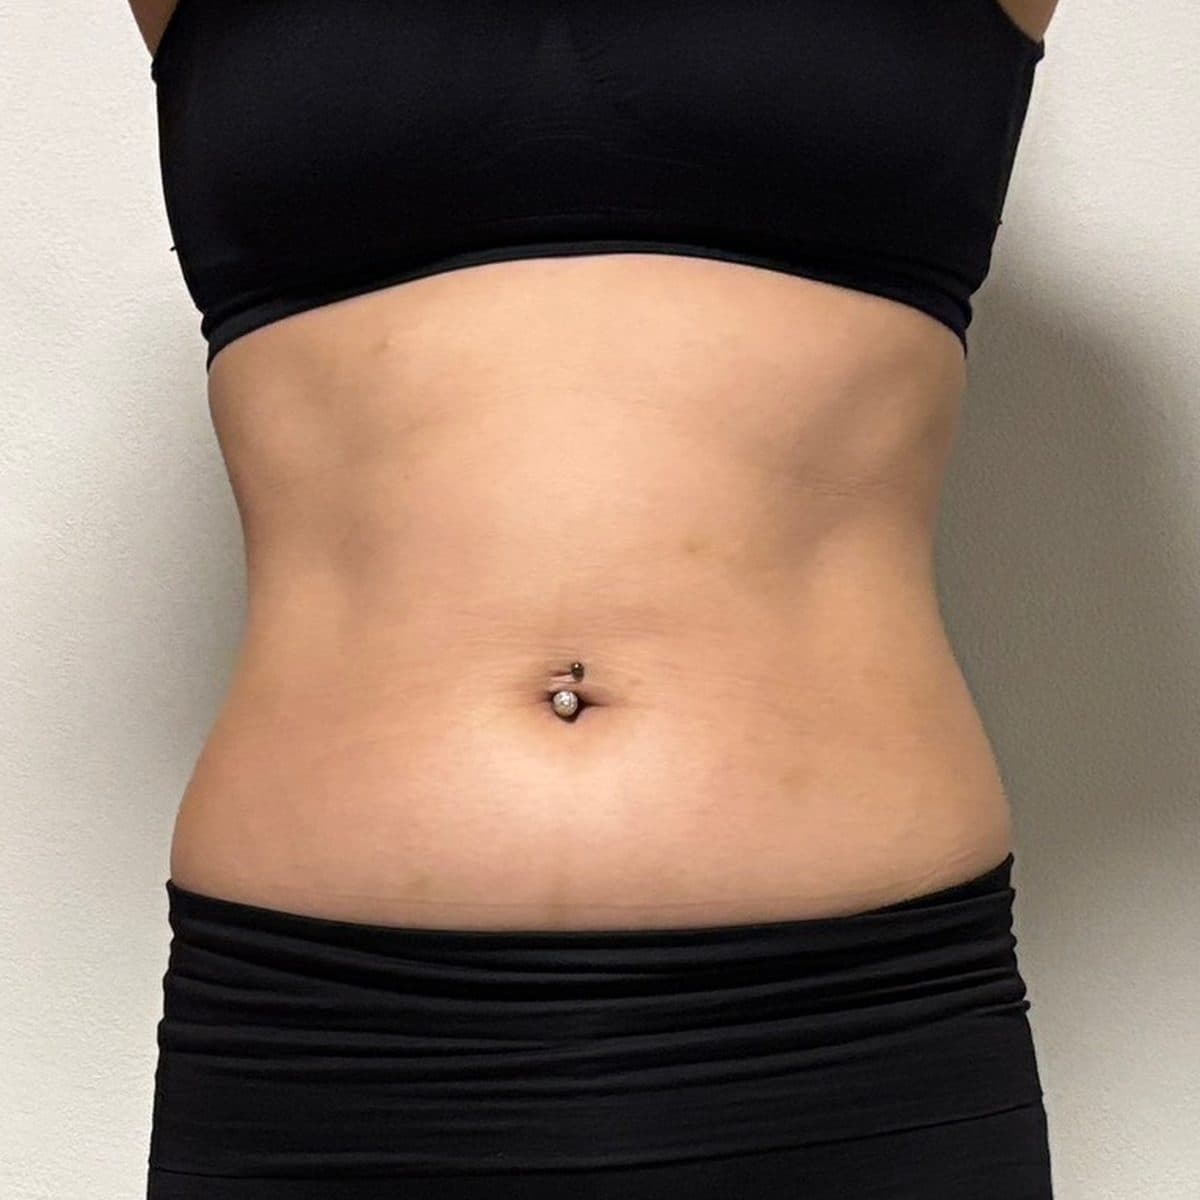 術後Abdomen Sok-Sok InjectionSok-Sok Body Injection
 術前
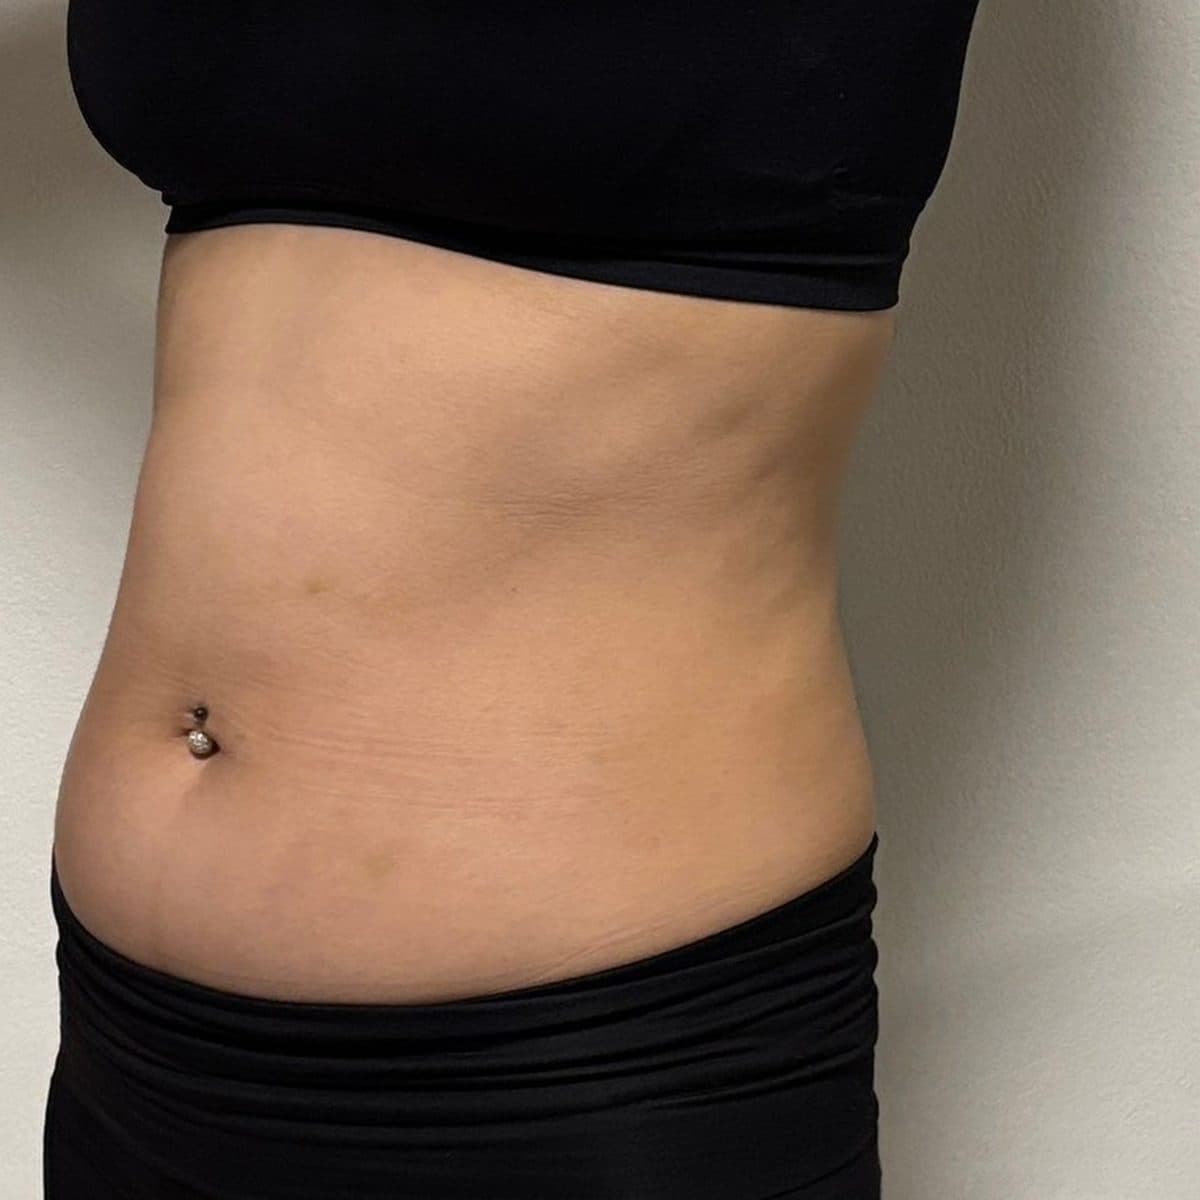 術後Abdomen Sok-Sok InjectionSok-Sok Body Injection
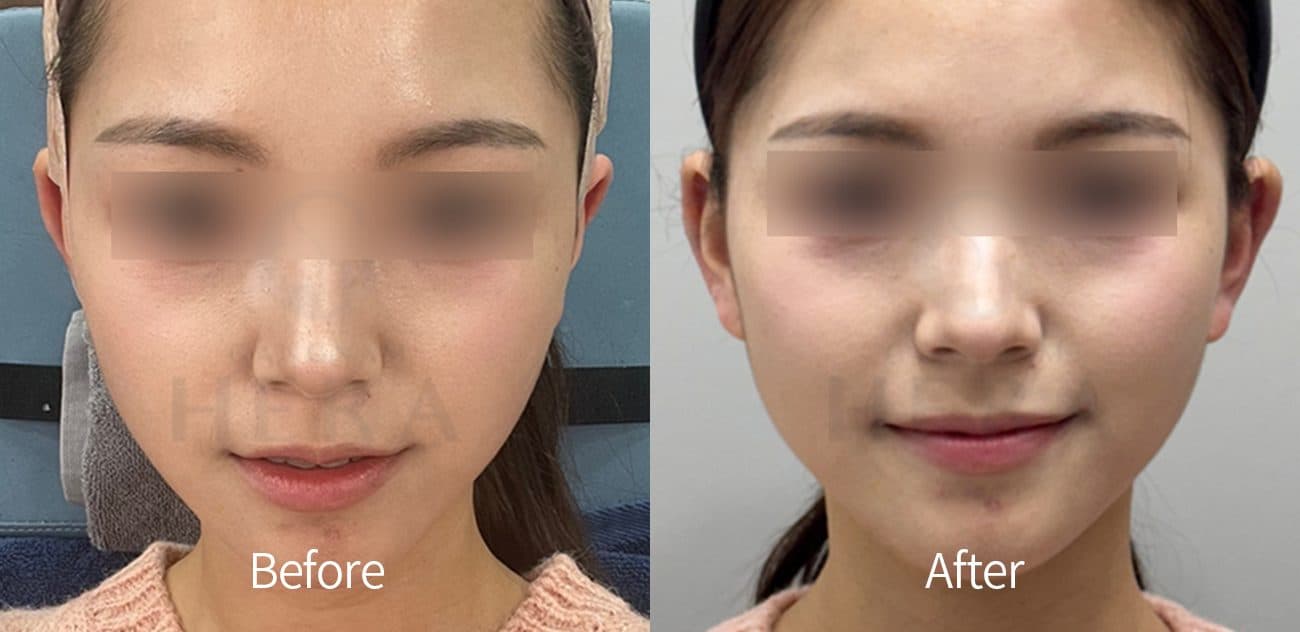
 術前
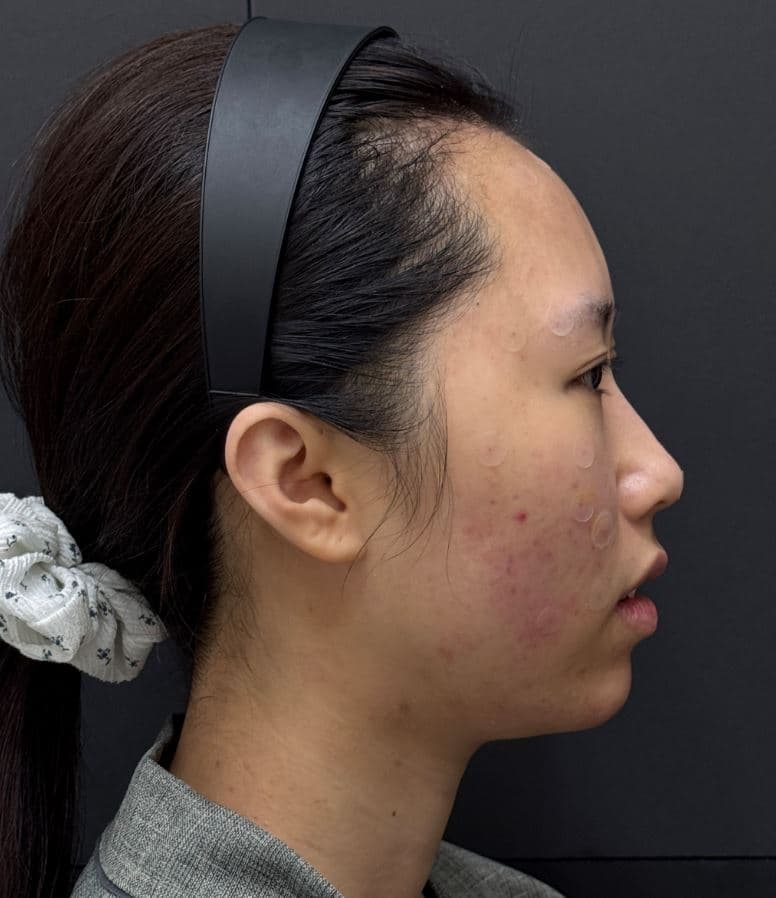 術後Full-Face FillerGeneral Facial Fillers
 術前
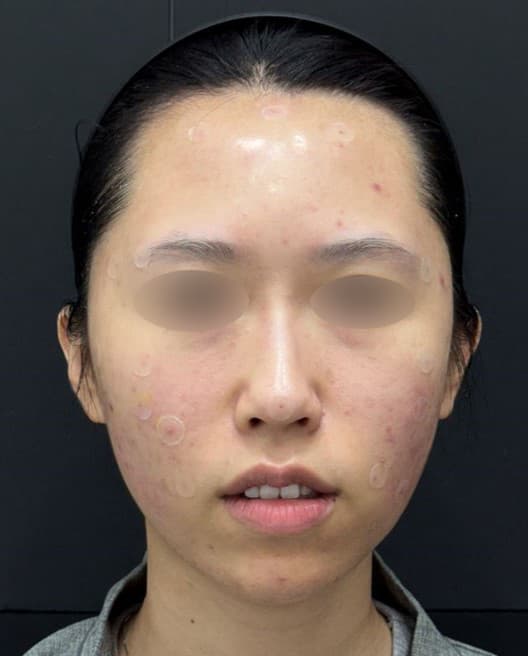 術後Full-Face FillerGeneral Facial Fillers
 術前
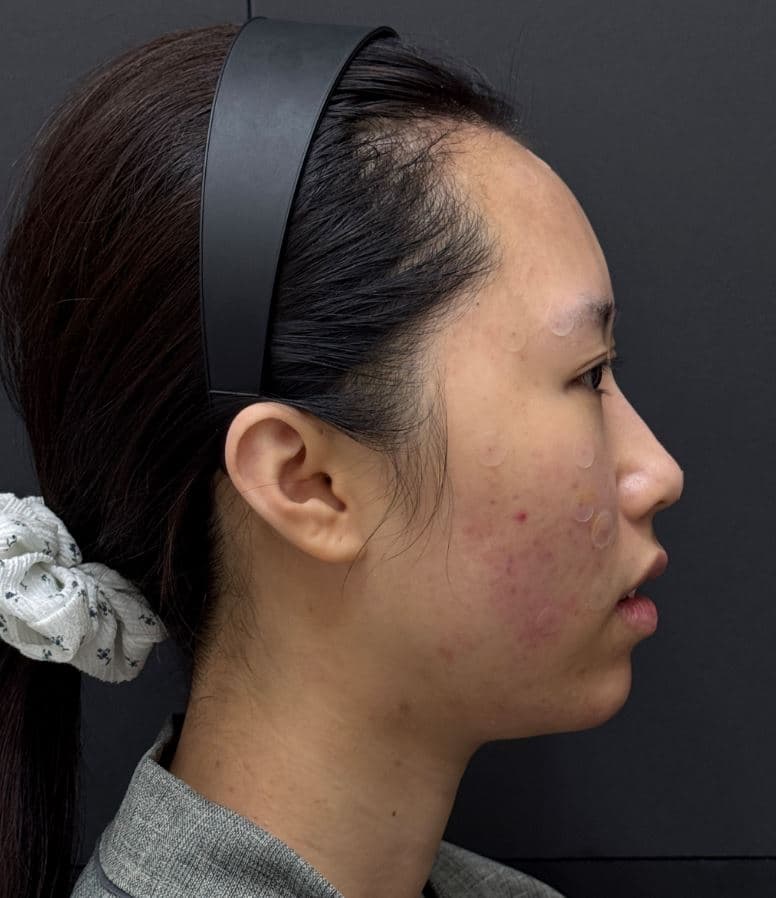 術後Full-Face FillerGeneral Facial Fillers
 術前
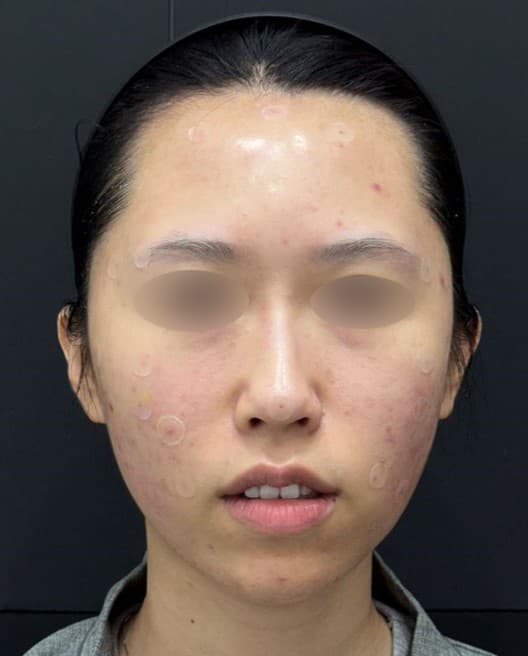 術後Full-Face FillerGeneral Facial Fillers
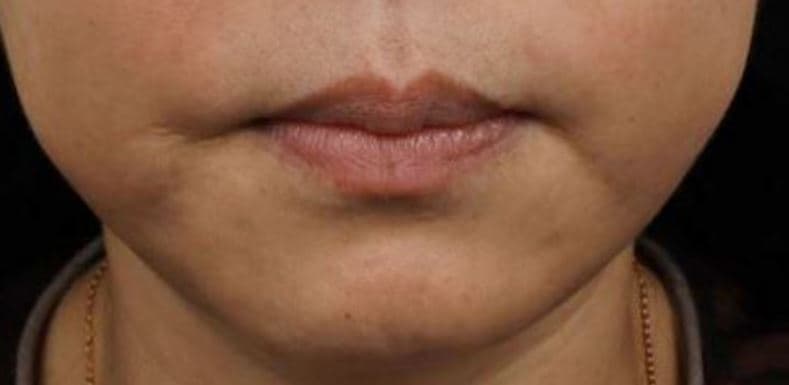 術前
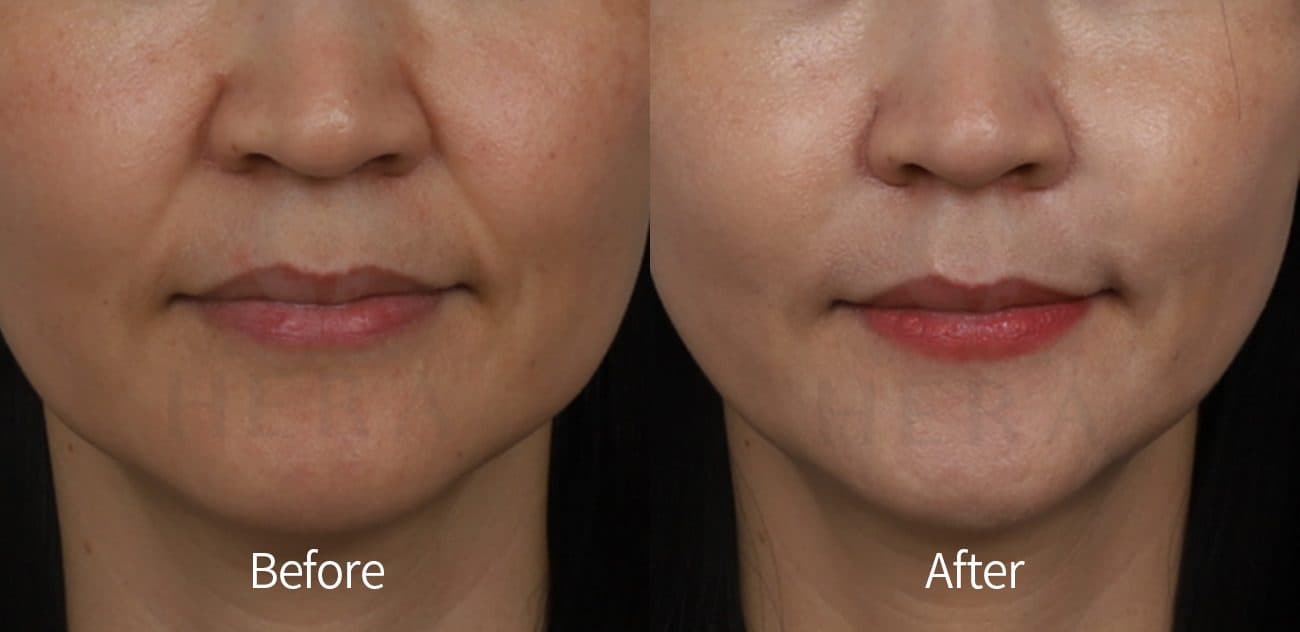
 術後Marionette Line FillerGeneral Facial Fillers
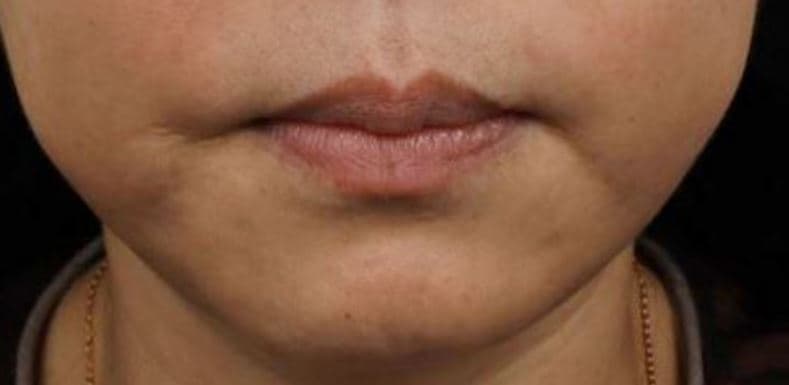 術前
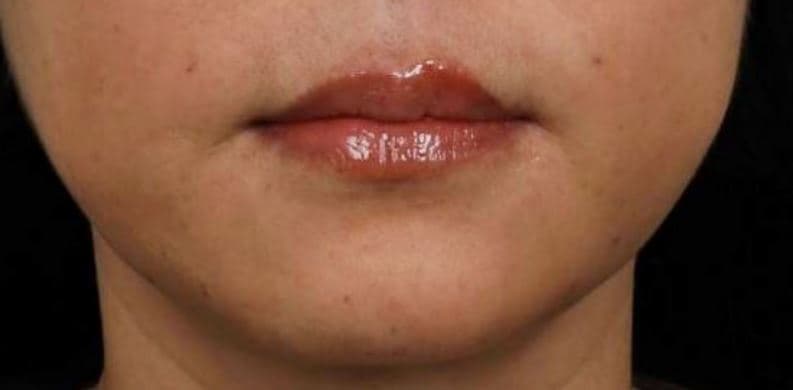 術後Marionette Line FillerGeneral Facial Fillers
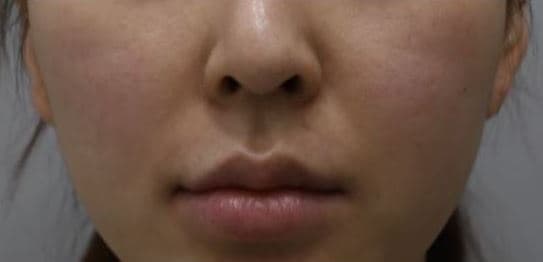 術前
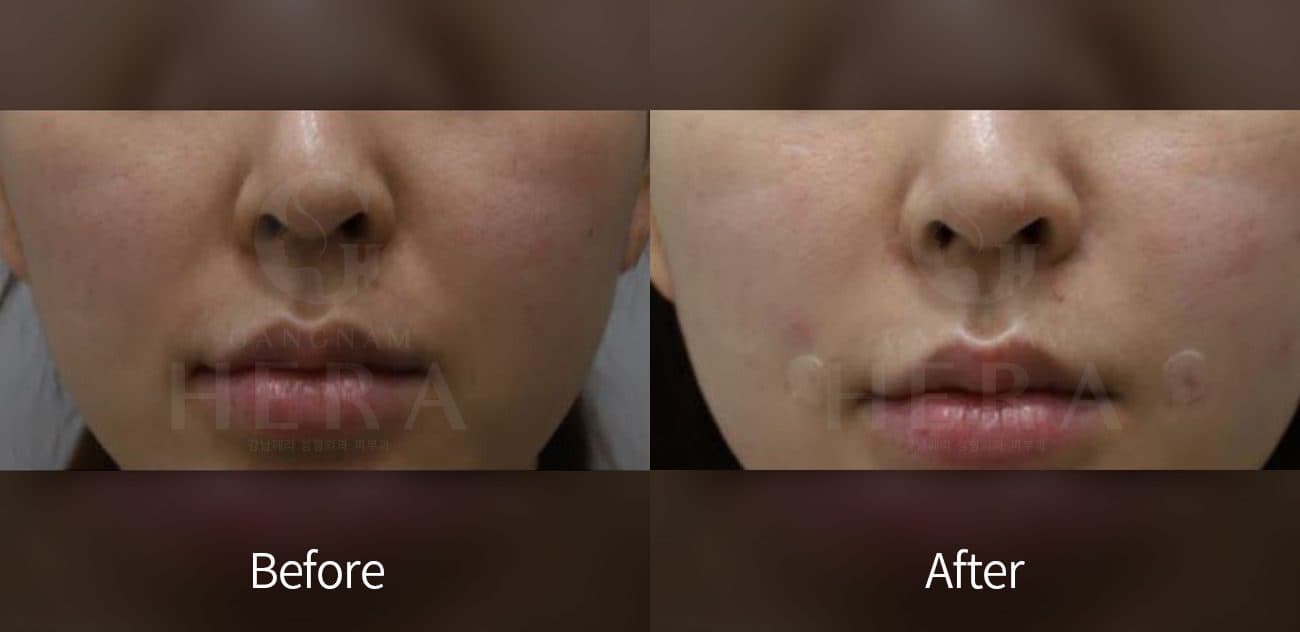
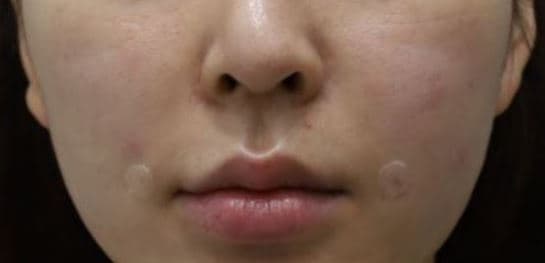 術後Nasolabial Fold FillerGeneral Facial Fillers
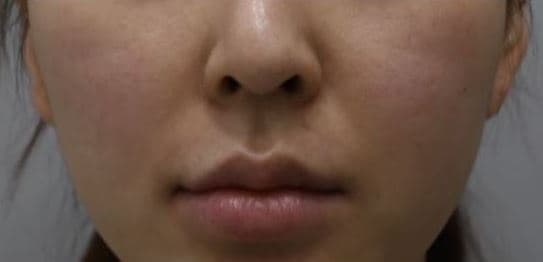 術前
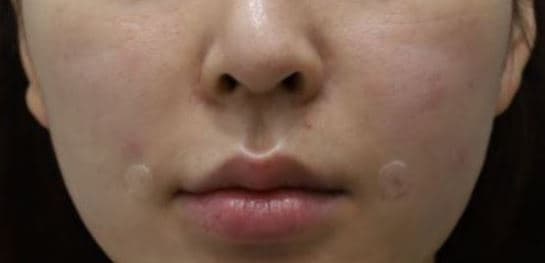 術後Nasolabial Fold FillerGeneral Facial Fillers
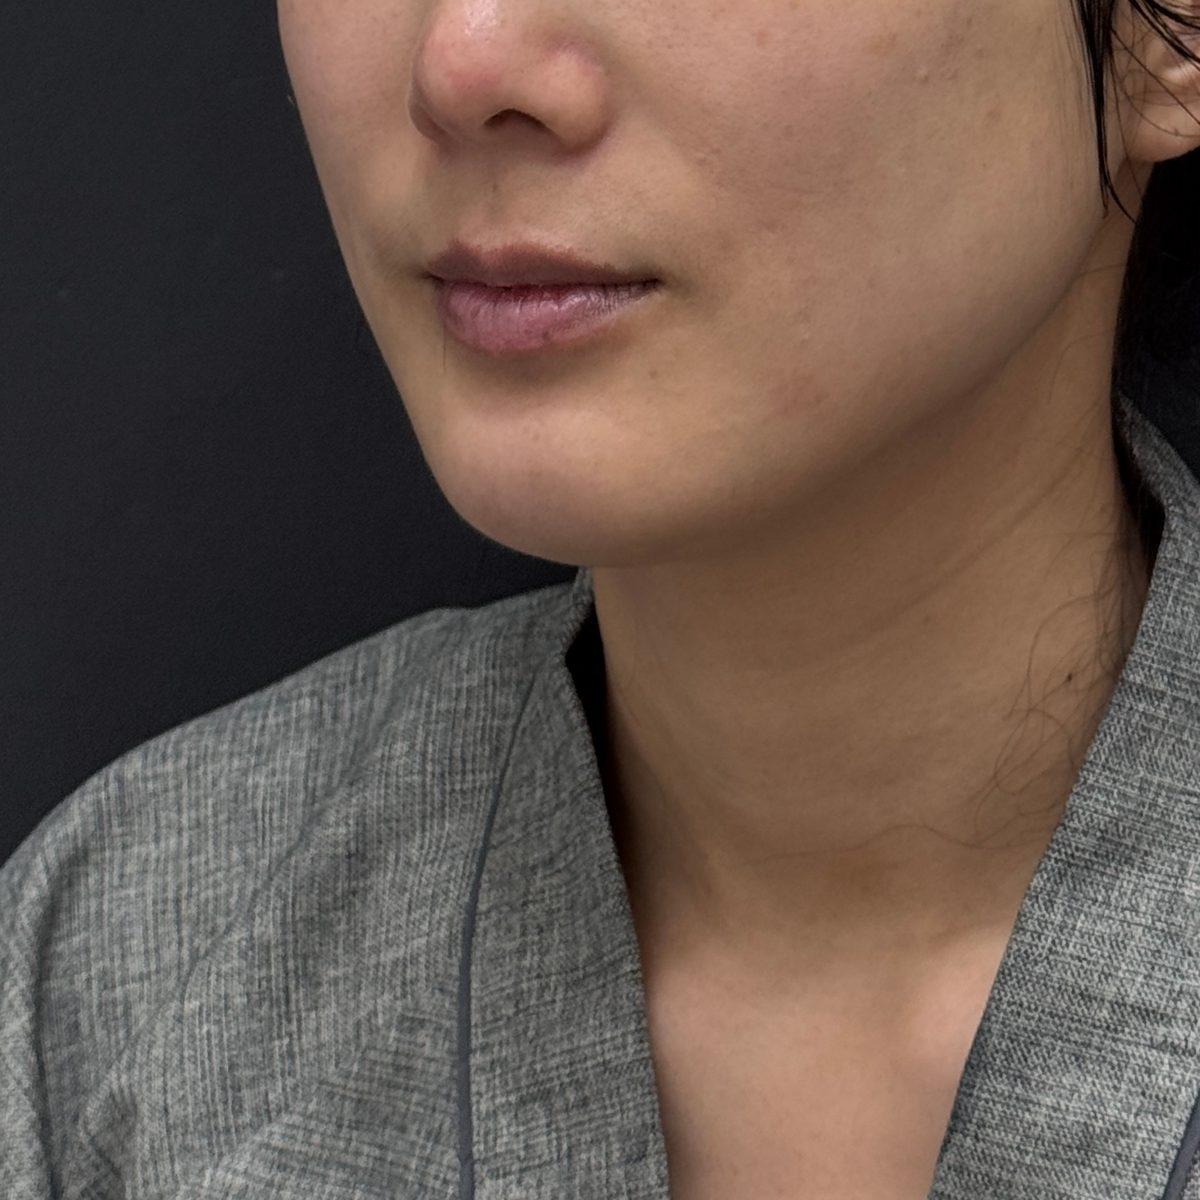 術前
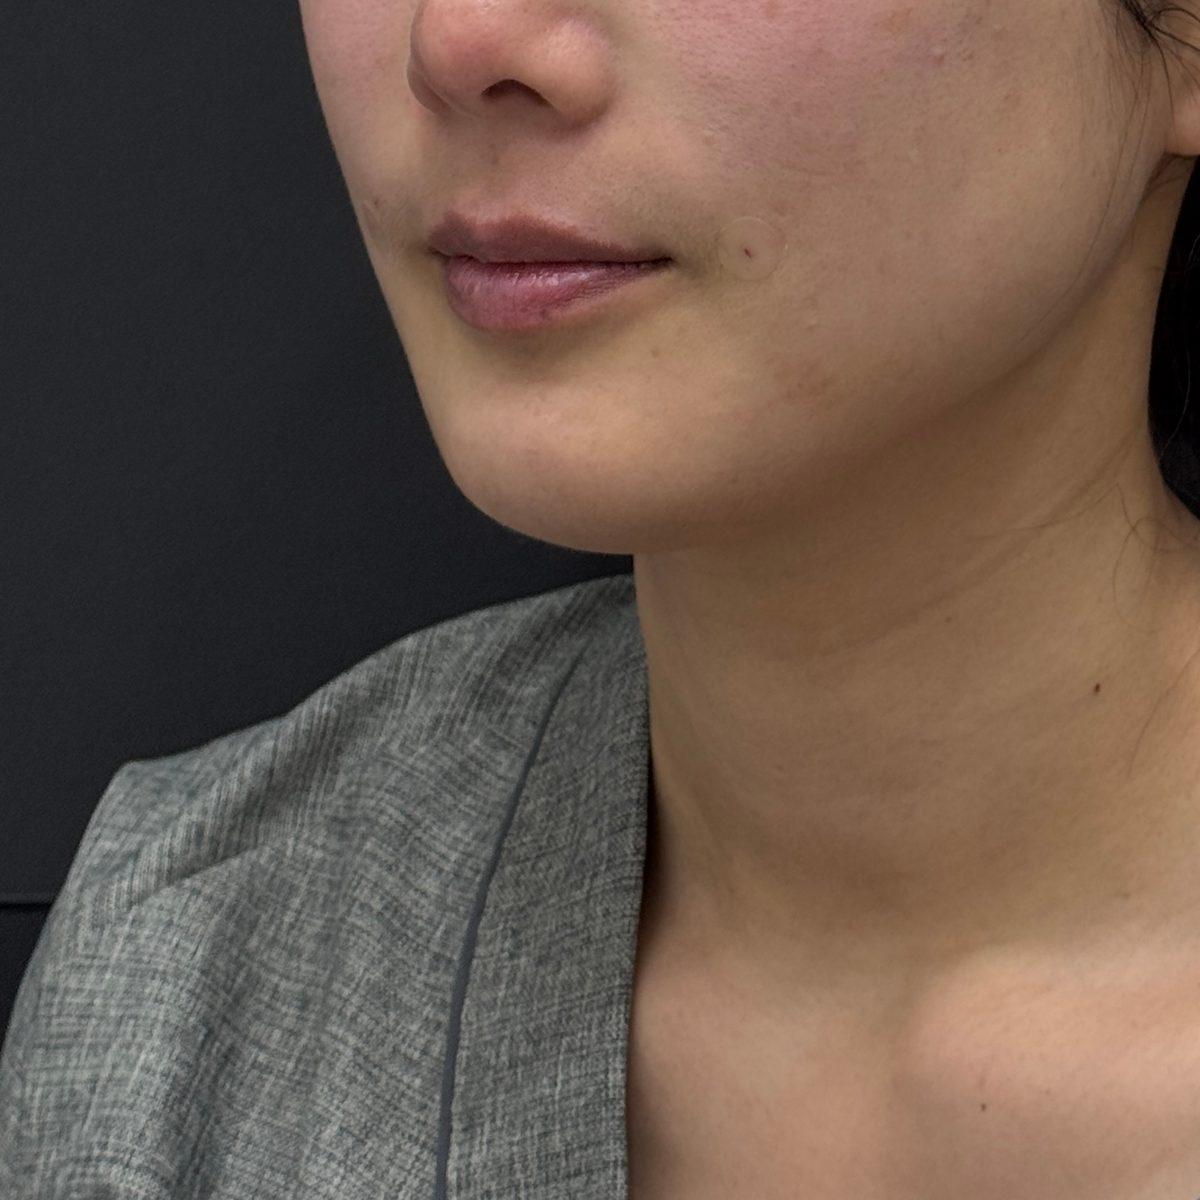 術後Nasolabial Fold FillerGeneral Facial Fillers
 術前
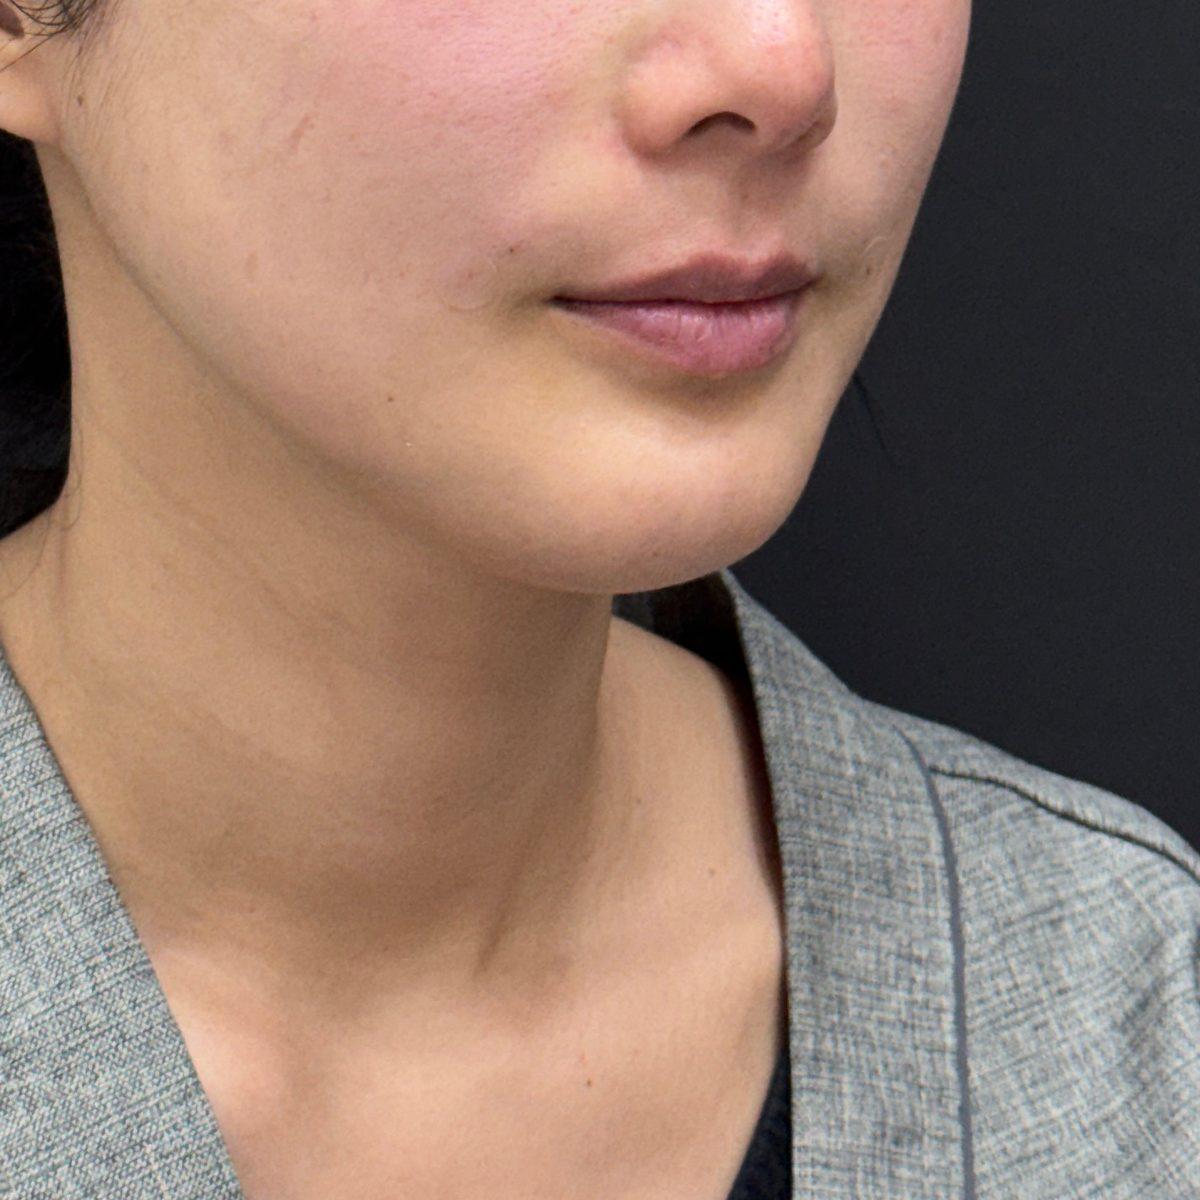 術後Nasolabial Fold FillerGeneral Facial Fillers
 術前
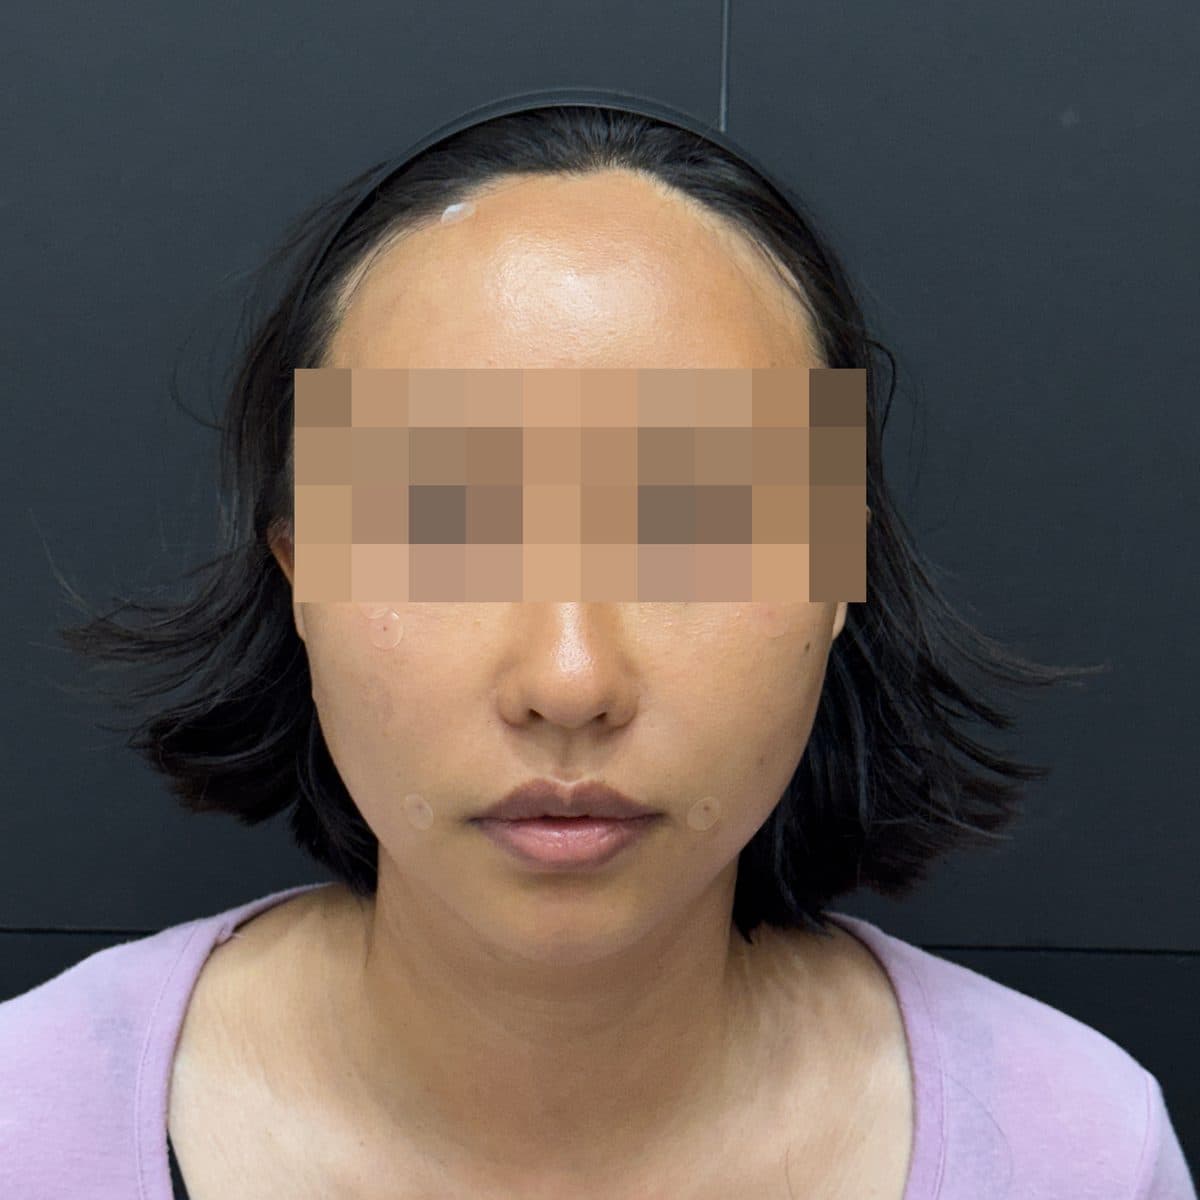 術後Under-Eye + Nasolabial FillerGeneral Facial Fillers
 術前
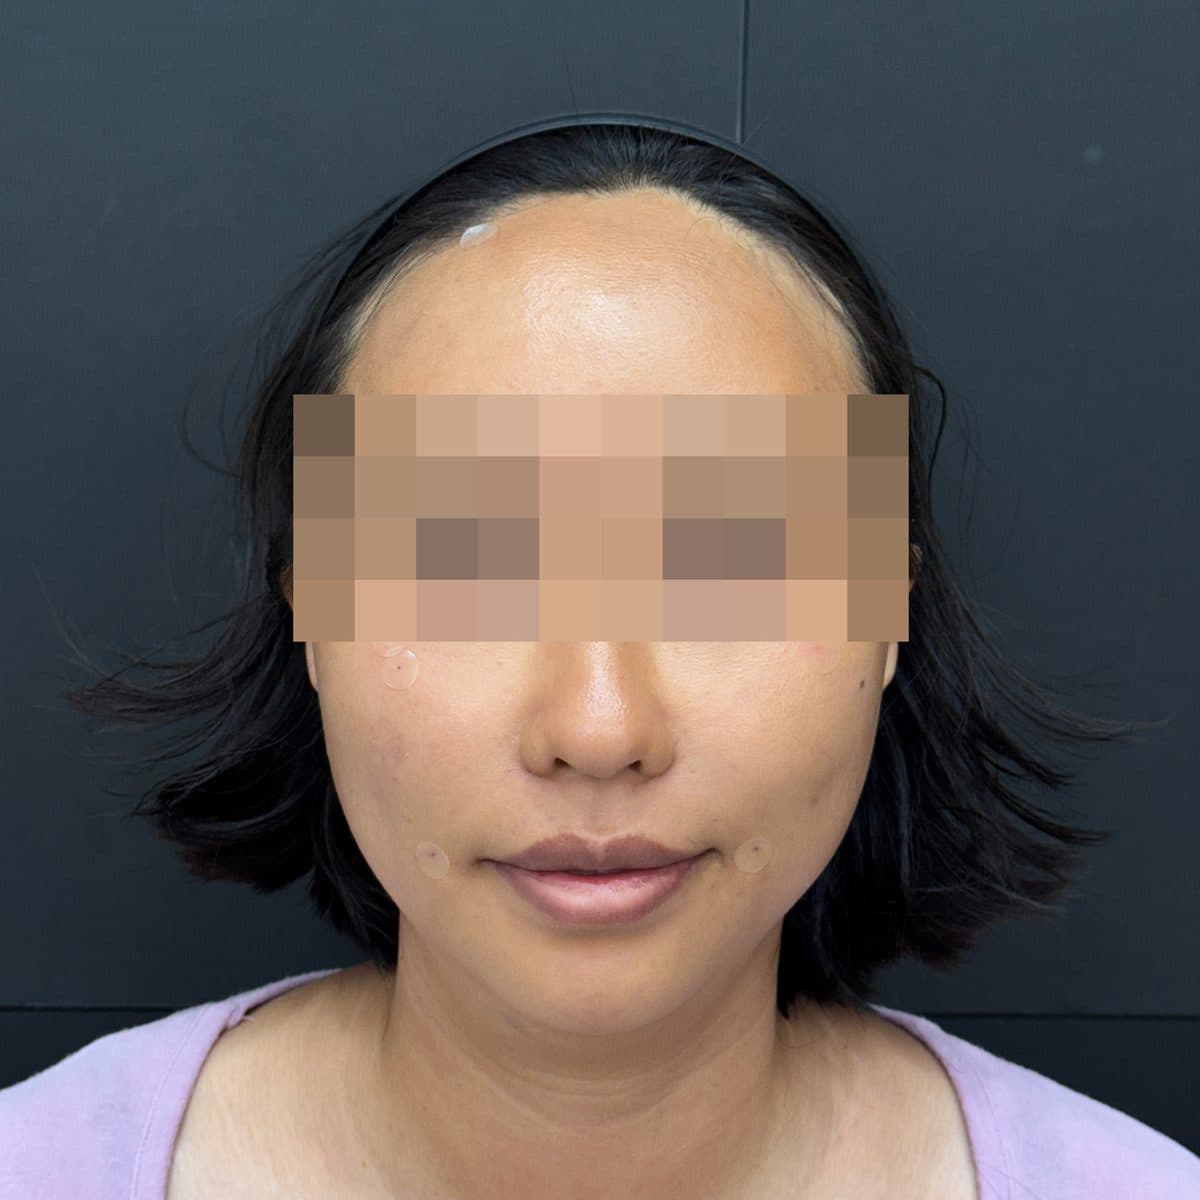 術後Under-Eye + Nasolabial FillerGeneral Facial Fillers
 術前
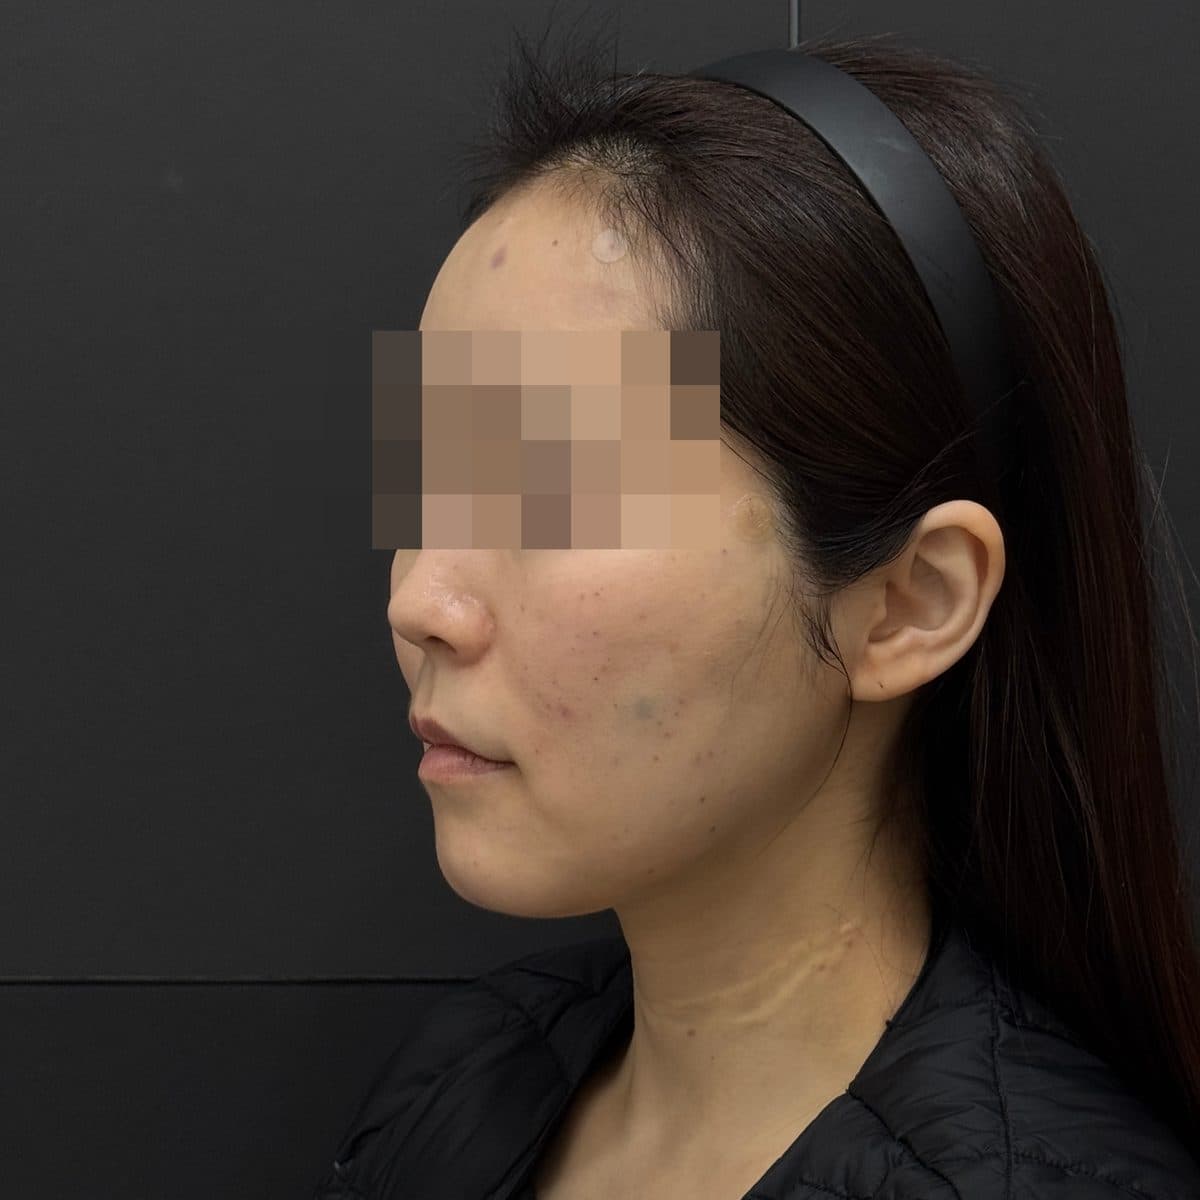 術後Forehead FillerGeneral Facial Fillers
 術前
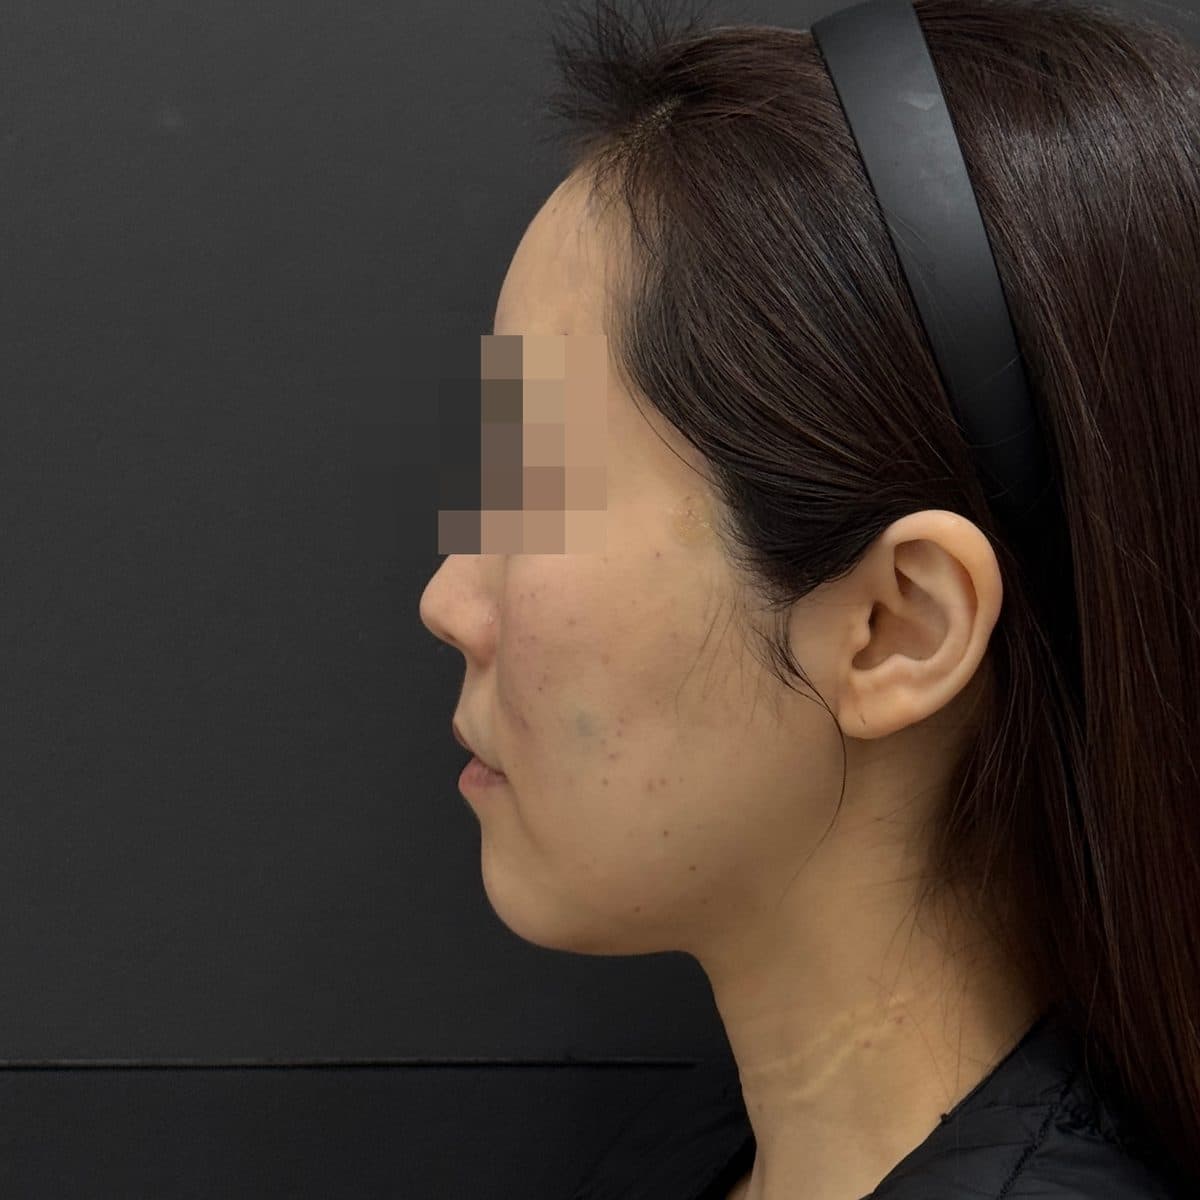 術後Forehead FillerGeneral Facial Fillers
 術前
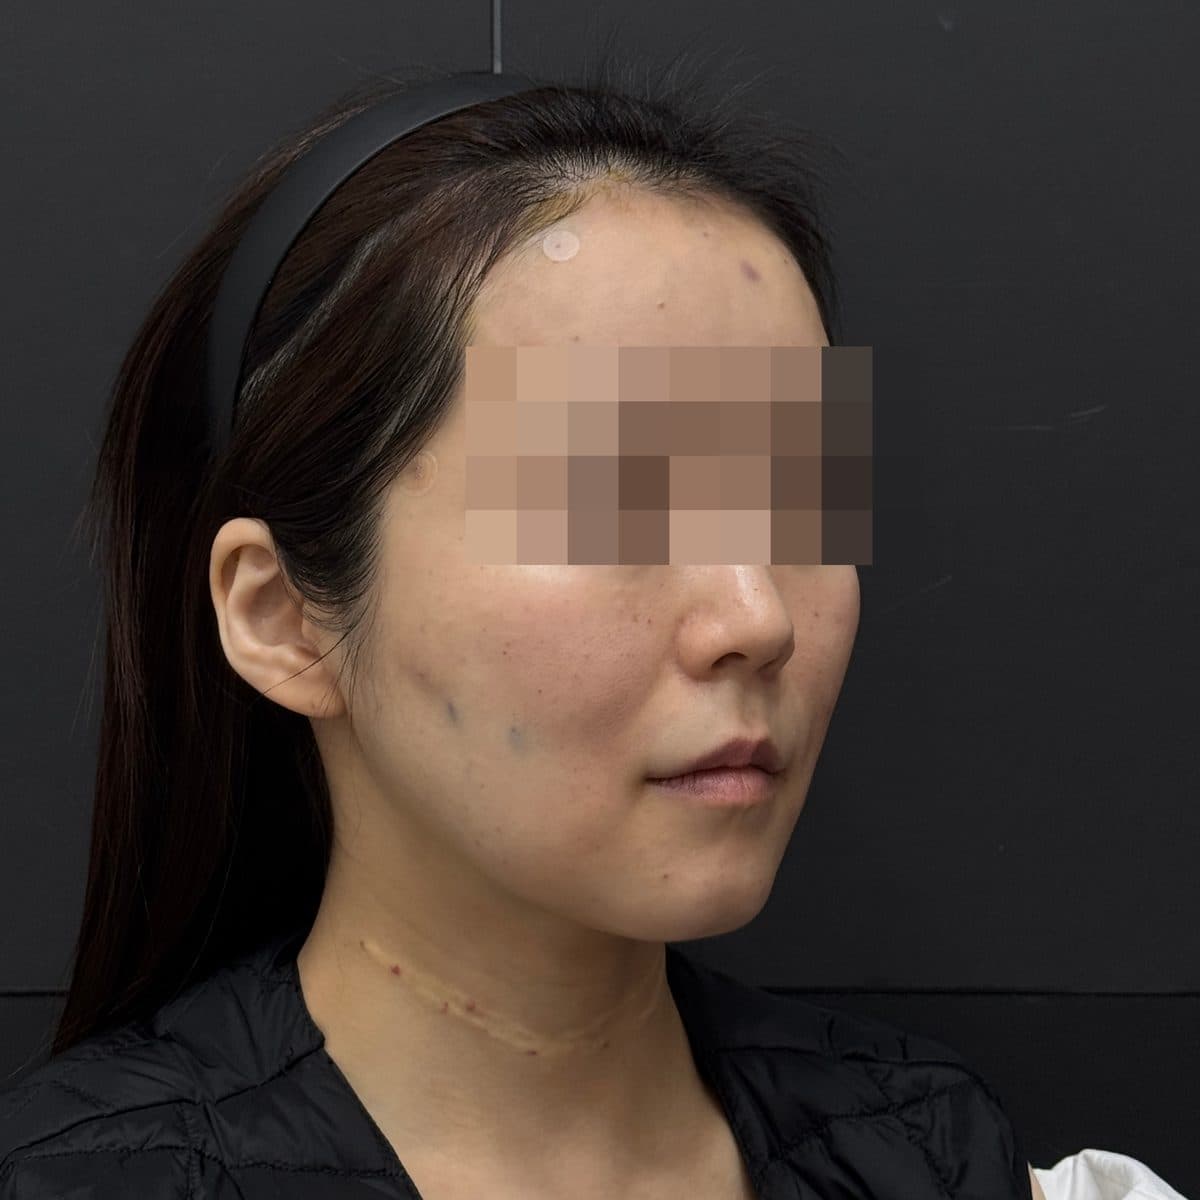 術後Forehead FillerGeneral Facial Fillers
 術前
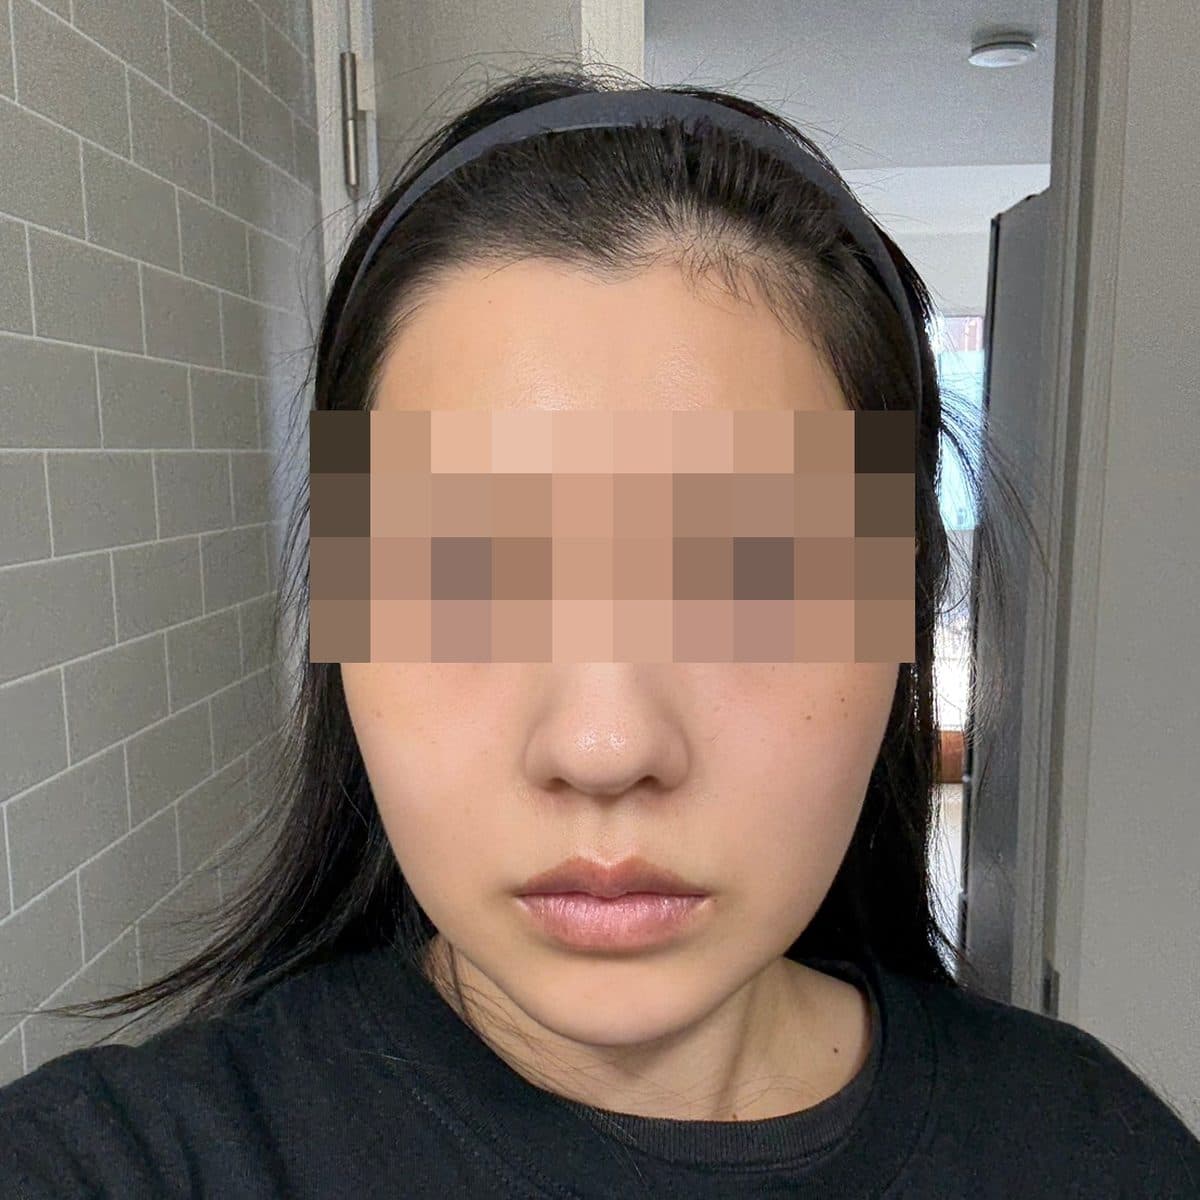 術後Forehead FillerGeneral Facial Fillers
 術前
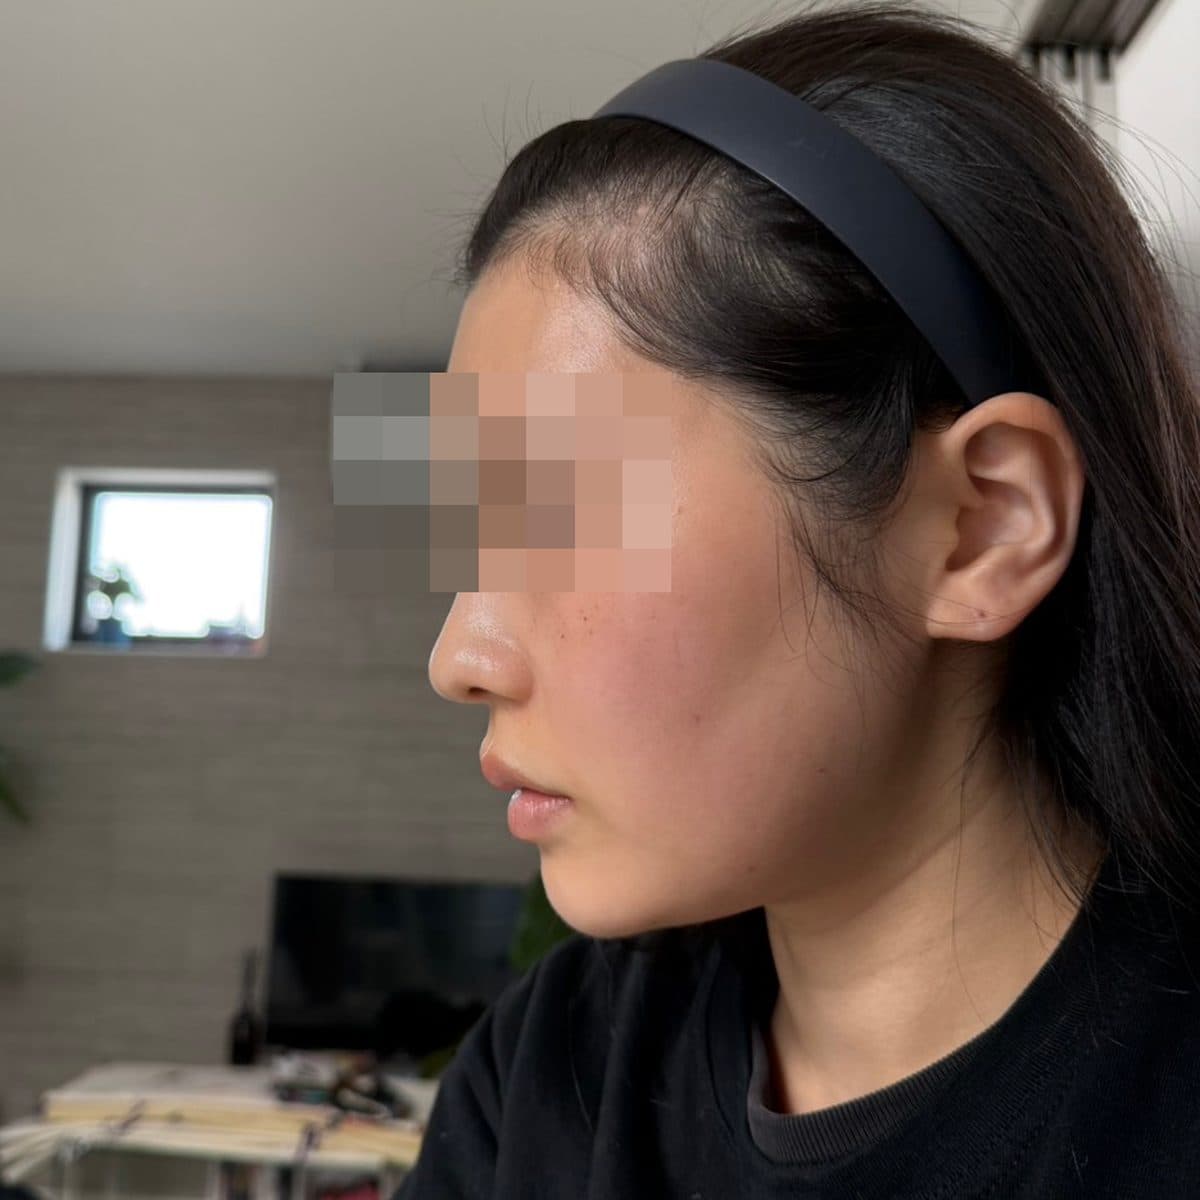 術後Forehead FillerGeneral Facial Fillers
 術前
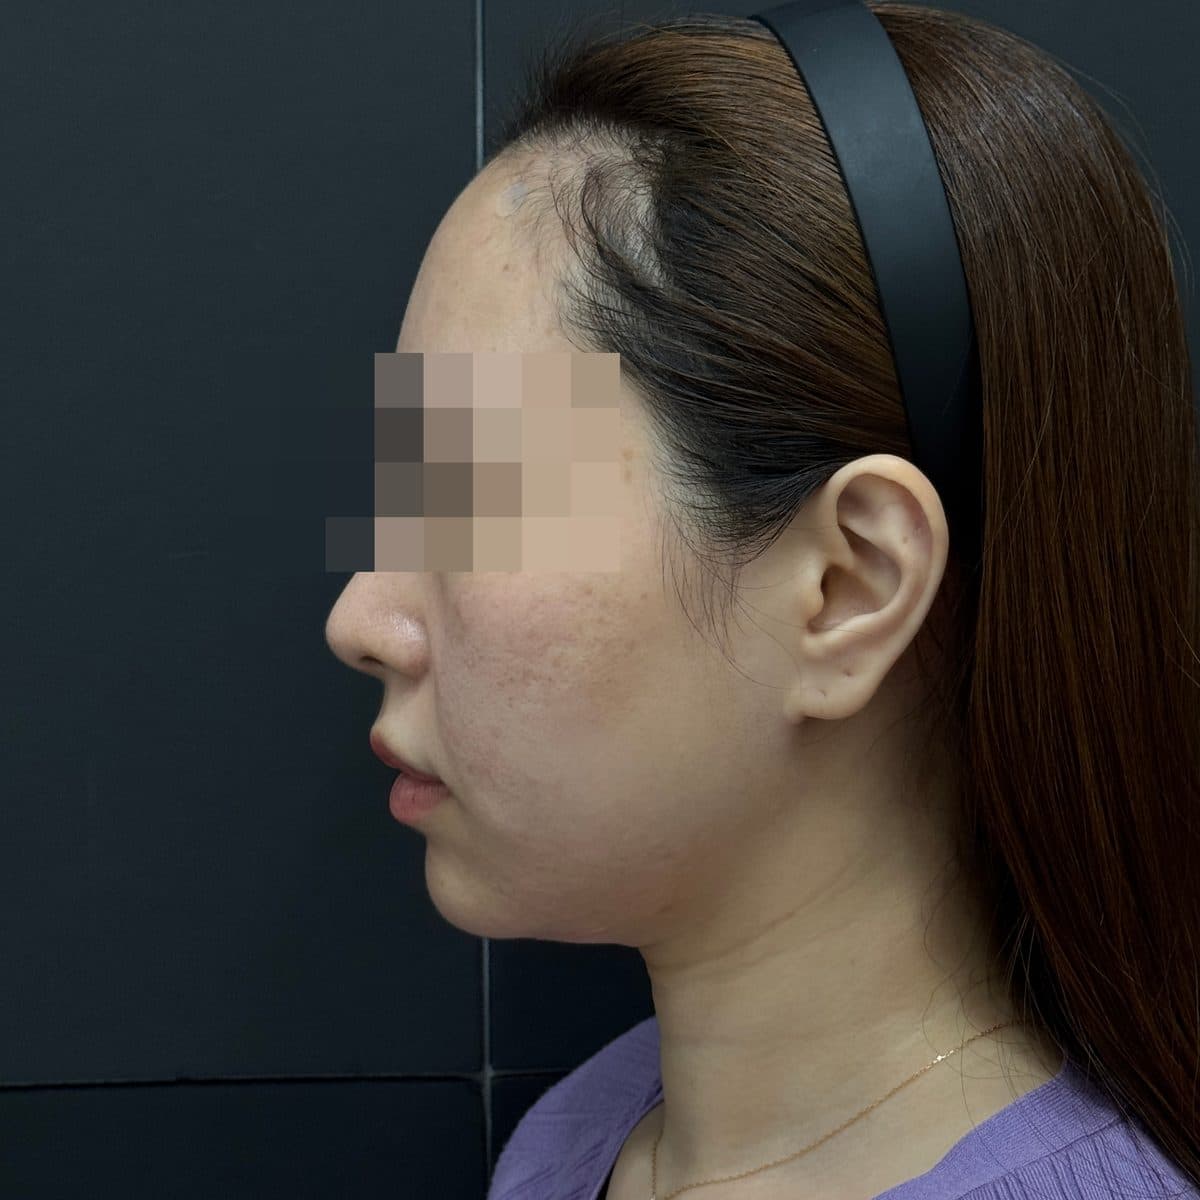 術後Forehead FillerGeneral Facial Fillers
 術前
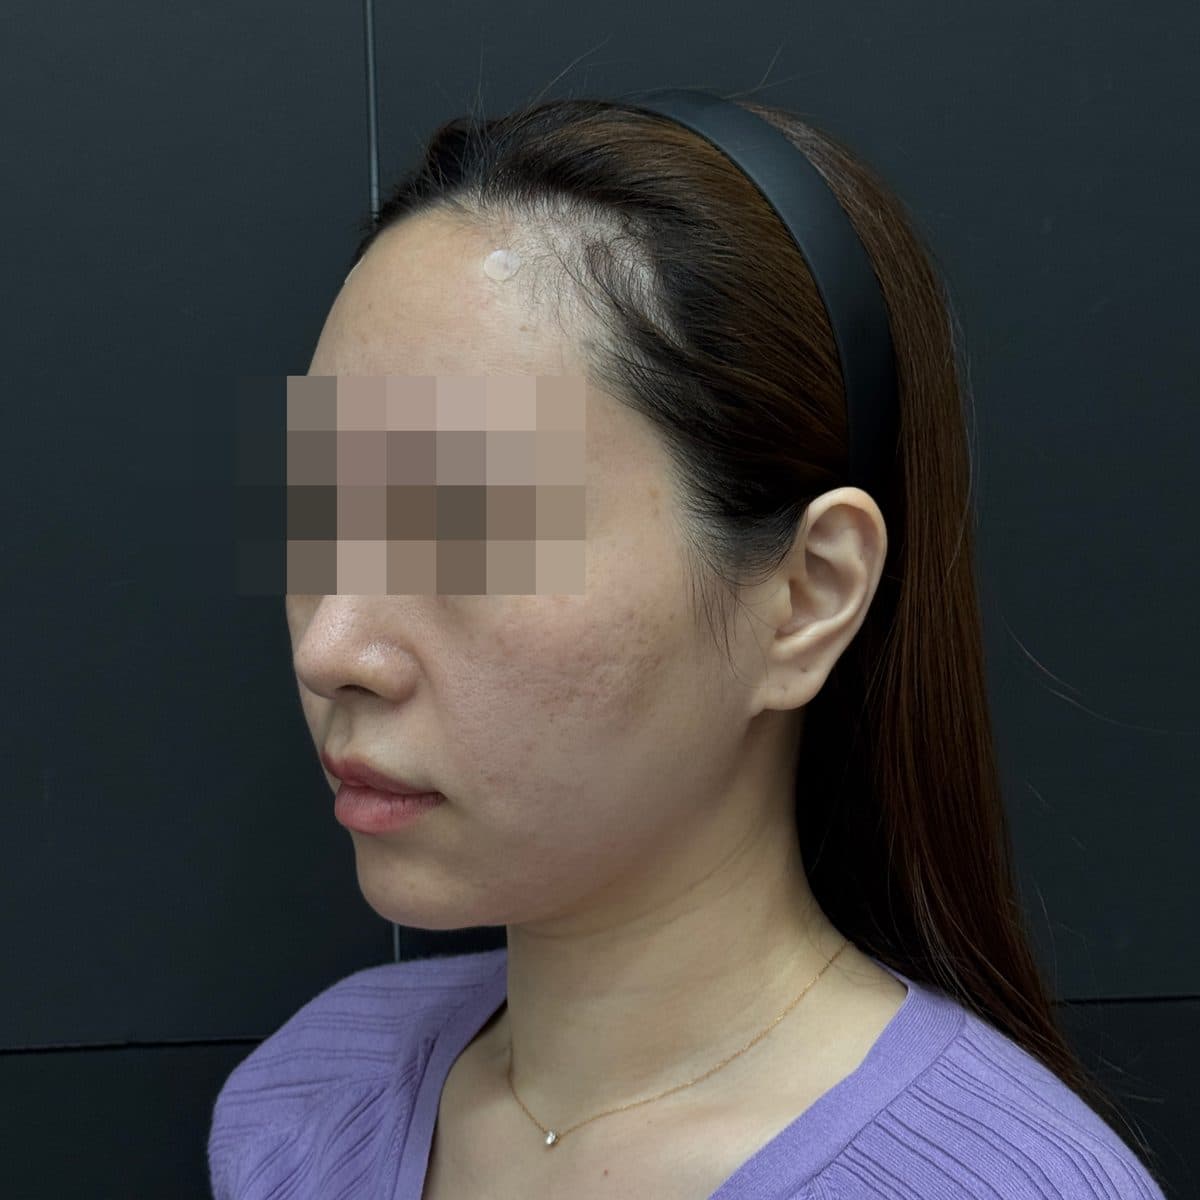 術後Forehead FillerGeneral Facial Fillers
 術前
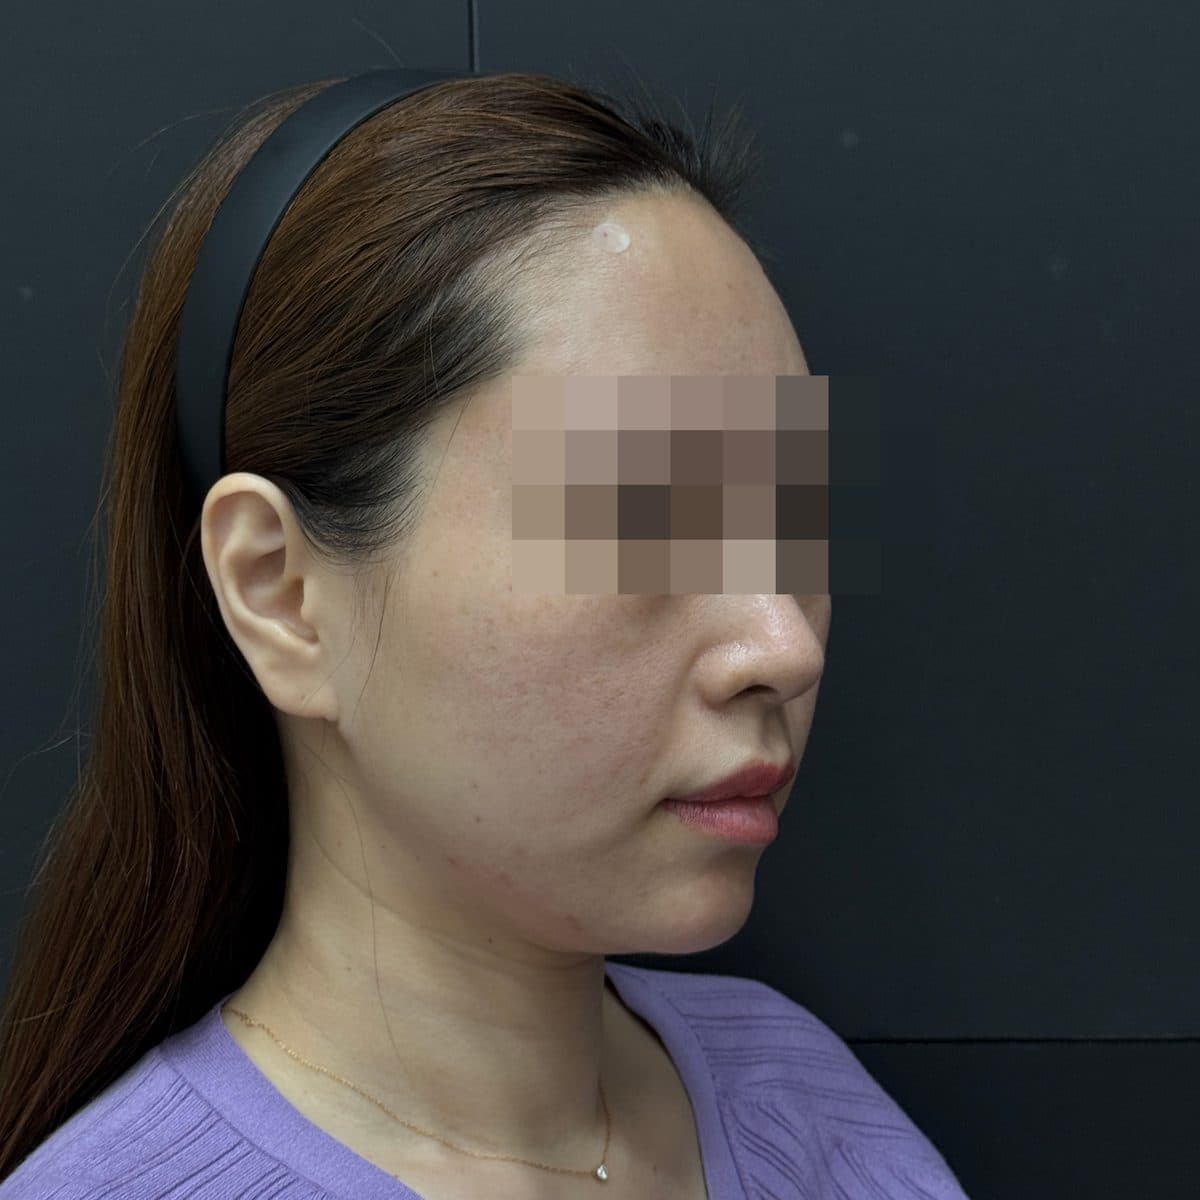 術後Forehead FillerGeneral Facial Fillers
 術前
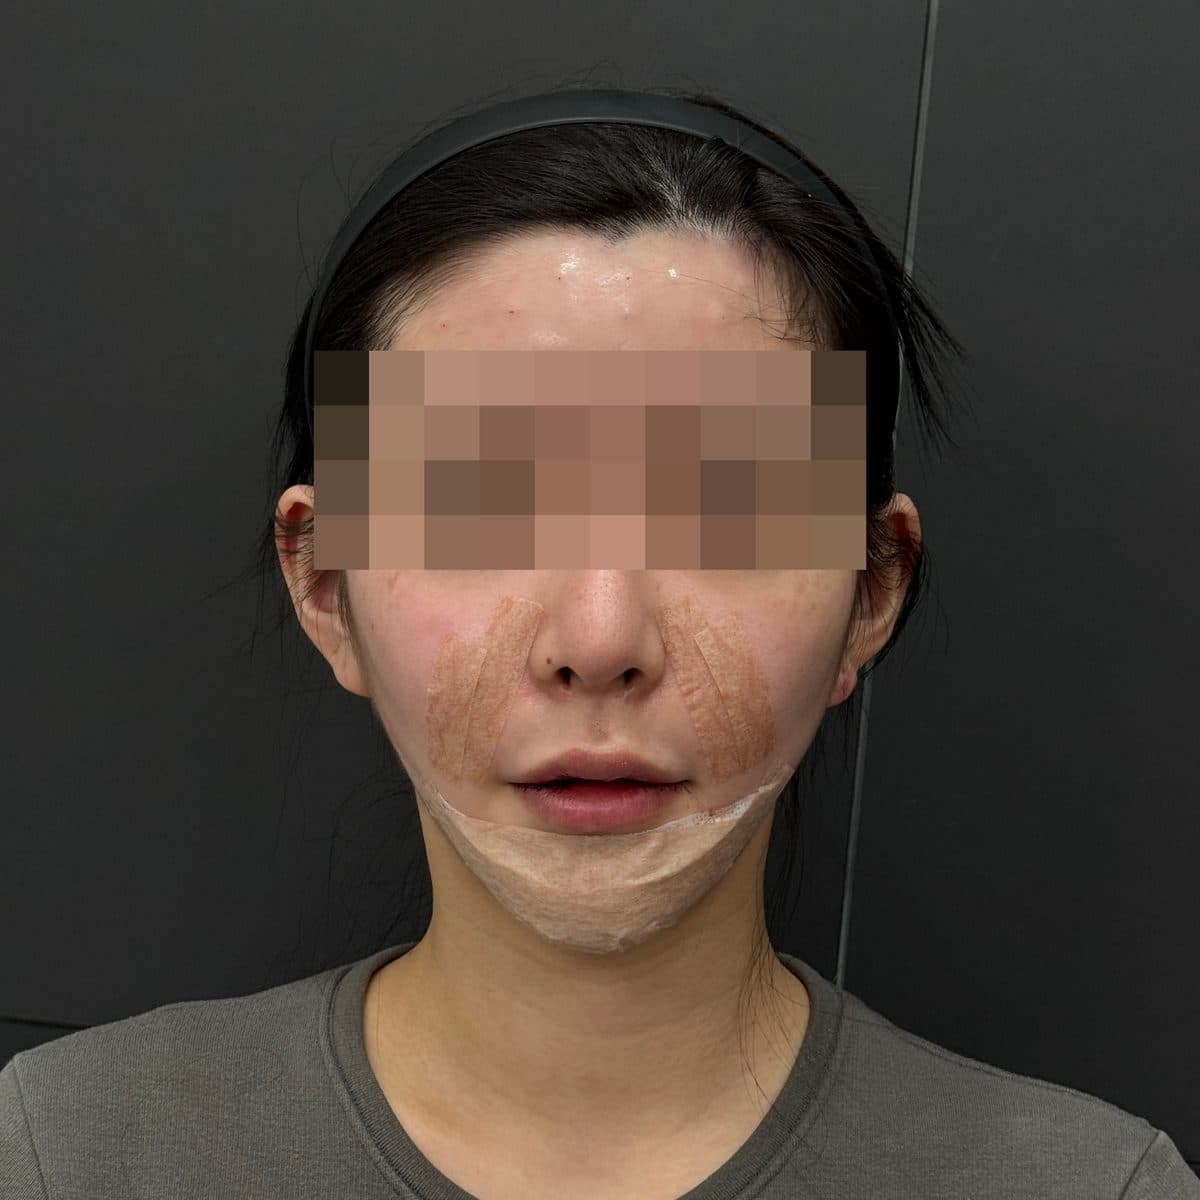 術後Forehead FillerGeneral Facial Fillers
 術前
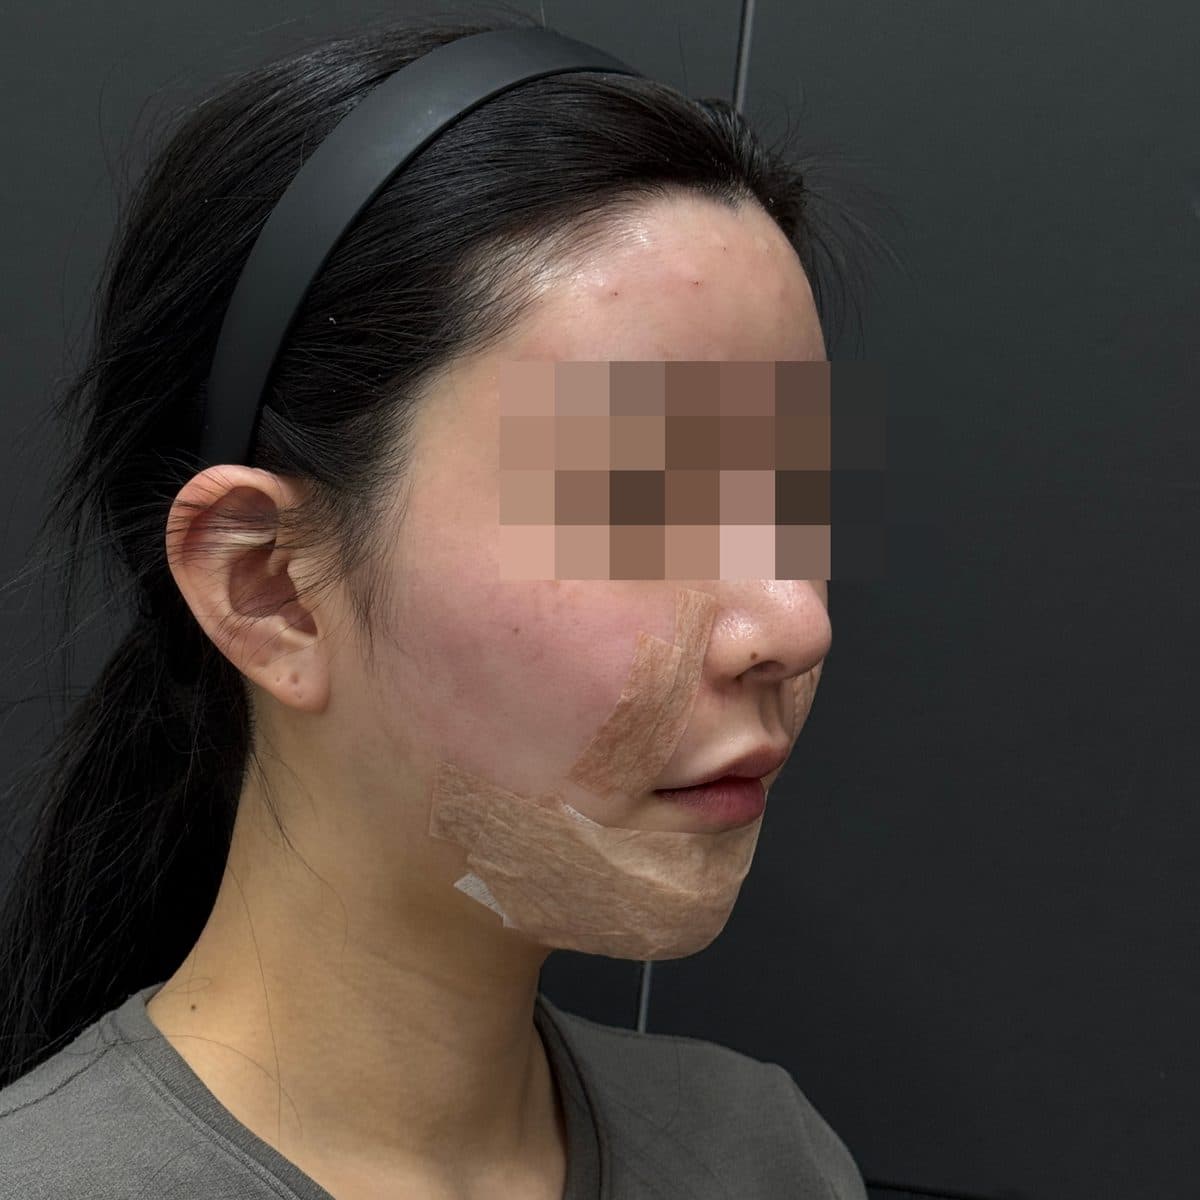 術後Forehead FillerGeneral Facial Fillers
 術前
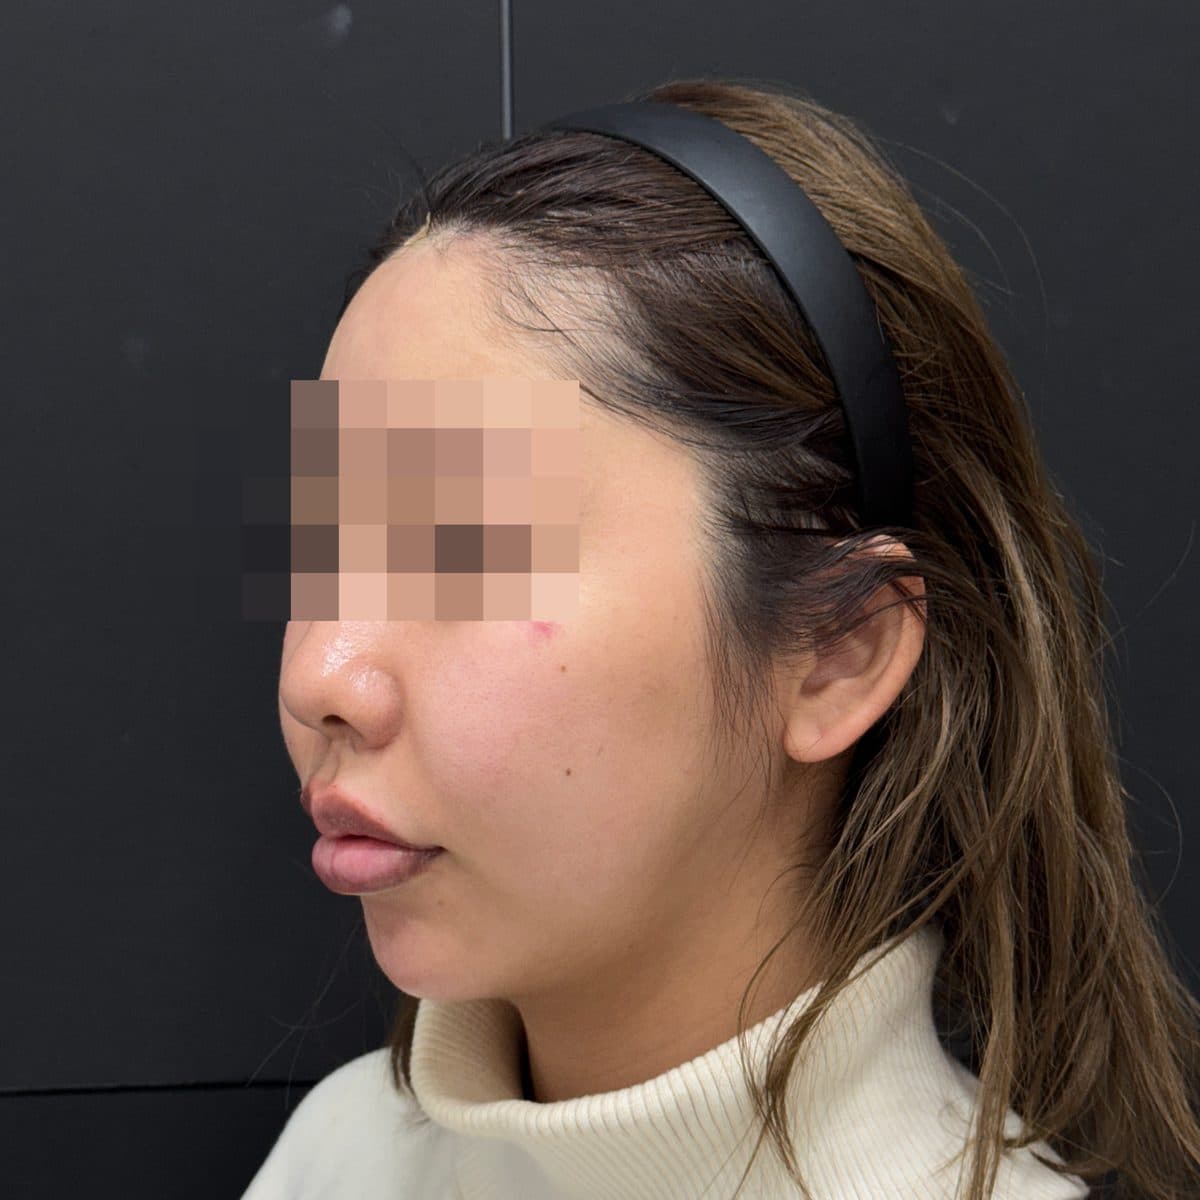 術後Forehead FillerGeneral Facial Fillers
 術前
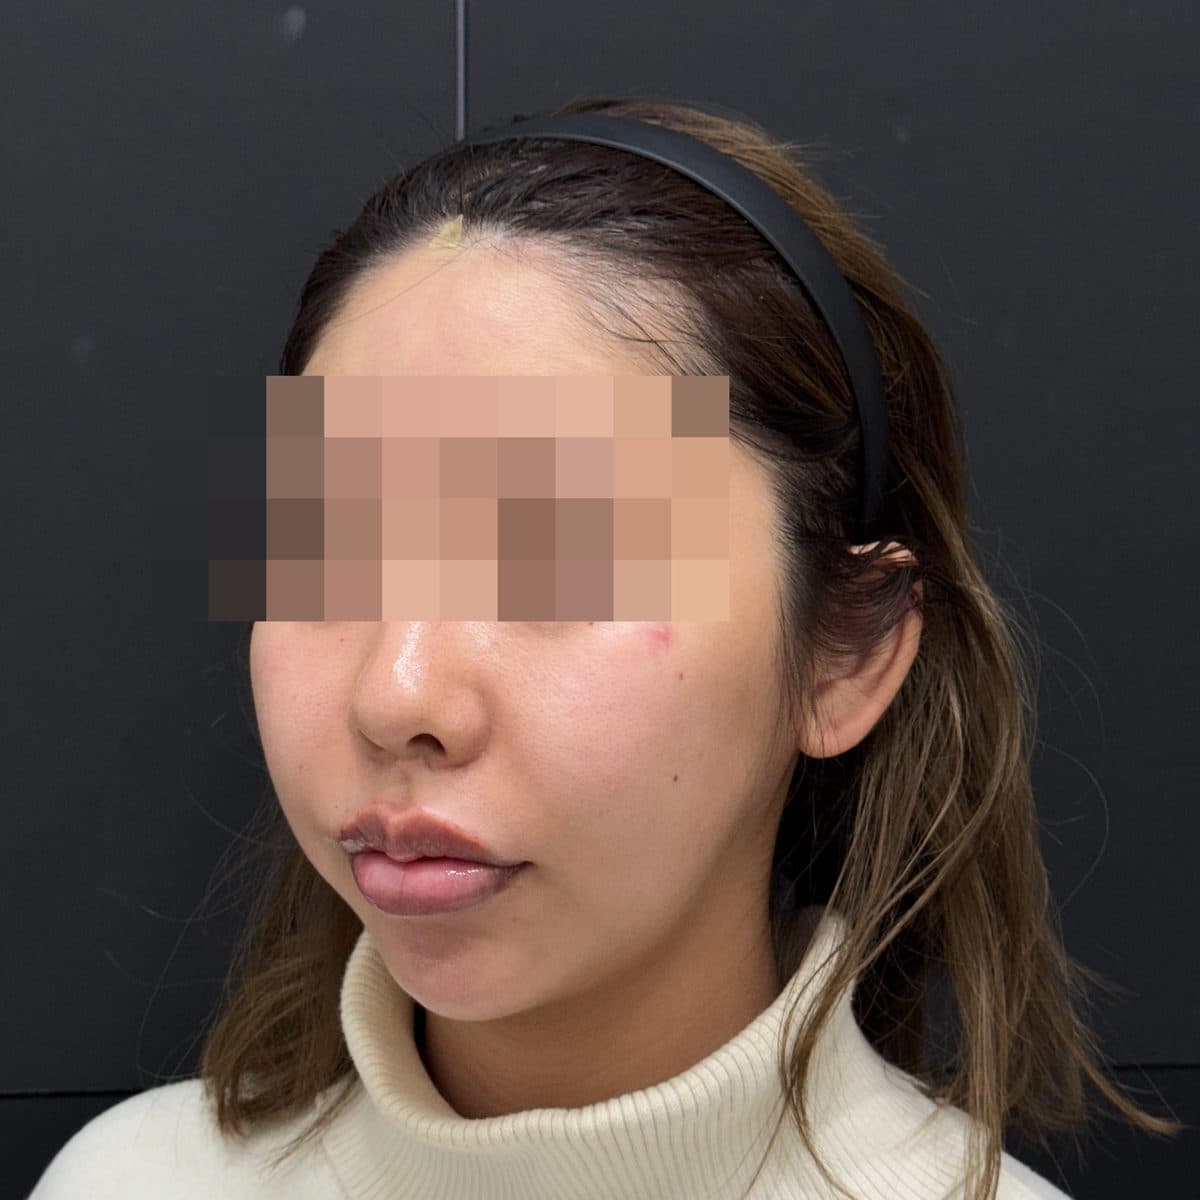 術後Forehead FillerGeneral Facial Fillers
 術前
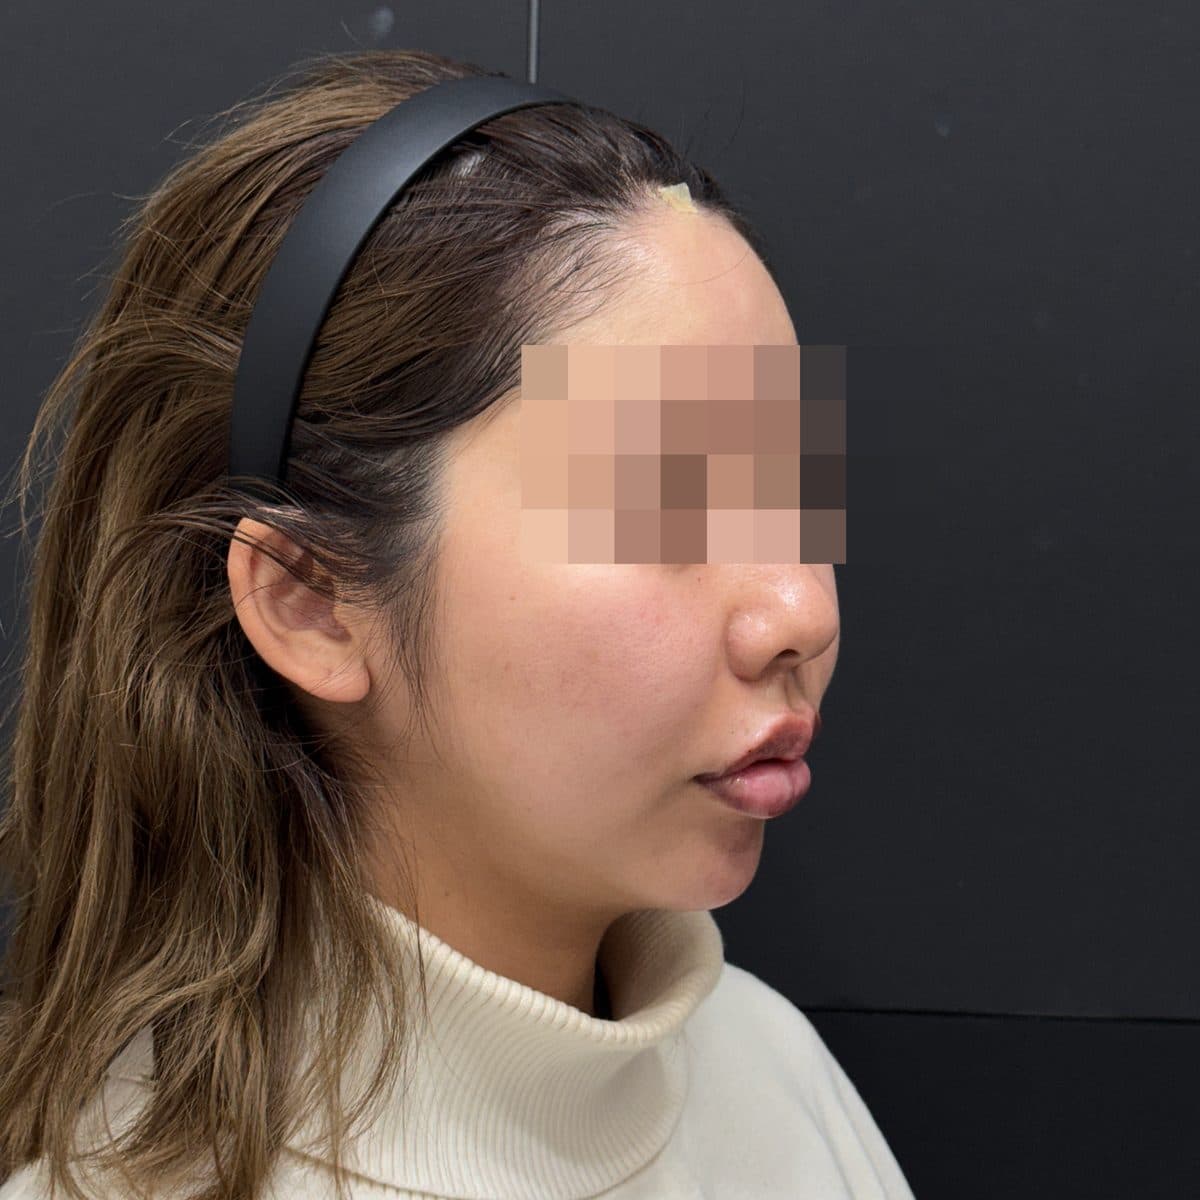 術後Forehead FillerGeneral Facial Fillers
 術前
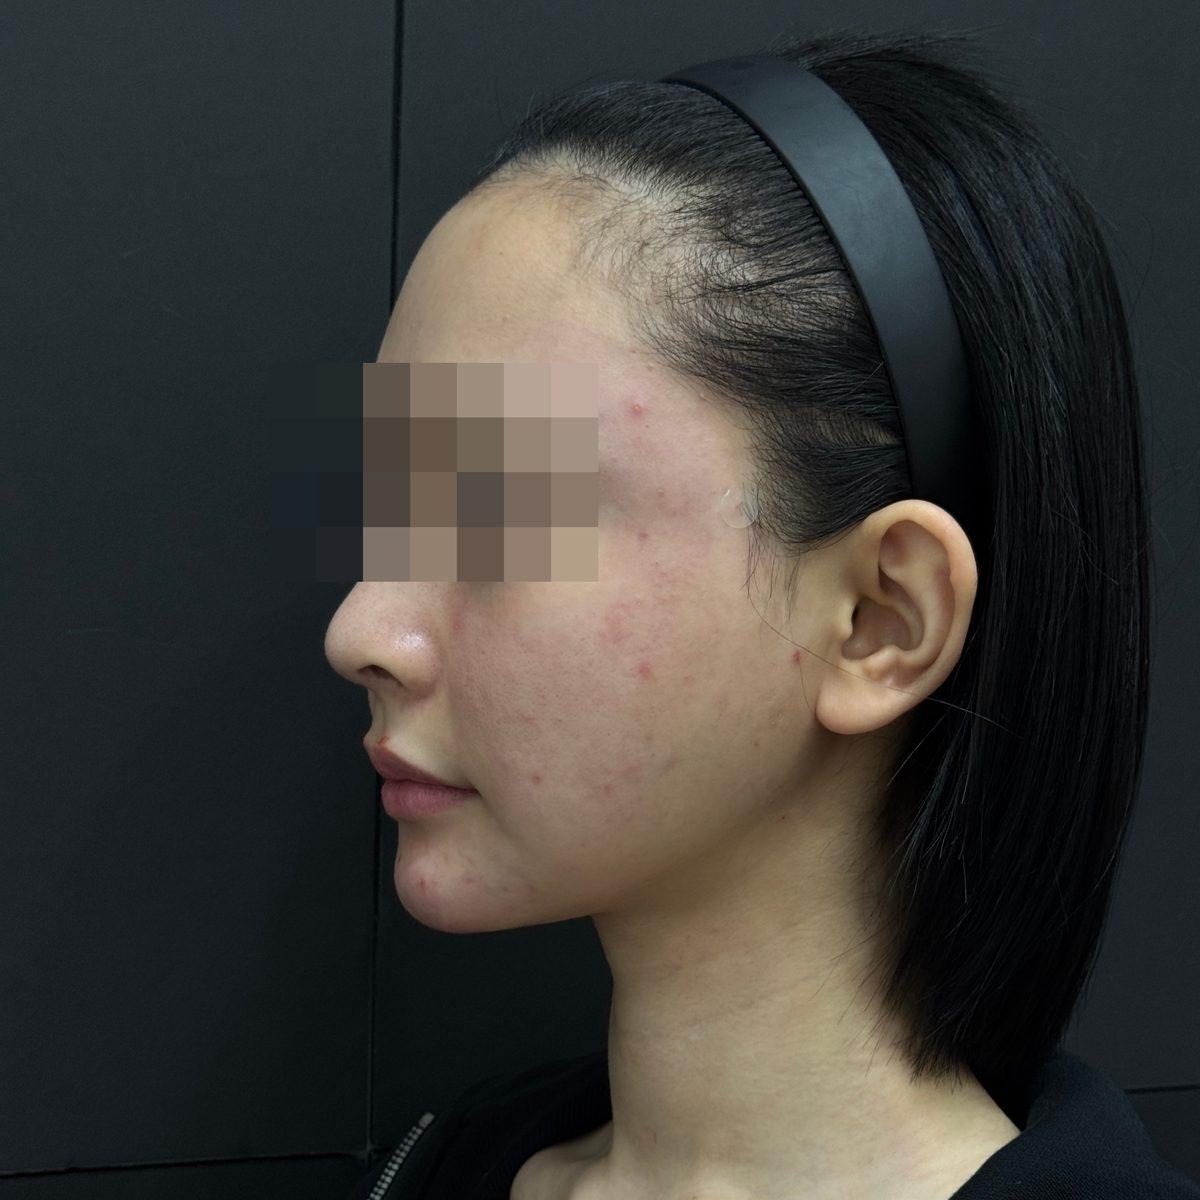 術後Temple FillerGeneral Facial Fillers
 術前
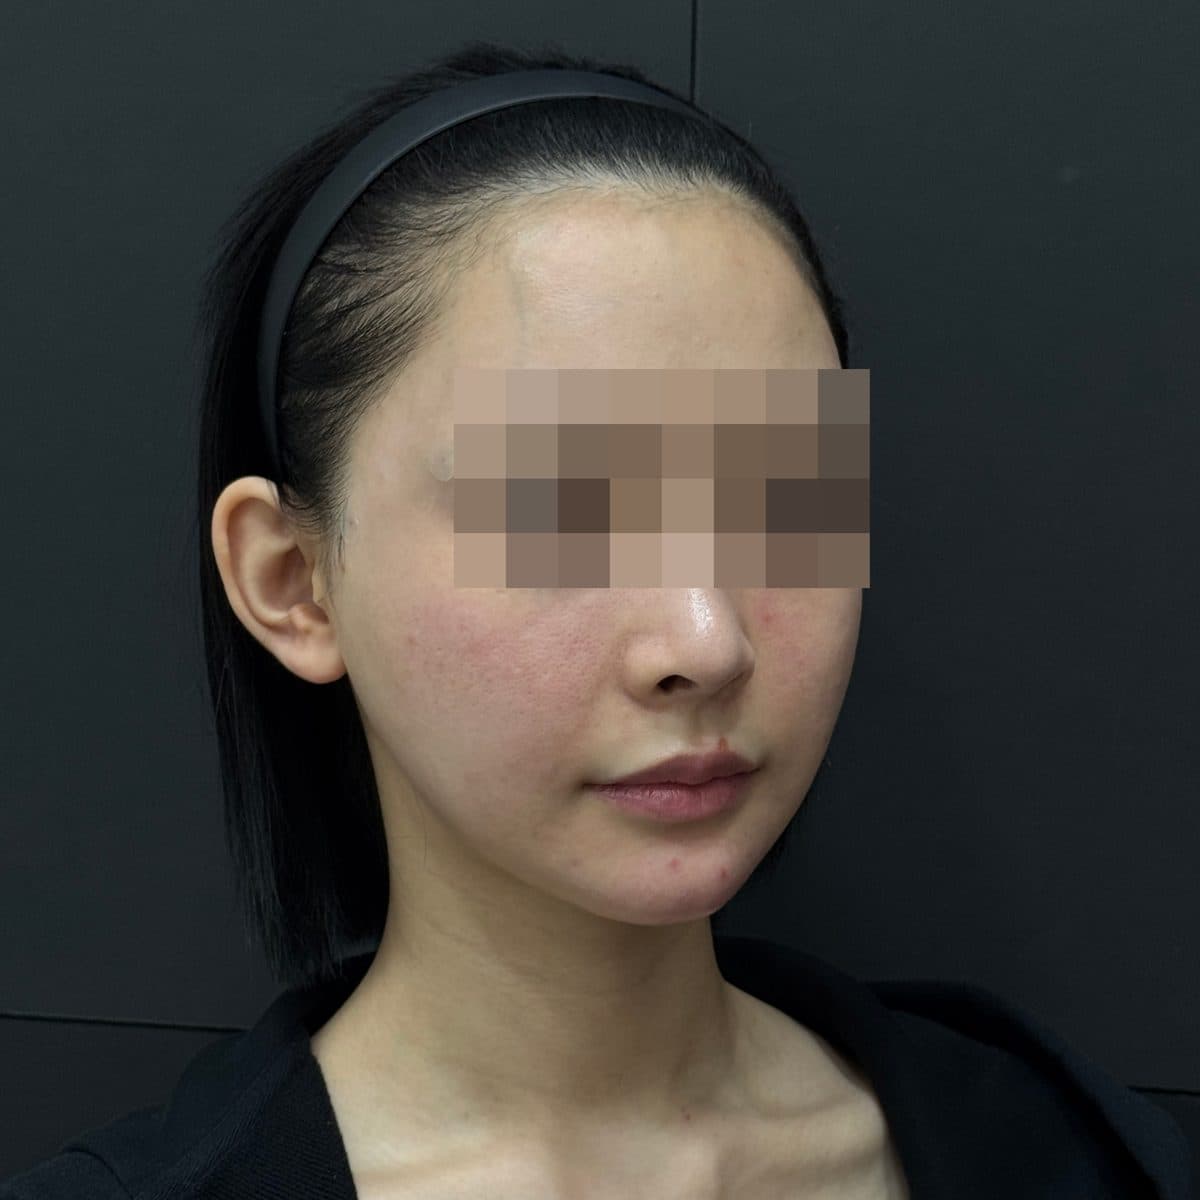 術後Temple FillerGeneral Facial Fillers
 術前
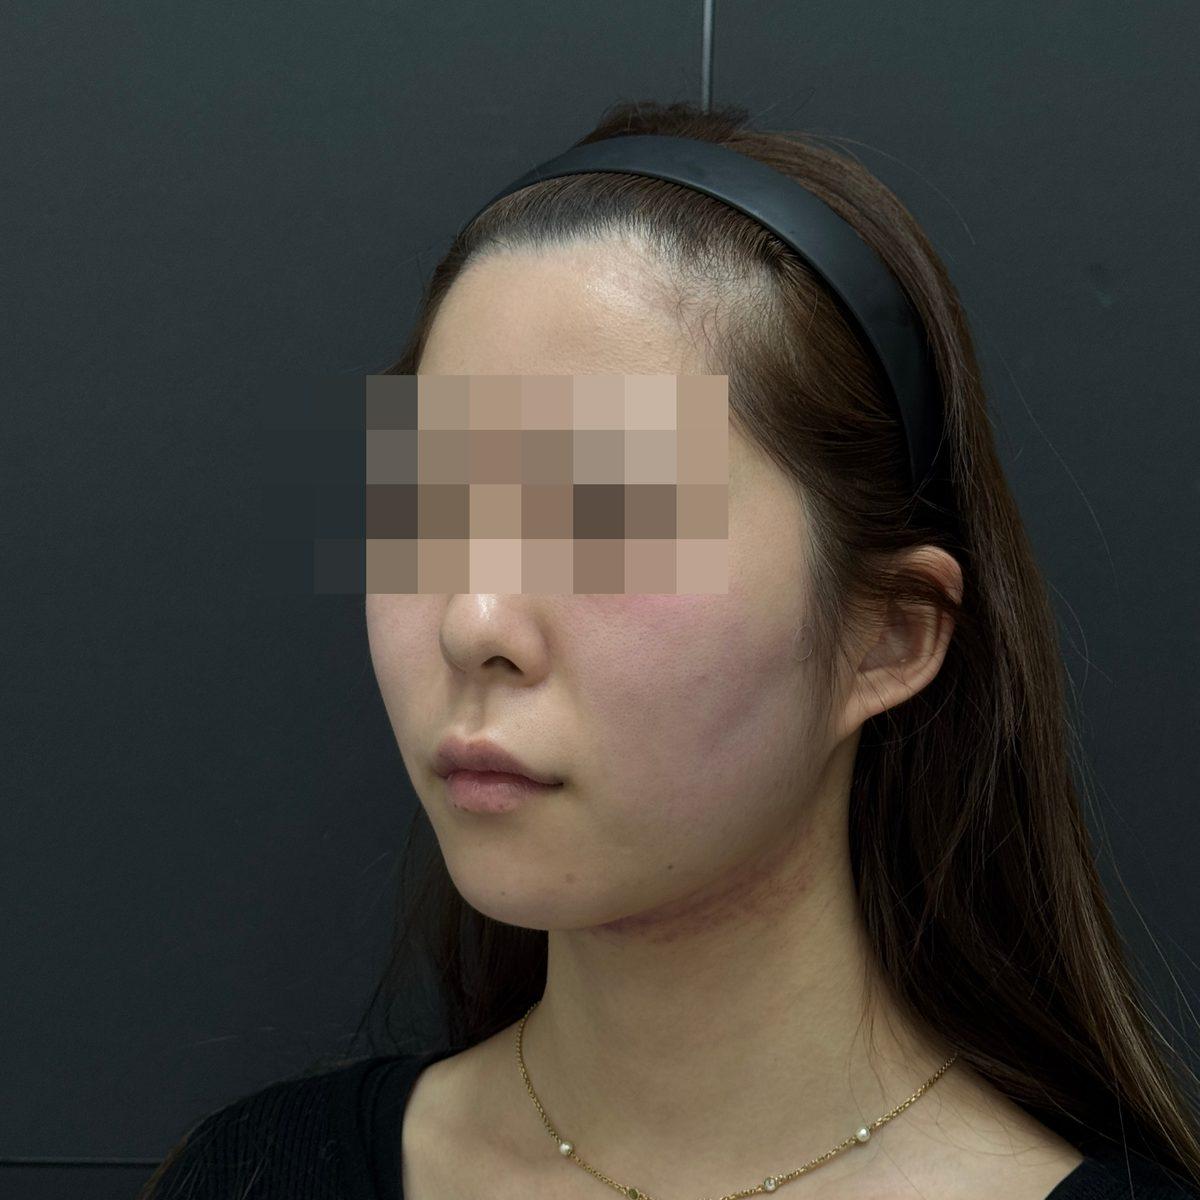
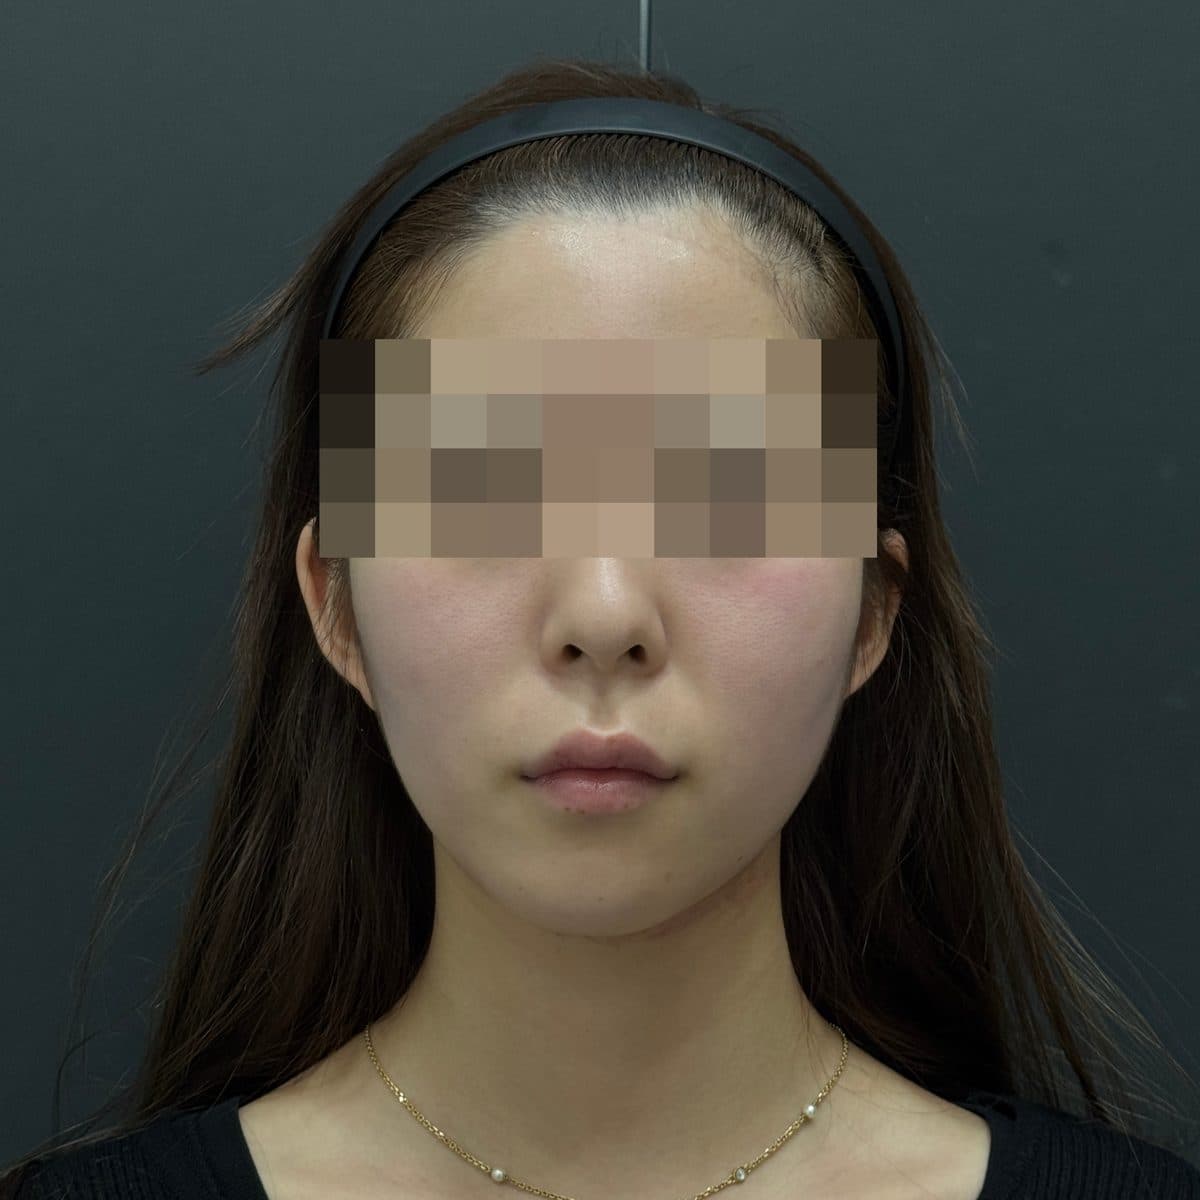 術後Side Cheek FillerGeneral Facial Fillers
 術前
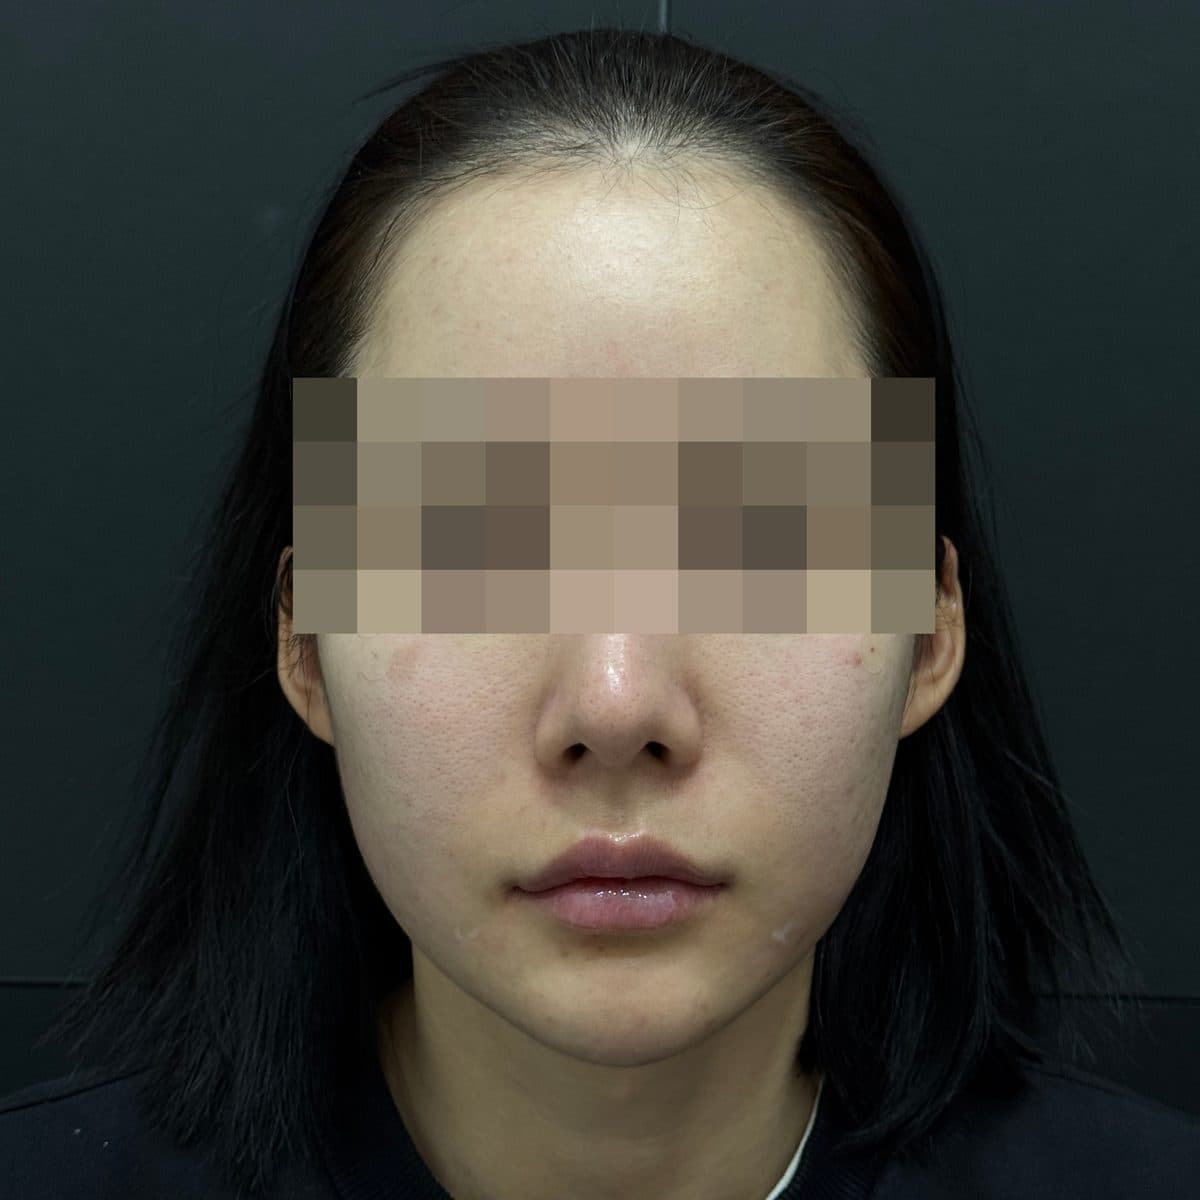
 術後Side Cheek FillerGeneral Facial Fillers
 術前
 術後Under-Eye + Lip FillerGeneral Facial Fillers
 術前
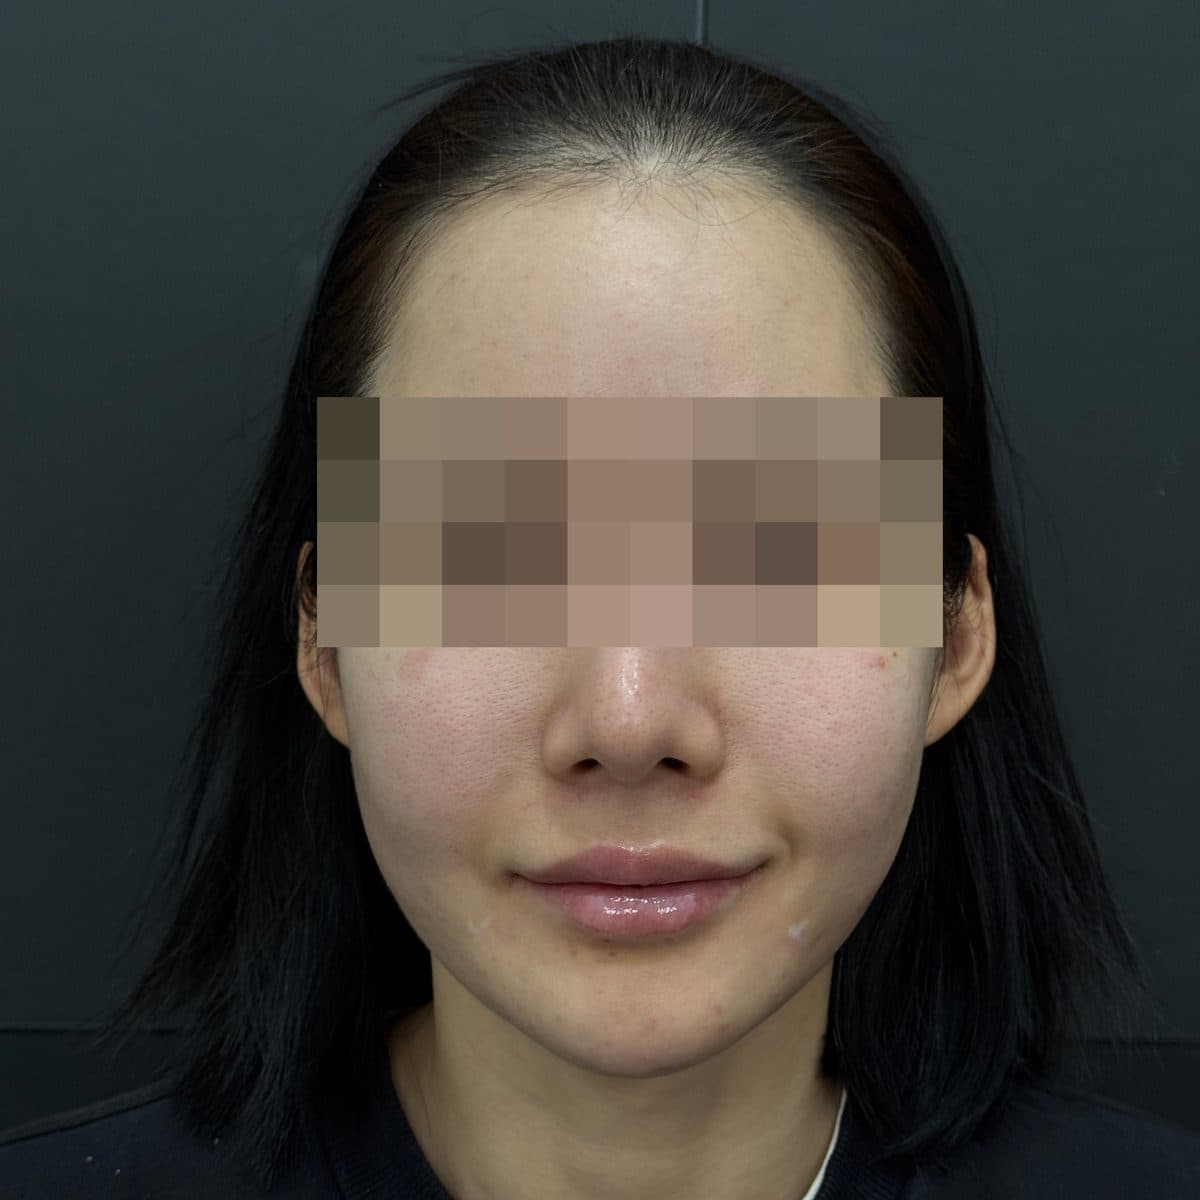 術後Under-Eye + Lip FillerGeneral Facial Fillers
 術前
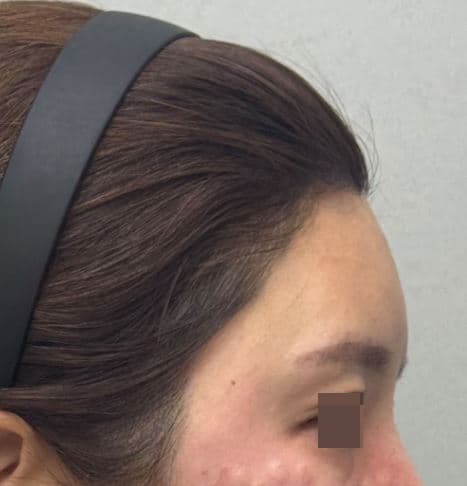 術後Forehead FillerGeneral Facial Fillers
 術前
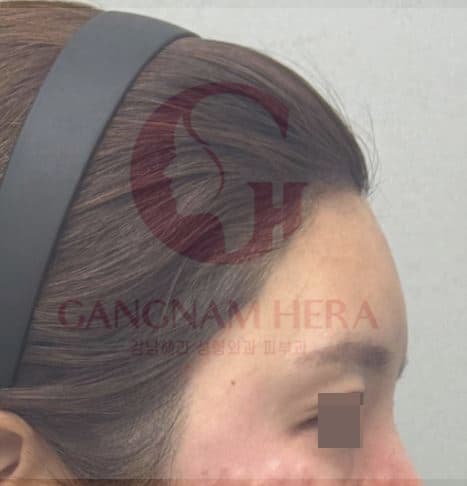 術後Forehead FillerGeneral Facial Fillers
 術前
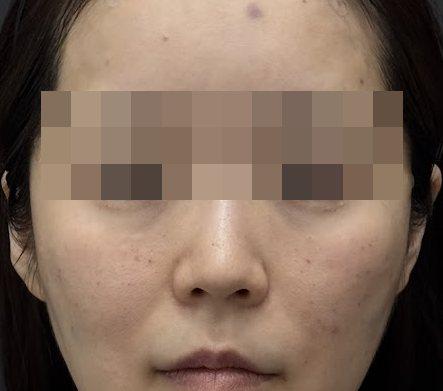 術後Forehead FillerGeneral Facial Fillers
 術前
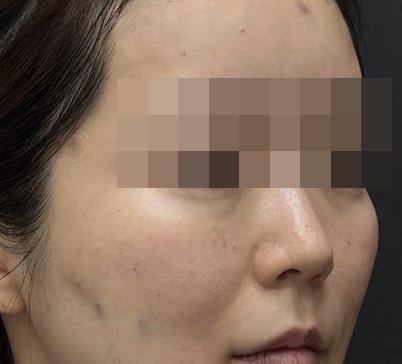 術後Forehead FillerGeneral Facial Fillers
 術前
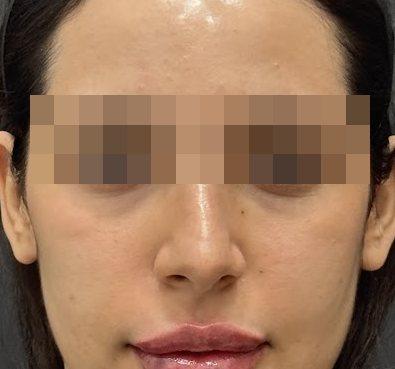 術後Forehead FillerGeneral Facial Fillers
 術前
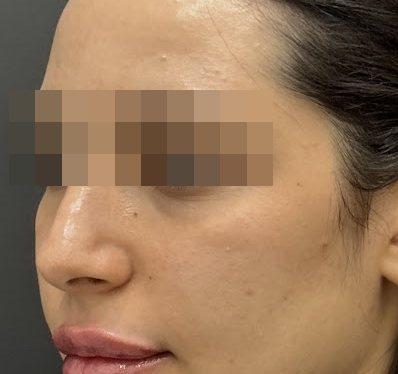 術後Forehead FillerGeneral Facial Fillers
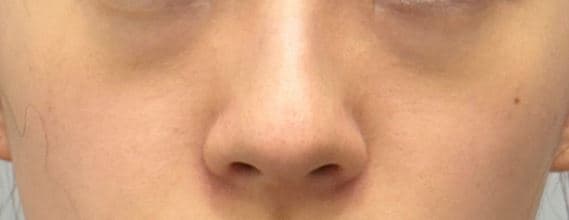 術前
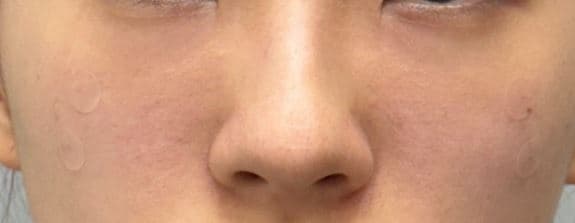 術後Under-Eye FillerEye Rejuvenation Filler
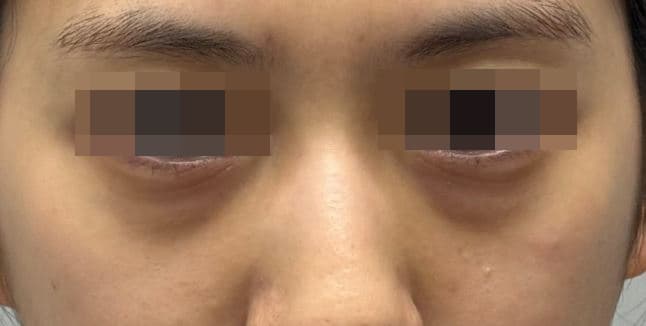 術前
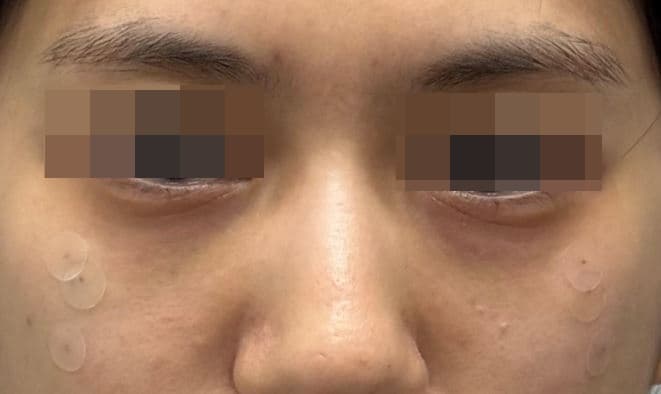 術後Under-Eye FillerEye Rejuvenation Filler
 術前
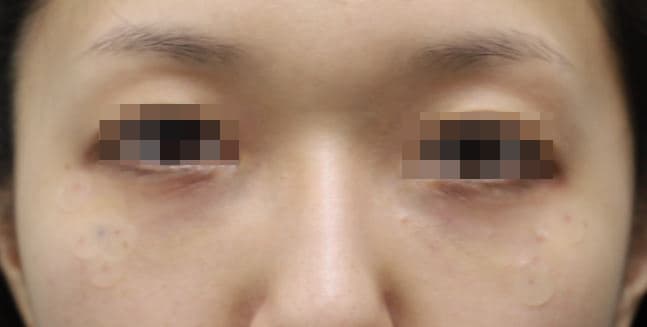 術後Under-Eye FillerEye Rejuvenation Filler
 術前
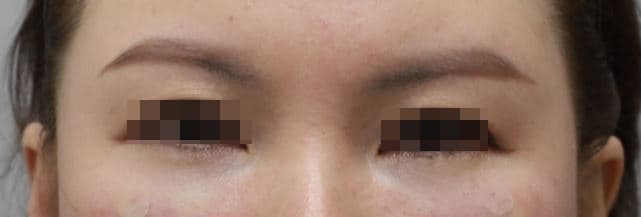 術後Under-Eye FillerEye Rejuvenation Filler
 術前
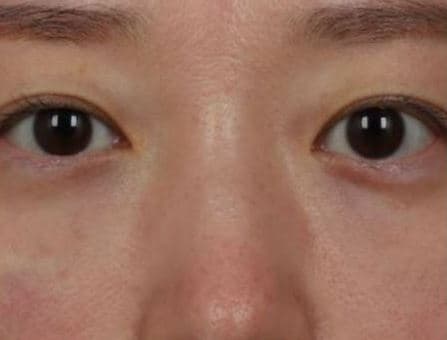 術後Under-Eye FillerEye Rejuvenation Filler
 術前
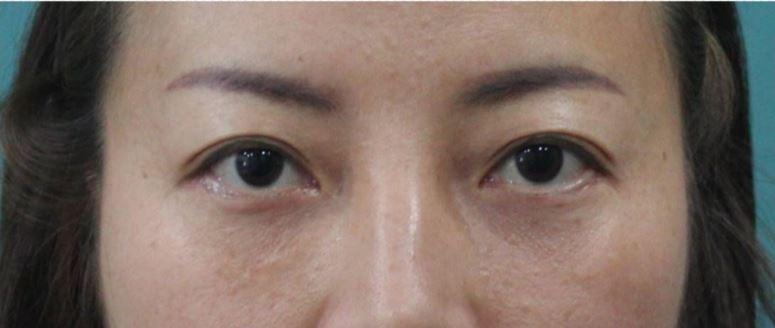 術後Under-Eye FillerEye Rejuvenation Filler
 術前
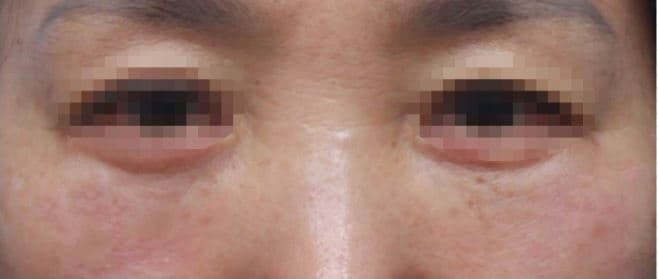 術後Under-Eye FillerEye Rejuvenation Filler
 術前
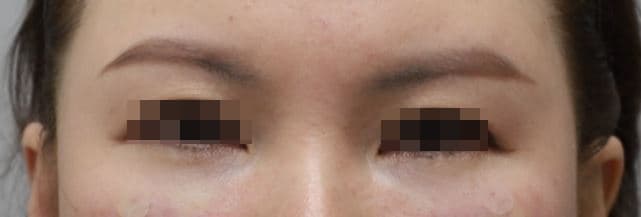 術後Under-Eye FillerEye Rejuvenation Filler
 術前
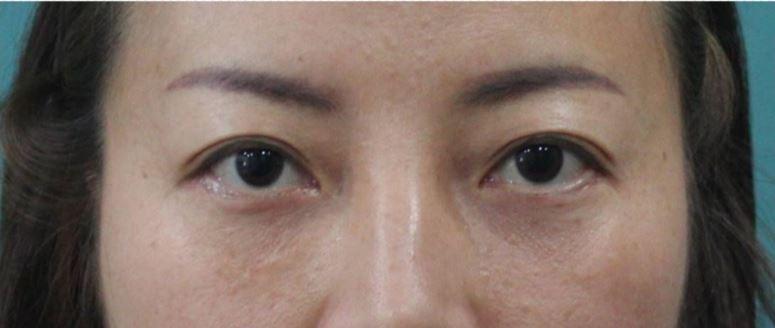 術後Under-Eye FillerEye Rejuvenation Filler
 術前
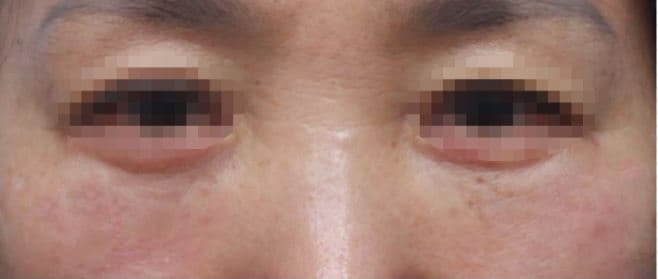 術後Under-Eye FillerEye Rejuvenation Filler
 術前
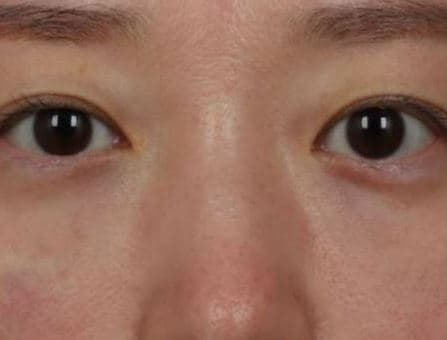 術後Under-Eye FillerEye Rejuvenation Filler
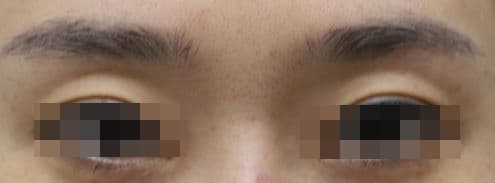 術前
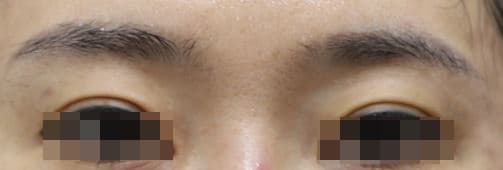 術後Upper Eyelid Hollow FillerEye Rejuvenation Filler
 術前
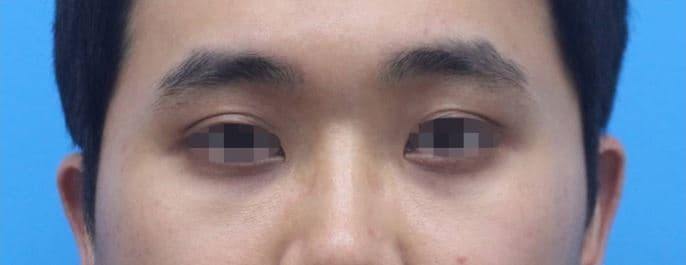 術後Upper Eyelid Hollow FillerEye Rejuvenation Filler
 術前
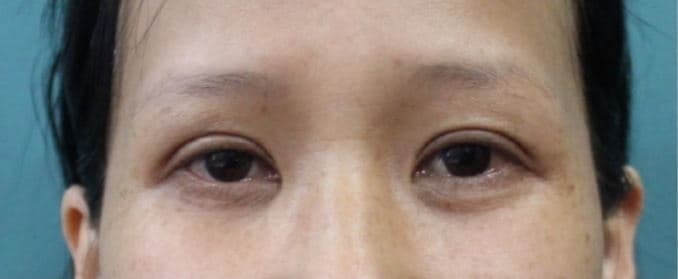 術後Upper Eyelid Hollow FillerEye Rejuvenation Filler
 術前
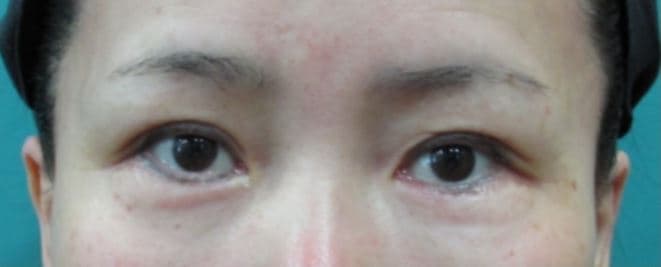 術後Upper Eyelid Hollow FillerEye Rejuvenation Filler
 術前
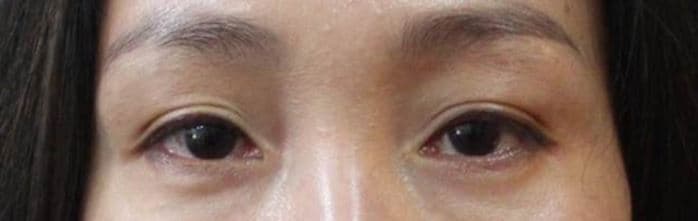 術後Upper Eyelid Hollow FillerEye Rejuvenation Filler
 術前
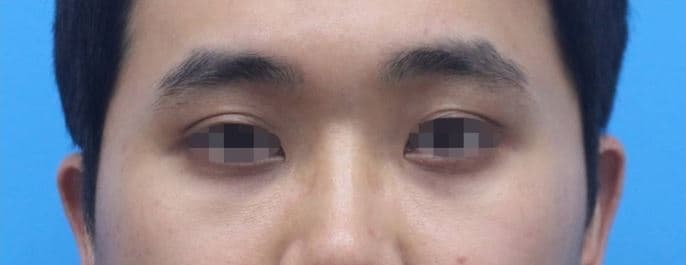 術後Upper Eyelid Hollow FillerEye Rejuvenation Filler
 術前
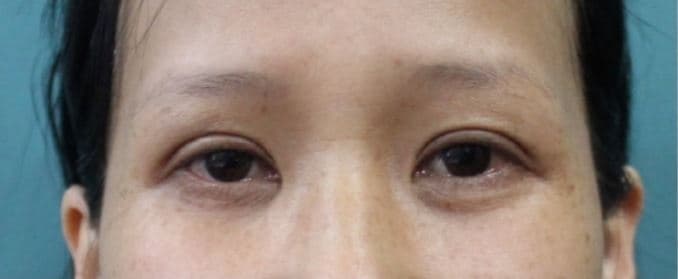 術後Upper Eyelid Hollow FillerEye Rejuvenation Filler
 術前
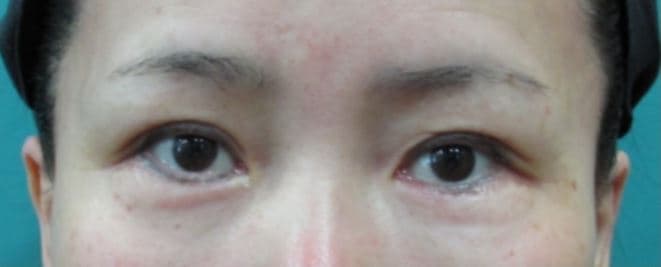 術後Upper Eyelid Hollow FillerEye Rejuvenation Filler
 術前
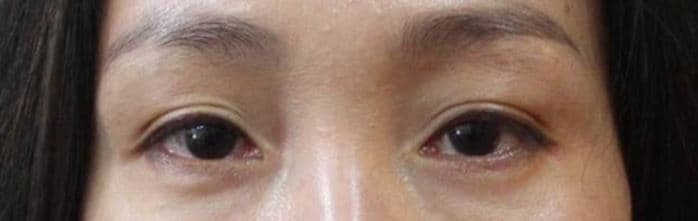 術後Upper Eyelid Hollow FillerEye Rejuvenation Filler
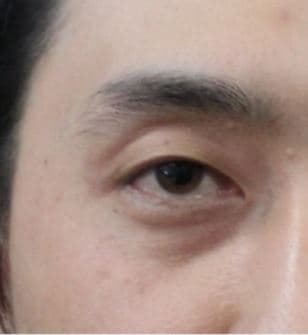 術前
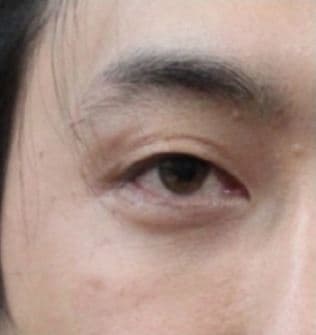 術後Upper + Under-Eye FillerEye Rejuvenation Filler
 術前
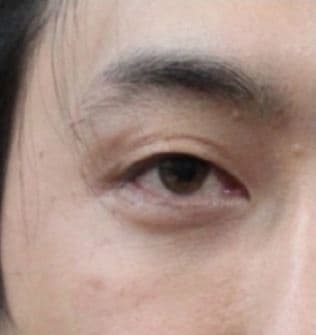 術後Upper + Under-Eye FillerEye Rejuvenation Filler
 術前
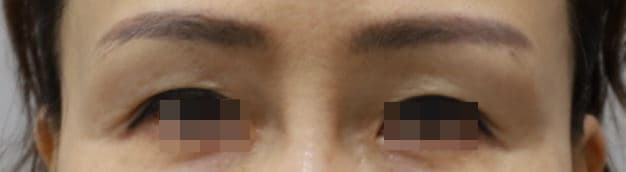 術後Upper Eyelid Hollow FillerEye Rejuvenation Filler
 術前
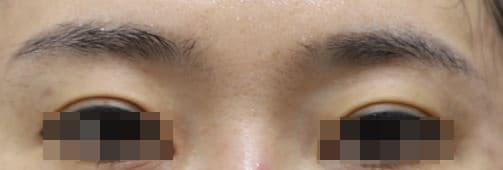 術後Upper Eyelid Hollow FillerEye Rejuvenation Filler
 術前
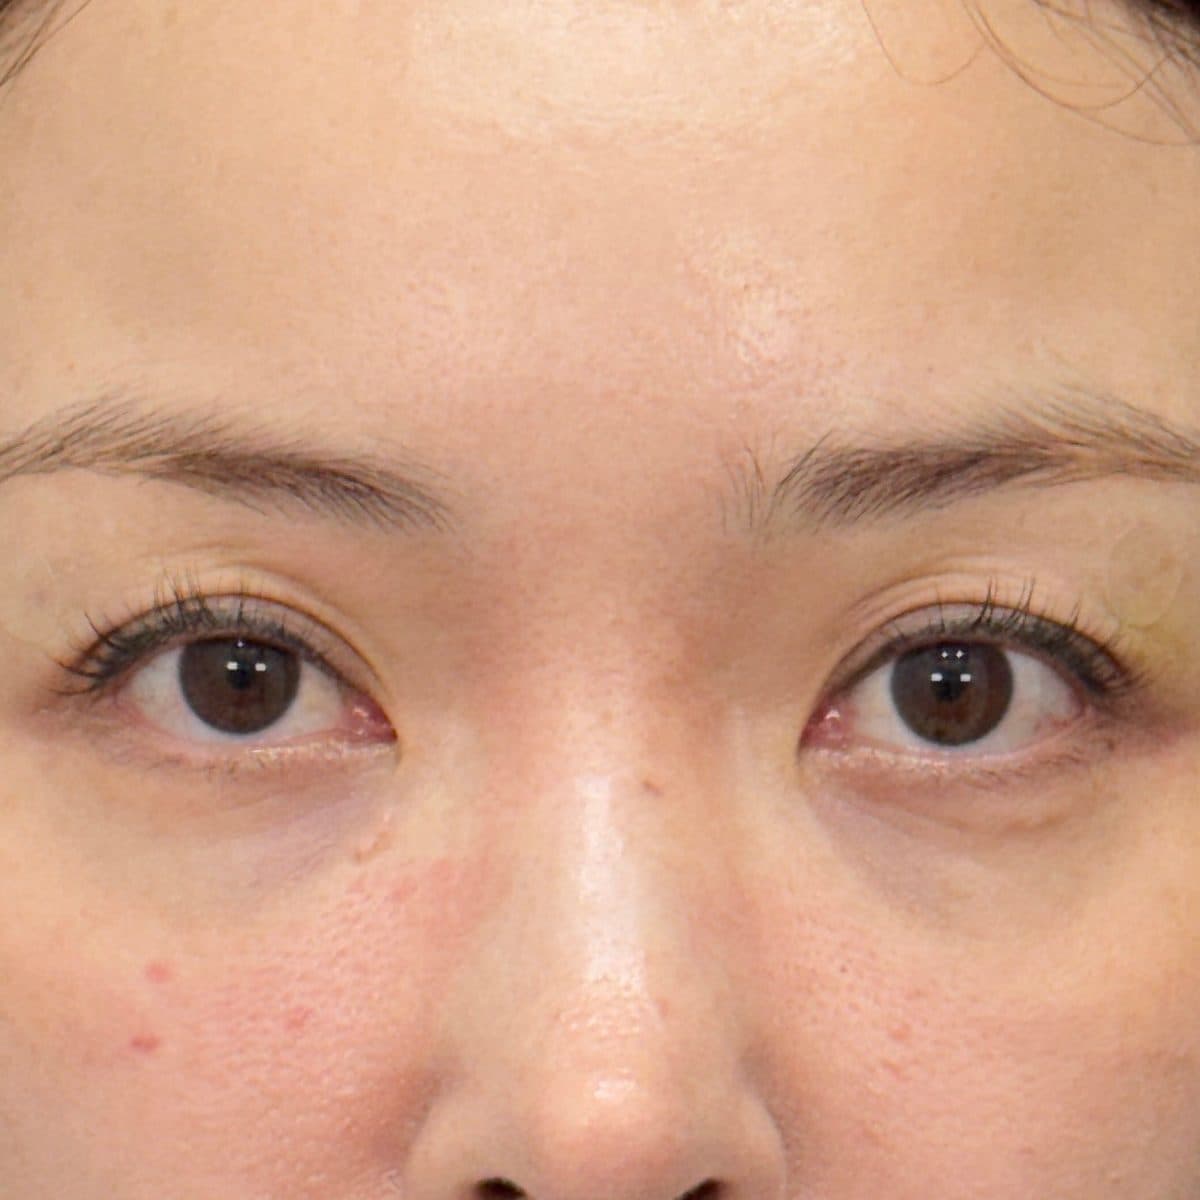 術後Upper Eyelid Hollow FillerEye Rejuvenation Filler
 術前
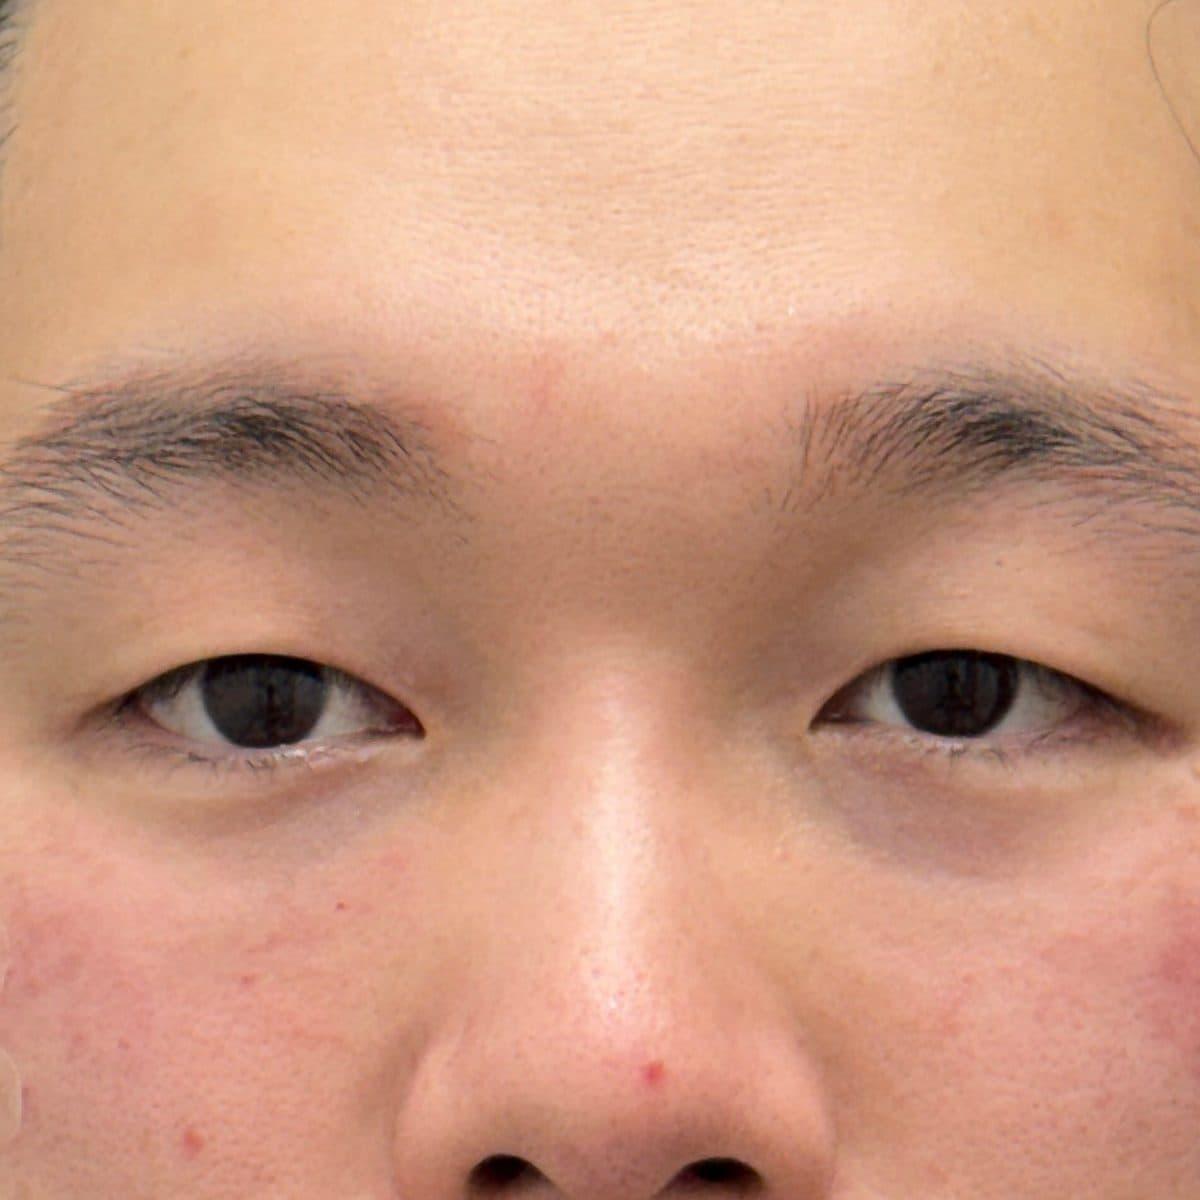 術後Under-Eye FillerEye Rejuvenation Filler
 術前
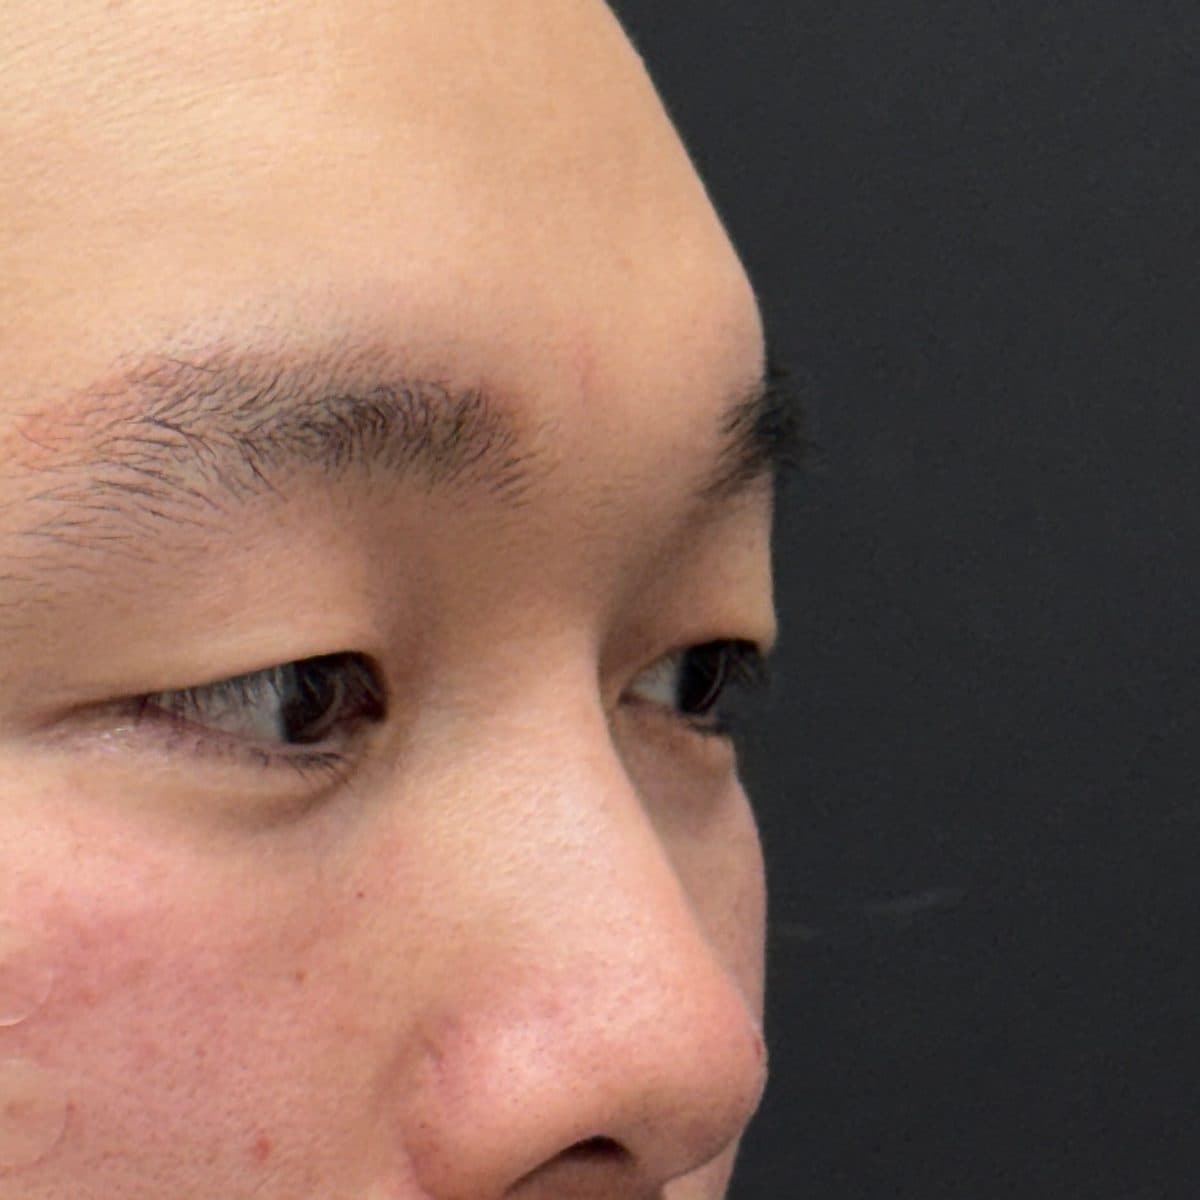 術後Under-Eye FillerEye Rejuvenation Filler
 術前
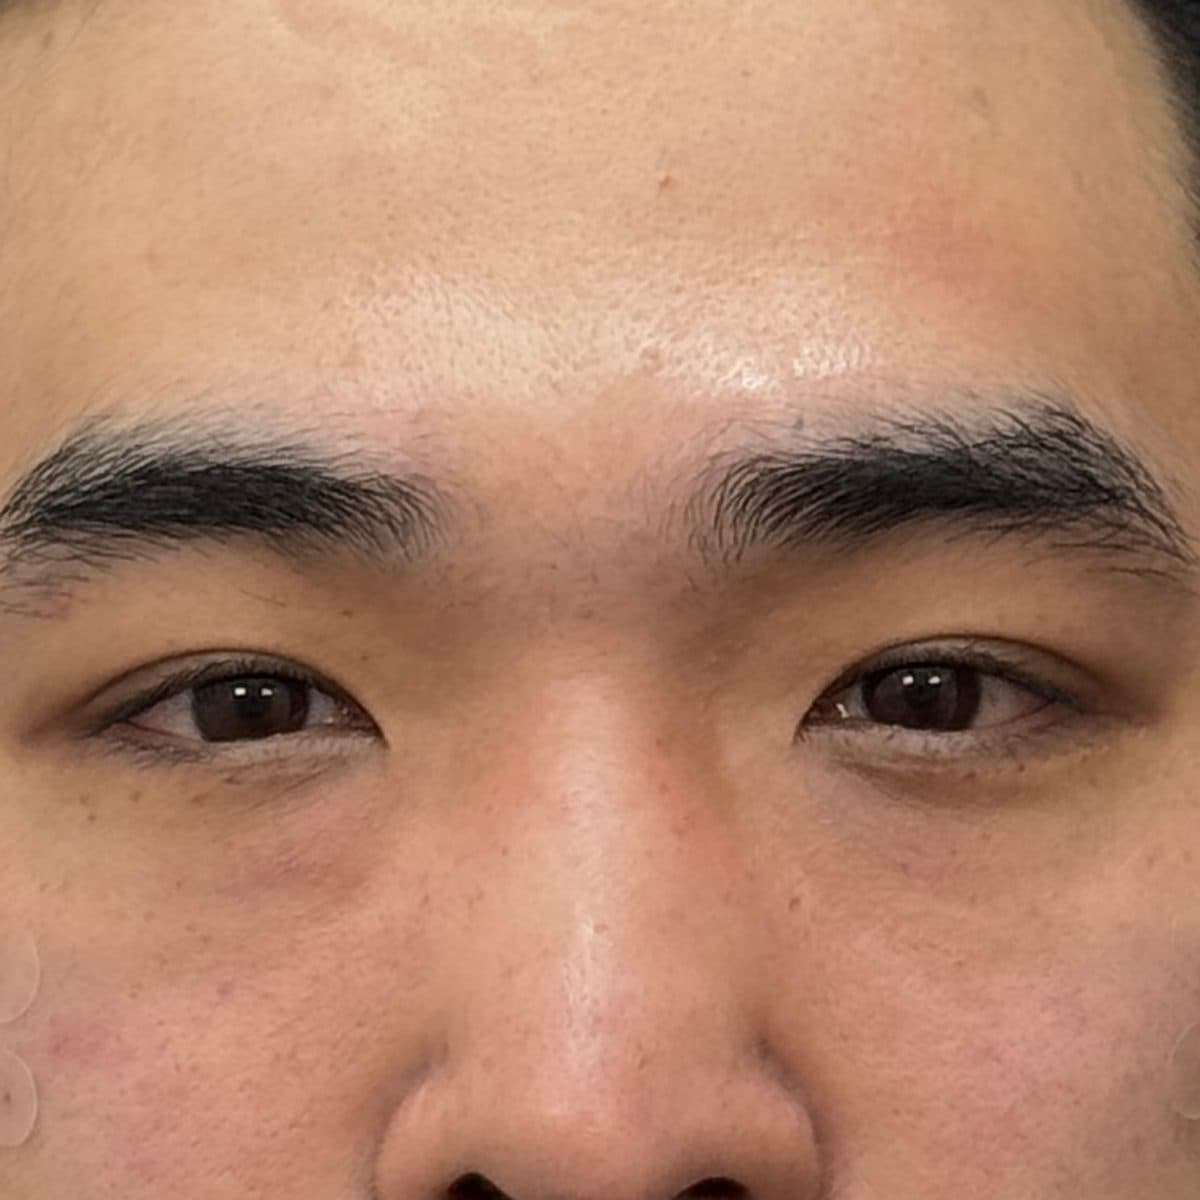 術後Under-Eye FillerEye Rejuvenation Filler
 術前
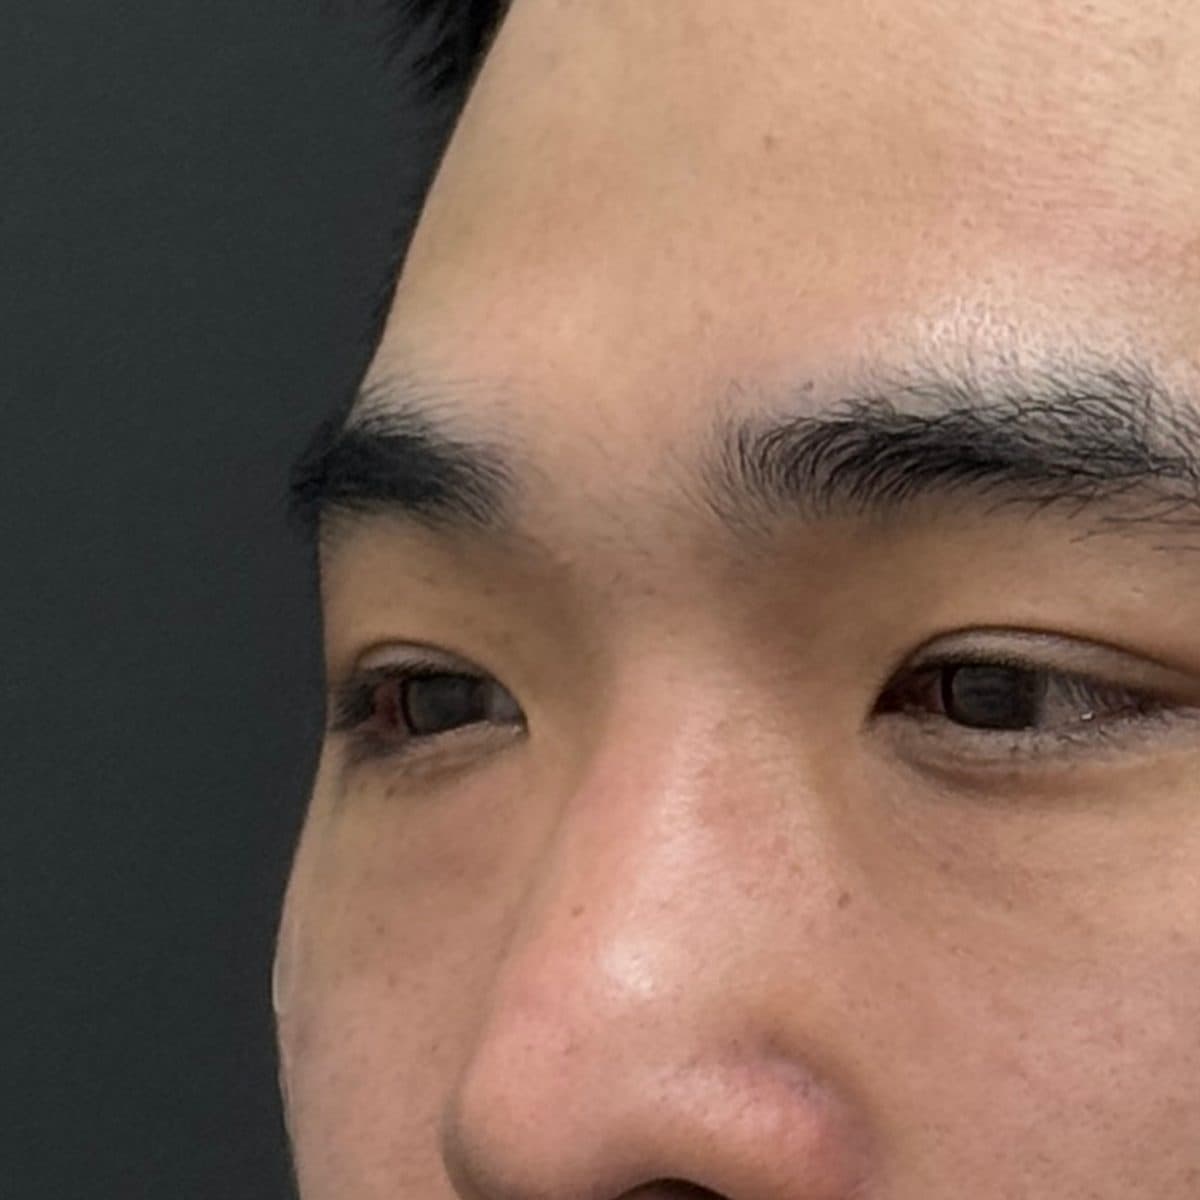 術後Under-Eye FillerEye Rejuvenation Filler
 術前
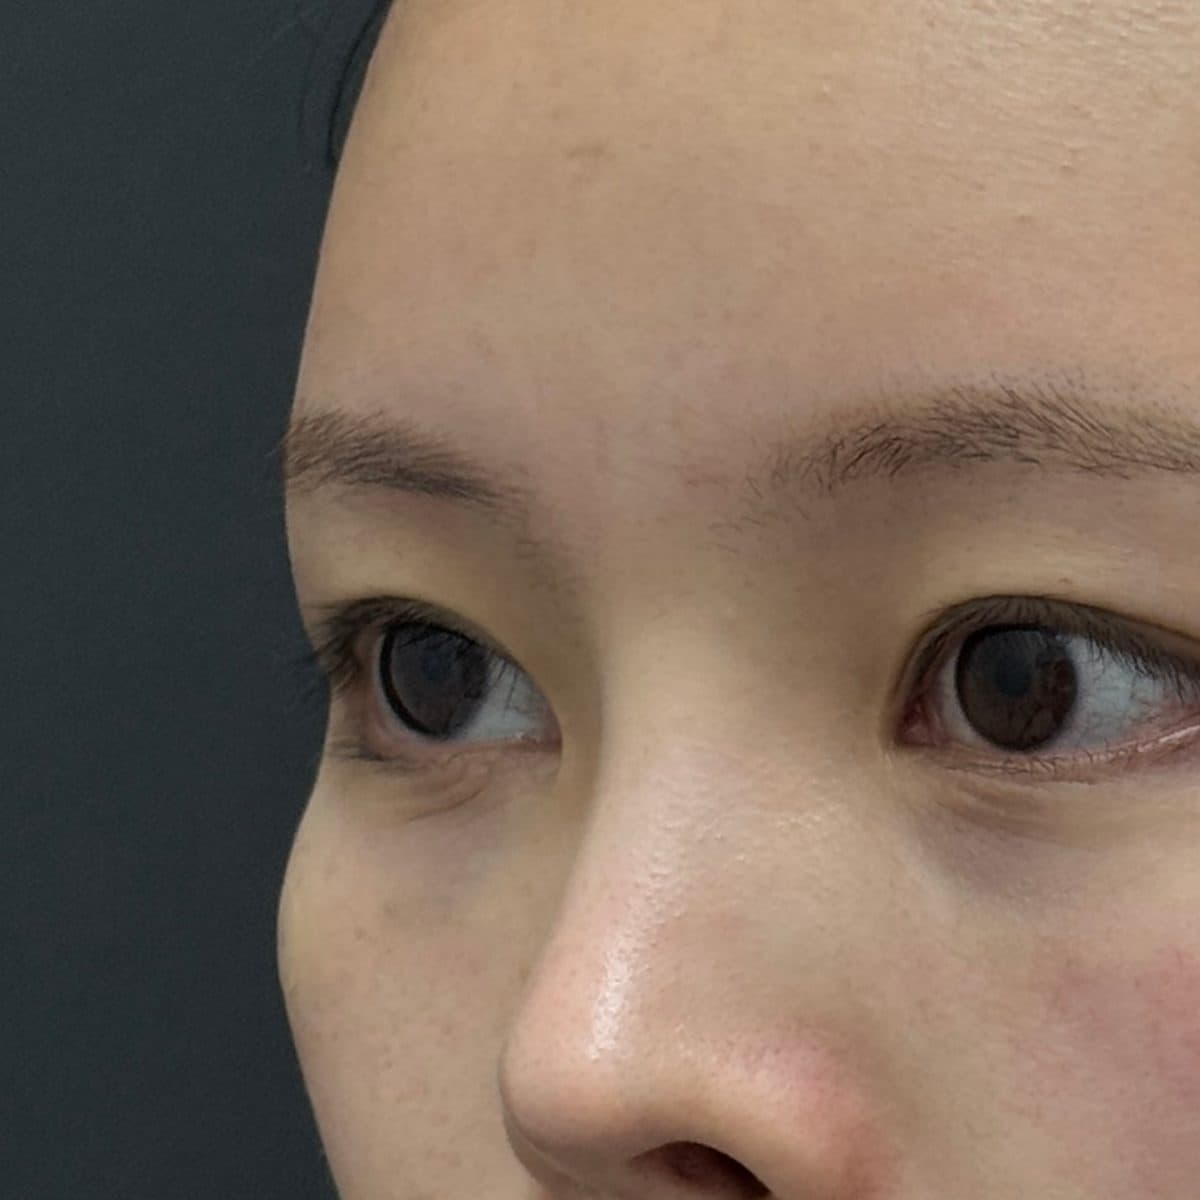 術後Under-Eye FillerEye Rejuvenation Filler
 術前
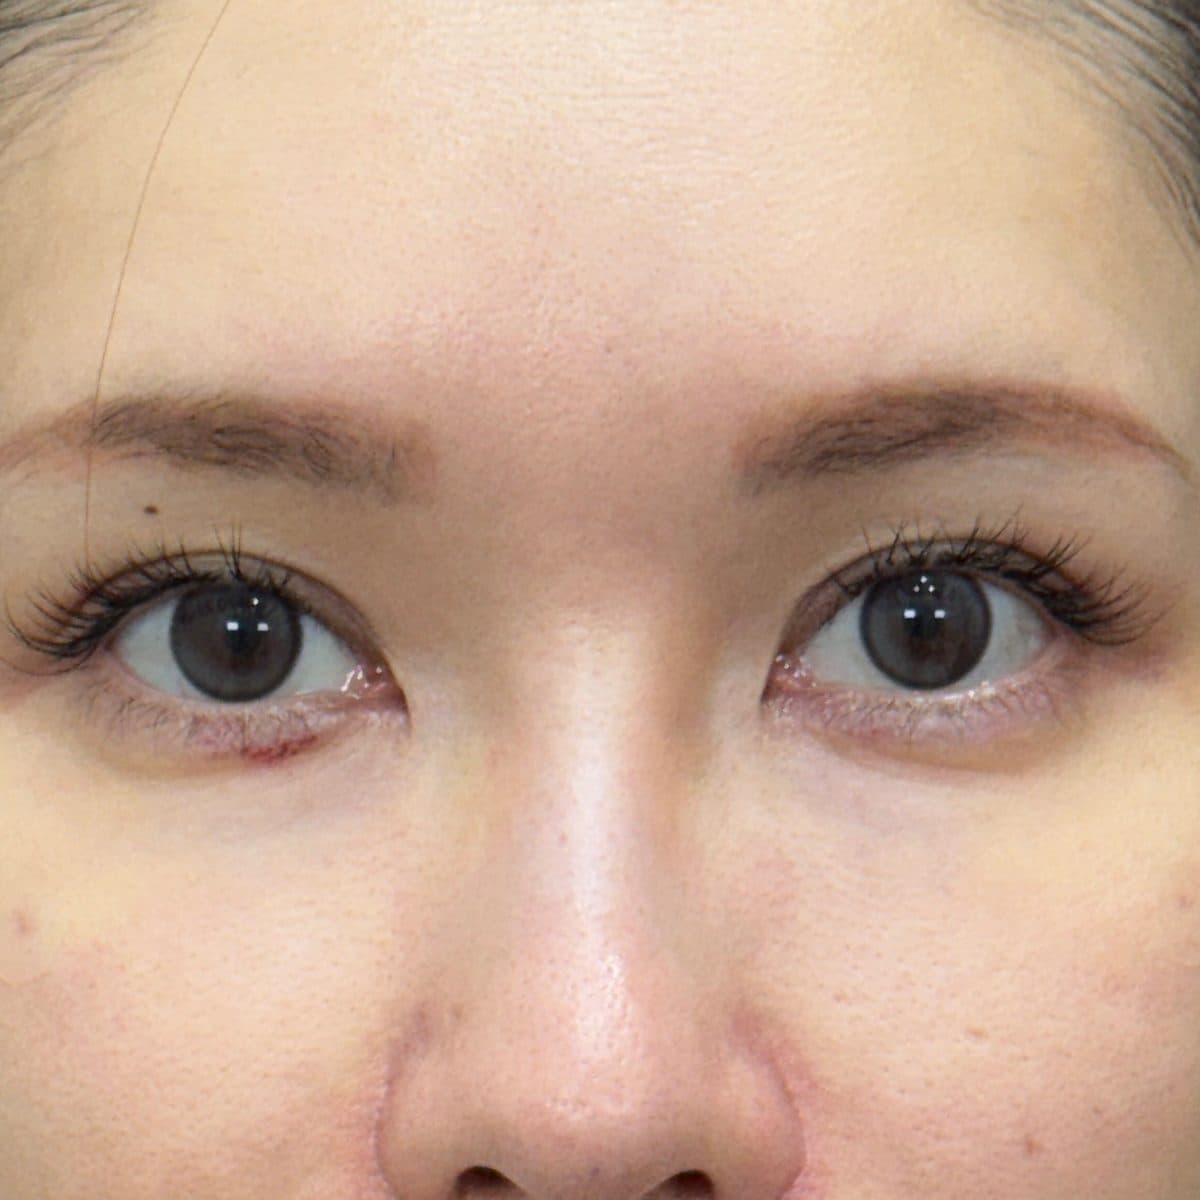 術後Under-Eye FillerEye Rejuvenation Filler
 術前
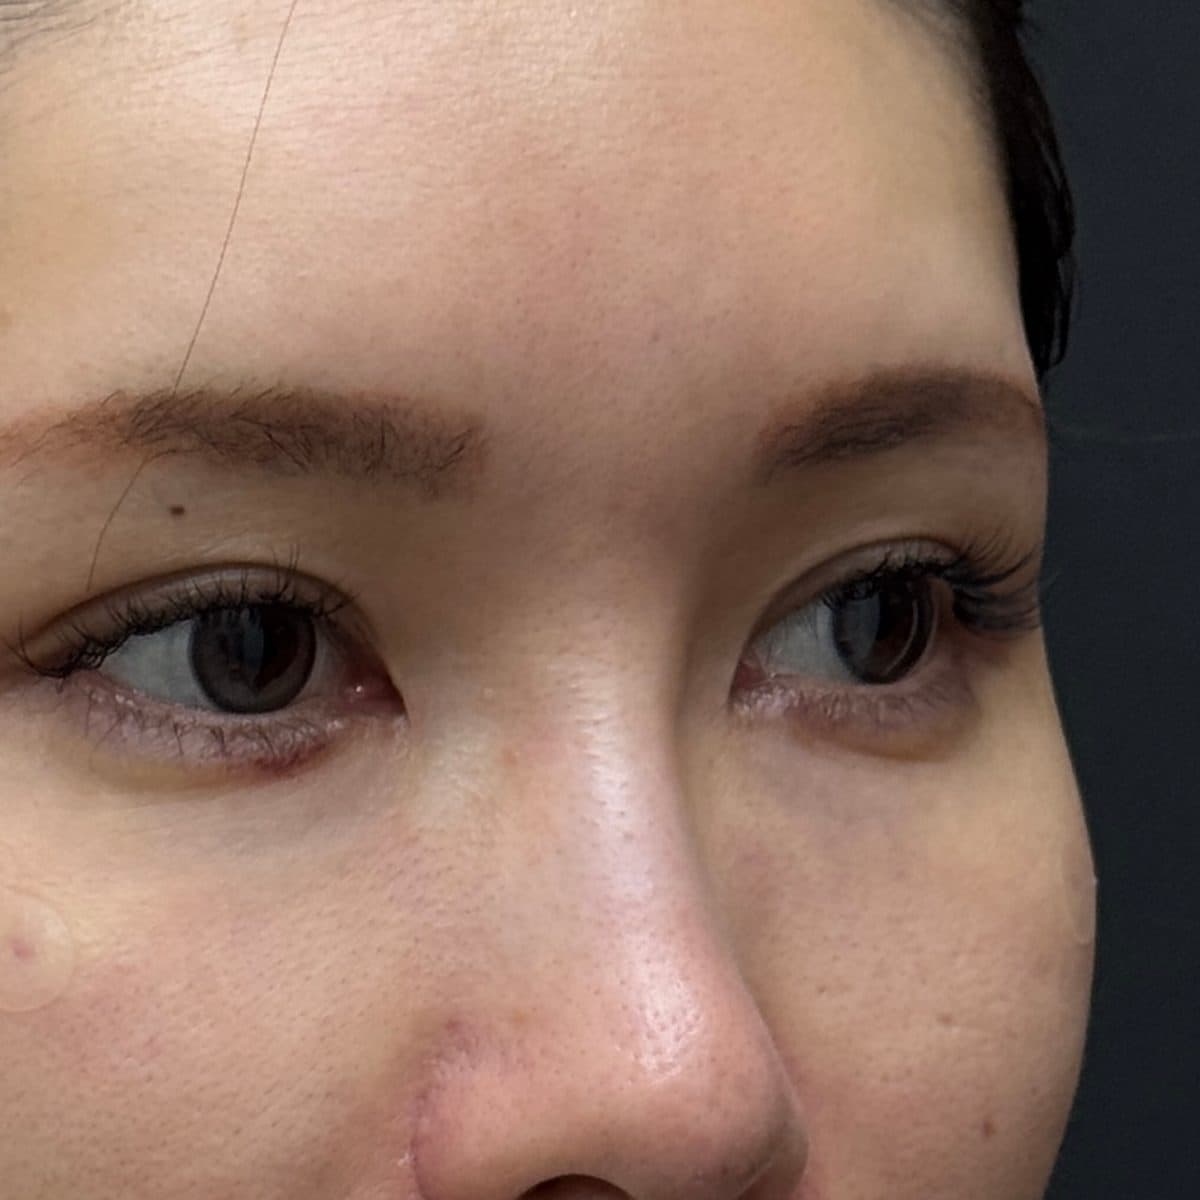 術後Under-Eye FillerEye Rejuvenation Filler
 術前
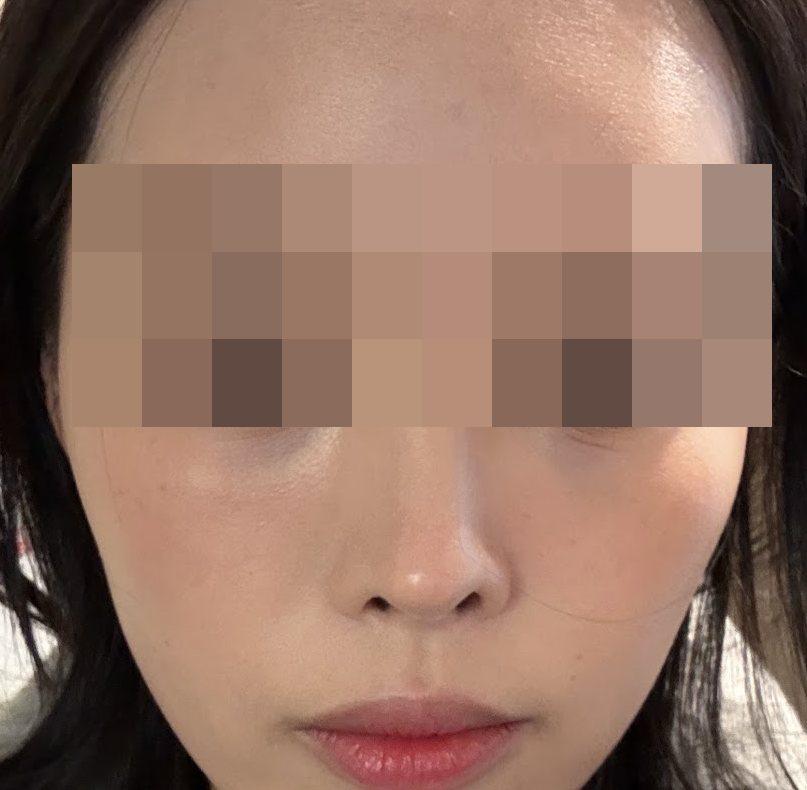 術後Under-Eye FillerEye Rejuvenation Filler
 術前
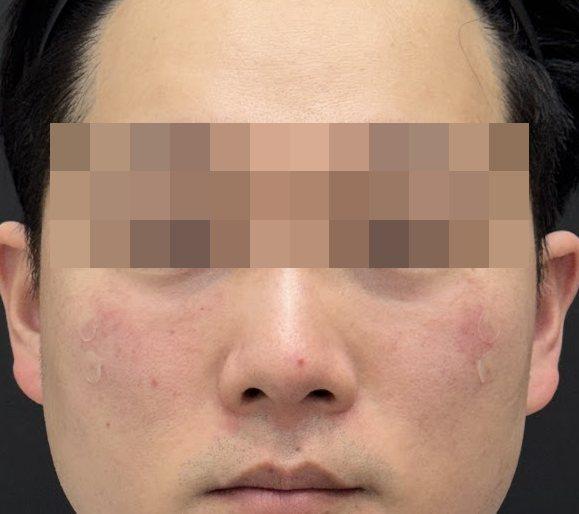 術後Under-Eye FillerEye Rejuvenation Filler
 術前
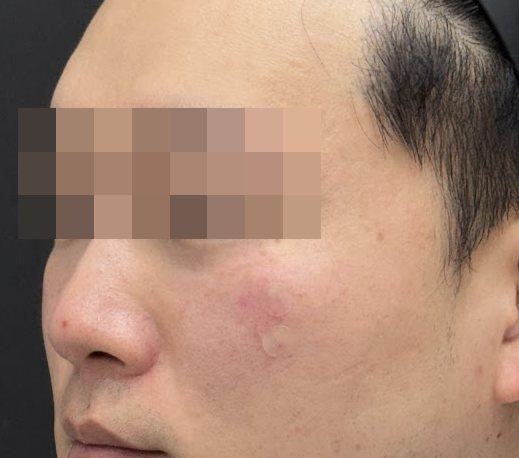 術後Under-Eye FillerEye Rejuvenation Filler
 術前
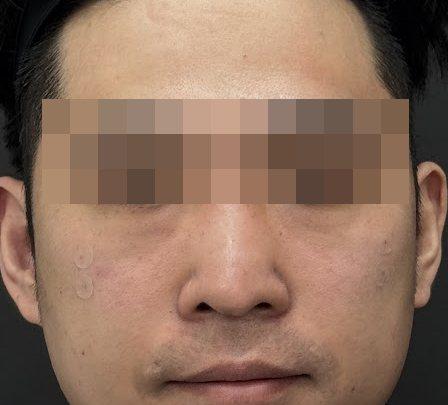 術後Under-Eye FillerEye Rejuvenation Filler
 術前
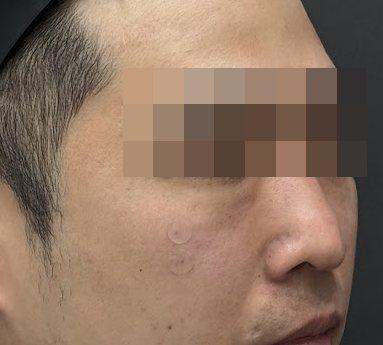 術後Under-Eye FillerEye Rejuvenation Filler
 術前
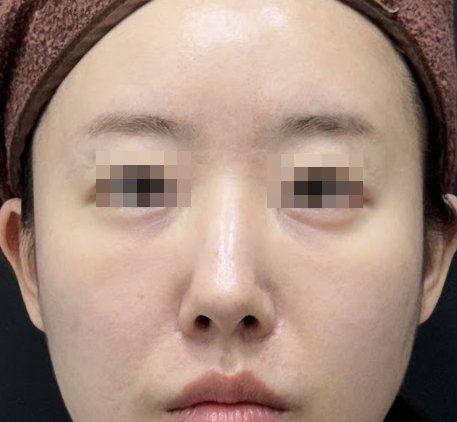 術後Upper Eyelid Hollow FillerEye Rejuvenation Filler
 術前
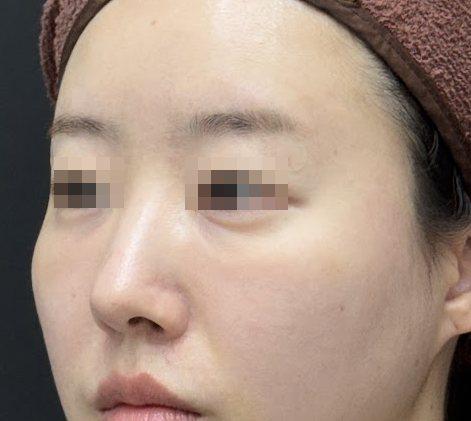 術後Upper Eyelid Hollow FillerEye Rejuvenation Filler
 術前
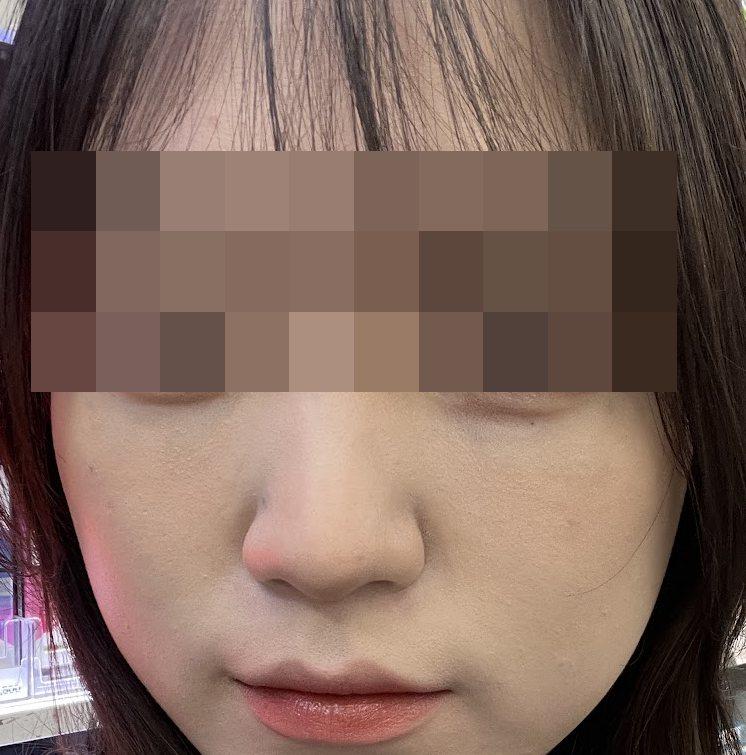 術後Under-Eye FillerEye Rejuvenation Filler
 術前
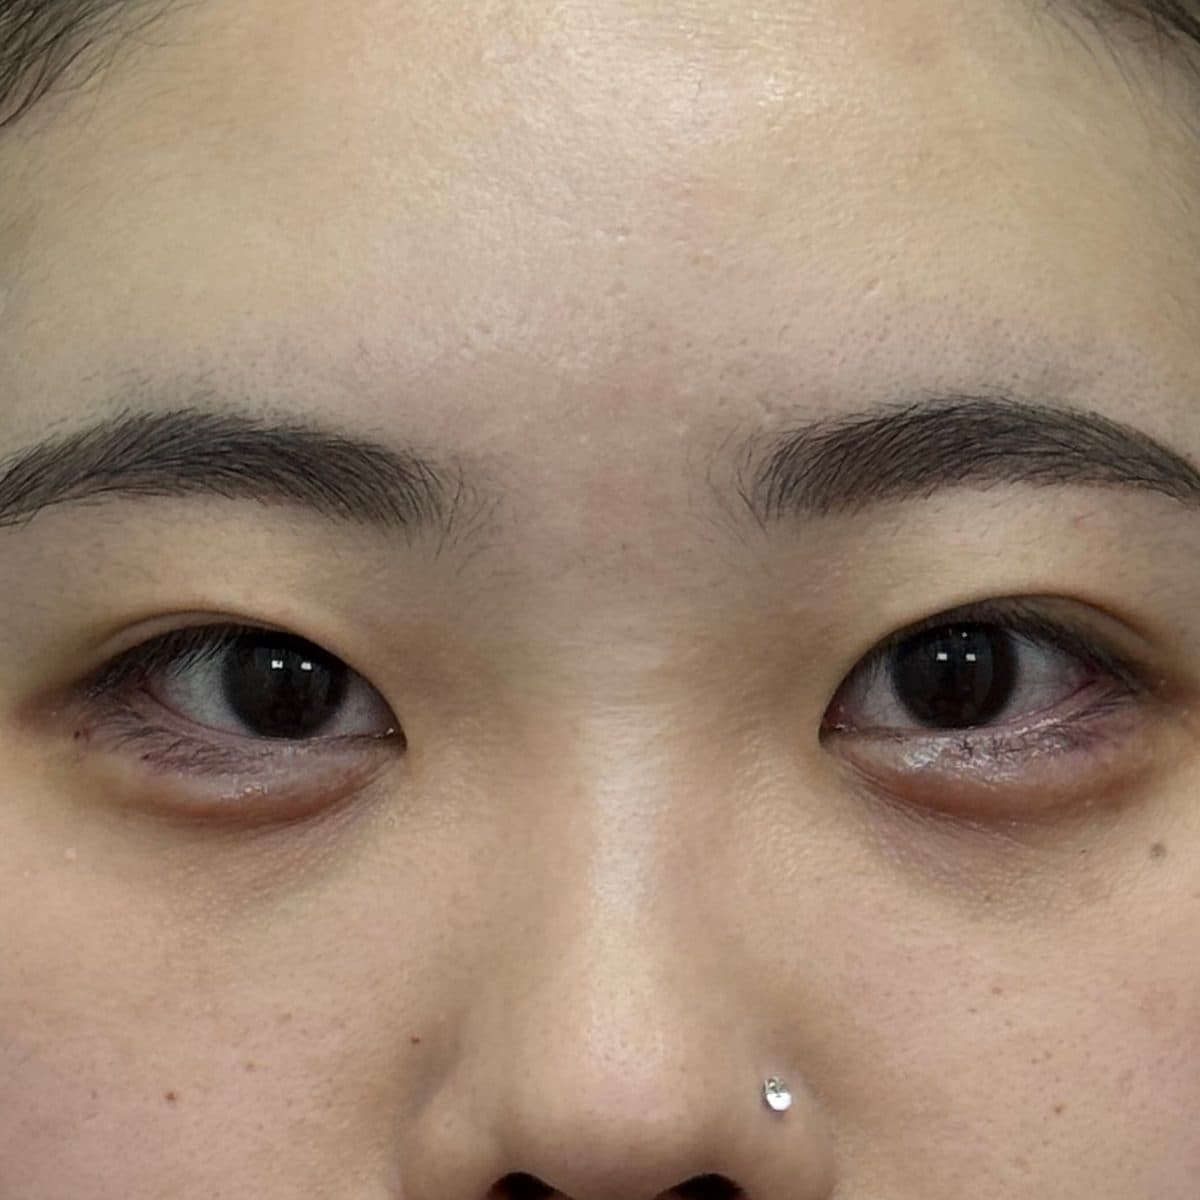 術後Aegyo-Sal FillerAegyo-Sal (Eye Smile) Filler
 術前
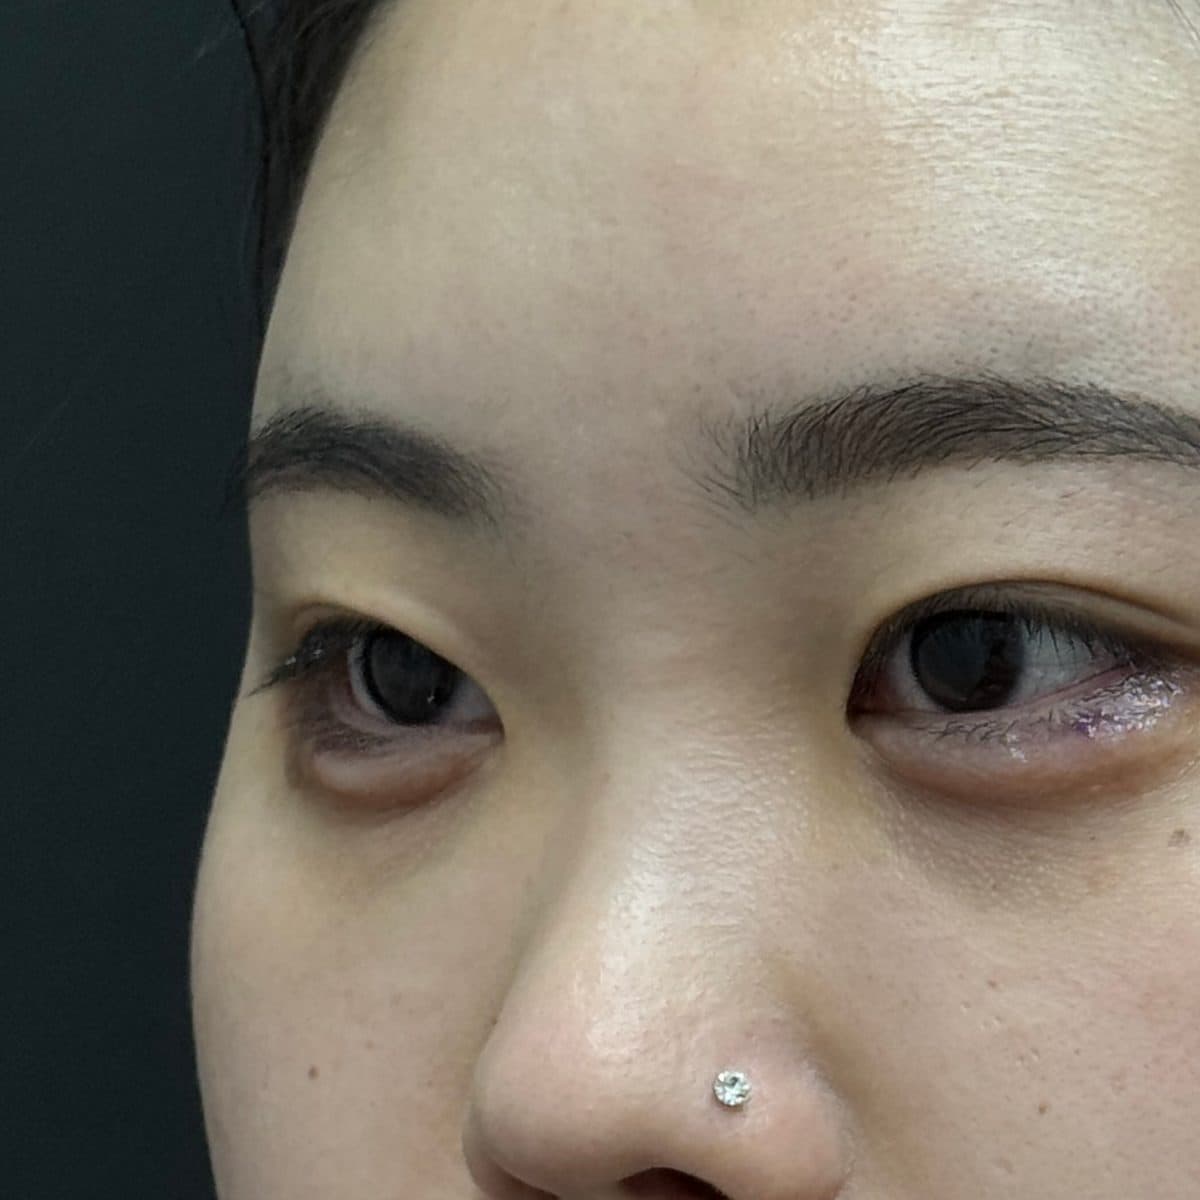 術後Aegyo-Sal FillerAegyo-Sal (Eye Smile) Filler
 術前
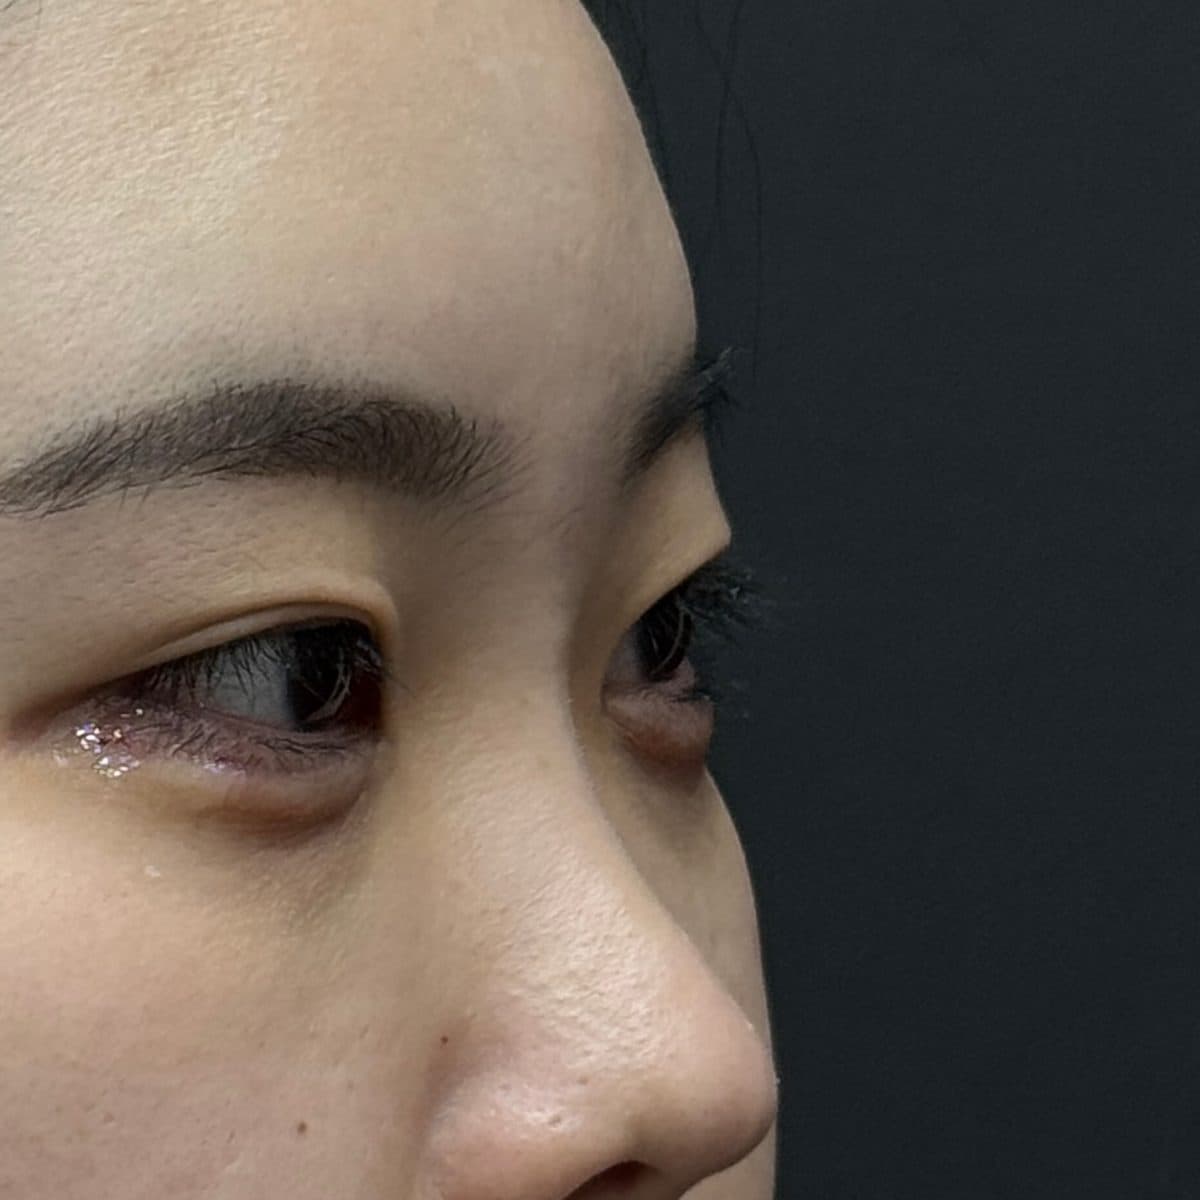 術後Aegyo-Sal FillerAegyo-Sal (Eye Smile) Filler
 術前
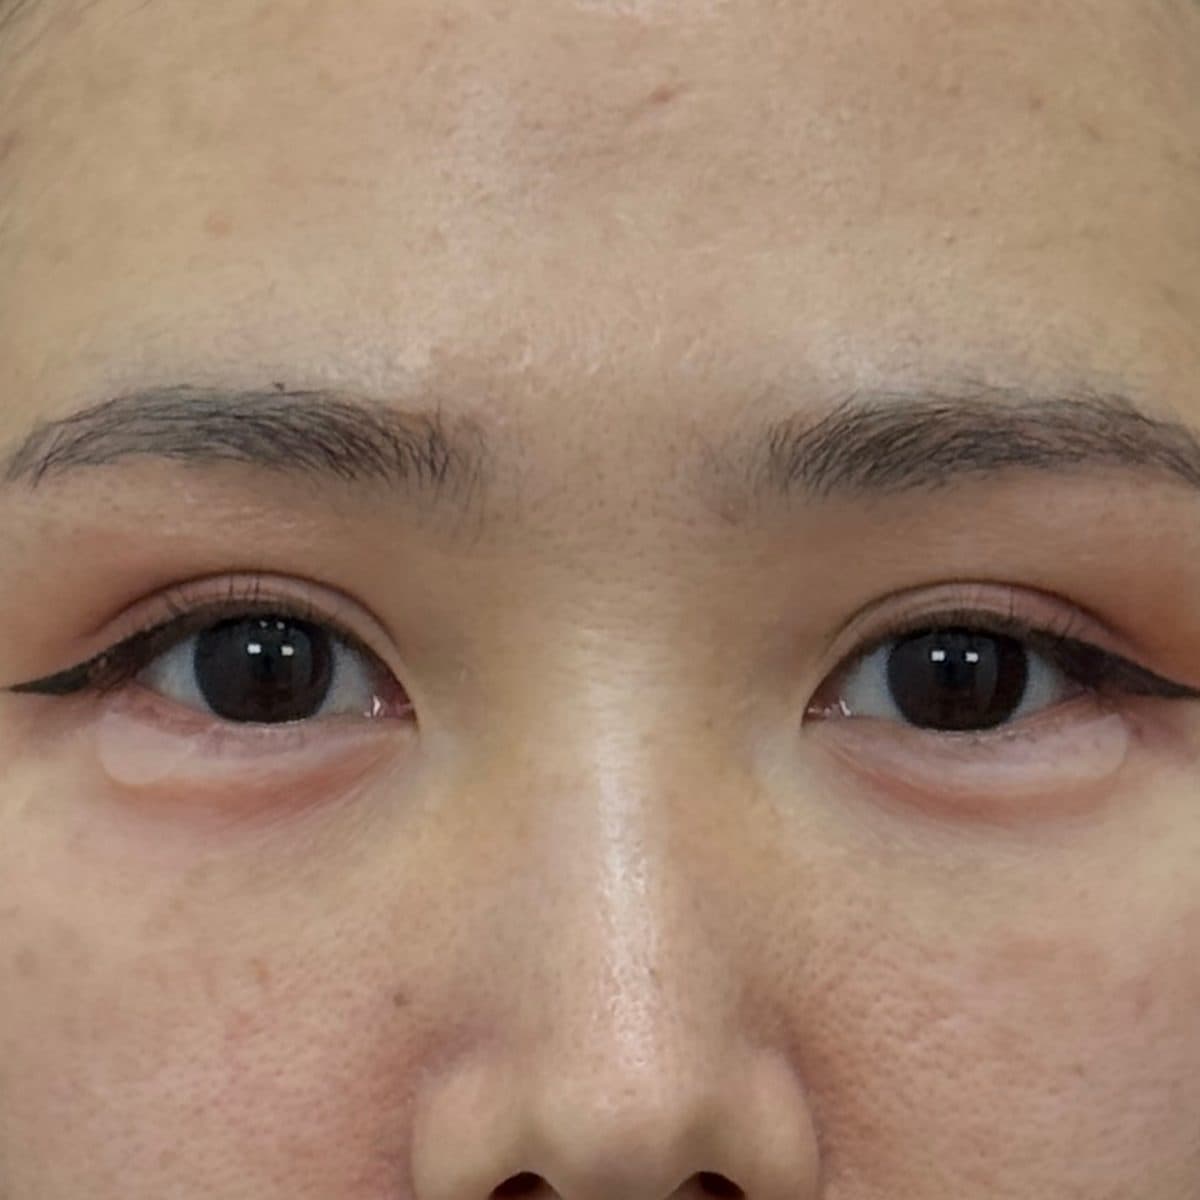 術後Aegyo-Sal FillerAegyo-Sal (Eye Smile) Filler
 術前
 術後Aegyo-Sal FillerAegyo-Sal (Eye Smile) Filler
 術前
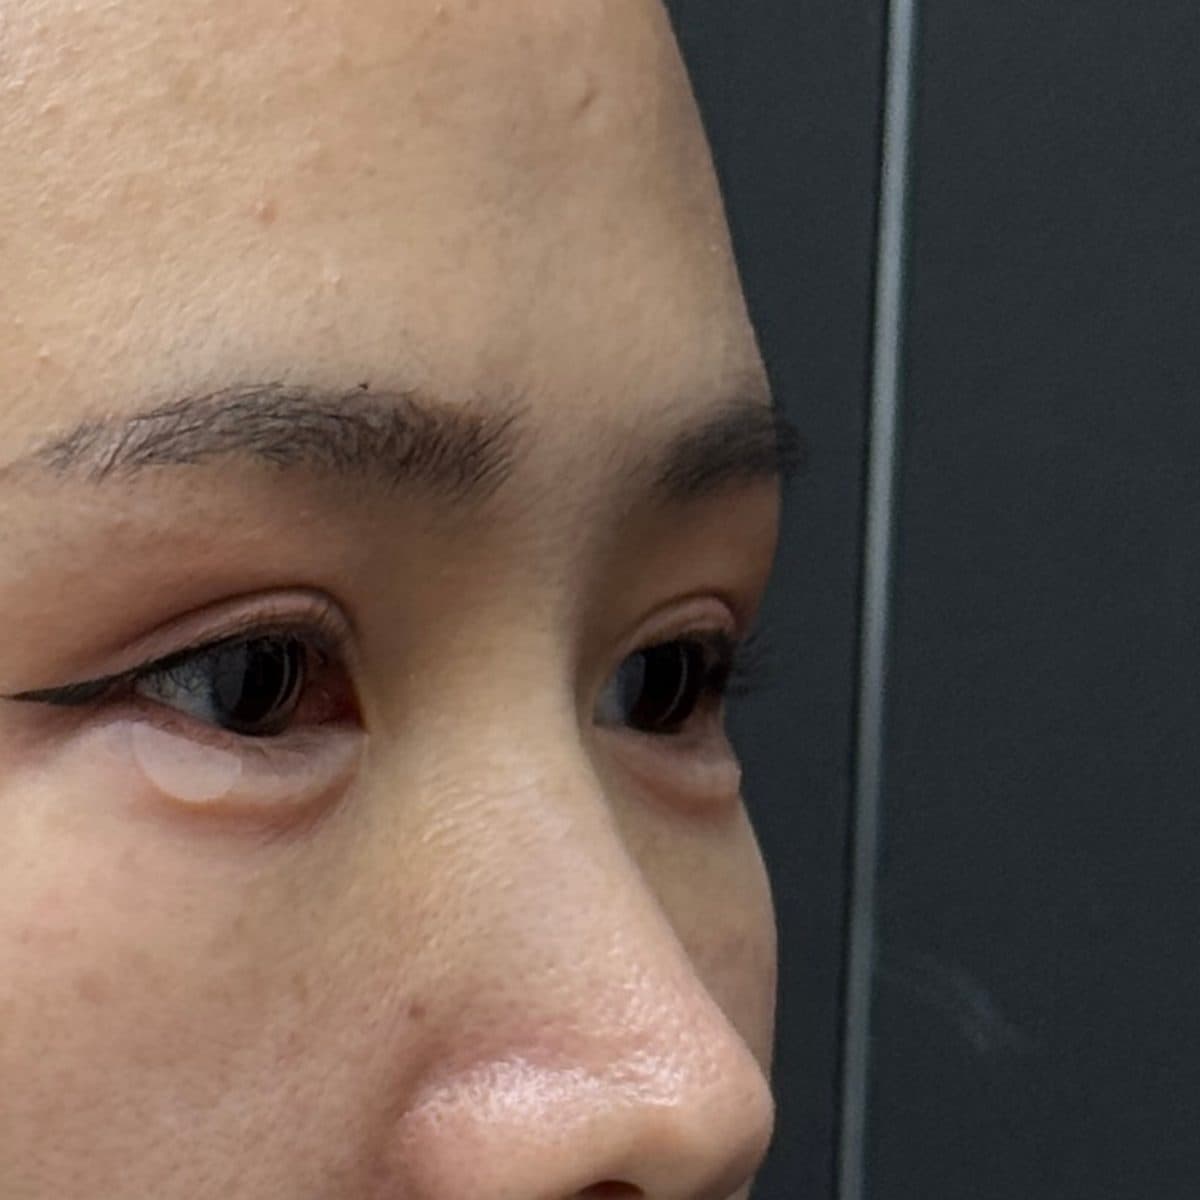 術後Aegyo-Sal FillerAegyo-Sal (Eye Smile) Filler
 術前
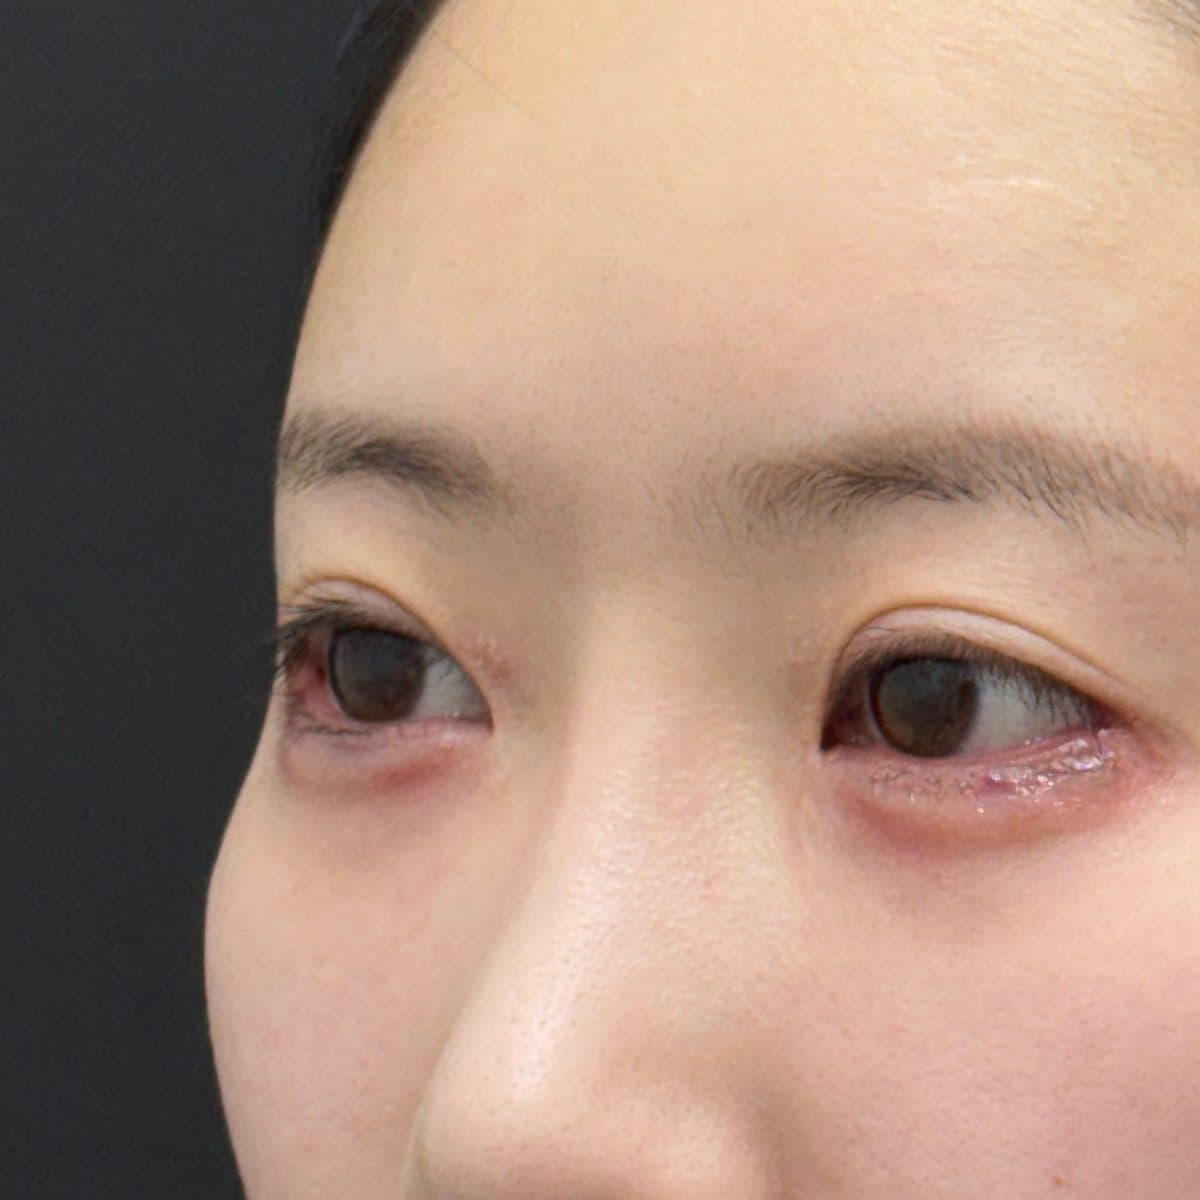 術後Aegyo-Sal FillerAegyo-Sal (Eye Smile) Filler
 術前
 術後Aegyo-Sal FillerAegyo-Sal (Eye Smile) Filler
 術前
 術後Aegyo-Sal FillerAegyo-Sal (Eye Smile) Filler
 術前
 術後Aegyo-Sal FillerAegyo-Sal (Eye Smile) Filler
 術前
 術後Aegyo-Sal FillerAegyo-Sal (Eye Smile) Filler
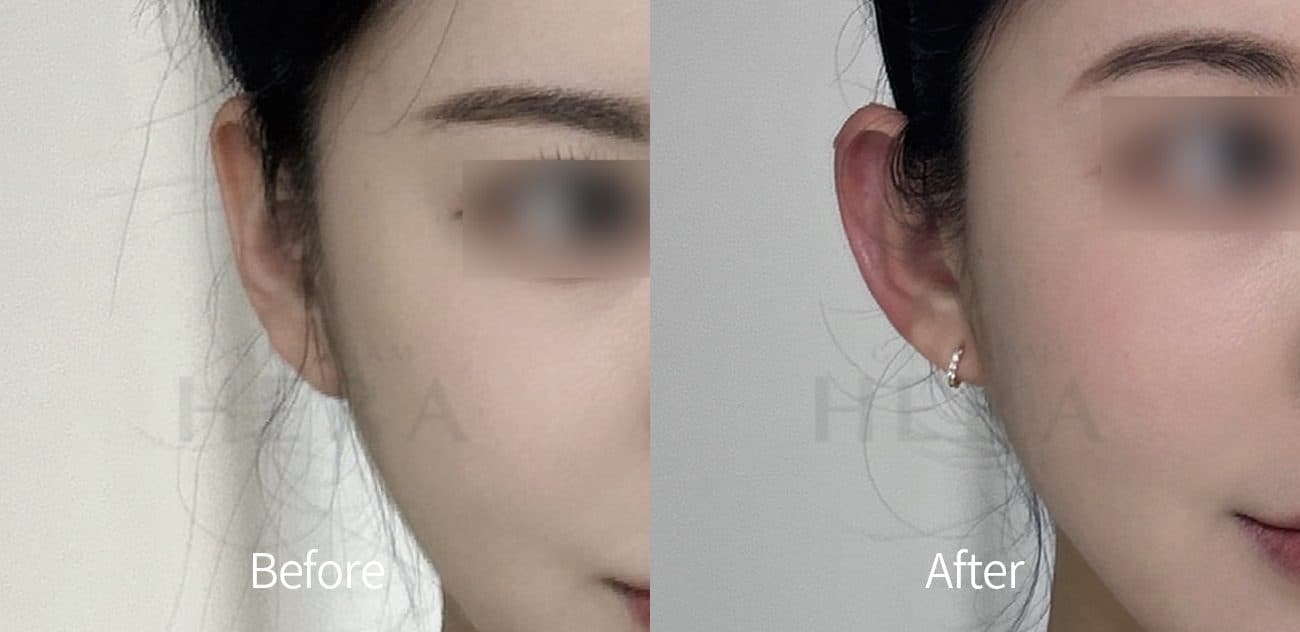
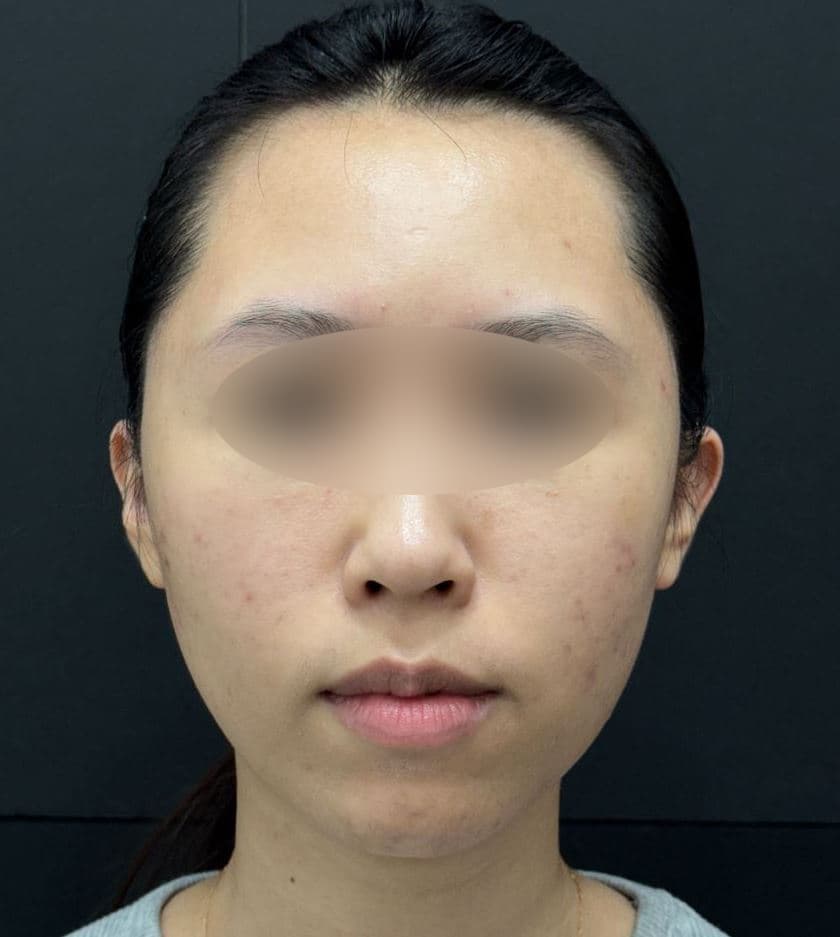 術前
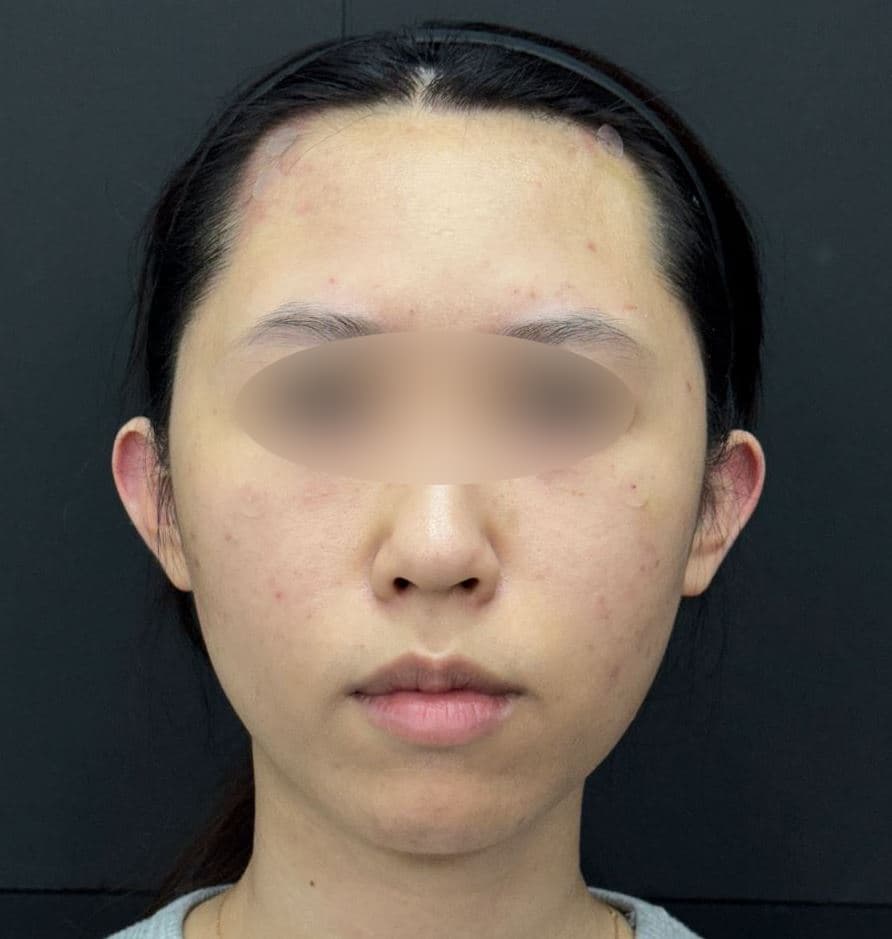 術後Ear FillerFillers
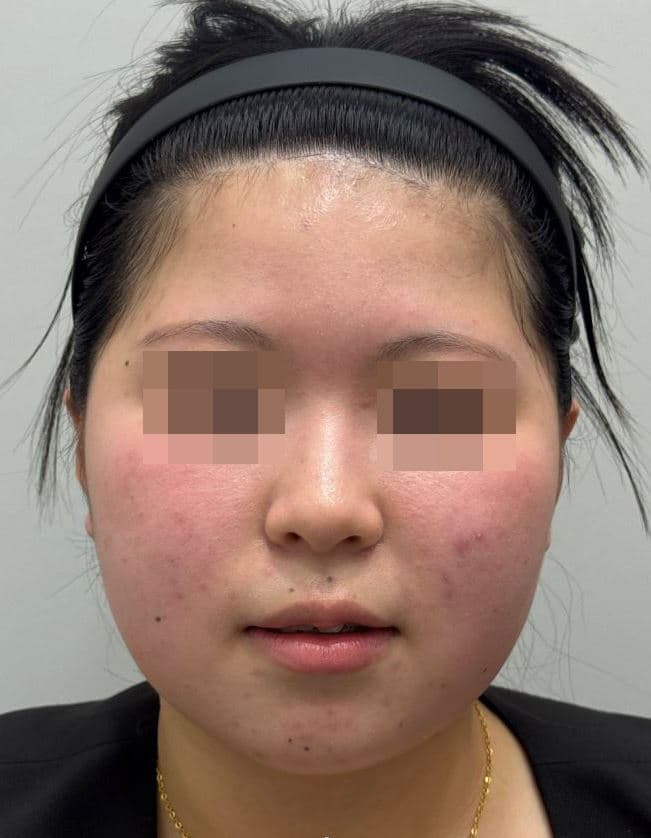 術前
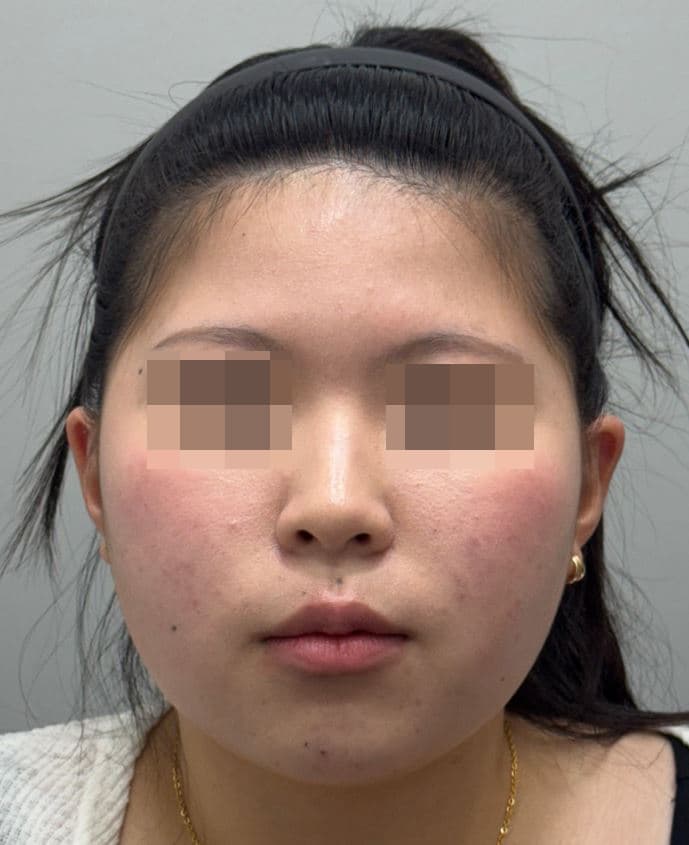 術後Ear FillerFillers
 術前
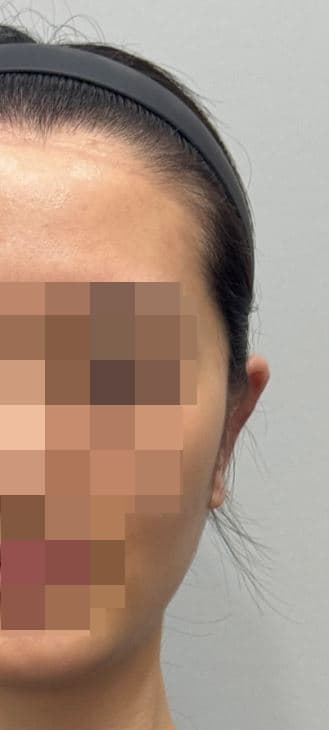 術後Ear FillerFillers
 術前
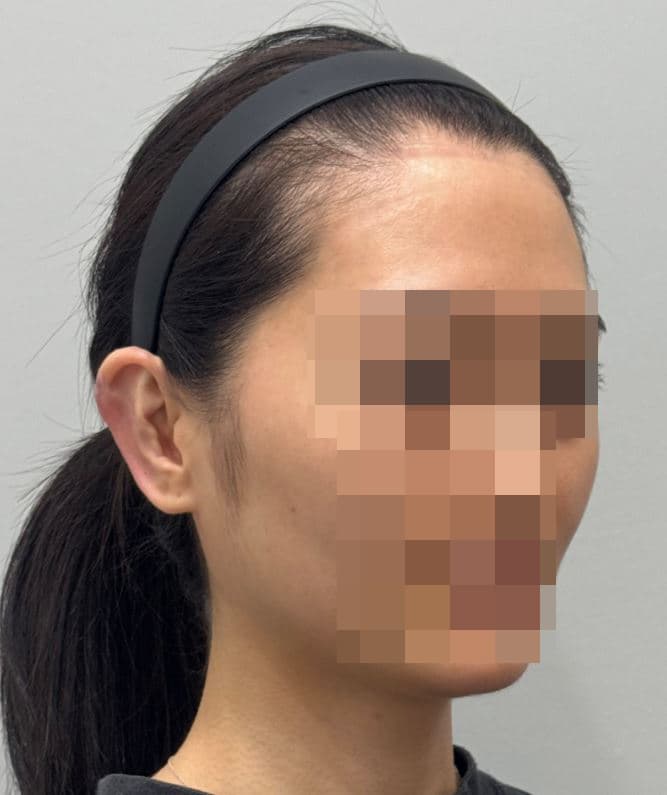 術後Ear FillerFillers
 術前
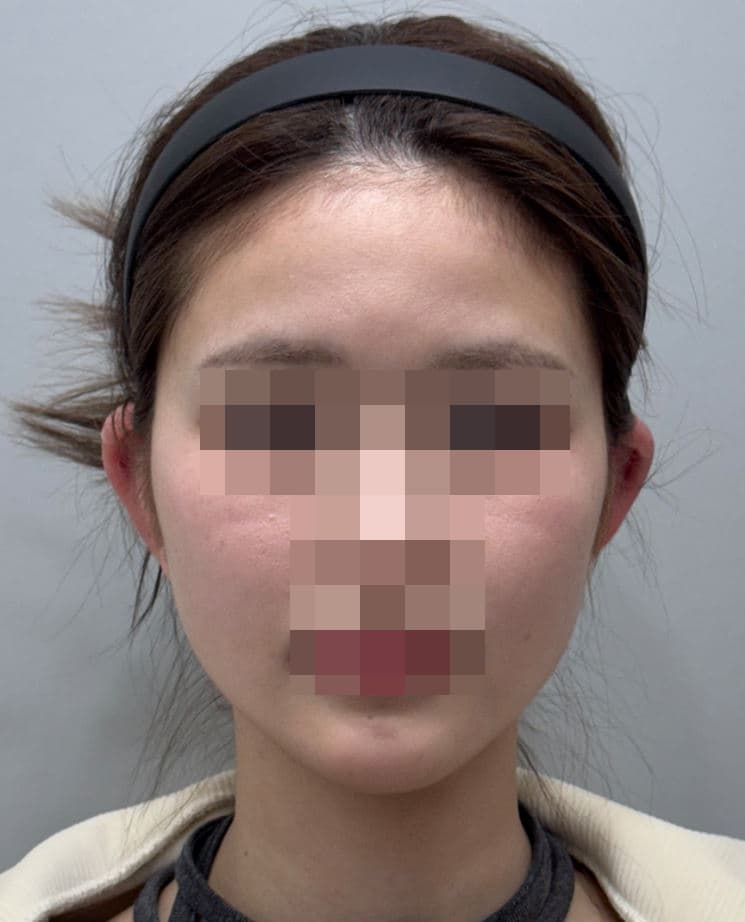 術後Ear FillerFillers
 術前
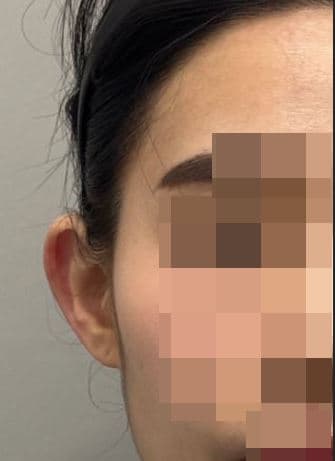 術後Ear FillerFillers
 術前
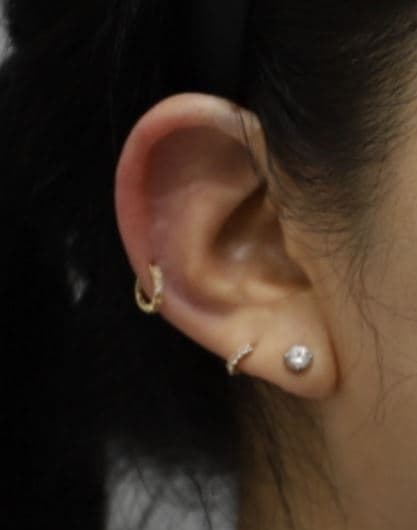 術後Ear FillerFillers
 術前
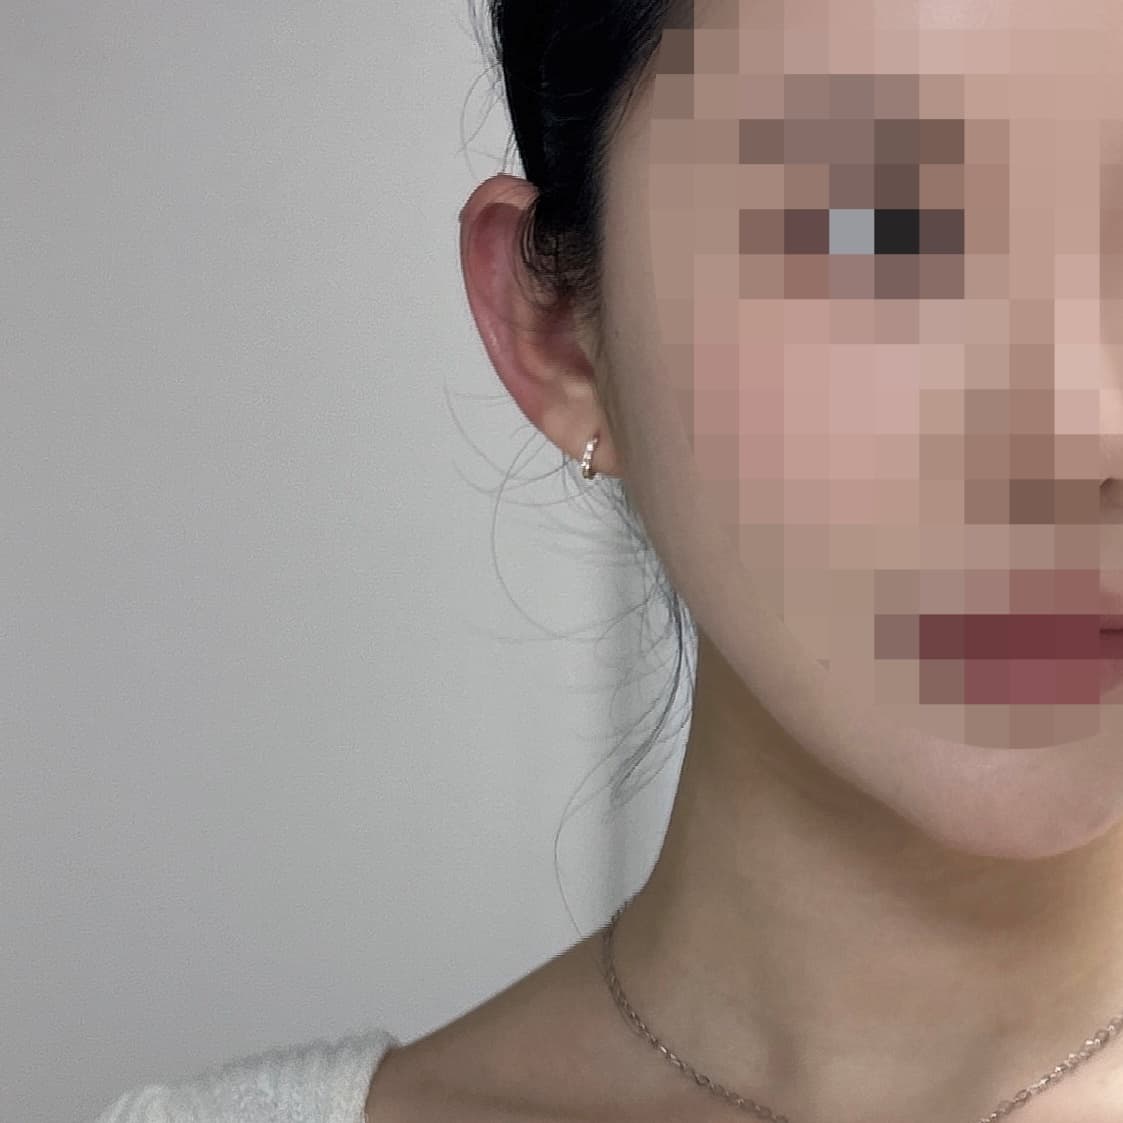 術後Ear FillerFillers
 術前
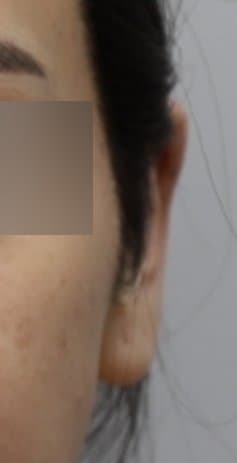 術後Ear FillerFillers
 術前
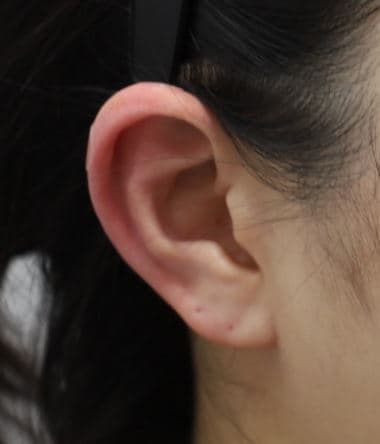 術後Ear FillerFillers
 術前
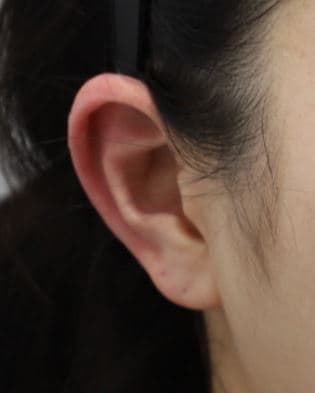 術後Ear FillerFillers
 術前
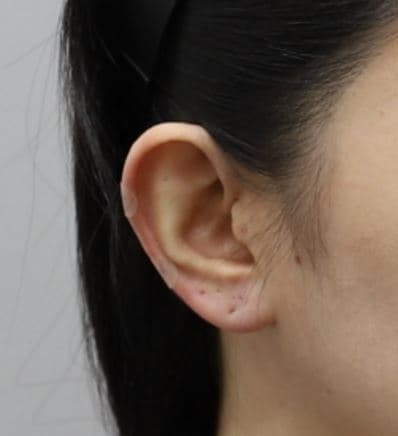 術後Ear FillerFillers
 術前
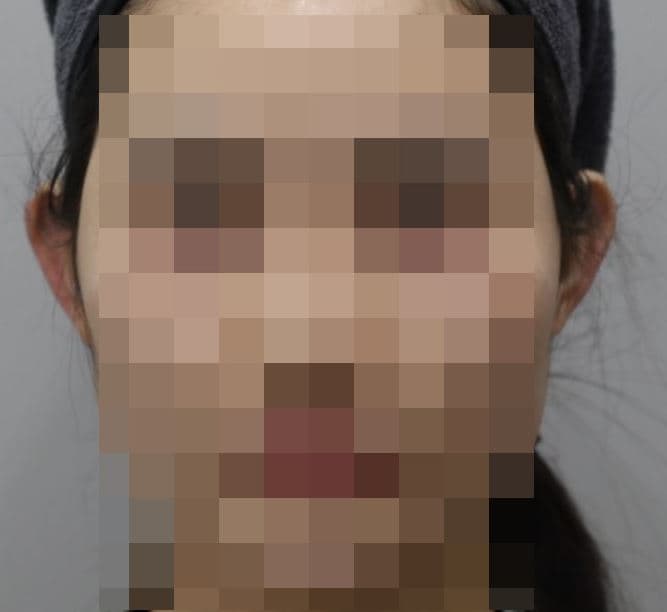 術後Ear FillerFillers
 術前
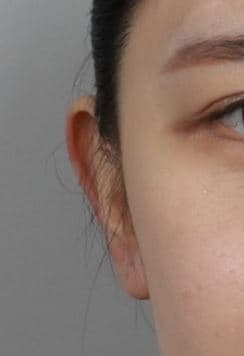 術後Ear FillerFillers
 術前
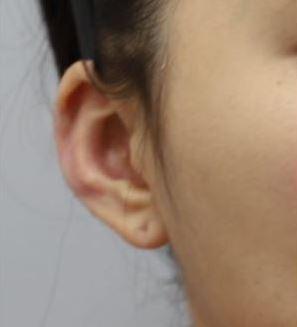 術後Ear FillerFillers
 術前
 術後Ear FillerFillers
 術前
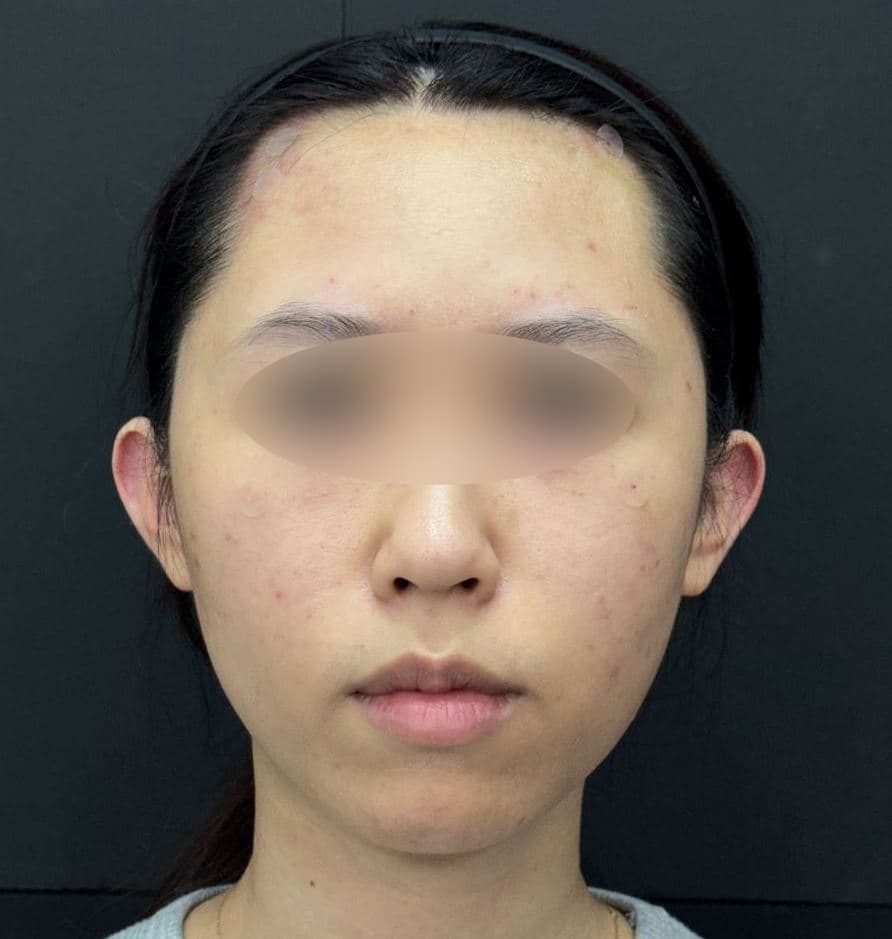 術後Ear FillerFillers
 術前
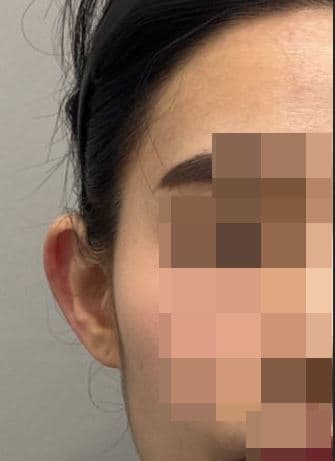 術後Ear FillerFillers
 術前
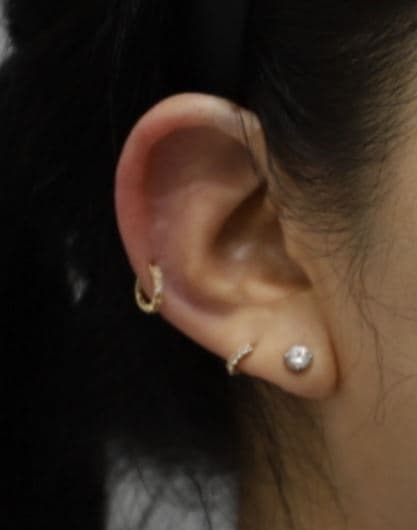 術後Ear FillerFillers
 術前
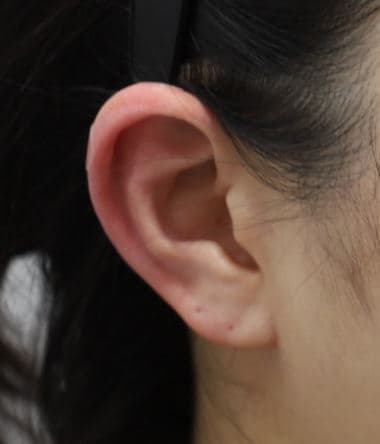 術後Ear FillerFillers
 術前
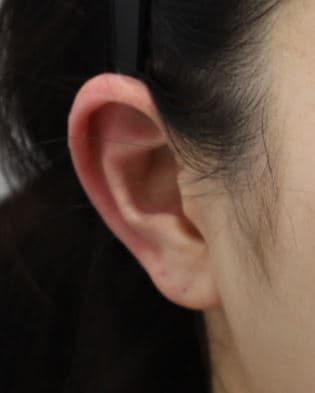 術後Ear FillerFillers
 術前
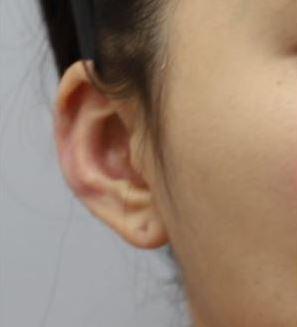 術後Ear FillerFillers
 術前
 術後Ear FillerFillers
 術前
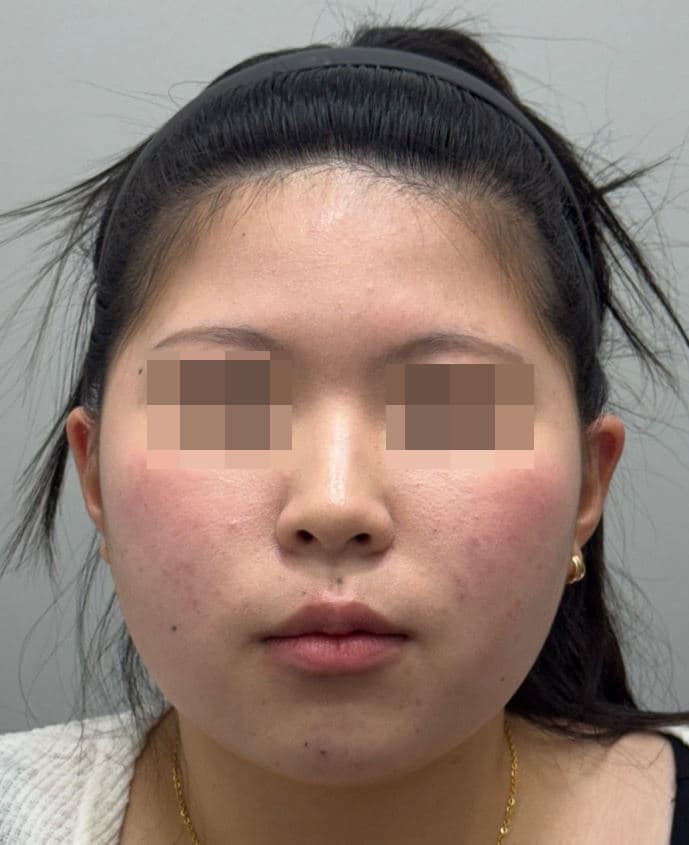 術後Ear FillerFillers
 術前
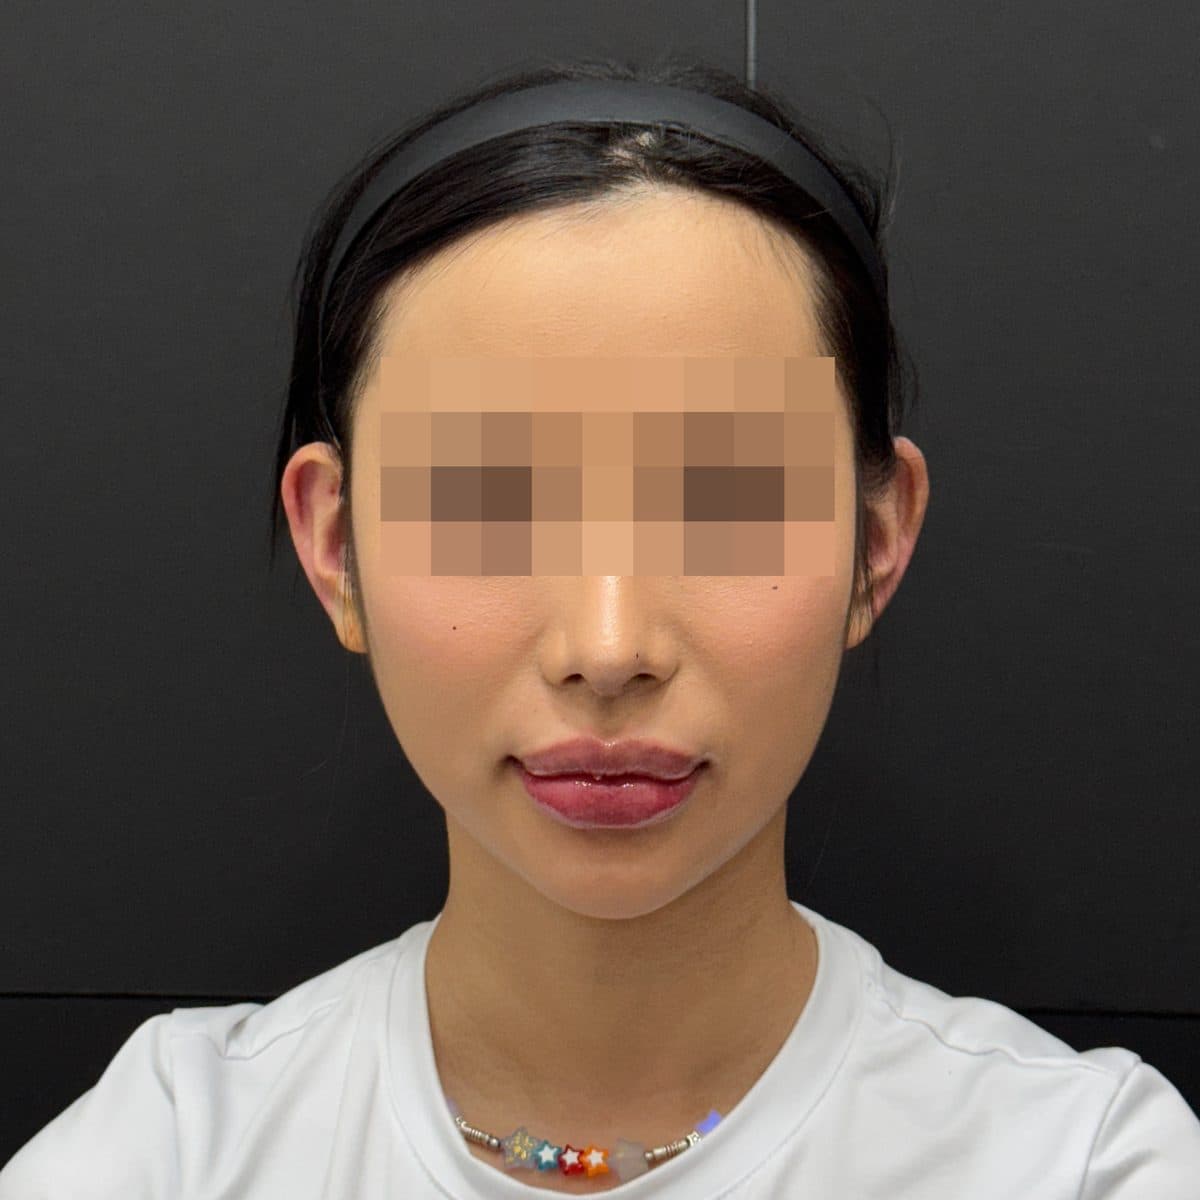 術後Ear FillerFillers
 術前
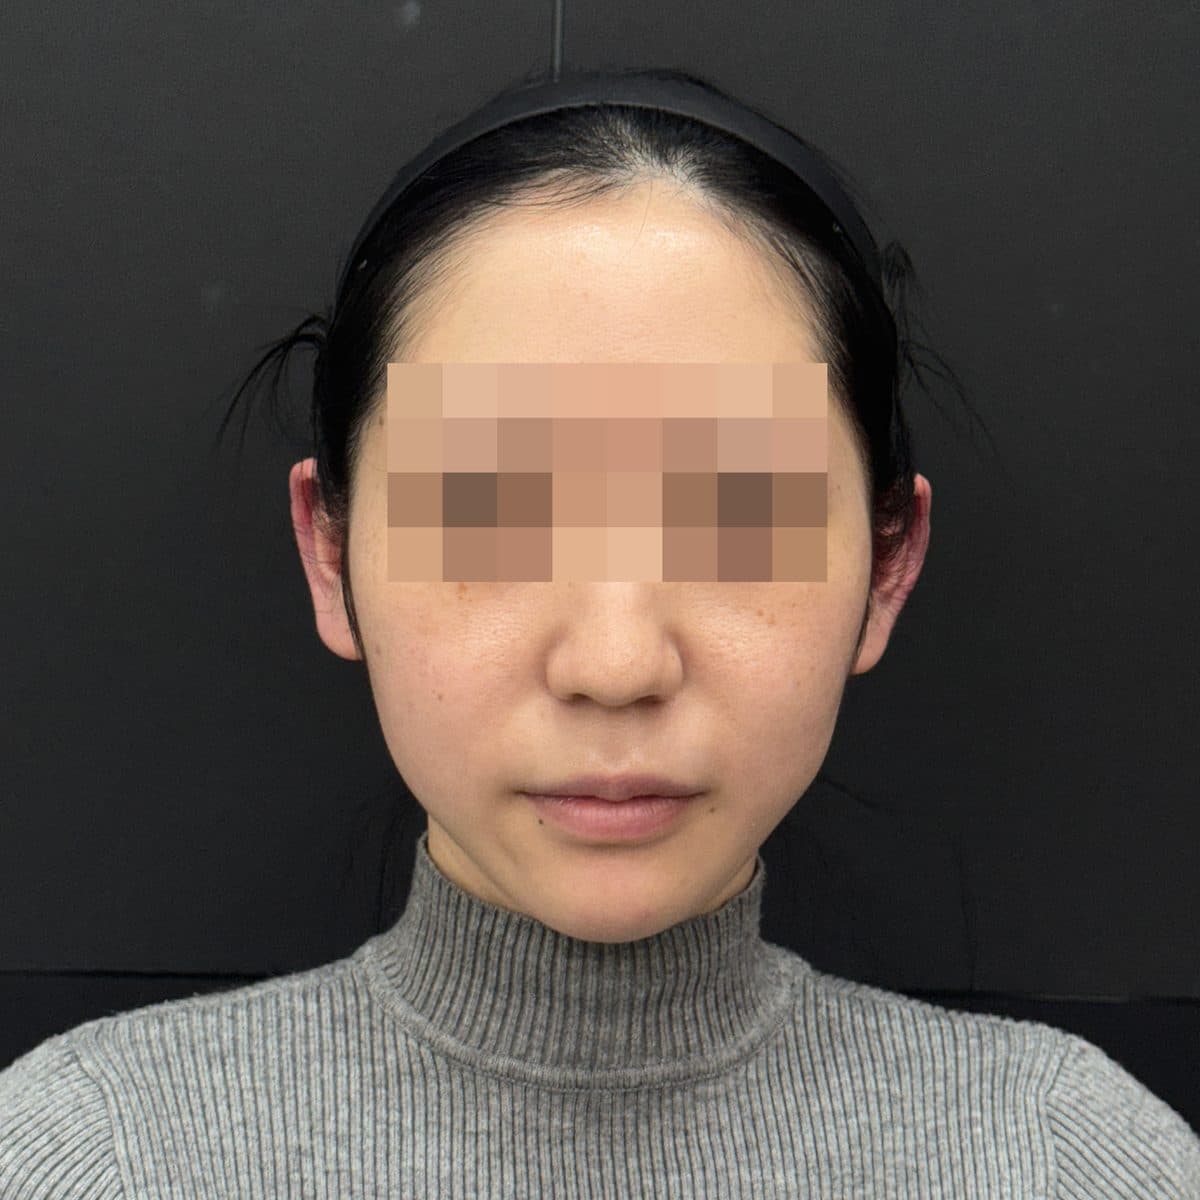 術後Ear FillerFillers
 術前
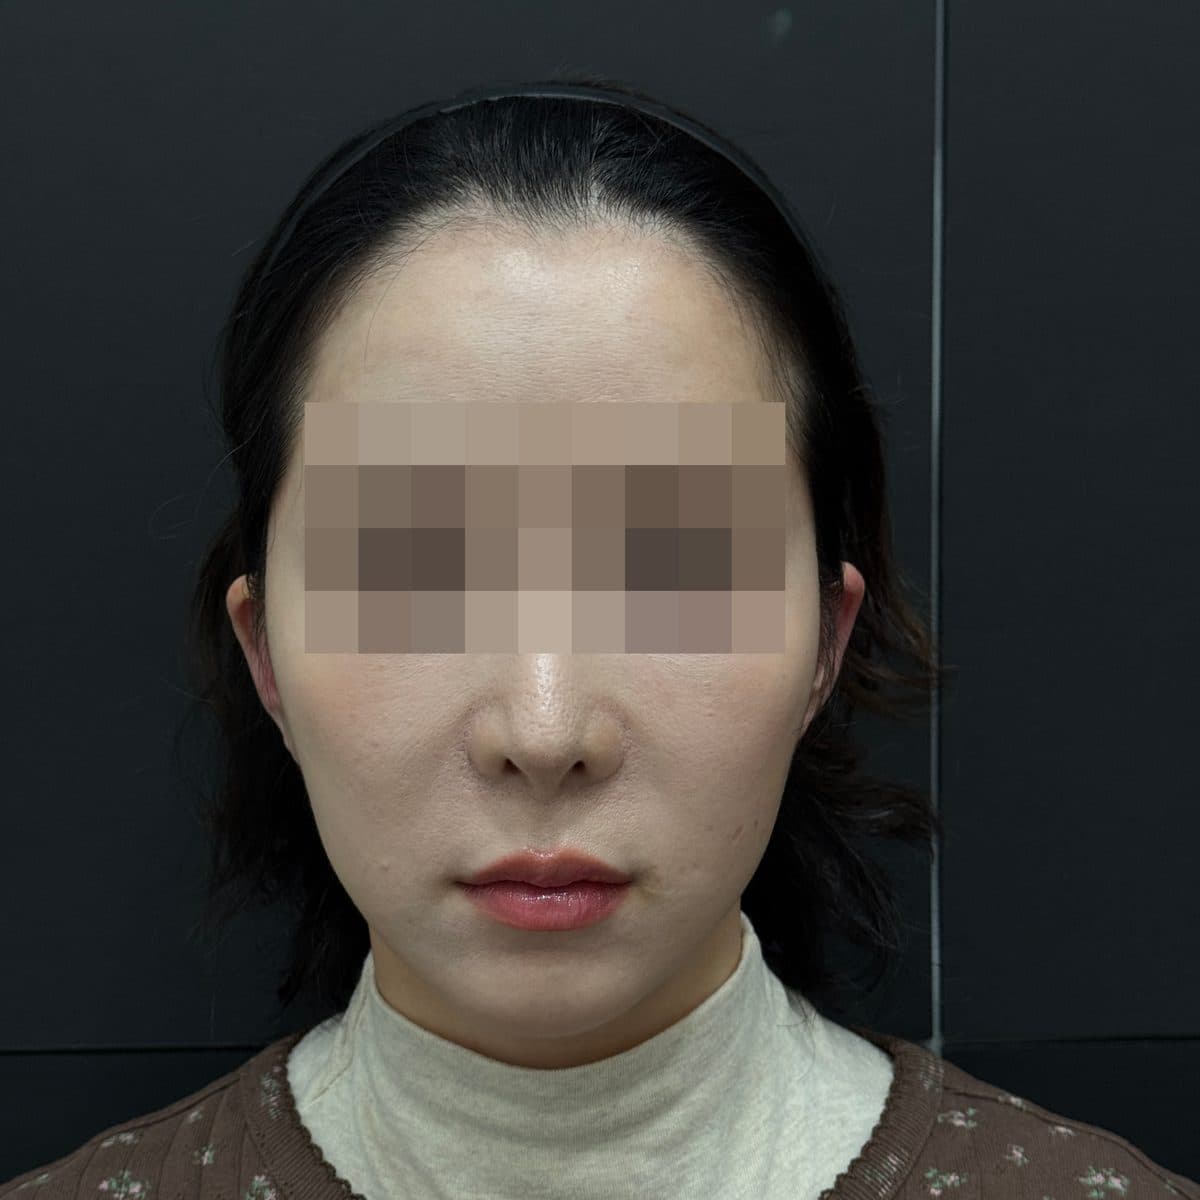 術後Ear FillerFillers
 術前
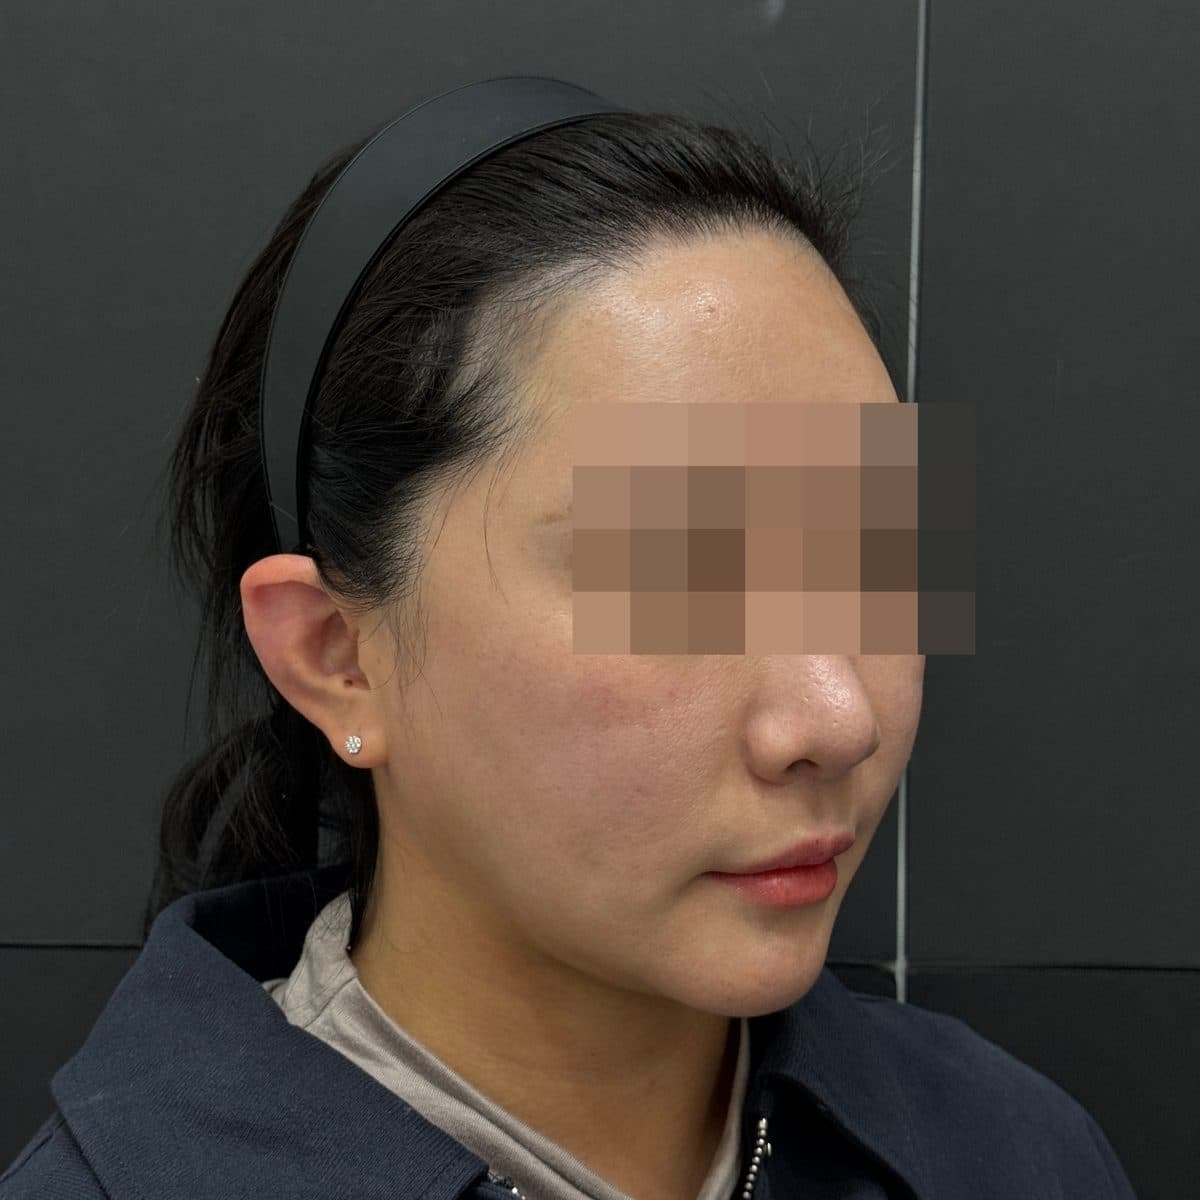 術後Ear FillerFillers
 術前
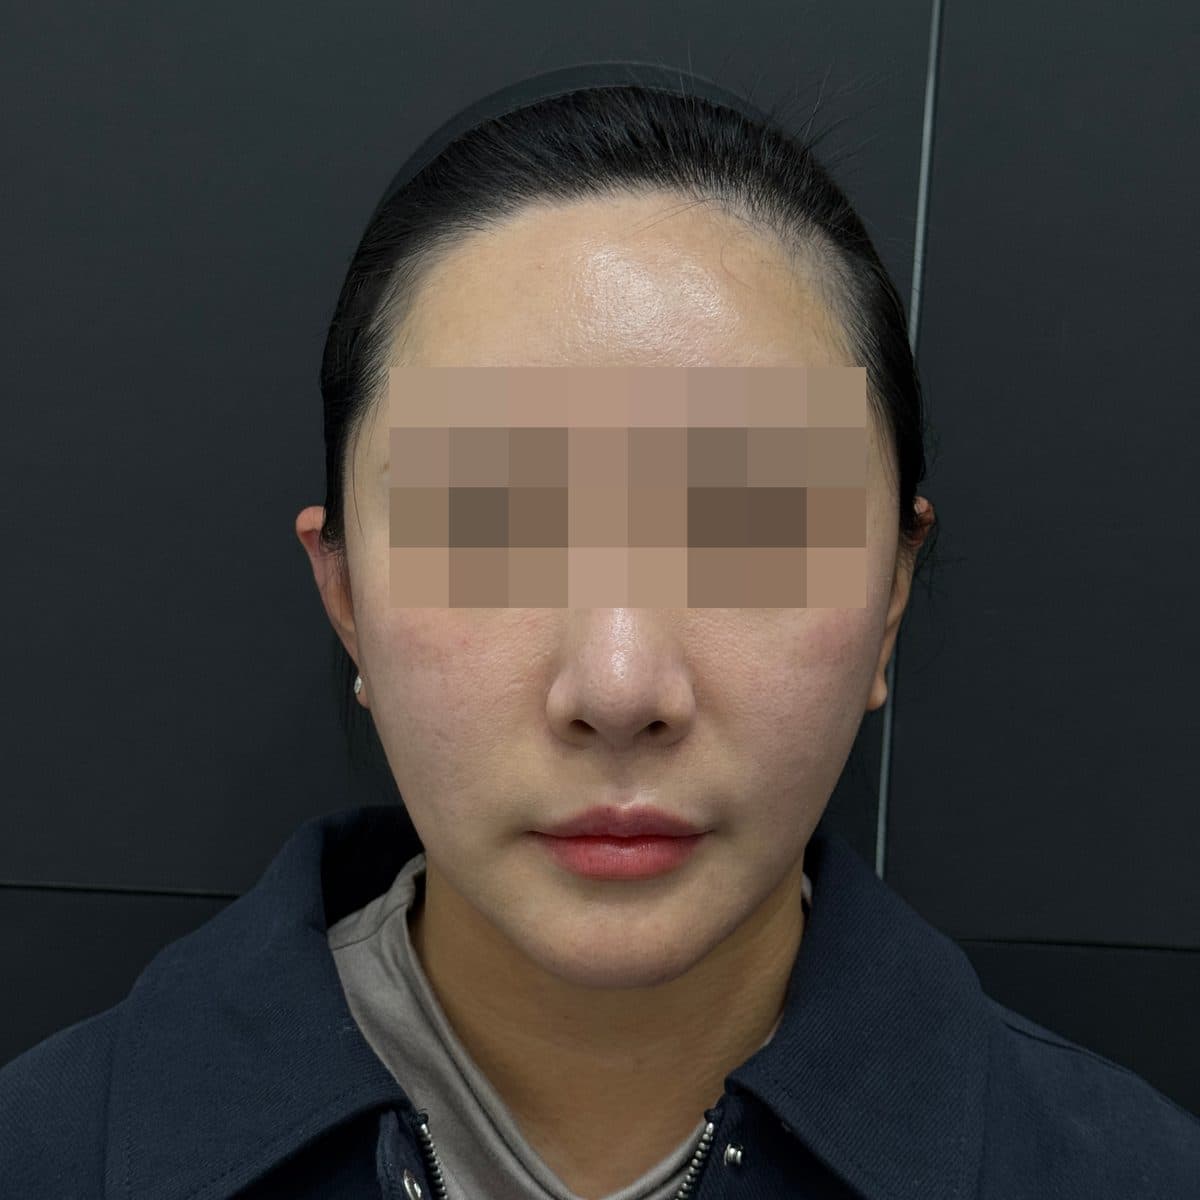 術後Ear FillerFillers
 術前
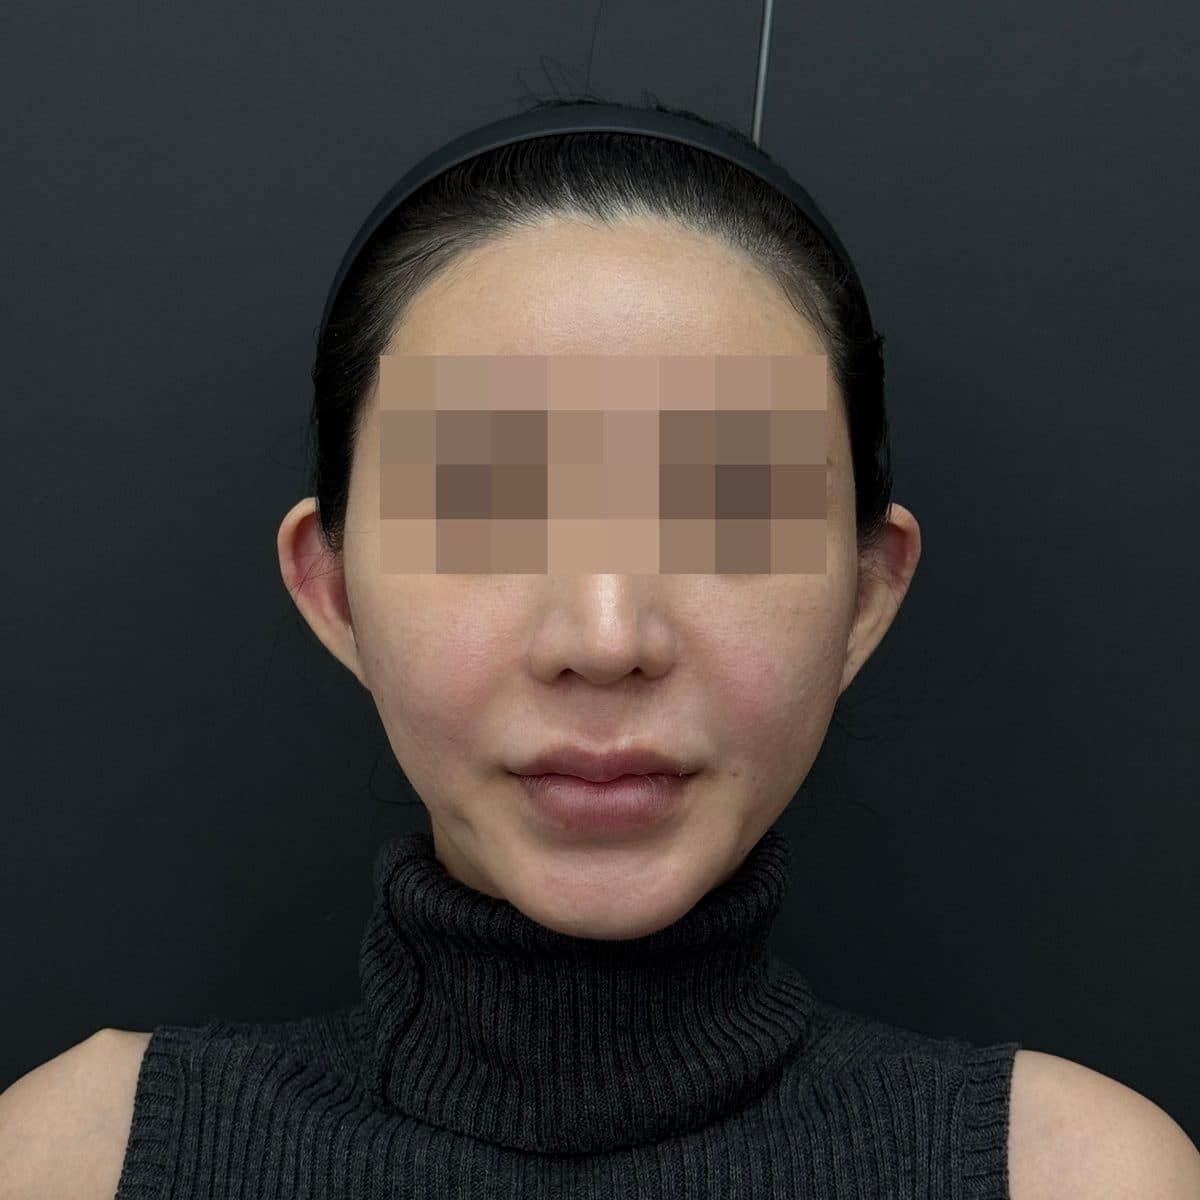 術後Ear FillerFillers
 術前
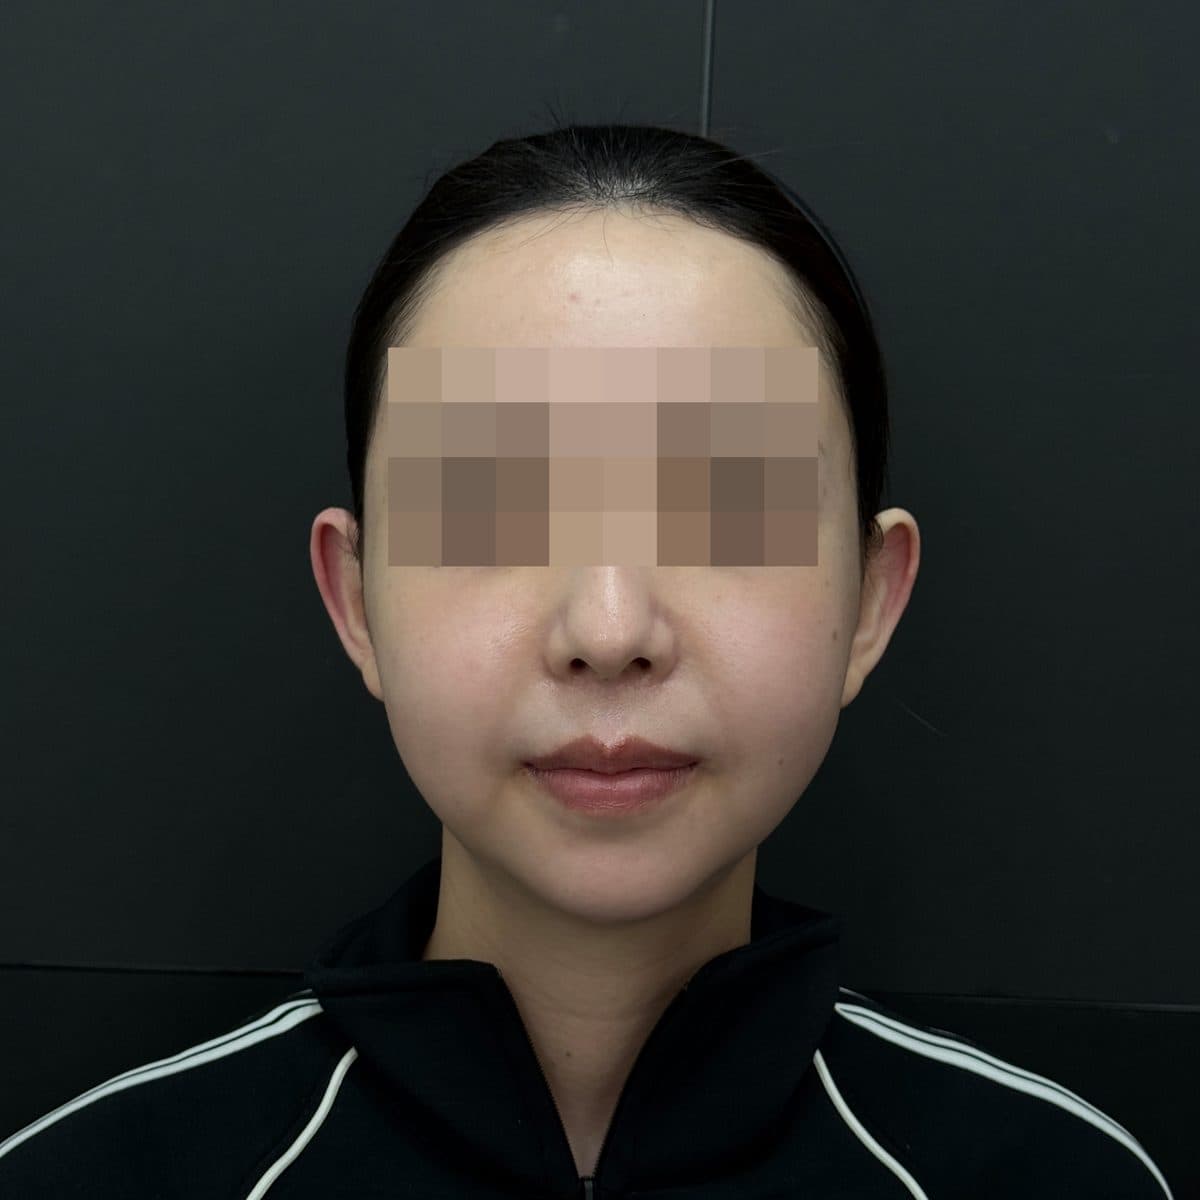 術後Ear FillerFillers
 術前
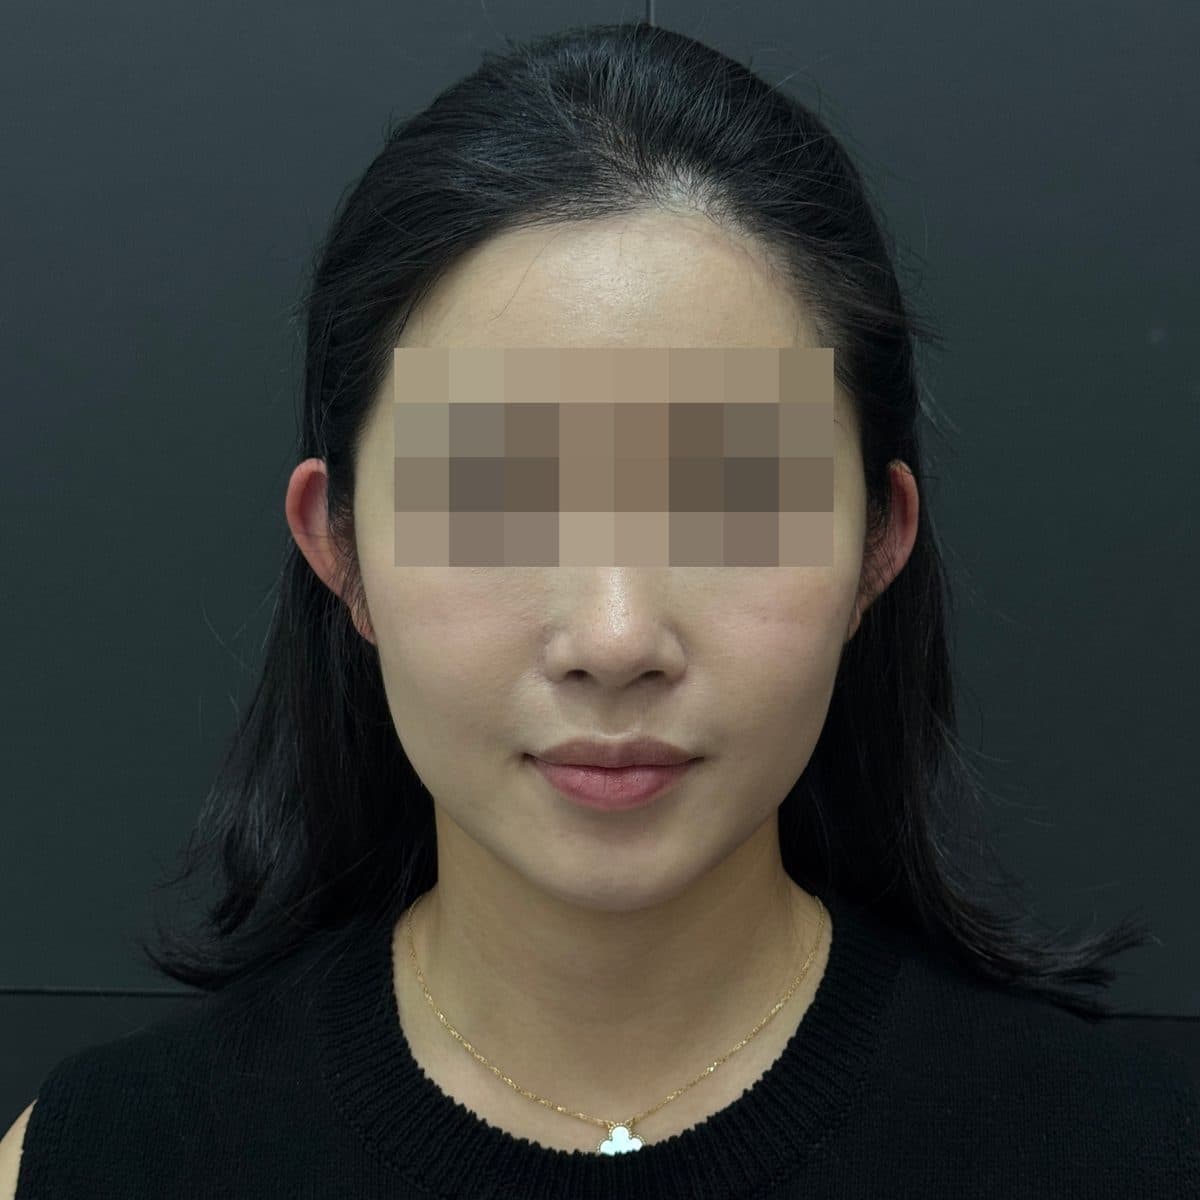 術後Ear FillerFillers
 術前
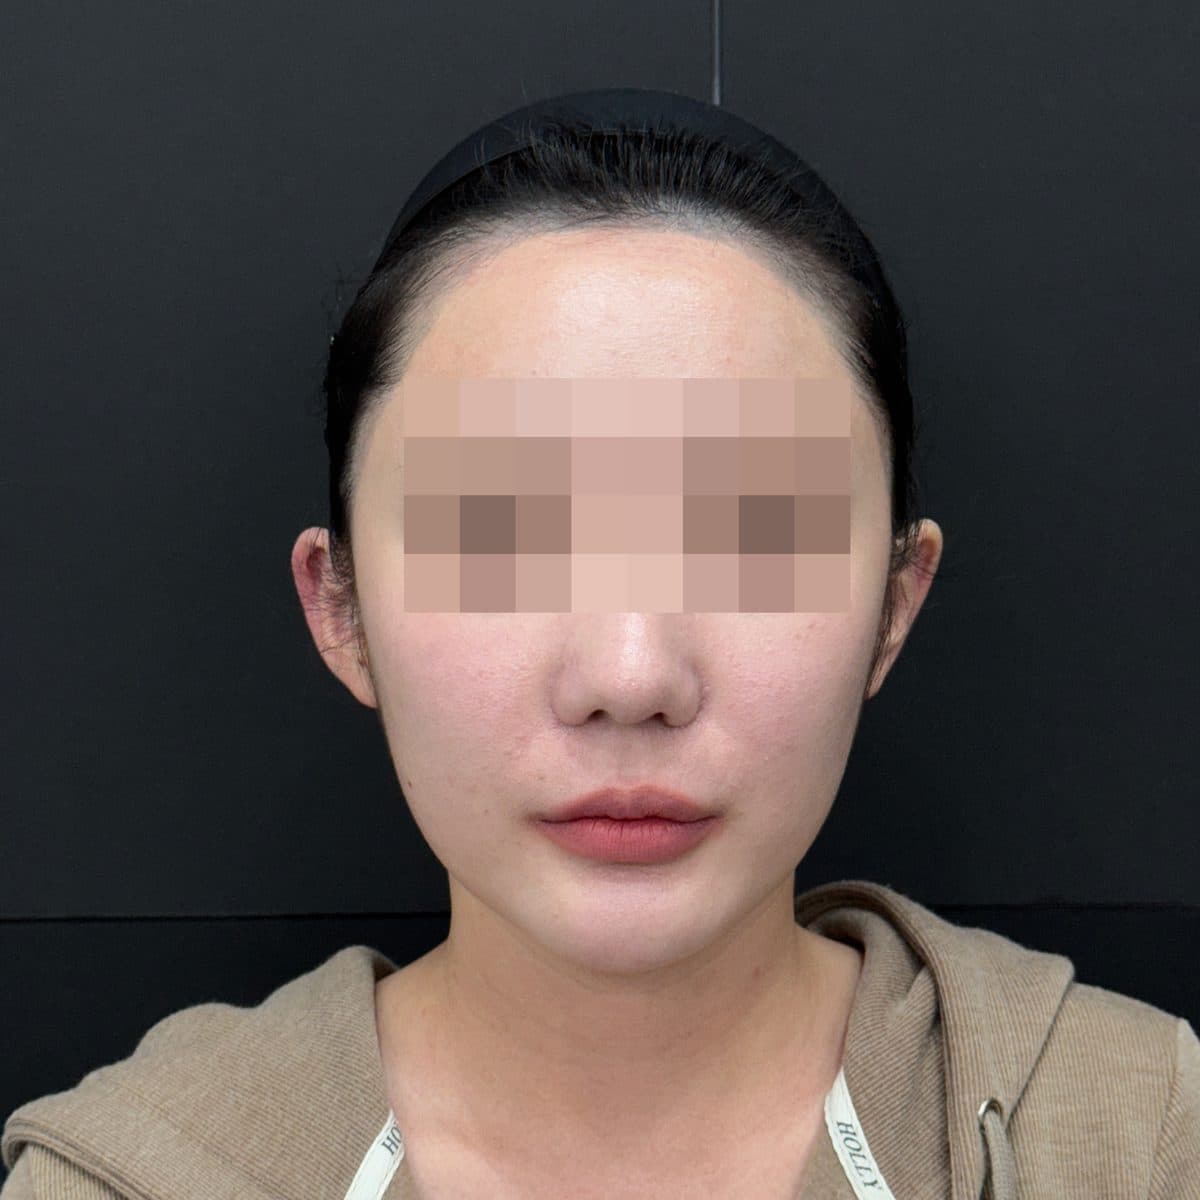 術後Ear FillerFillers
 術前
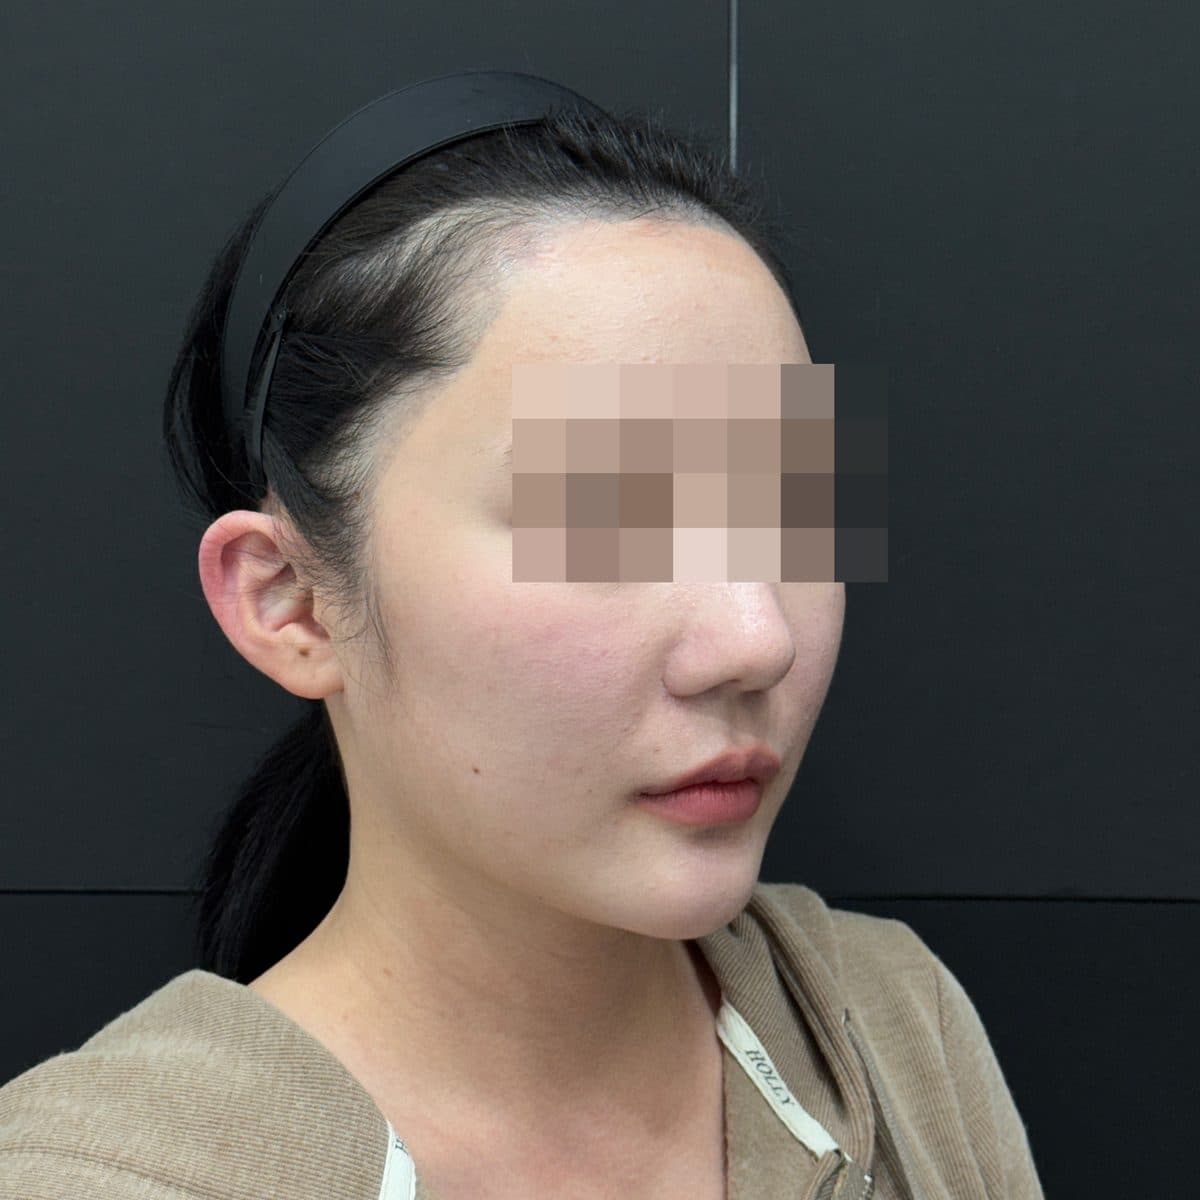 術後Ear FillerFillers
 術前
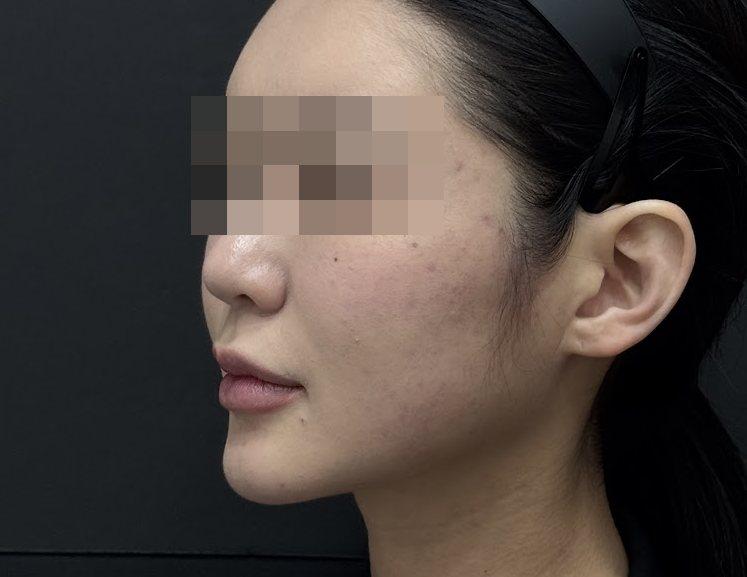 術後Ear FillerFillers
 術前
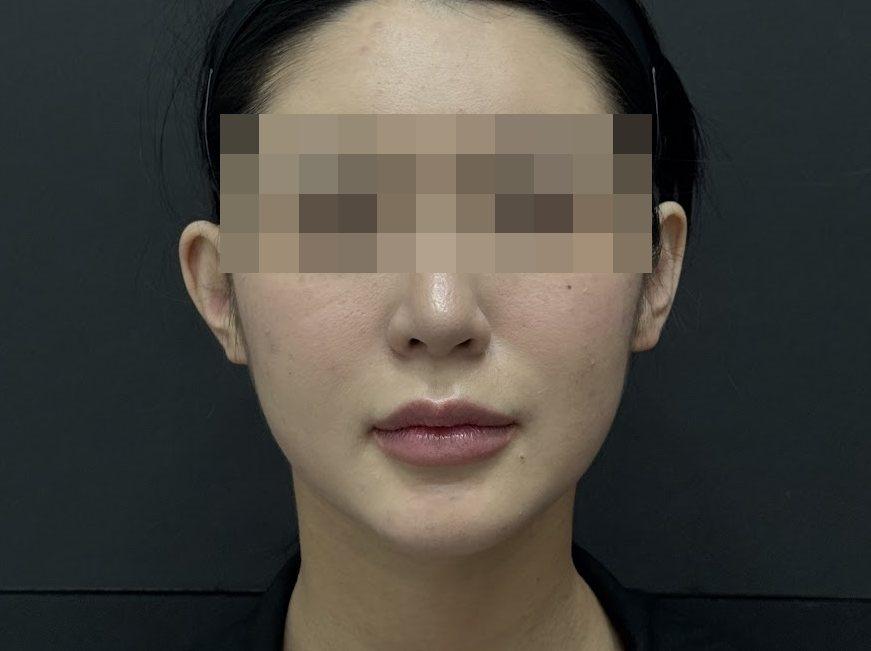 術後Ear FillerFillers
 術前
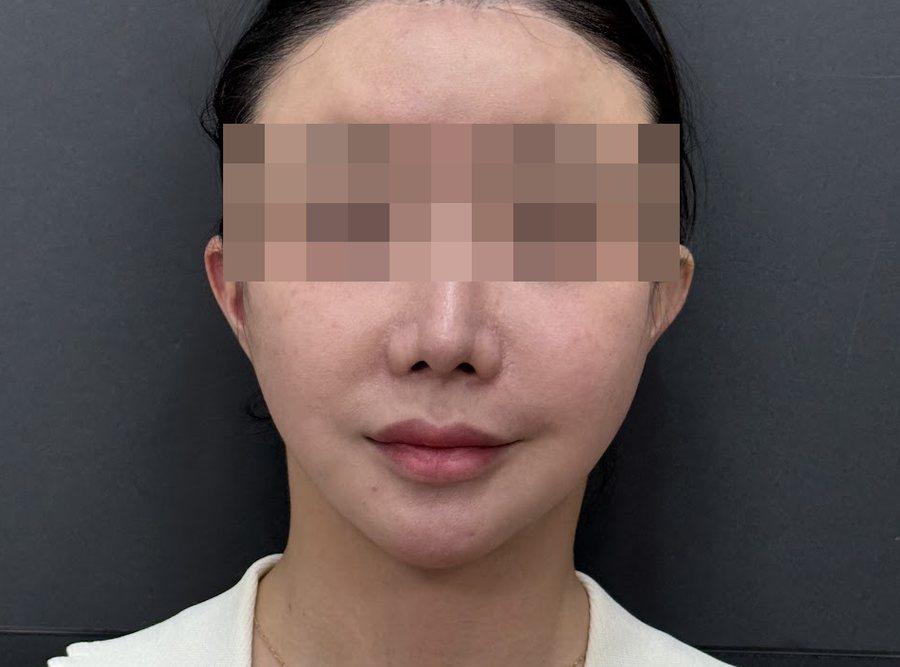 術後Ear FillerFillers
 術前
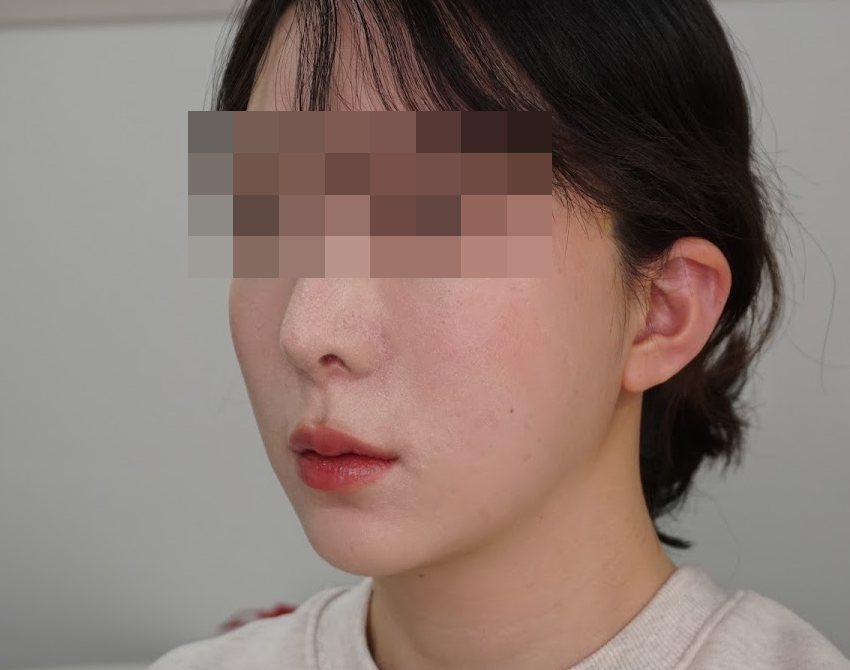 術後Ear FillerFillers
 術前
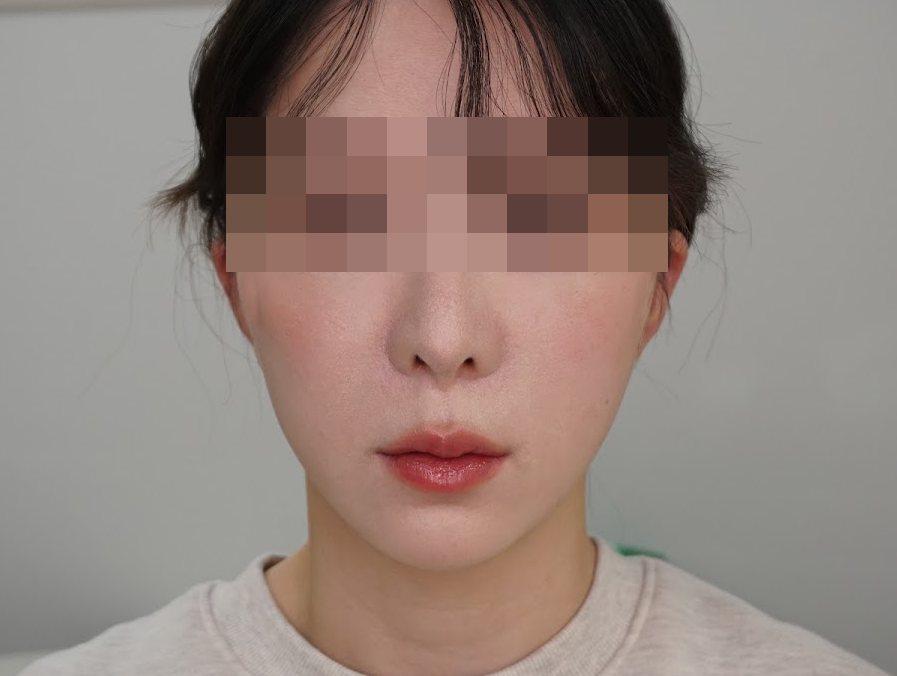 術後Ear FillerFillers
 術前
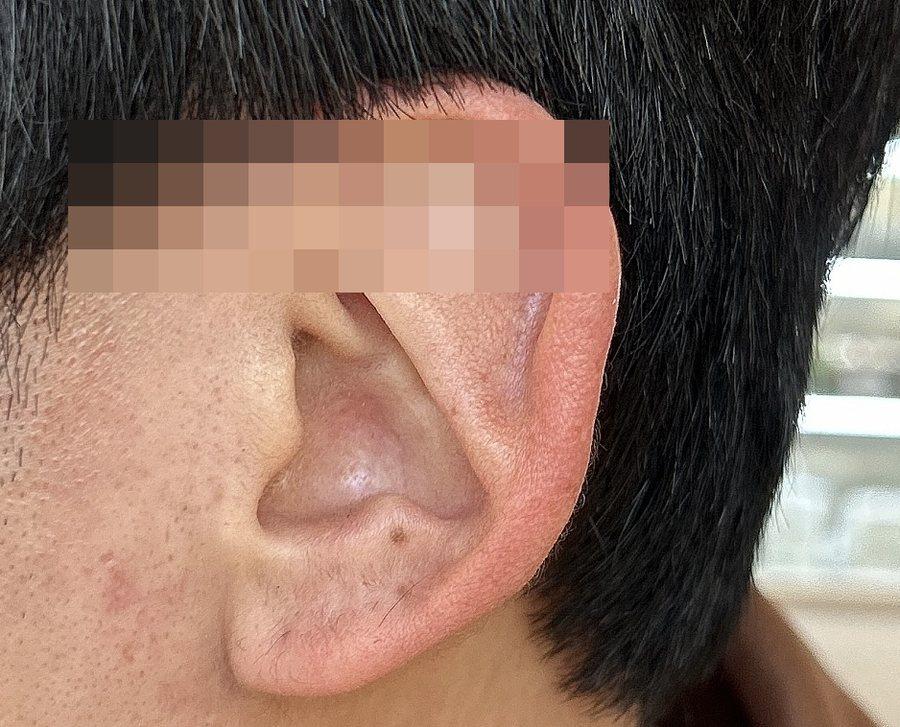 術後Ear FillerFillers
 術前
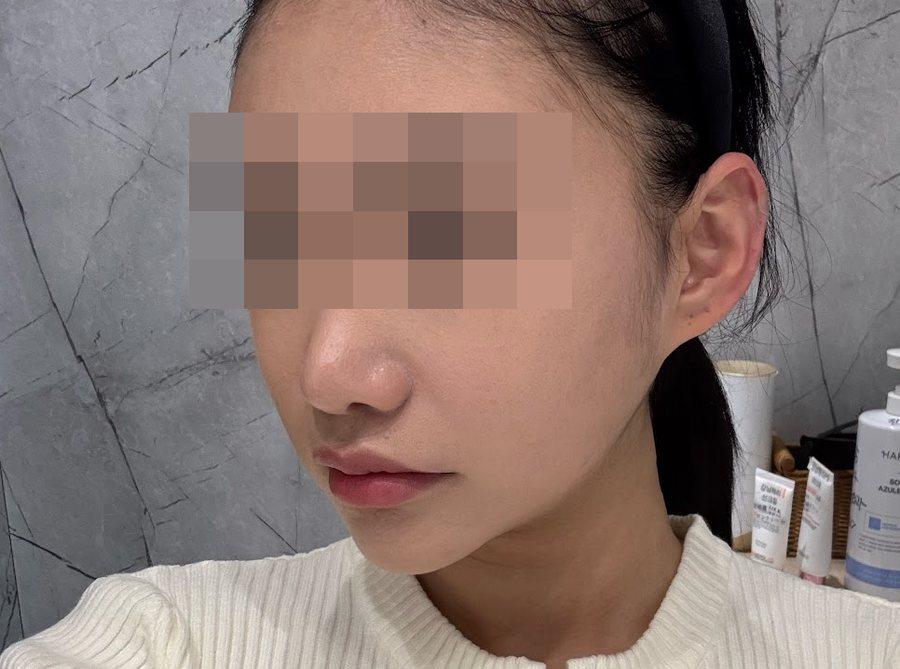 術後Ear FillerFillers
 術前
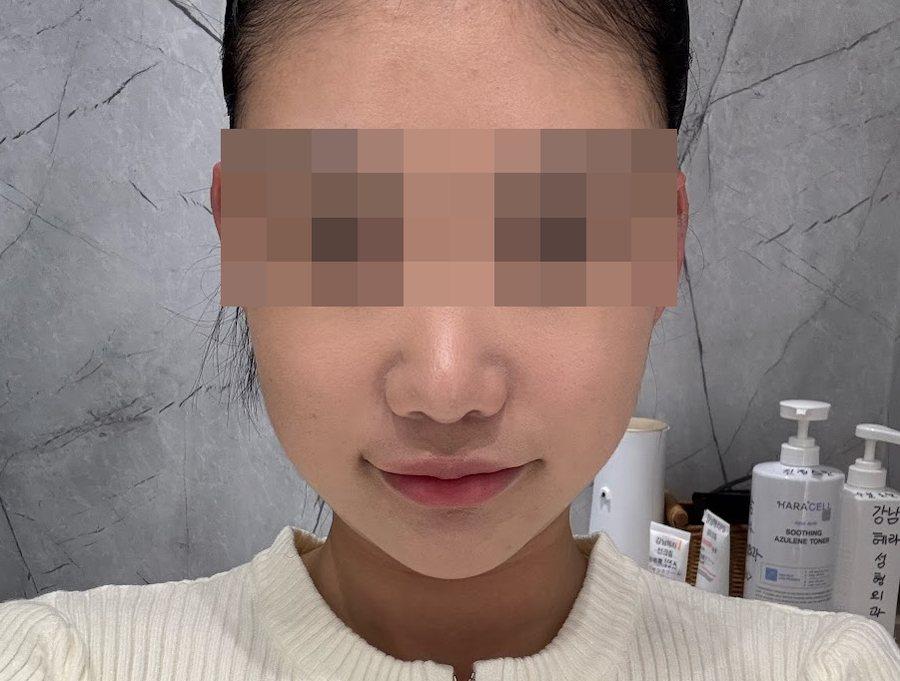 術後Ear FillerFillers
 術前
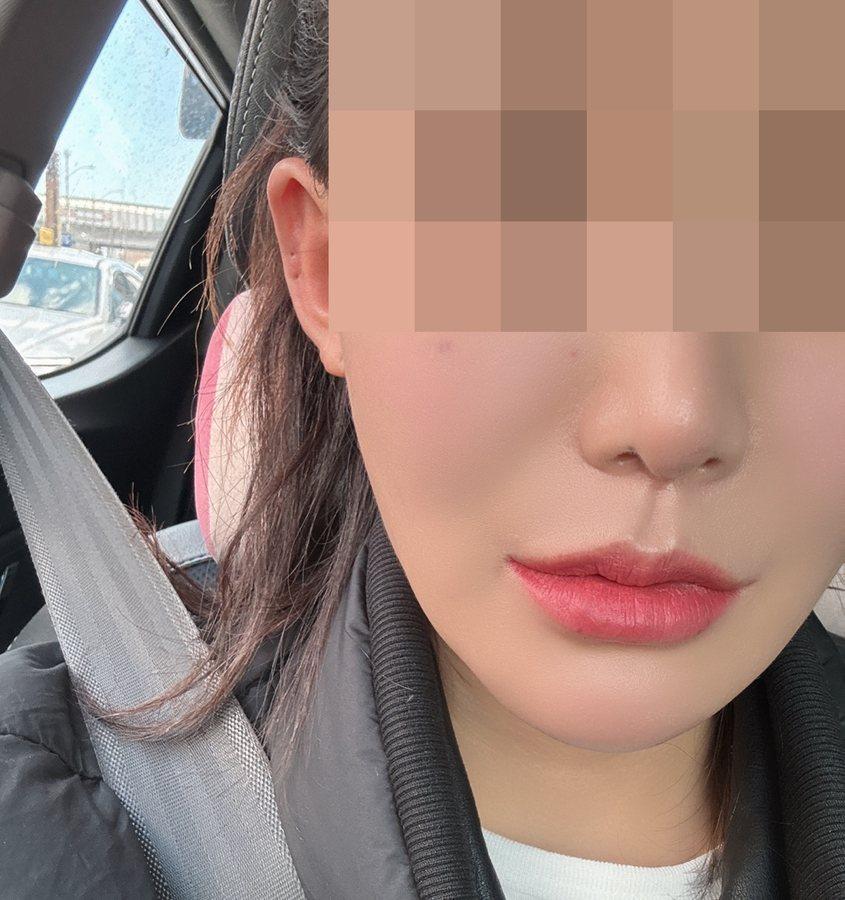 術後Ear FillerFillers
 術前
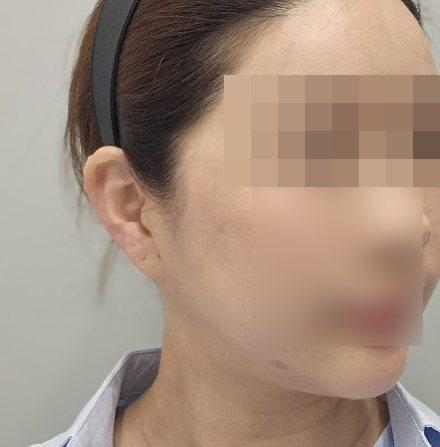 術後Ear FillerFillers
 術前
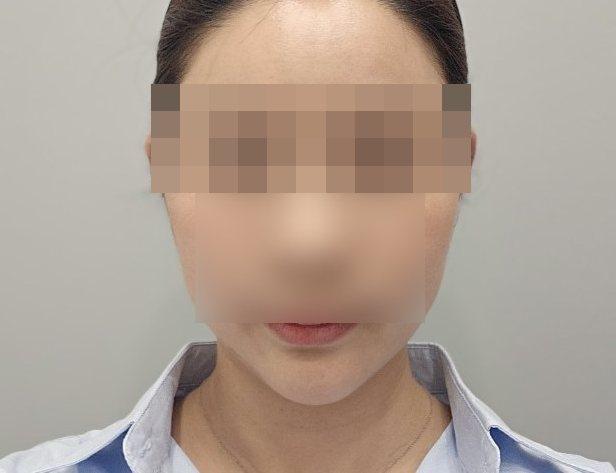 術後Ear FillerFillers
 術前
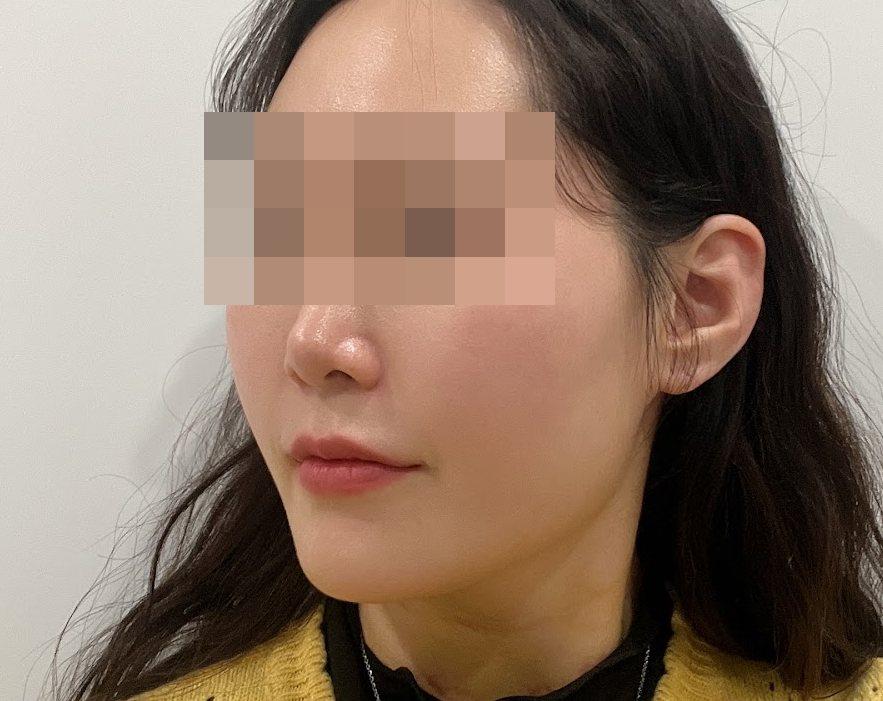 術後Ear FillerFillers
 術前
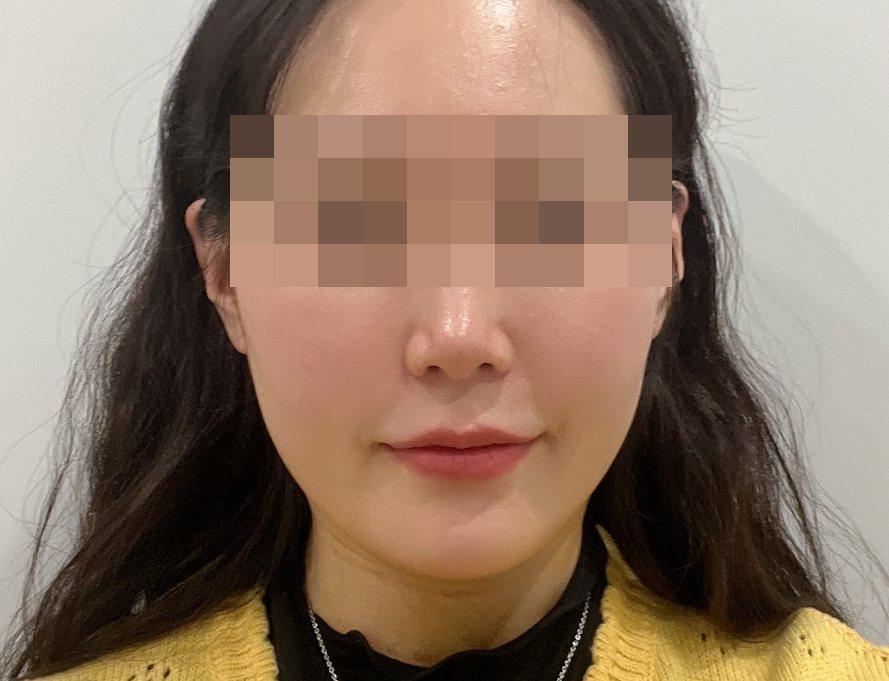 術後Ear FillerFillers
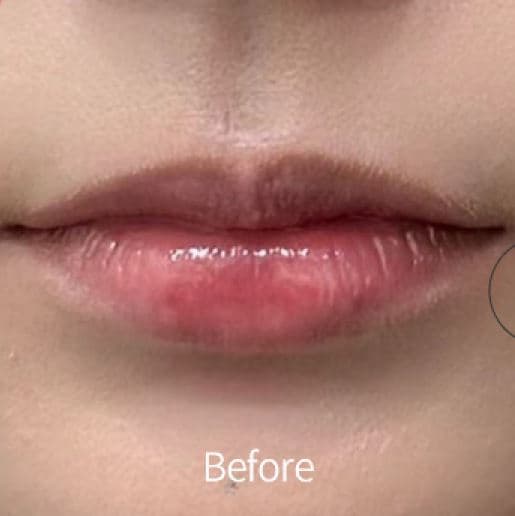 術前
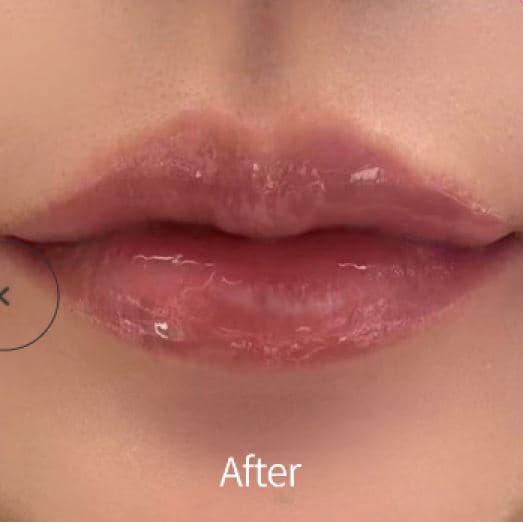 術後Lip FillerFillers
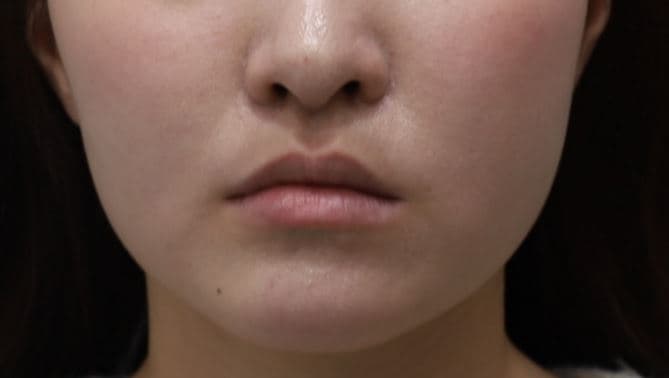 術前
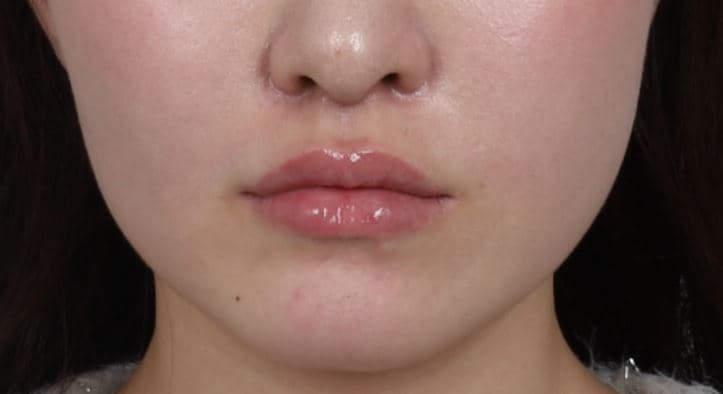 術後Lip FillerFillers
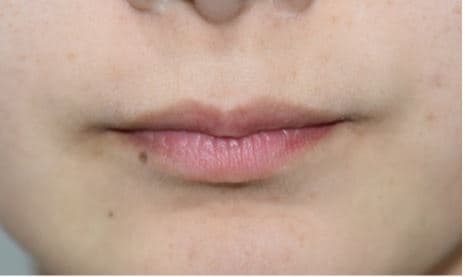 術前
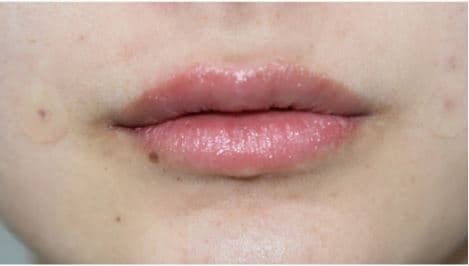 術後Lip FillerFillers
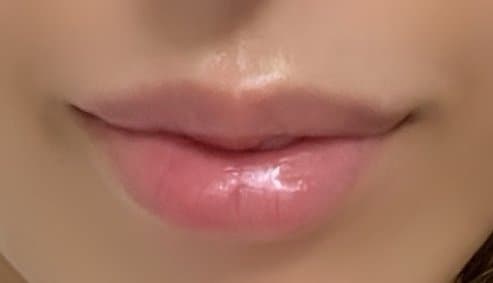 術前
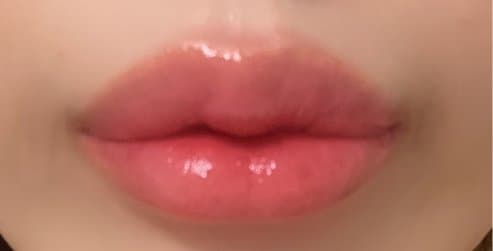 術後Lip FillerFillers
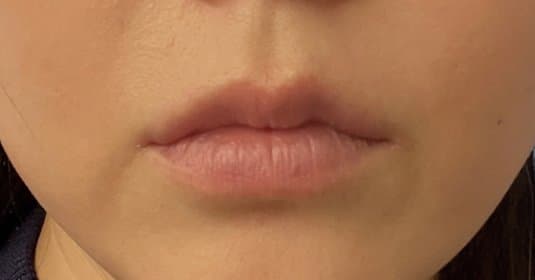 術前
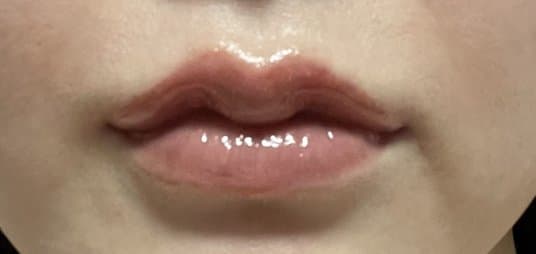 術後Lip FillerFillers
 術前
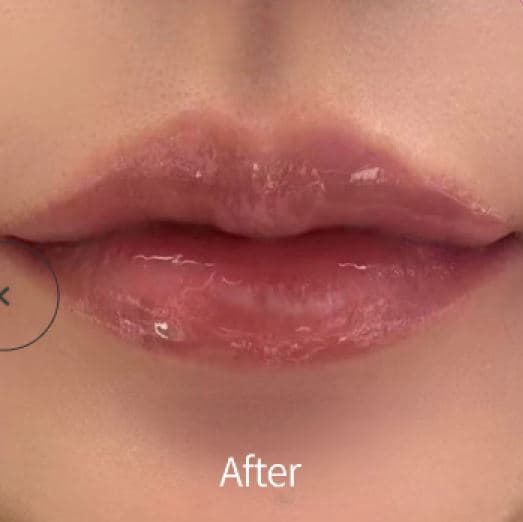 術後Lip FillerFillers
 術前
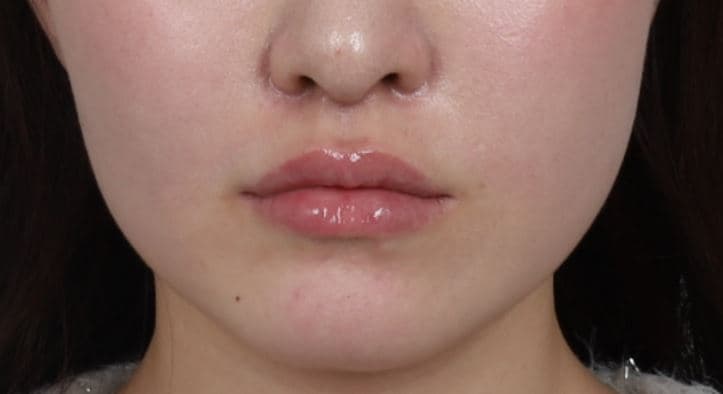 術後Lip FillerFillers
 術前
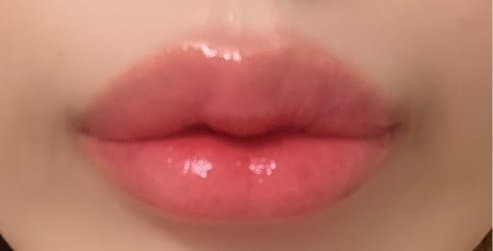 術後Lip FillerFillers
 術前
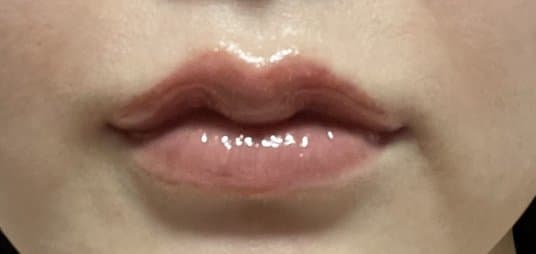 術後Lip FillerFillers
 術前
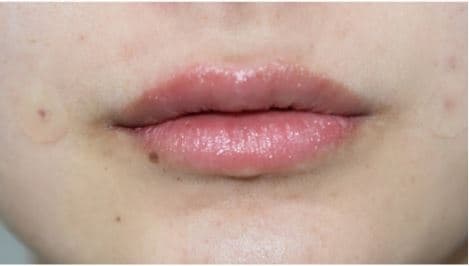 術後Lip FillerFillers
 術前
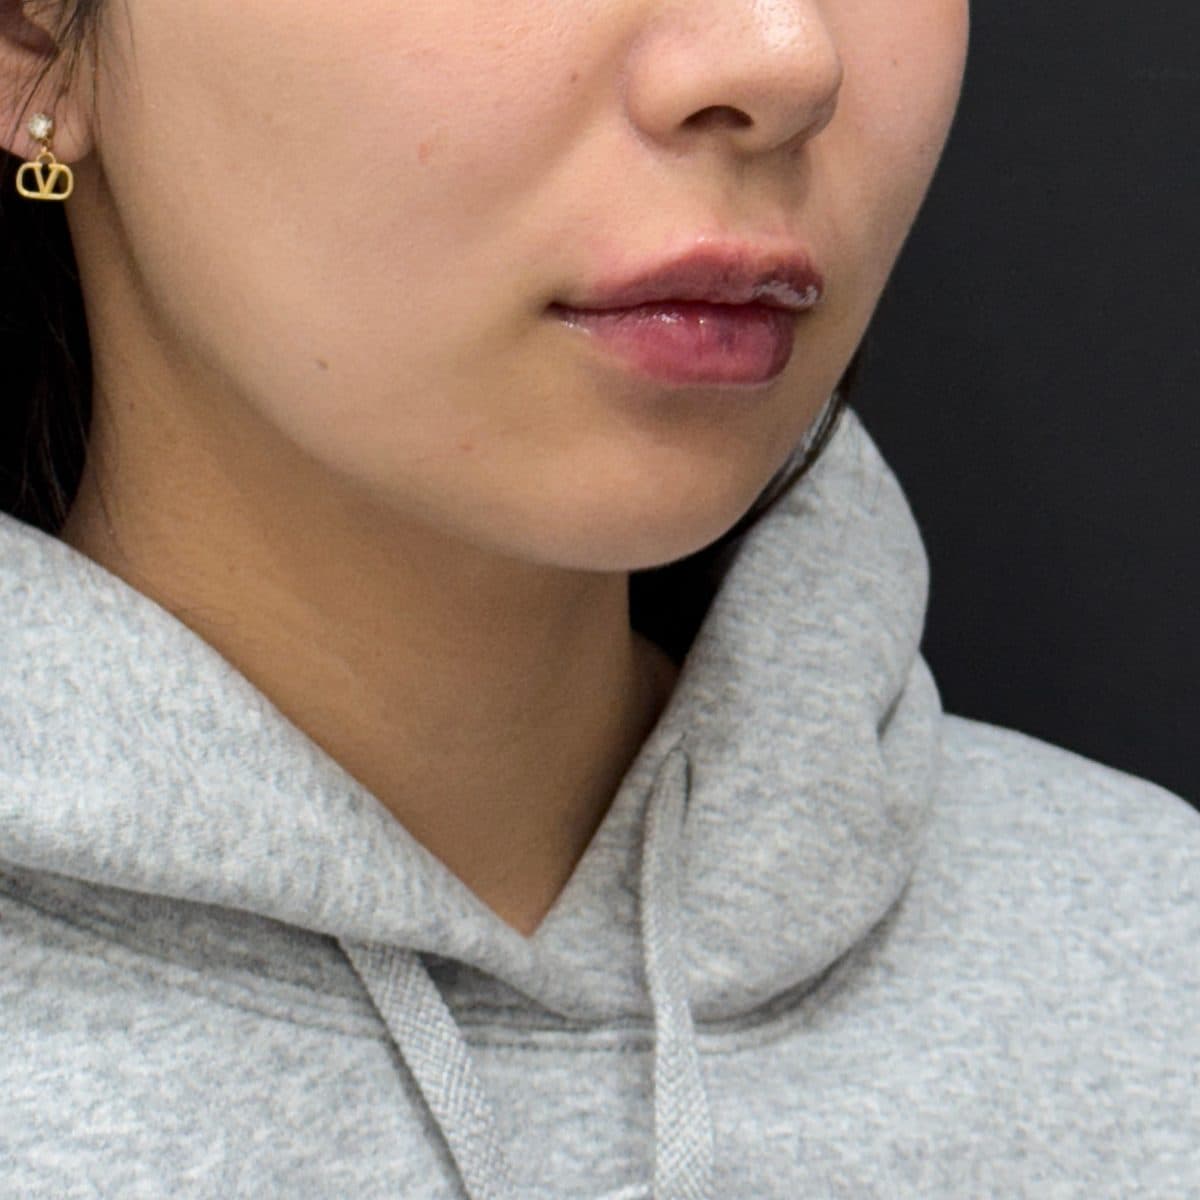 術後Lip FillerFillers
 術前
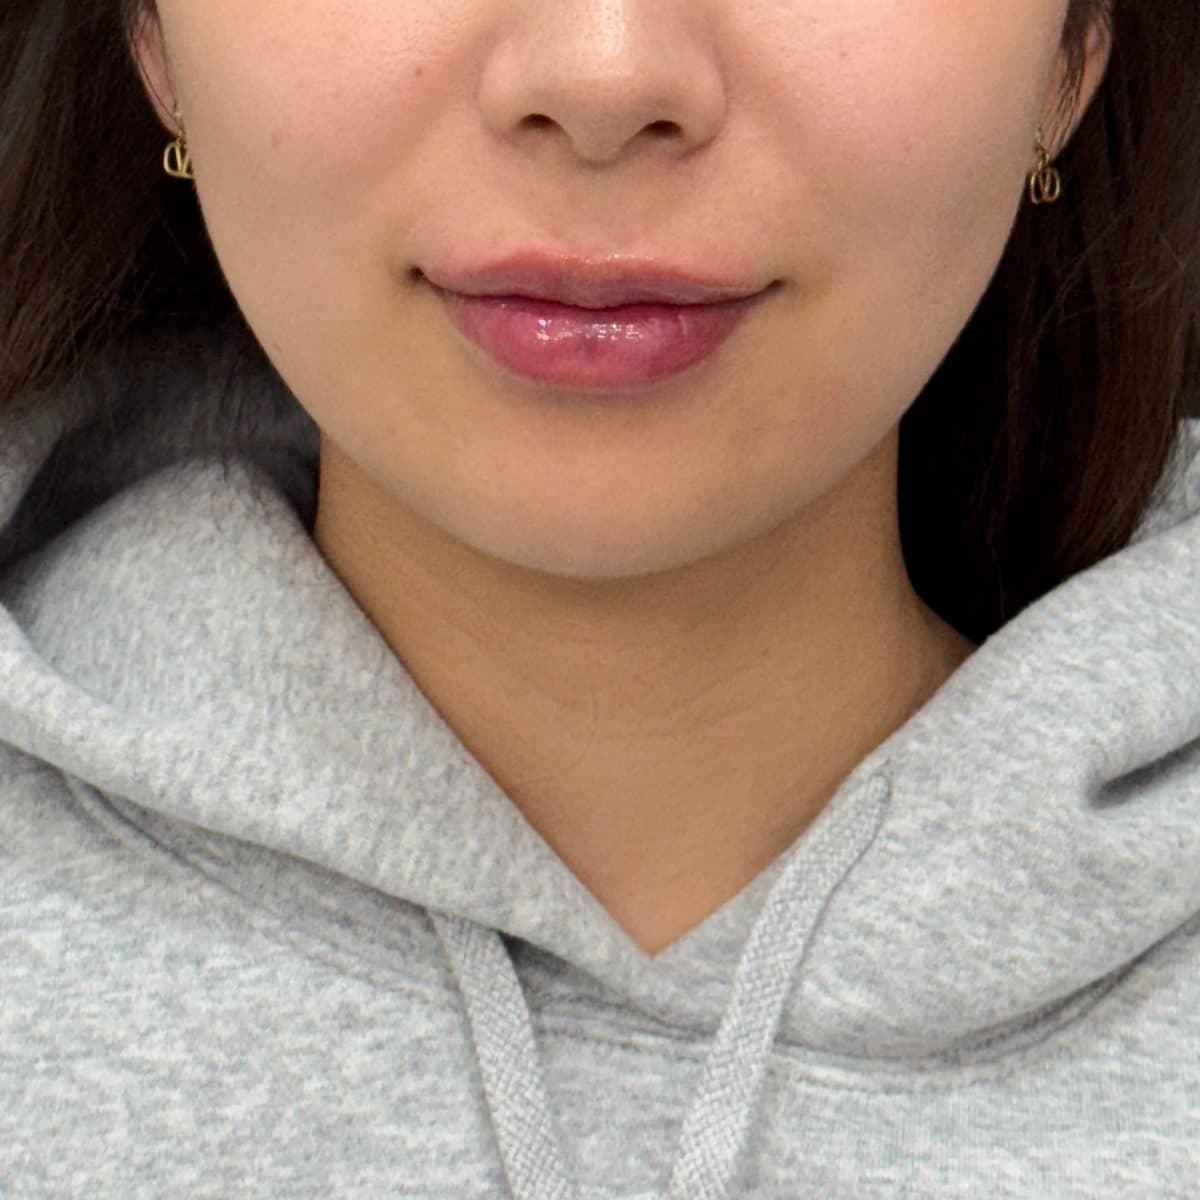 術後Lip FillerFillers
 術前
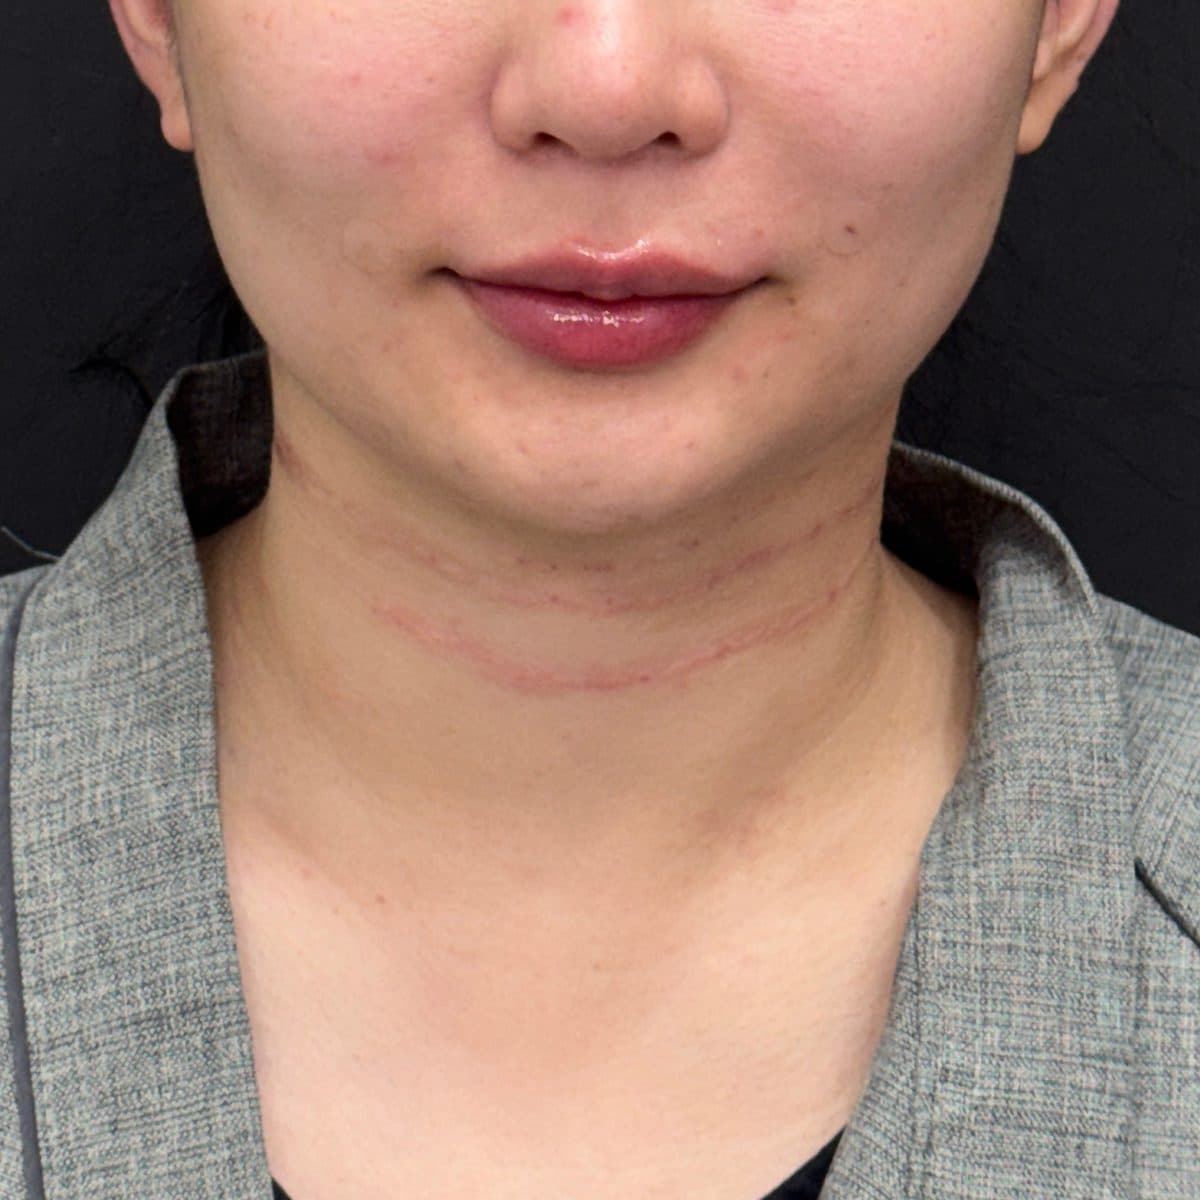 術後Lip FillerFillers
 術前
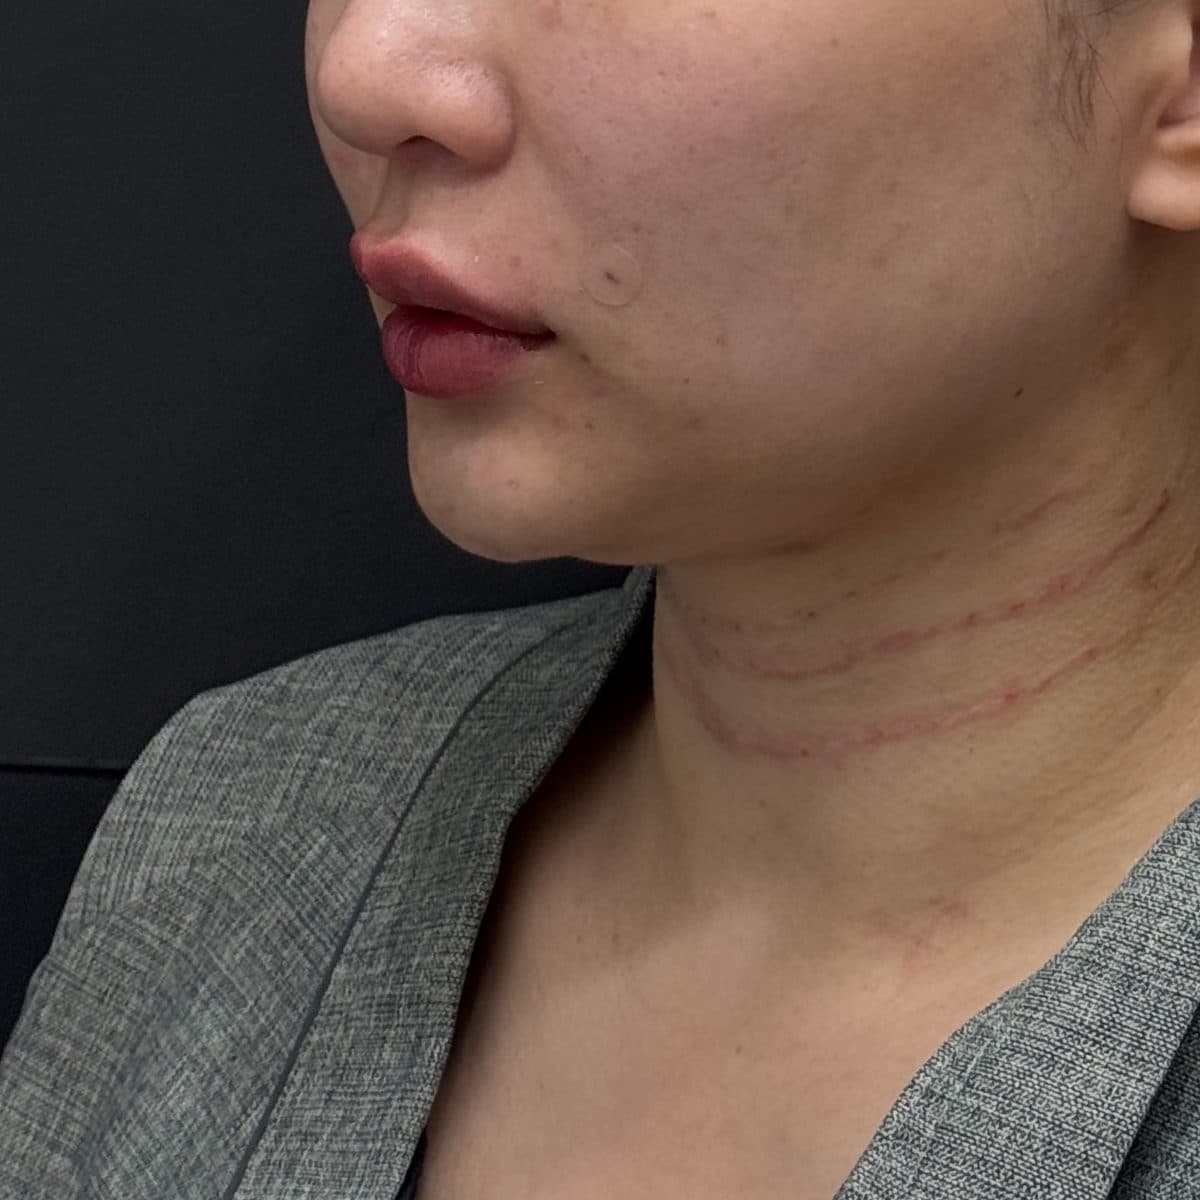 術後Lip FillerFillers
 術前
 術後Lip FillerFillers
 術前
 術後Lip FillerFillers
 術前
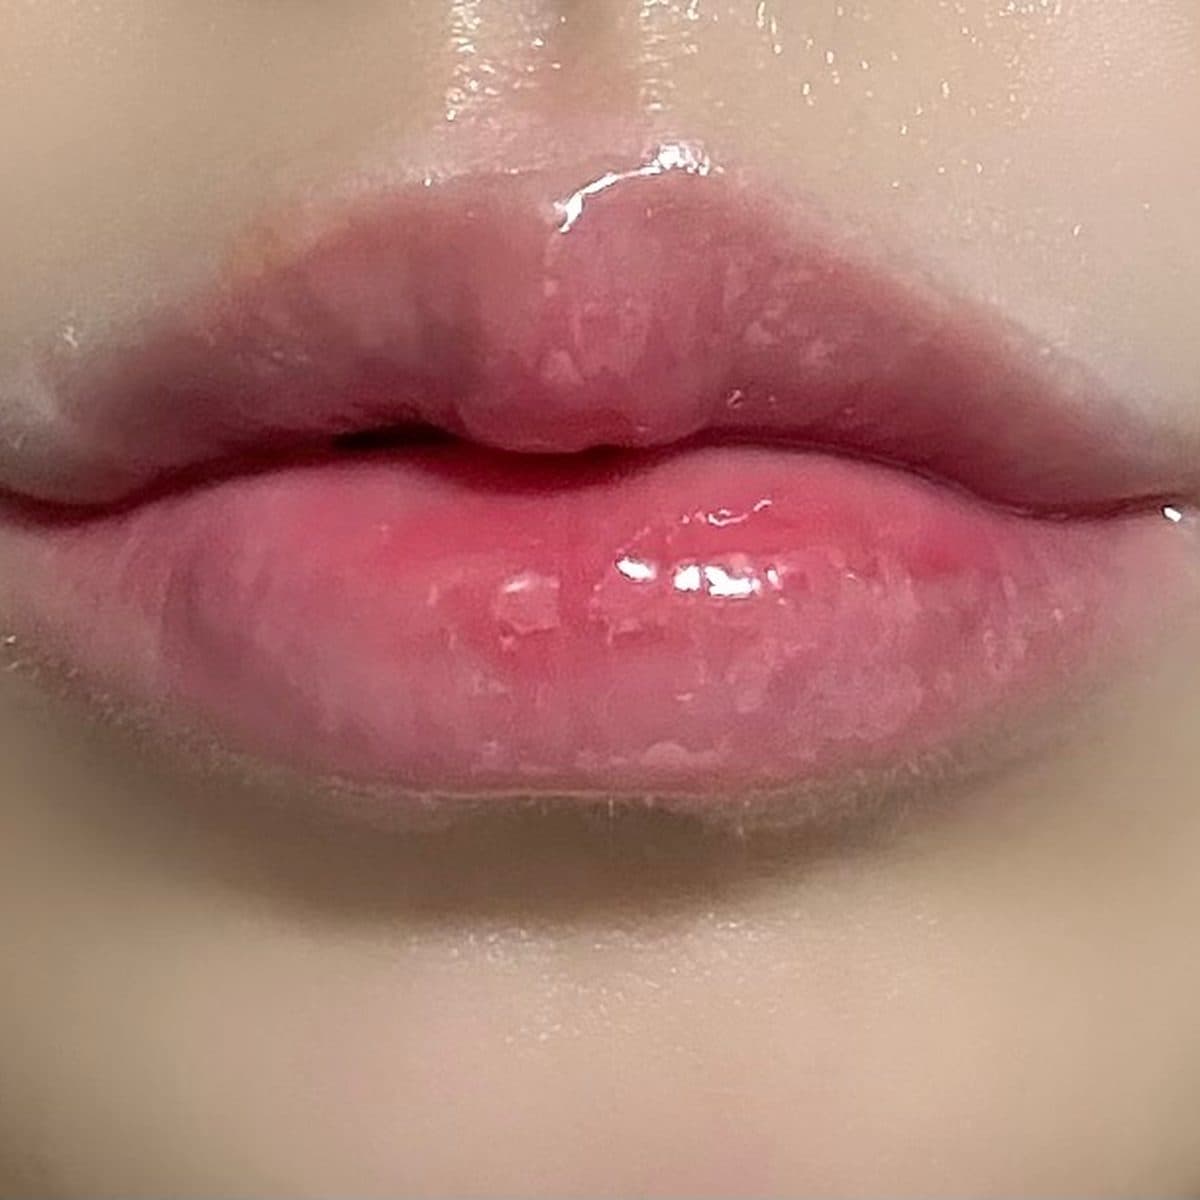 術後Lip FillerFillers
 術前
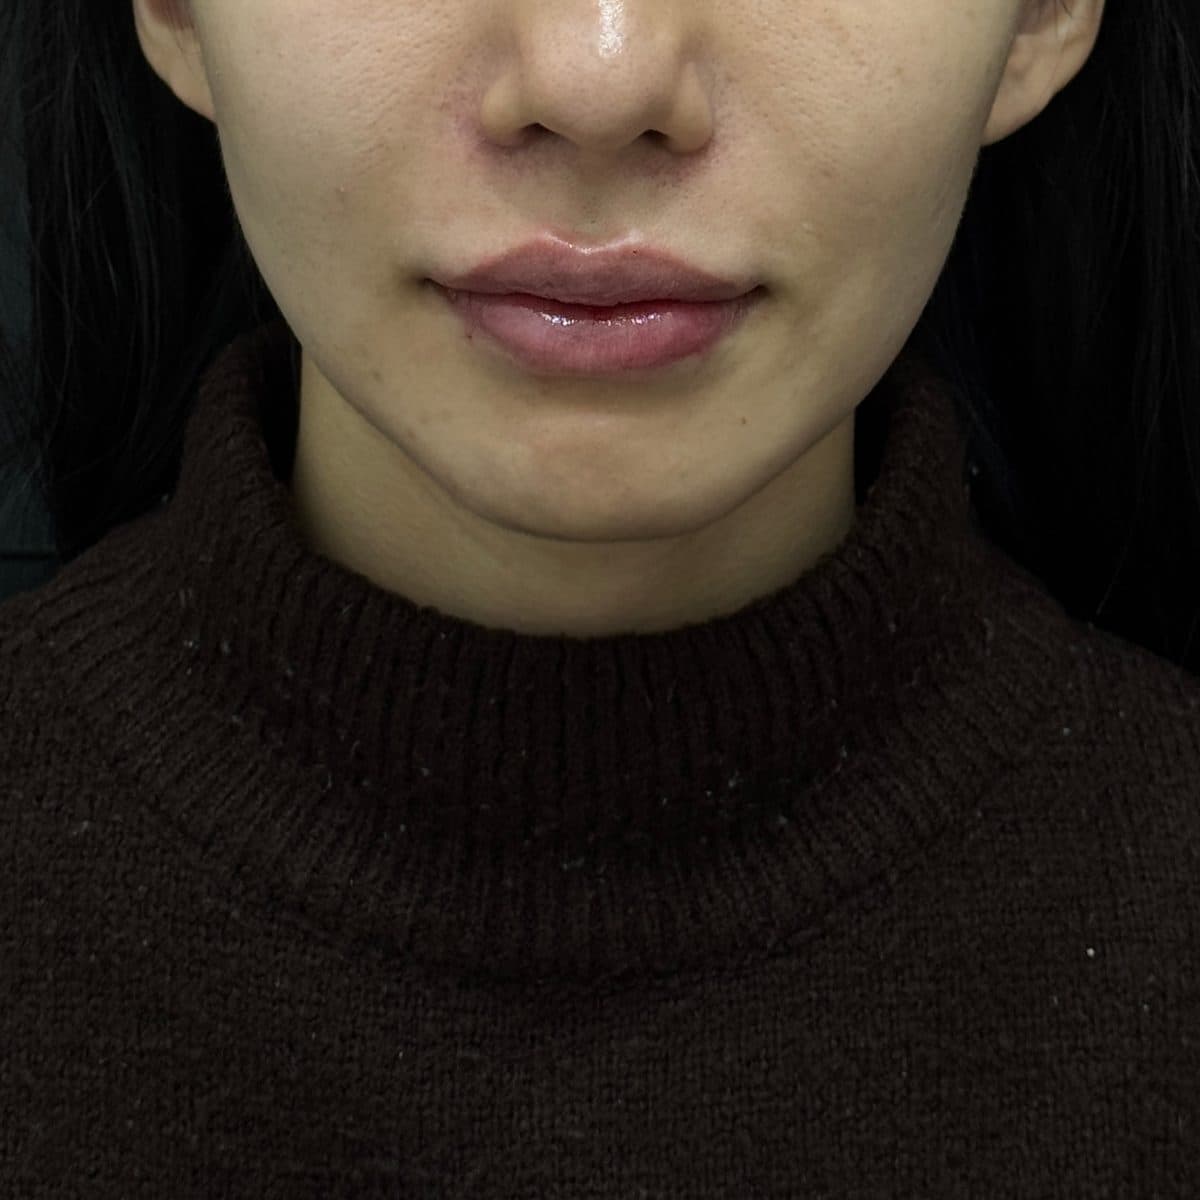 術後Lip FillerFillers
 術前
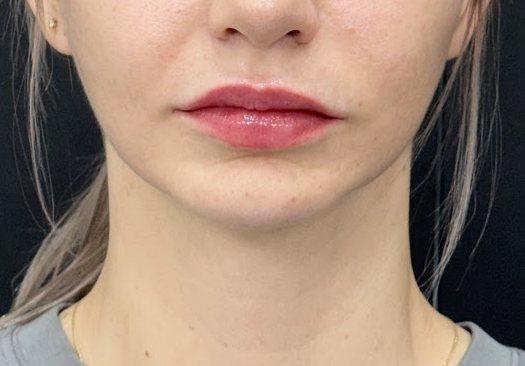 術後Lip FillerFillers
 術前
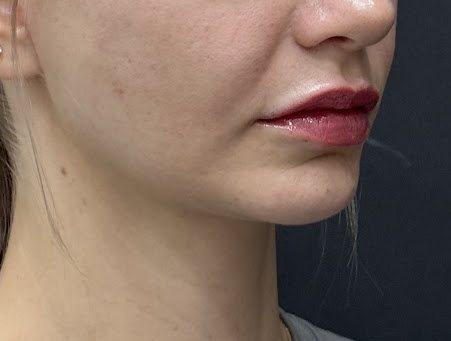 術後Lip FillerFillers
 術前
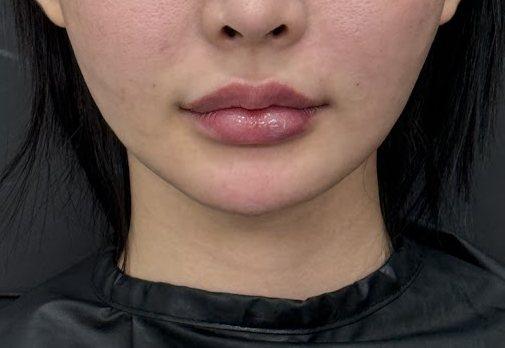 術後Lip FillerFillers
 術前
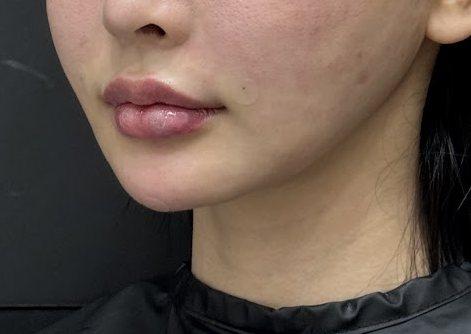 術後Lip FillerFillers
 術前
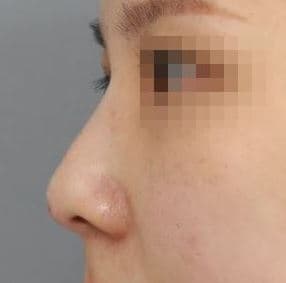 術後Nose FillerFillers
 術前
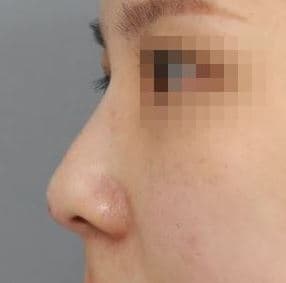 術後Nose FillerFillers
 術前
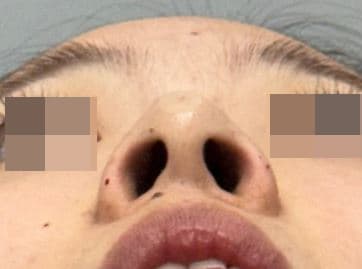 術後Nose FillerFillers
 術前
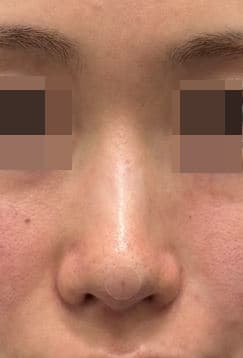 術後Nose FillerFillers
 術前
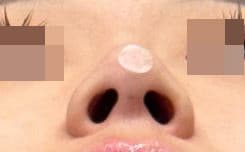 術後Nose FillerFillers
 術前
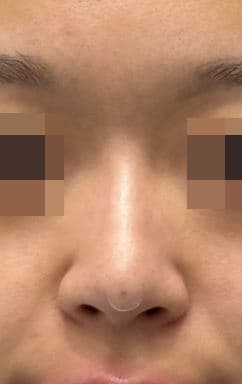 術後Nose FillerFillers
 術前
 術後Nose FillerFillers
 術前
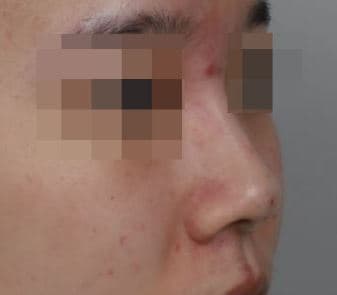 術後Nose FillerFillers
 術前
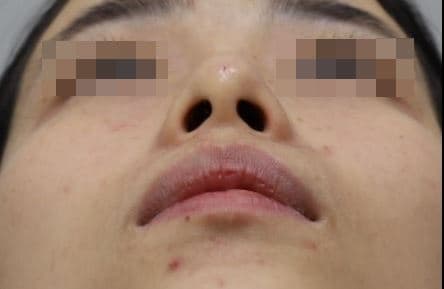 術後Nose FillerFillers
 術前
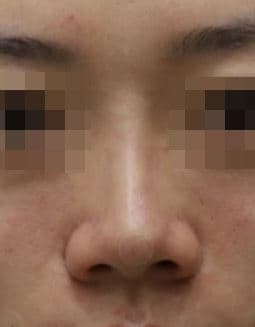 術後Nose FillerFillers
 術前
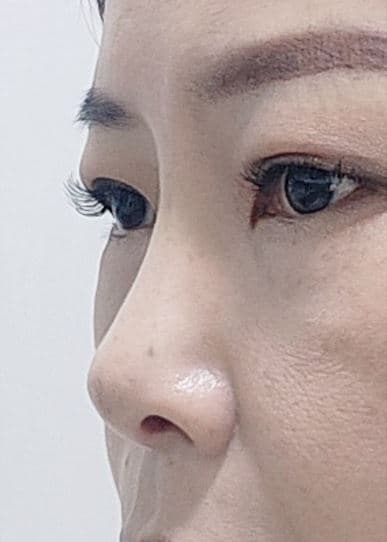 術後Nose FillerFillers
 術前
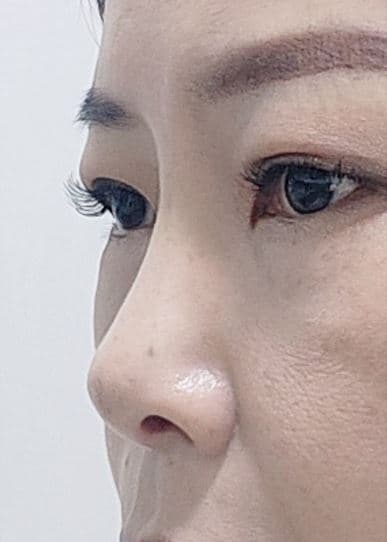 術後Nose FillerFillers
 術前
 術後Nose FillerFillers
 術前
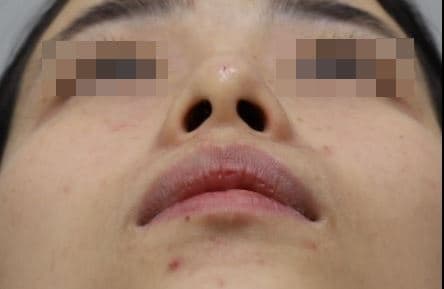 術後Nose FillerFillers
 術前
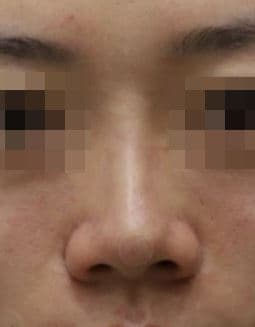 術後Nose FillerFillers
 術前
 術後Nose FillerFillers
 術前
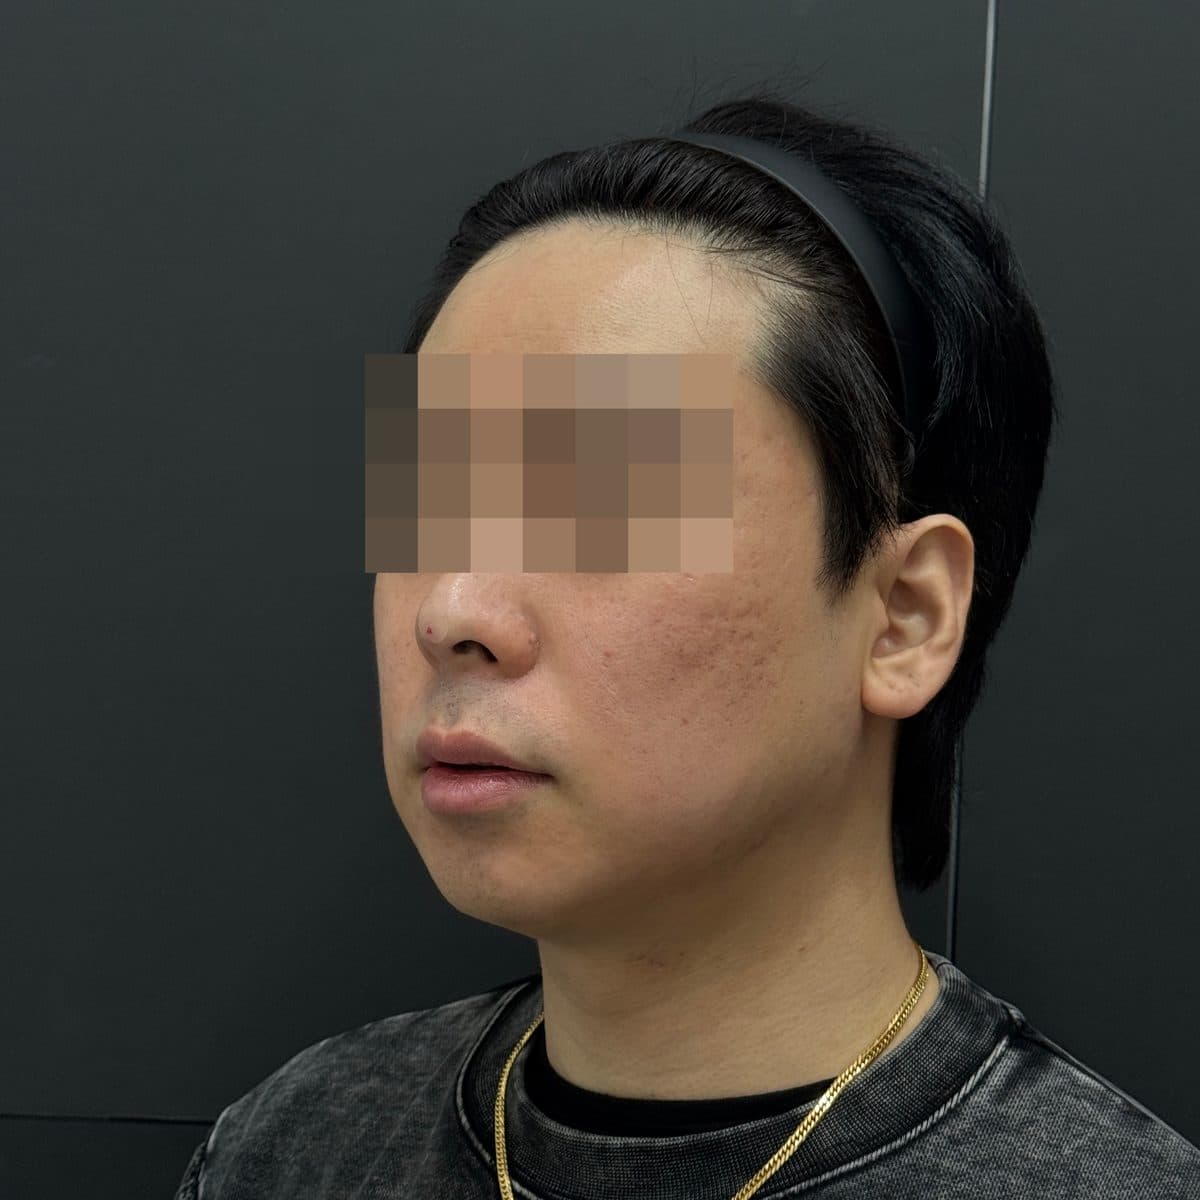 術後Nose FillerFillers
 術前
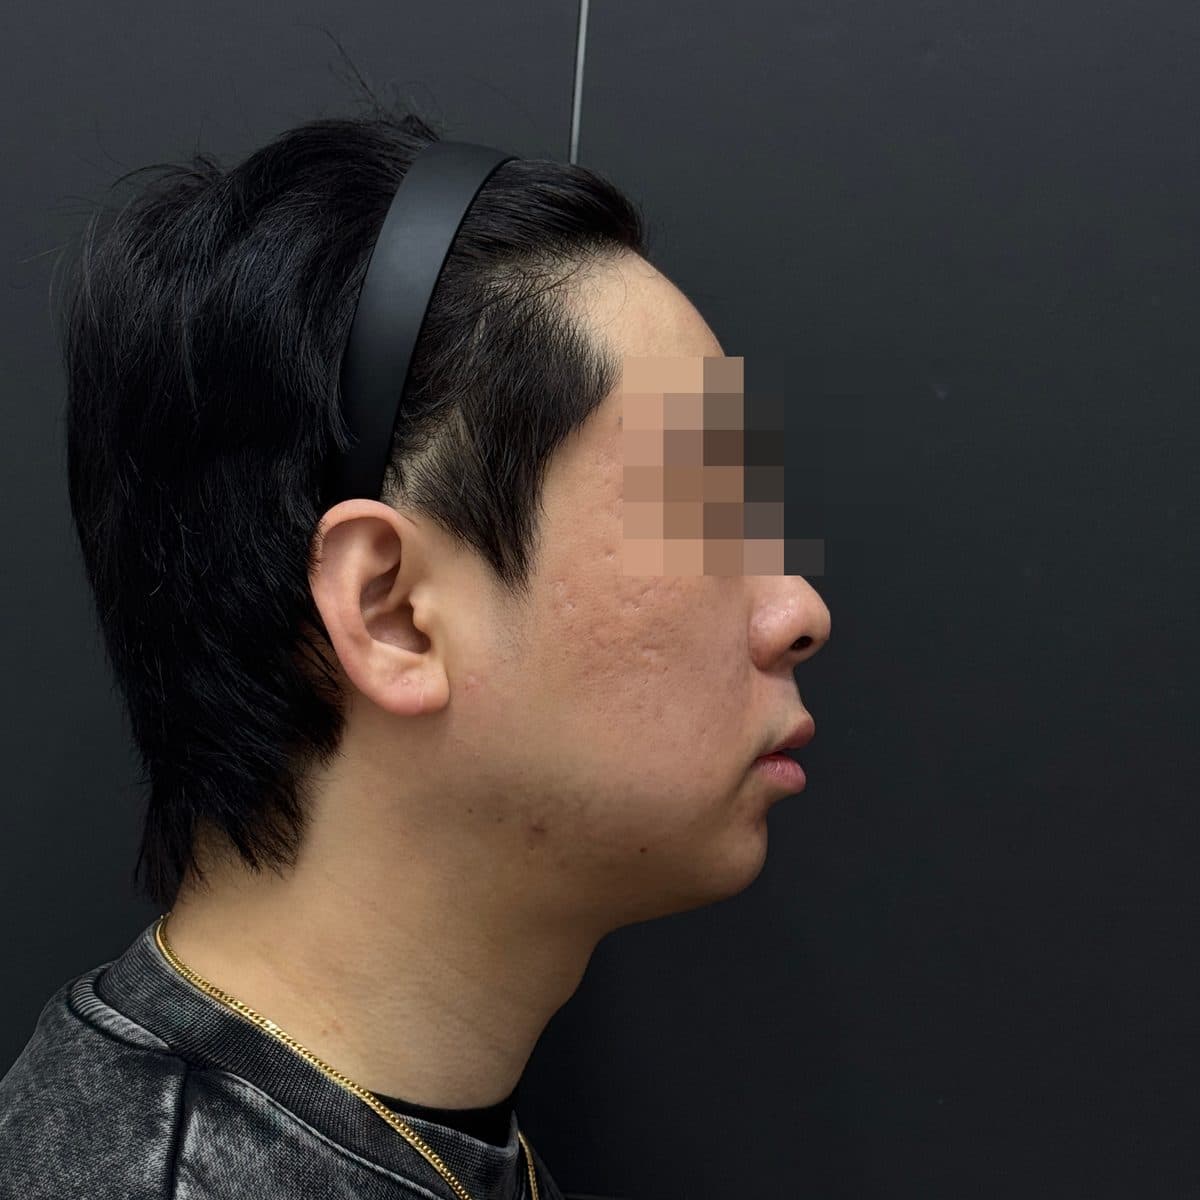 術後Nose FillerFillers
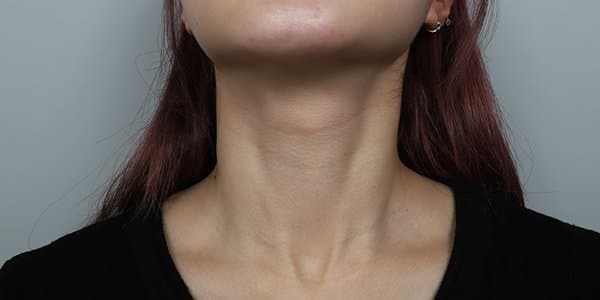 術前
 術後Neck Line FillerFillers
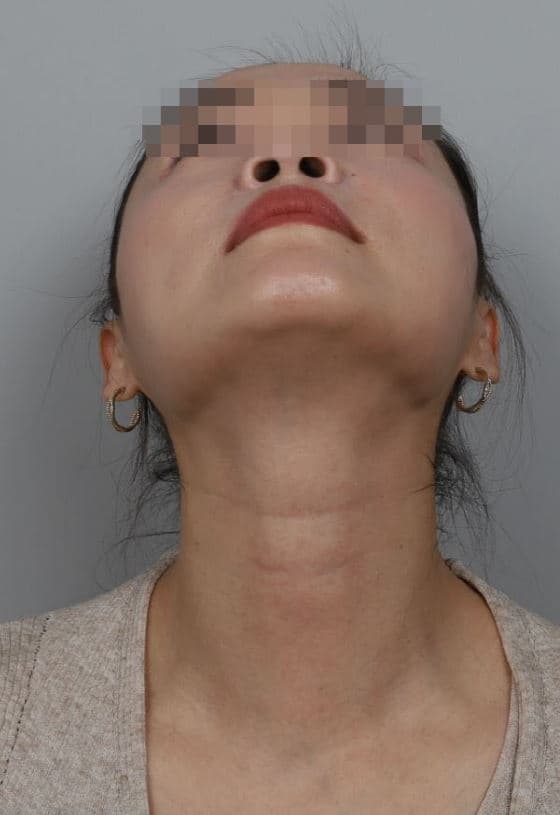 術前
 術後Neck Line FillerFillers
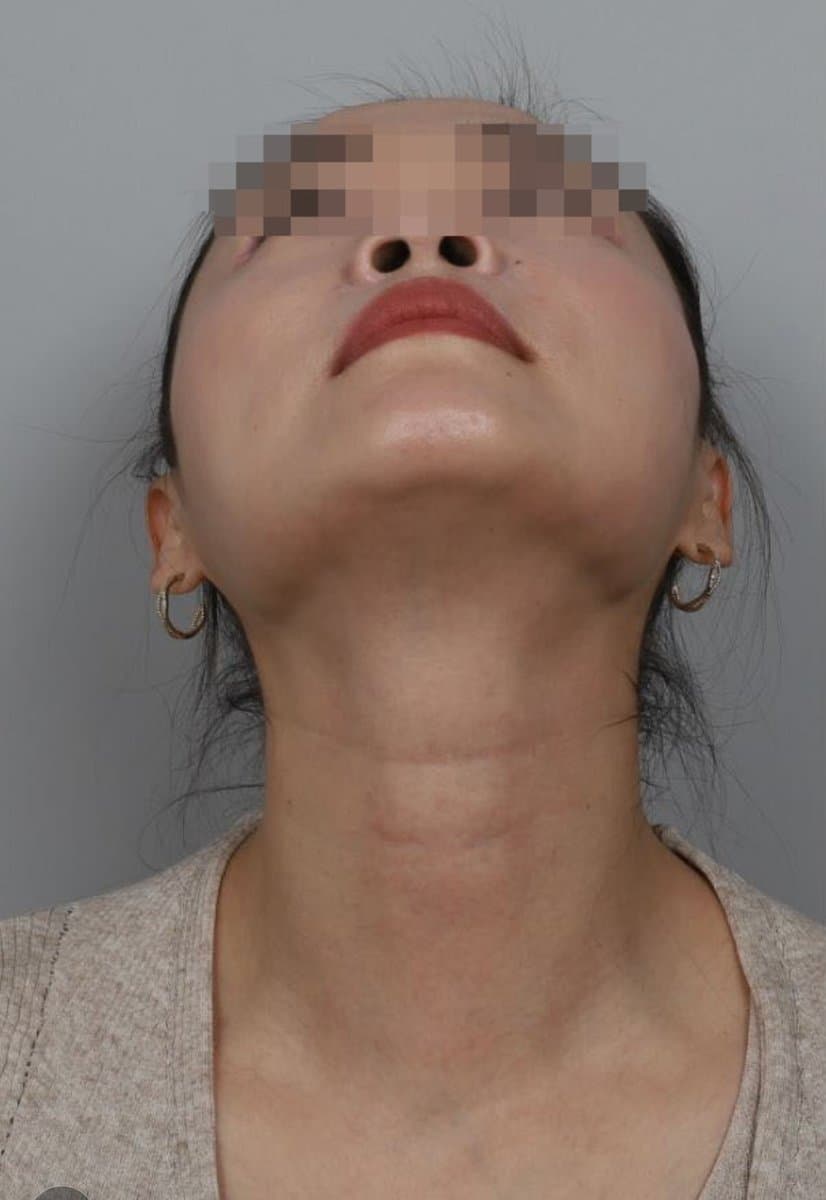 術前
 術後Neck Line FillerFillers
 術前
 術後Neck Line FillerFillers
 術前
 術後Neck Line FillerFillers
 術前
 術後Neck Line FillerFillers
 術前
 術後Neck Line FillerFillers
 術前
 術後Neck Line FillerFillers
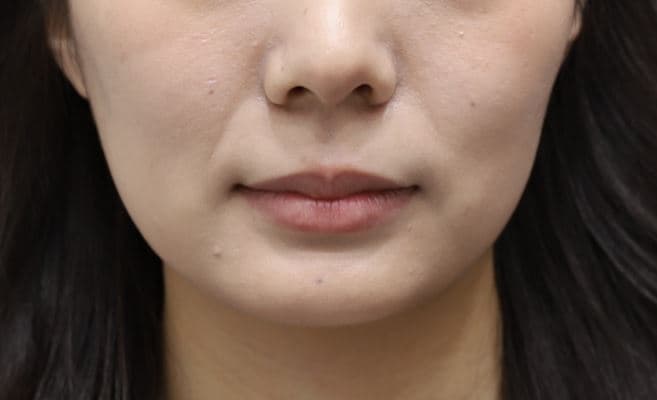 術前
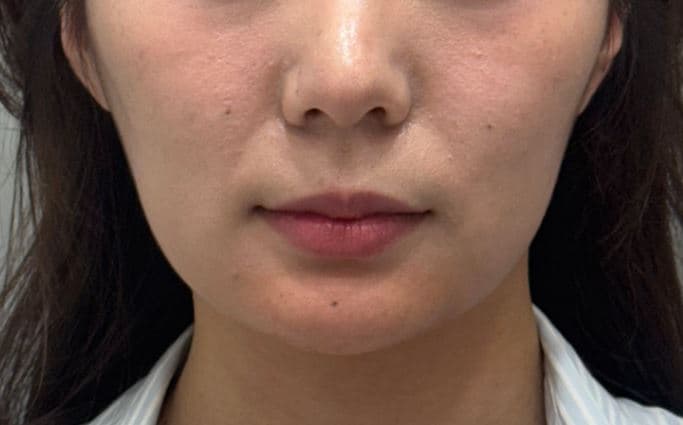 術後Chin FillerC-Line Lifting Filler
 術前
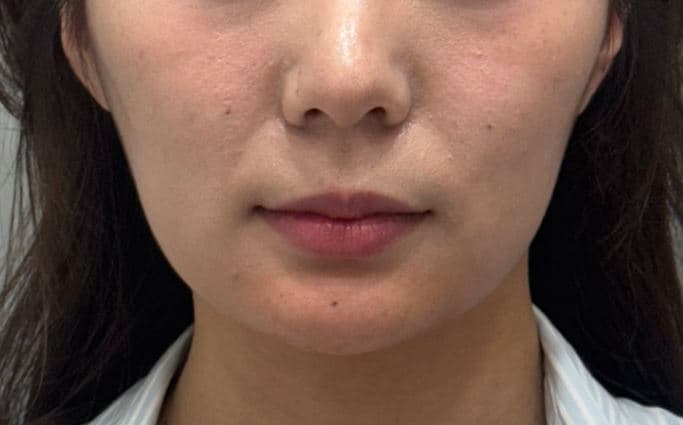 術後Chin FillerC-Line Lifting Filler
 術前
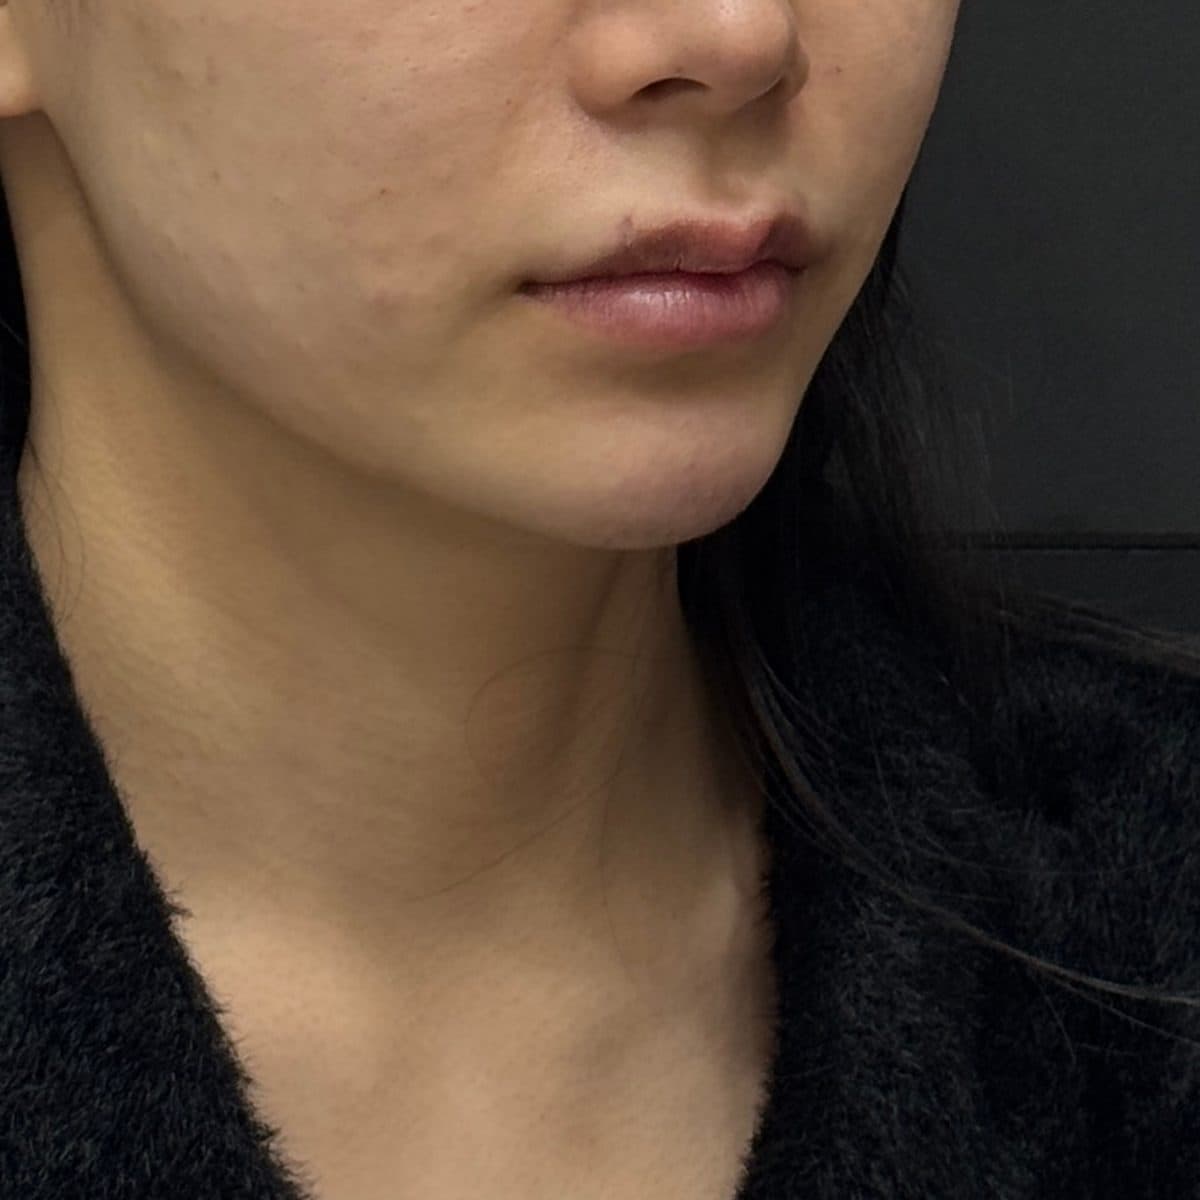 術後Chin FillerC-Line Lifting Filler
 術前
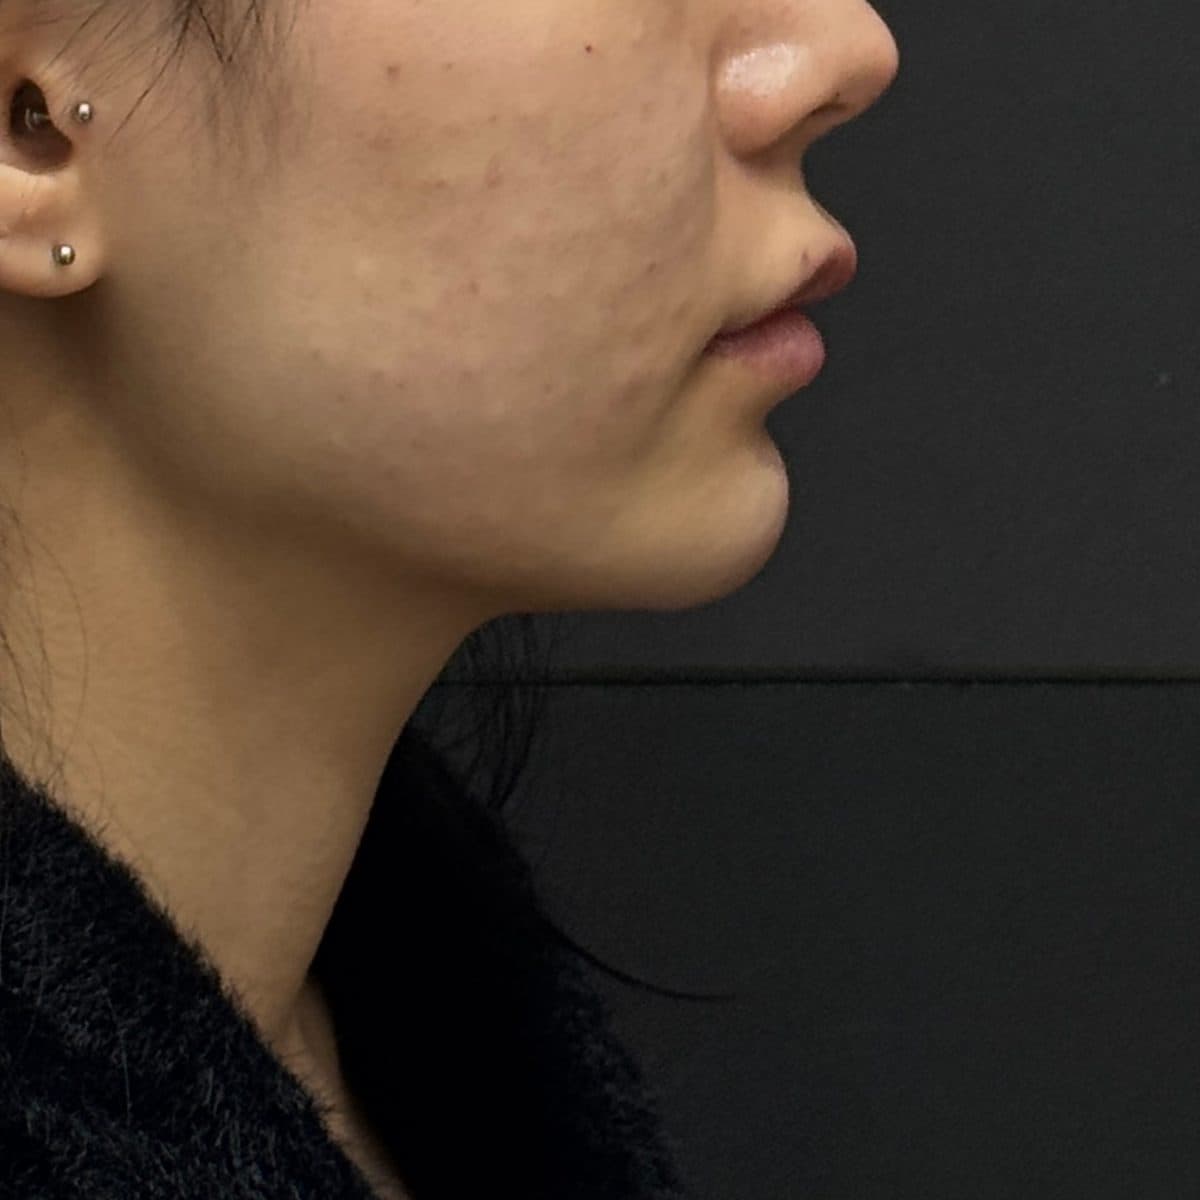 術後Chin FillerC-Line Lifting Filler
 術前
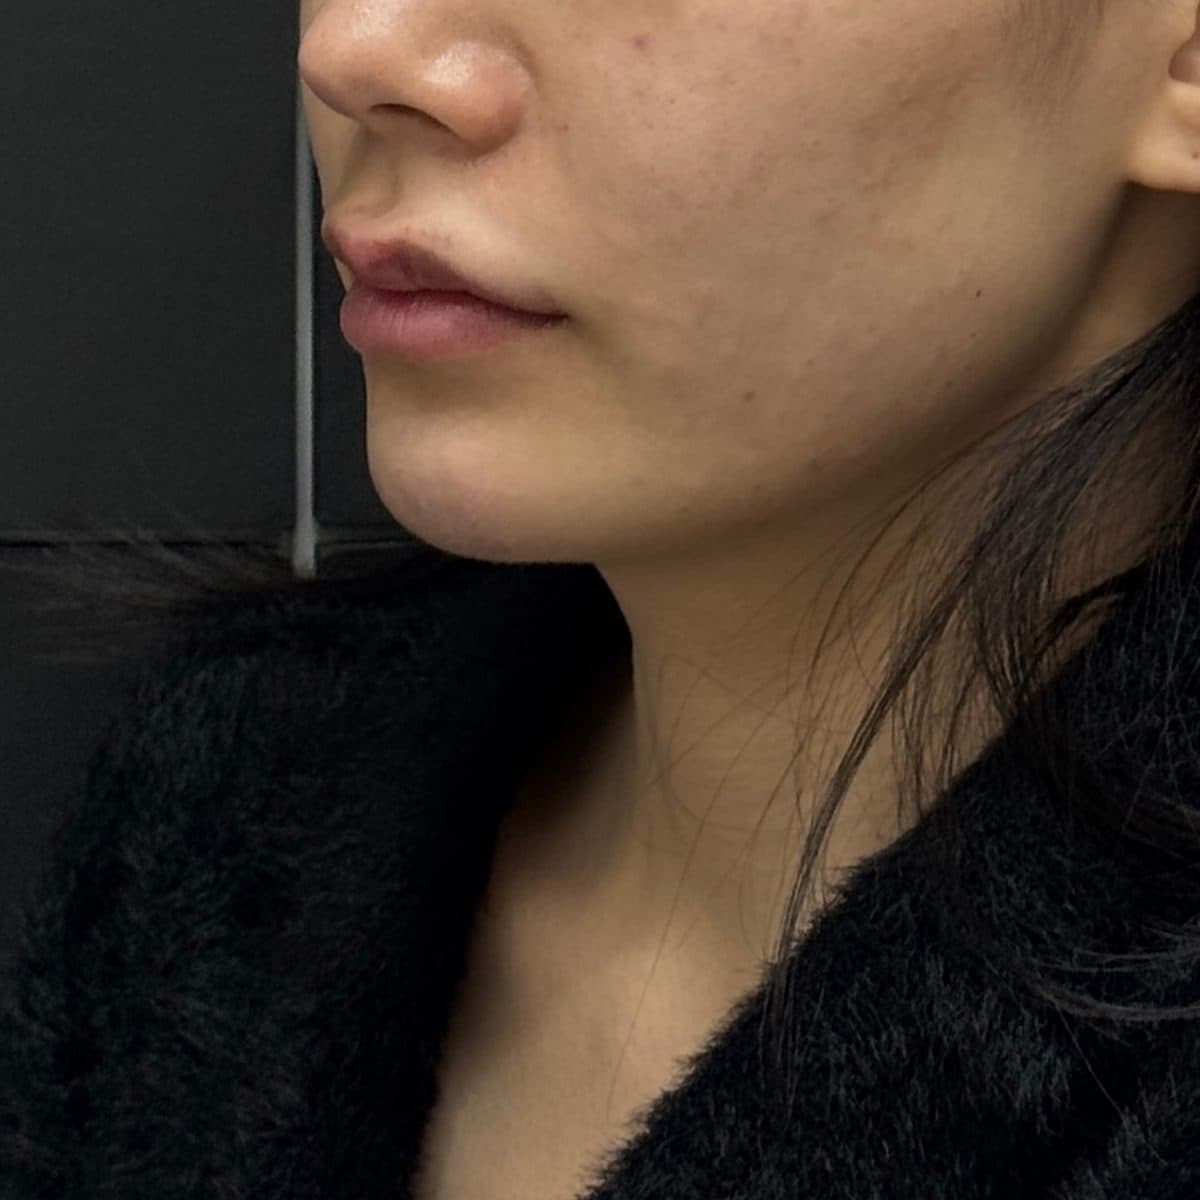 術後Chin FillerC-Line Lifting Filler
 術前
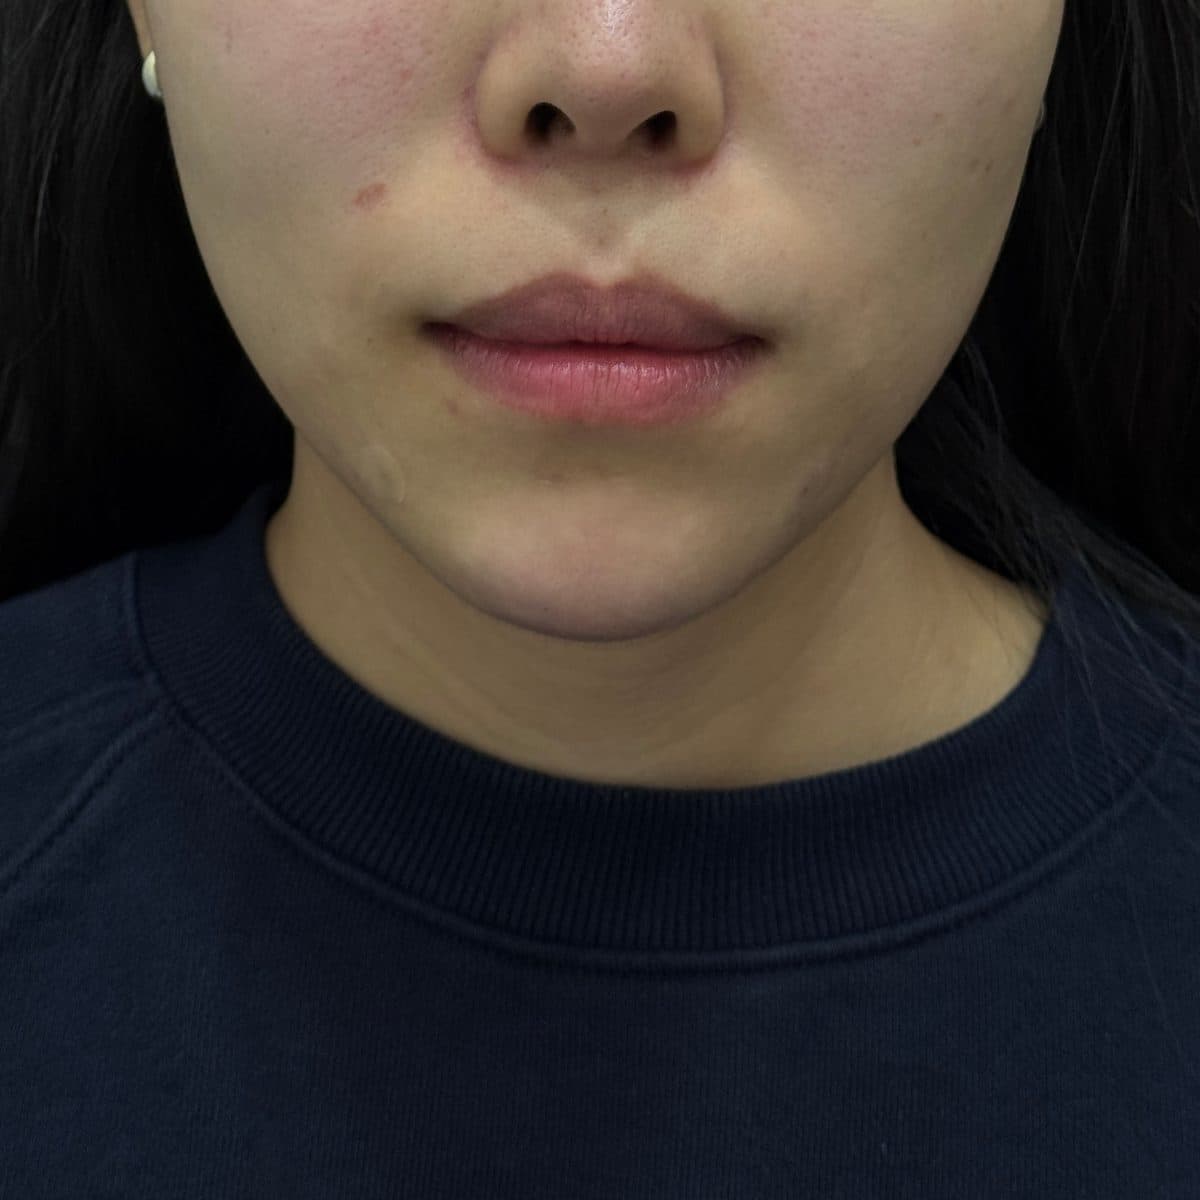 術後Chin FillerC-Line Lifting Filler
 術前
 術後Chin FillerC-Line Lifting Filler
 術前
 術後Chin FillerC-Line Lifting Filler
 術前
 術後Chin FillerC-Line Lifting Filler
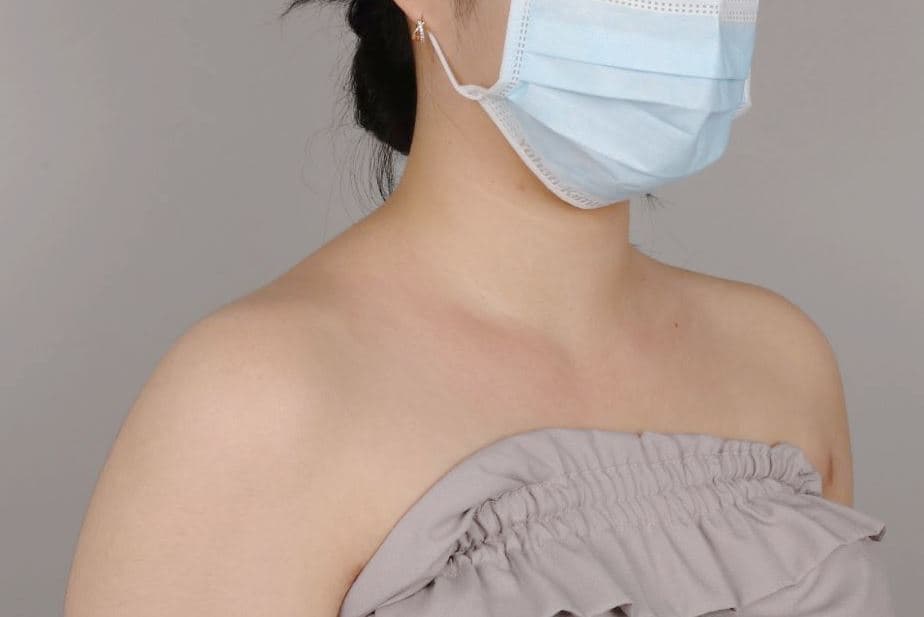 術前
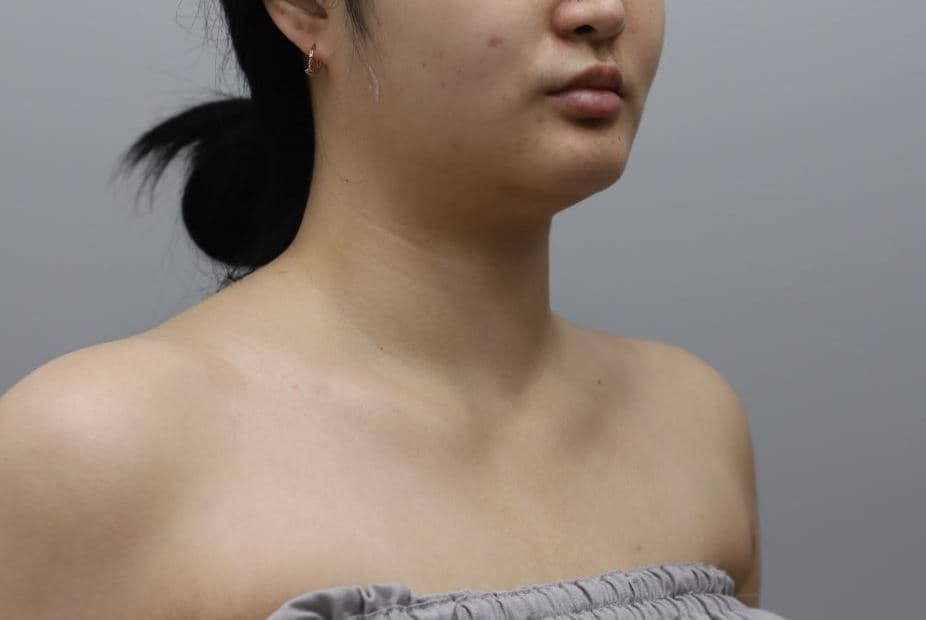 術後Collarbone FillerShoulder & Collarbone Filler
 術前
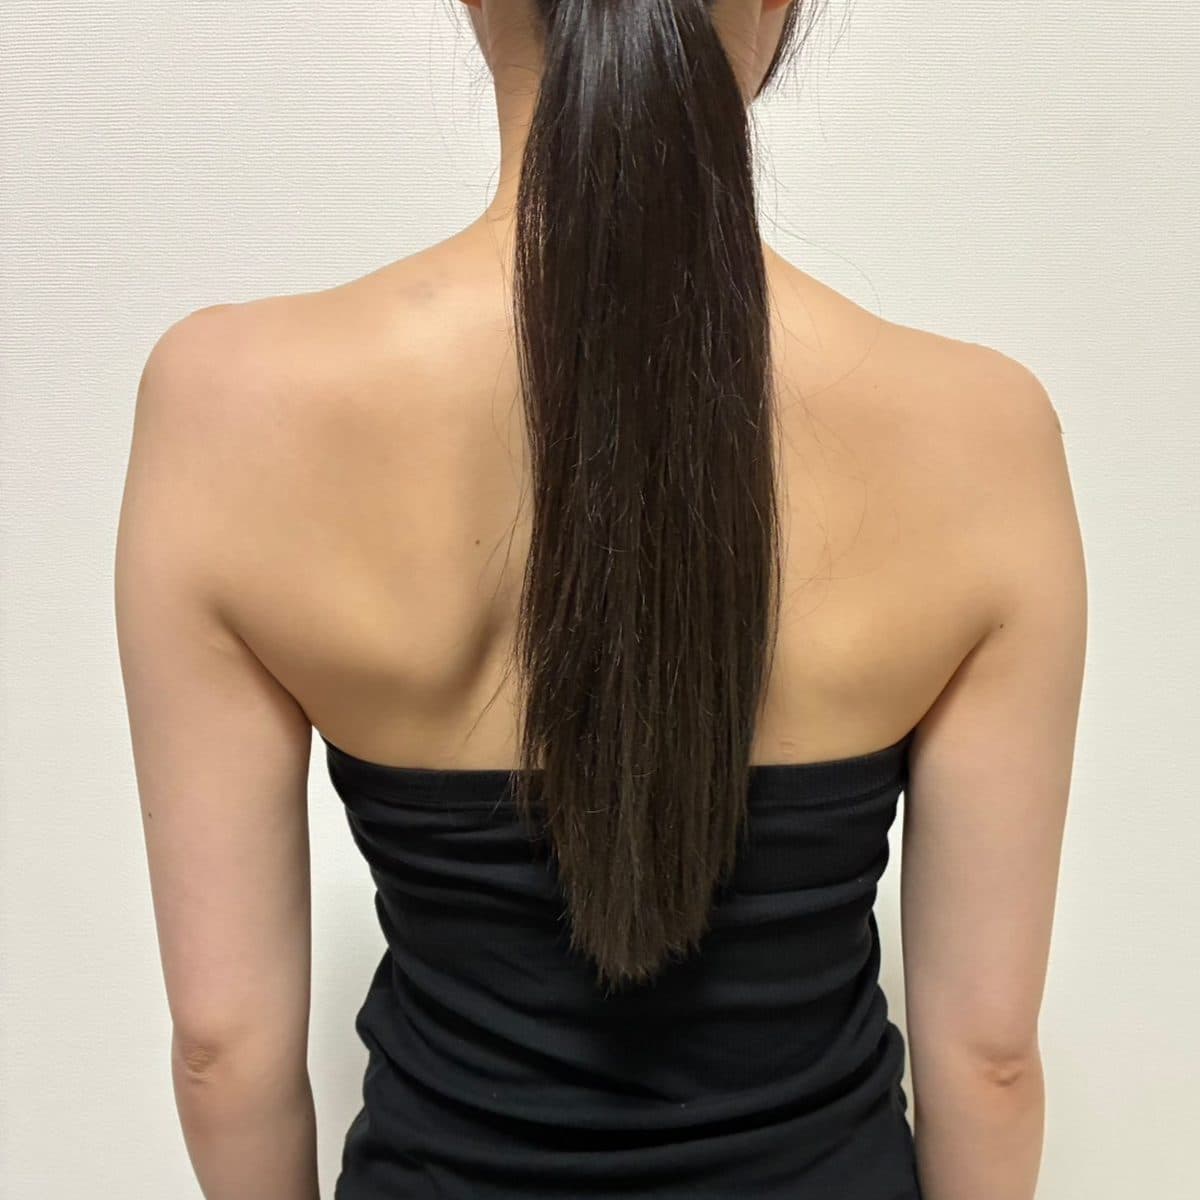 術後Shoulder & Trapezius FillerShoulder & Collarbone Filler
 術前
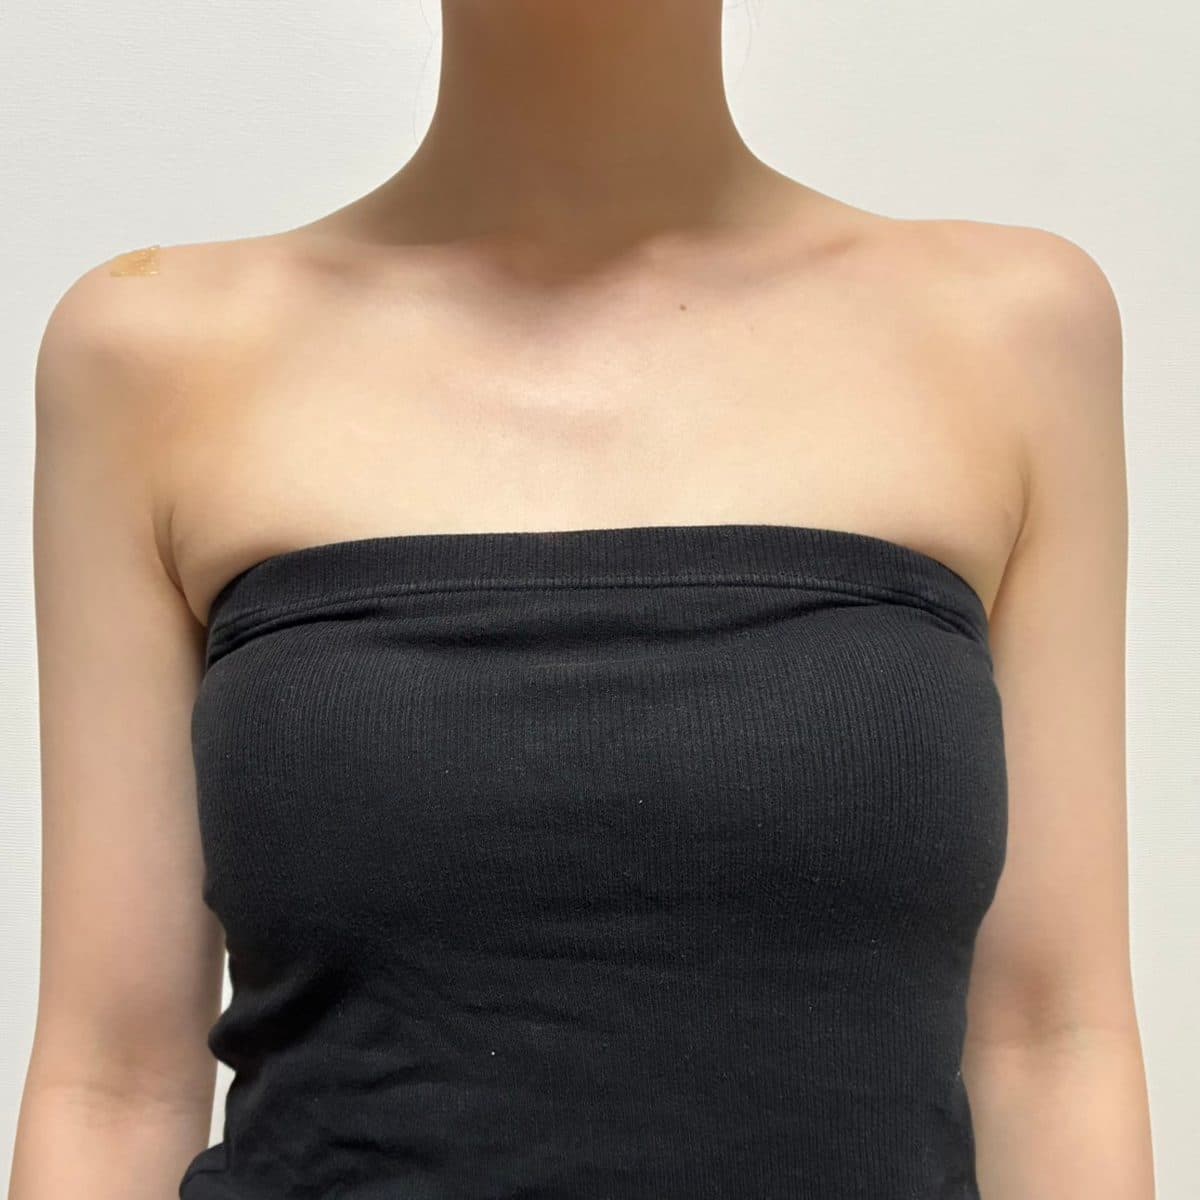 術後Shoulder & Trapezius FillerShoulder & Collarbone Filler
 術前
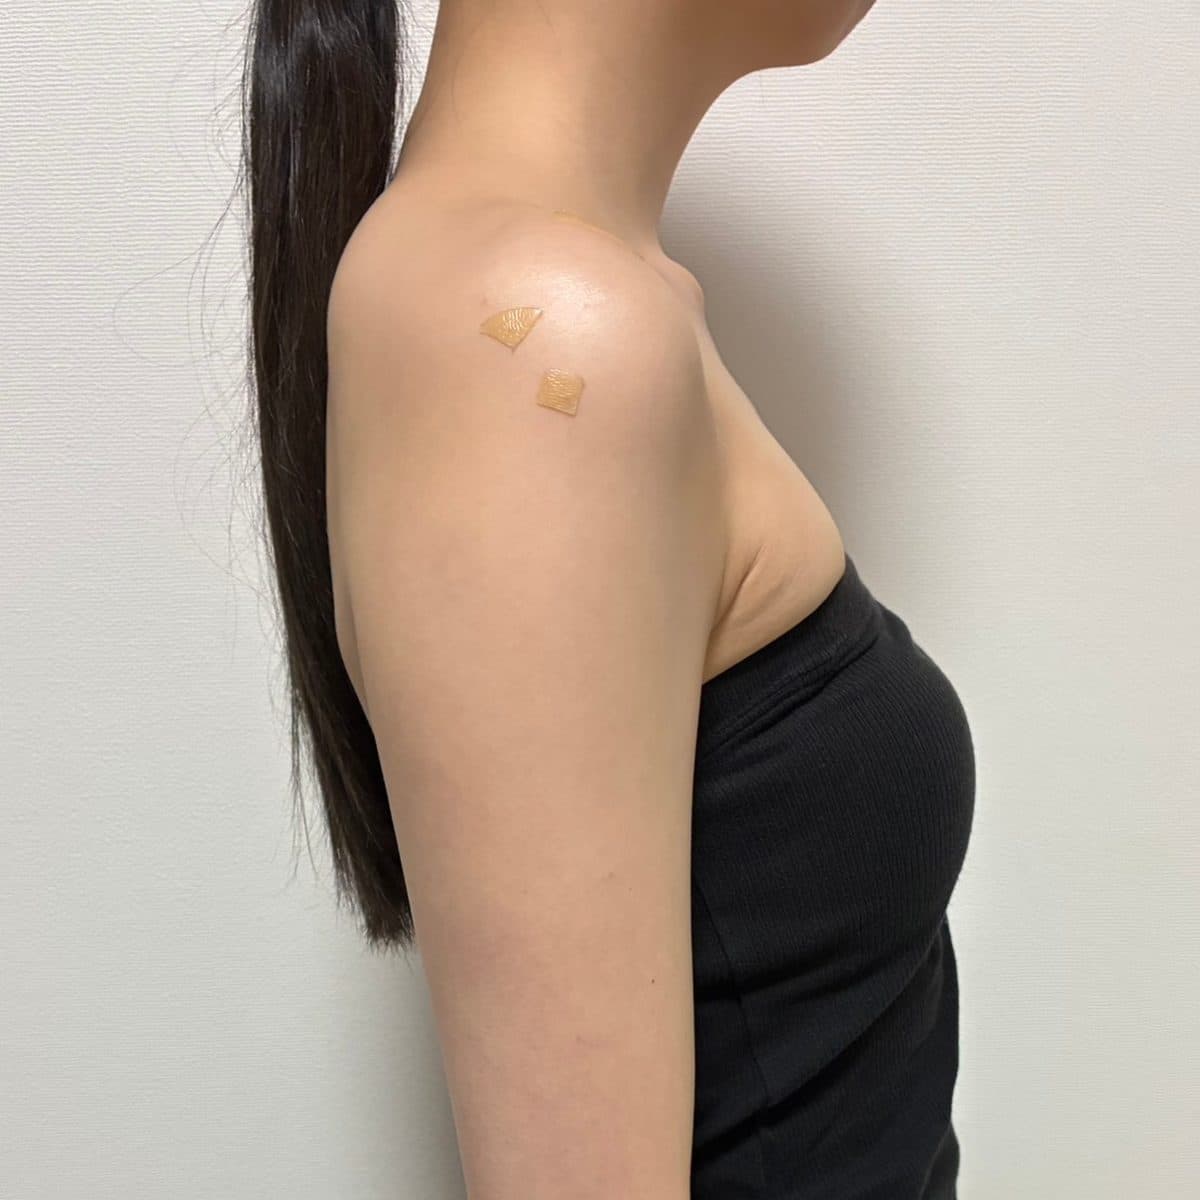 術後Shoulder & Trapezius FillerShoulder & Collarbone Filler
 術前
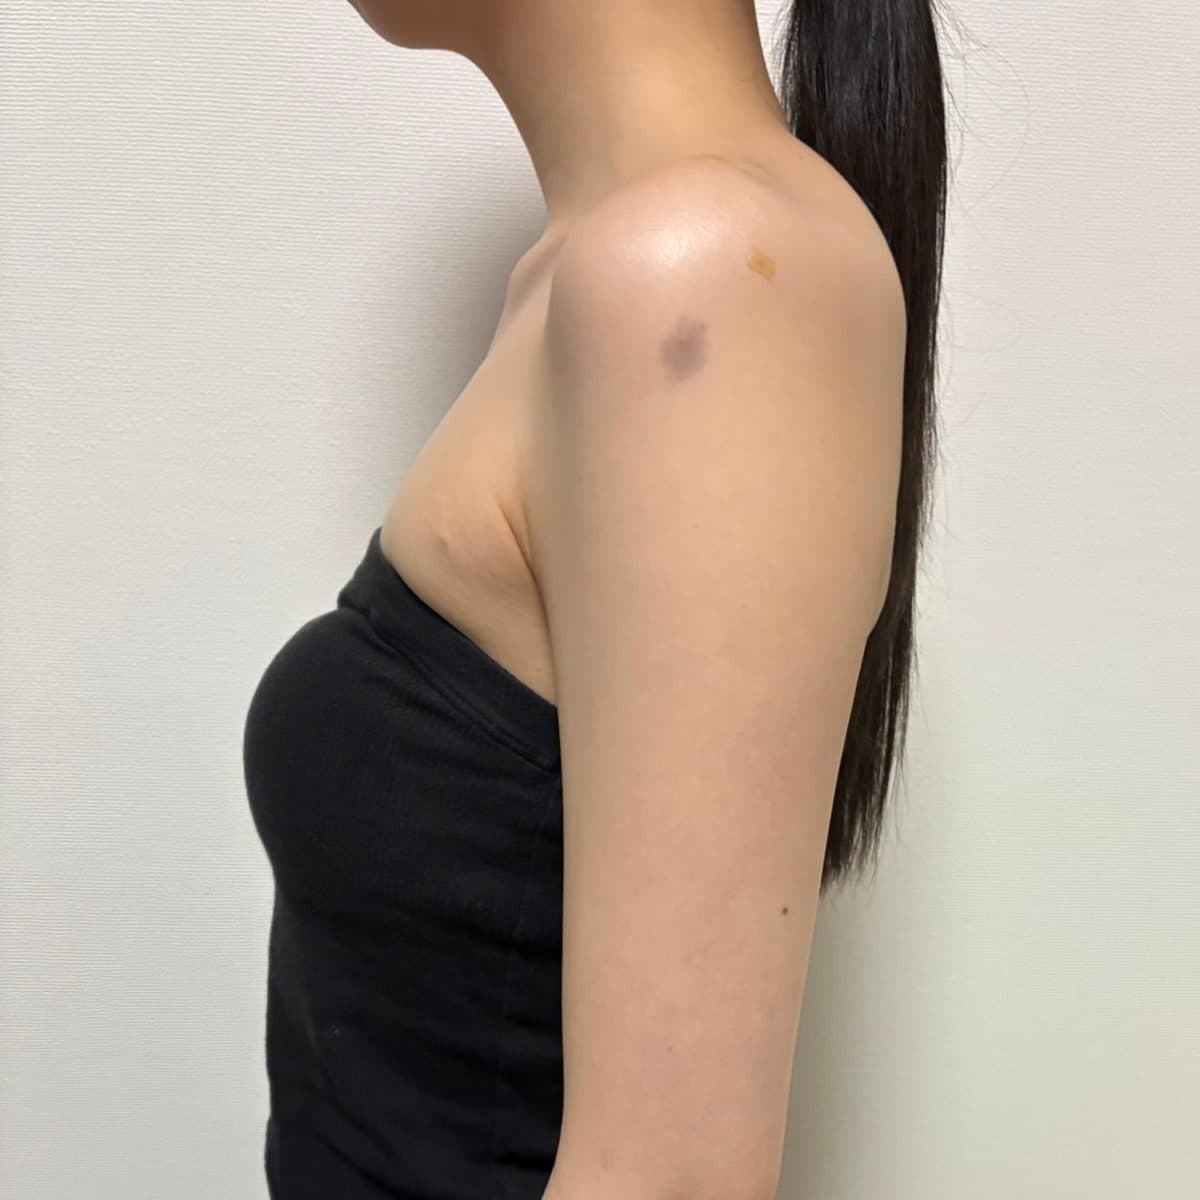 術後Shoulder & Trapezius FillerShoulder & Collarbone Filler
 術前
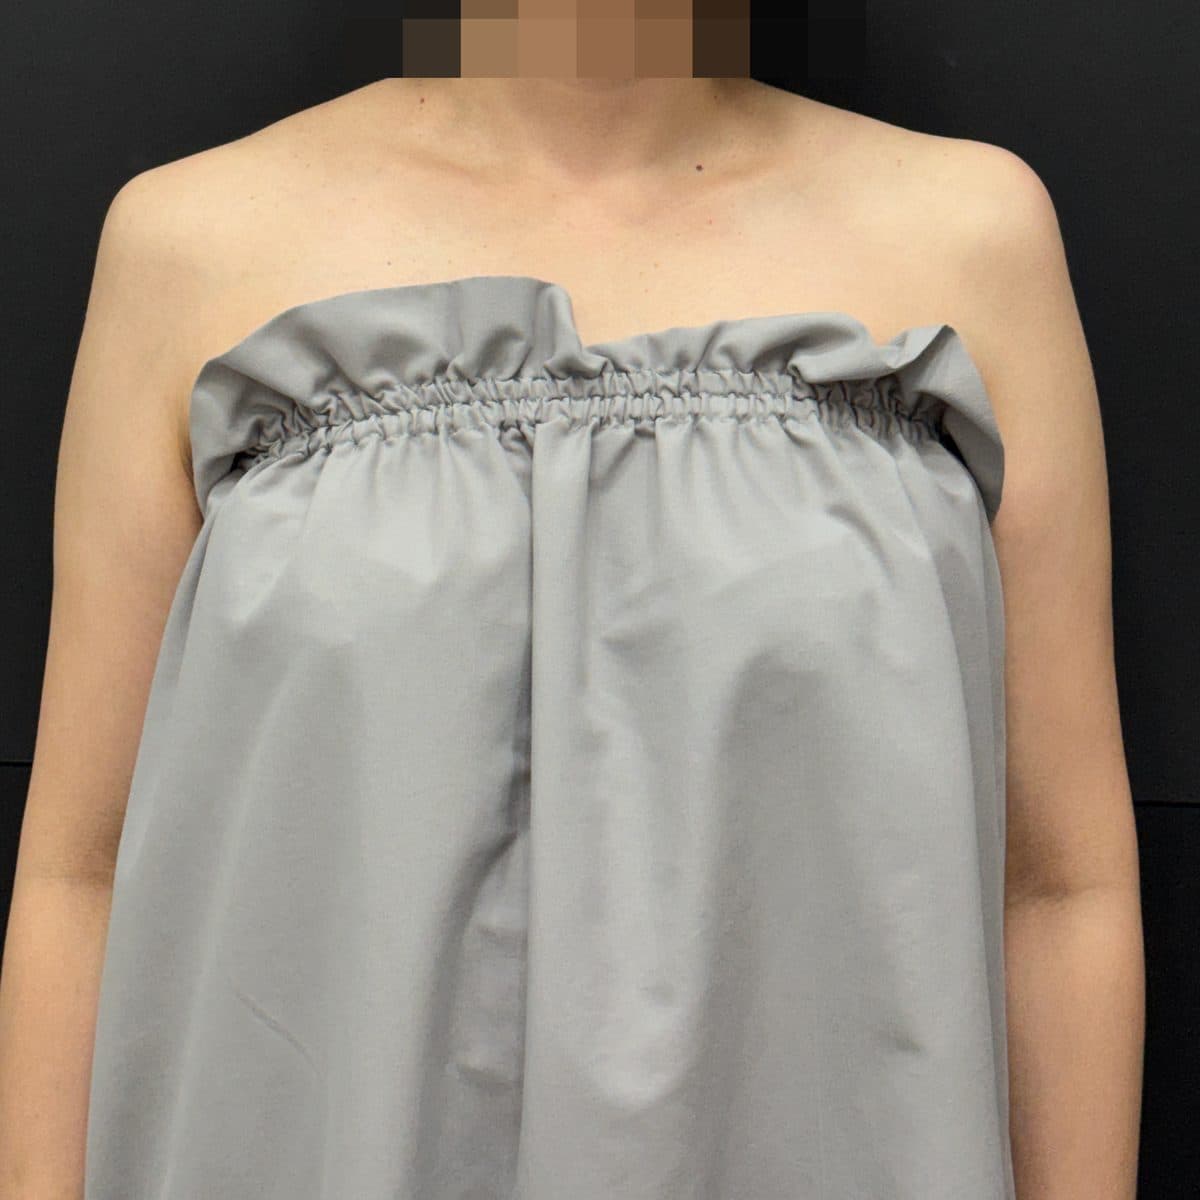 術後Shoulder & Trapezius FillerShoulder & Collarbone Filler
 術前
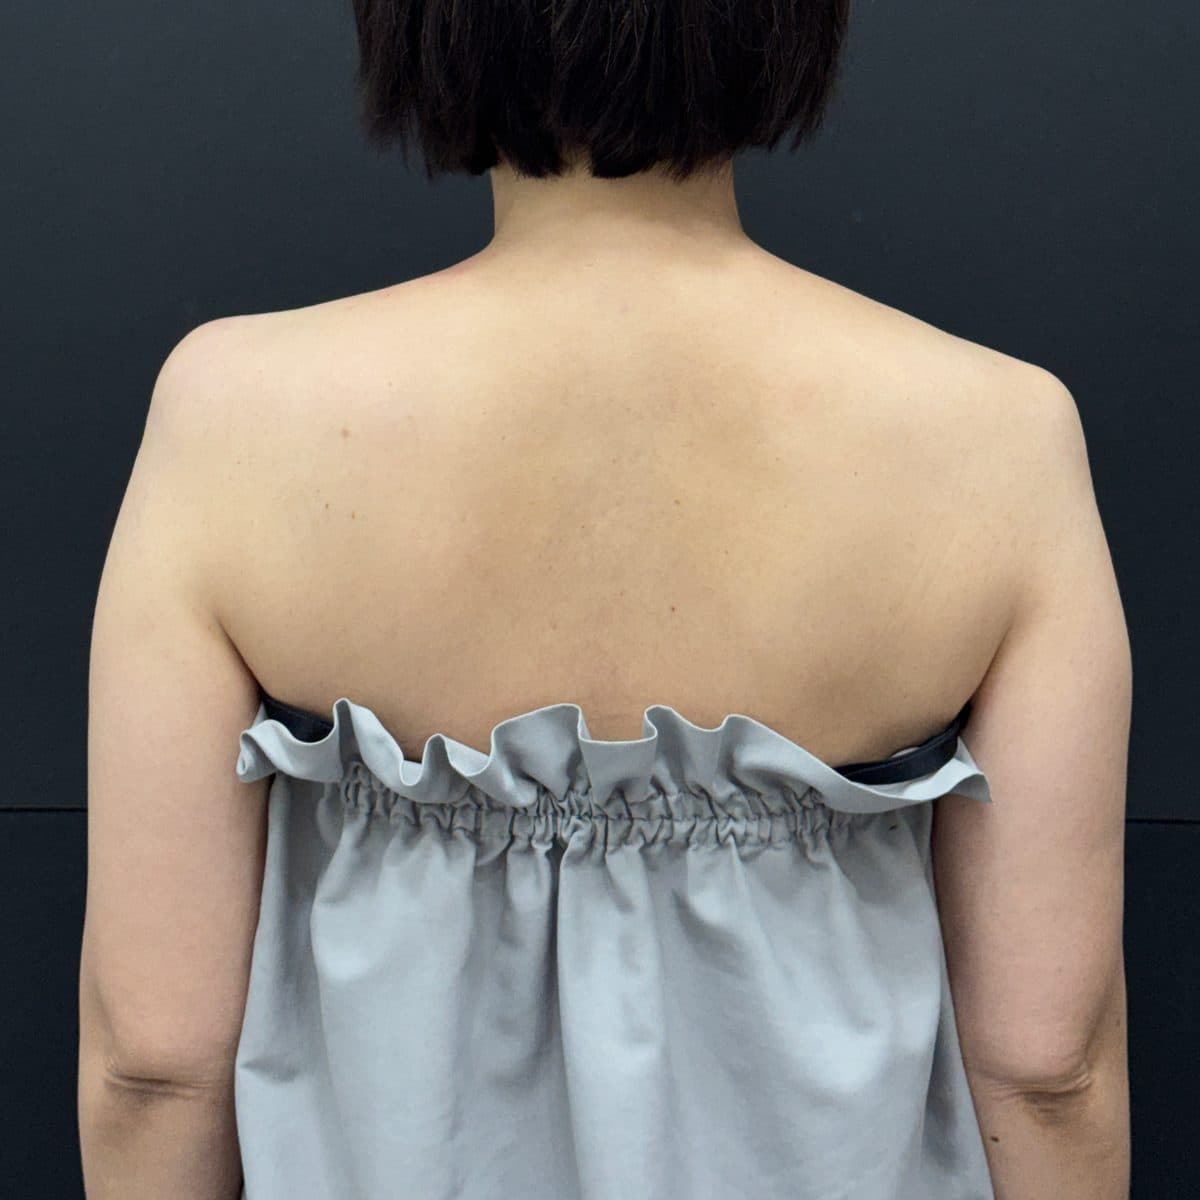 術後Shoulder & Trapezius FillerShoulder & Collarbone Filler
 術前
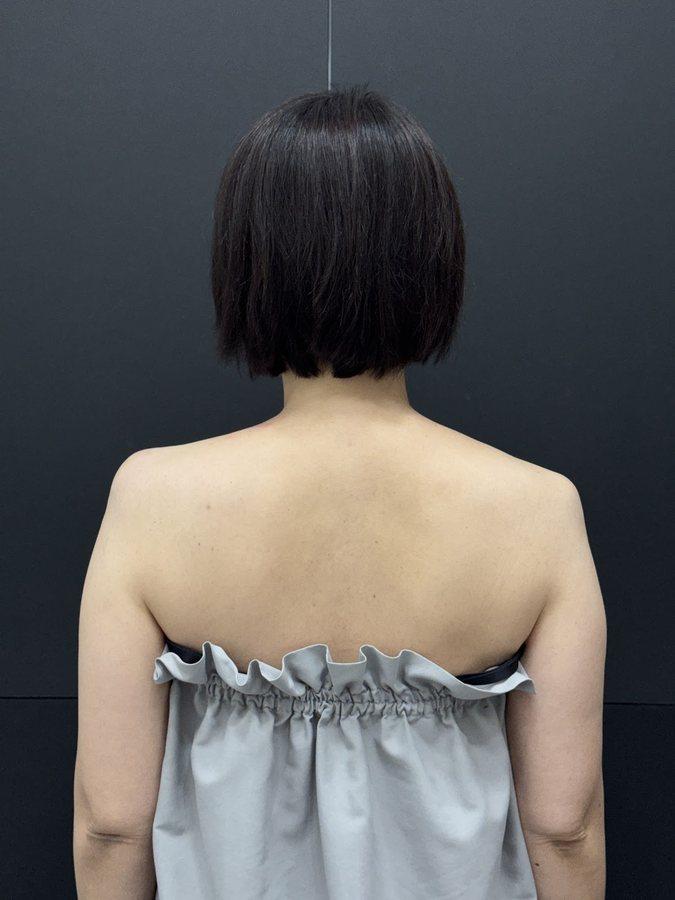 術後Shoulder & Trapezius FillerShoulder & Collarbone Filler
 術前
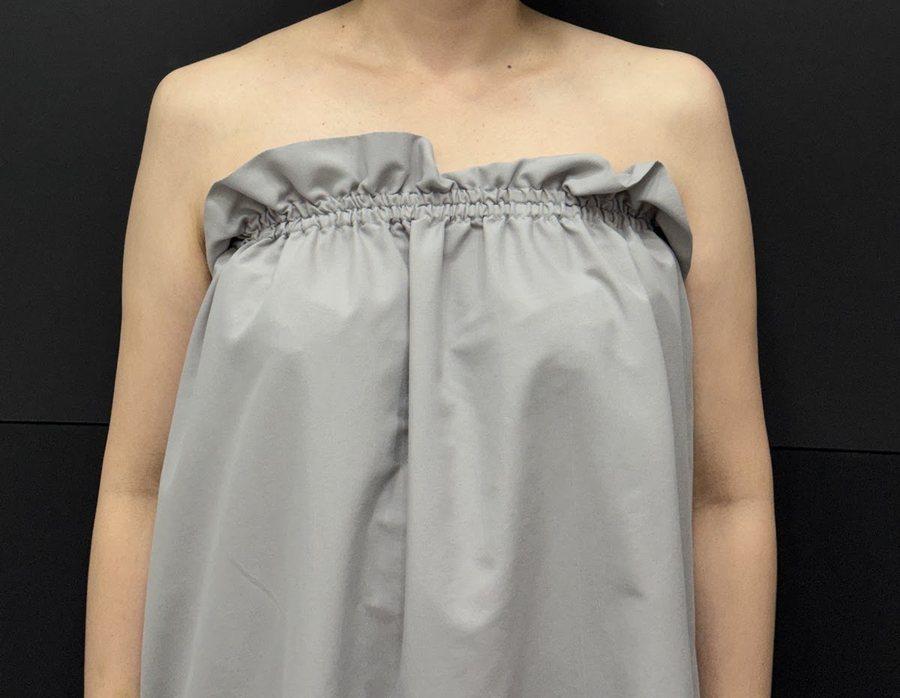 術後Shoulder & Trapezius FillerShoulder & Collarbone Filler
 術前
 術後Hand FillerSpecial Area Filler
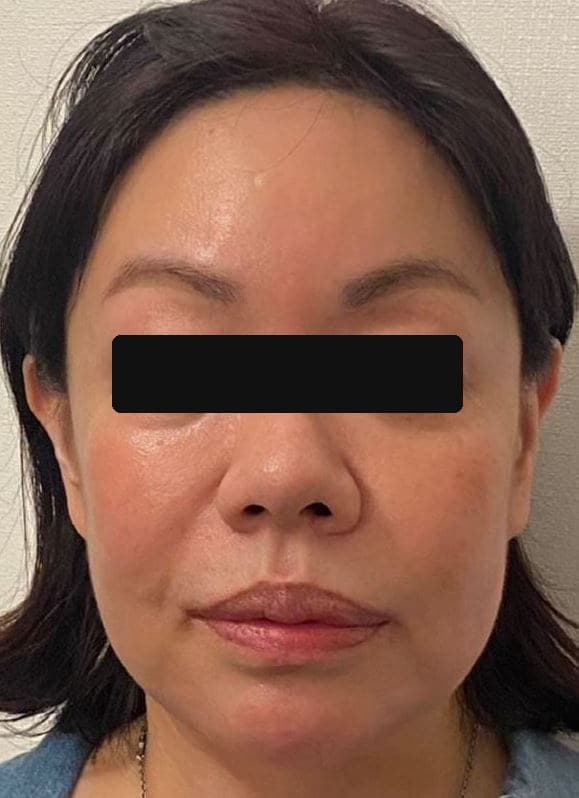 術前
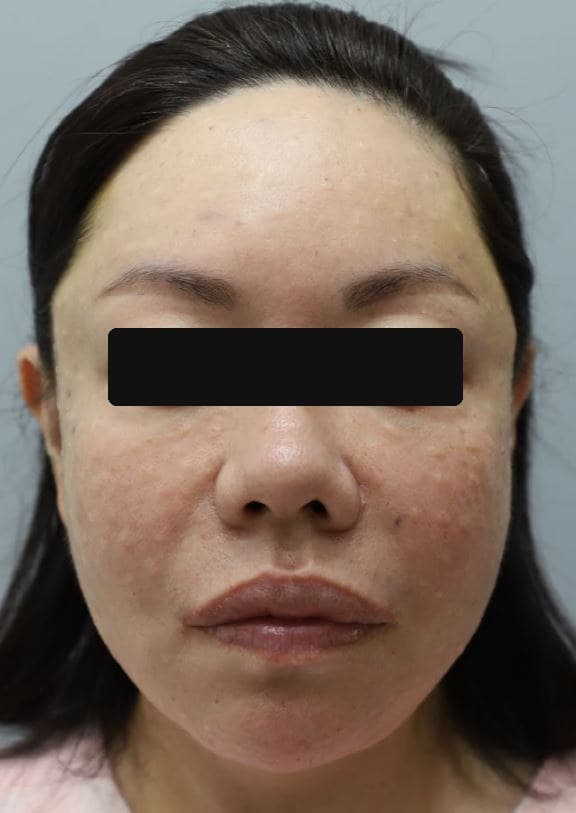 術後Thread LiftingLifting Treatments
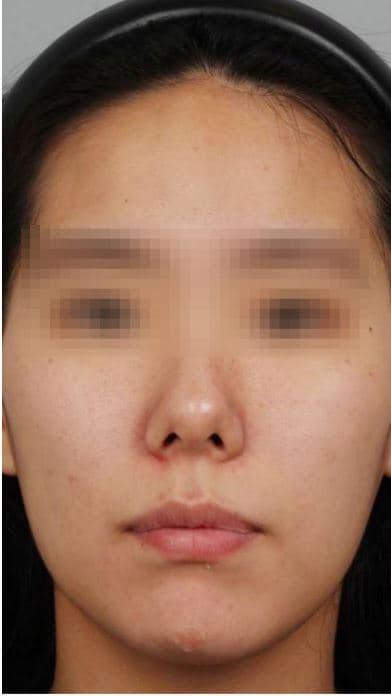 術前
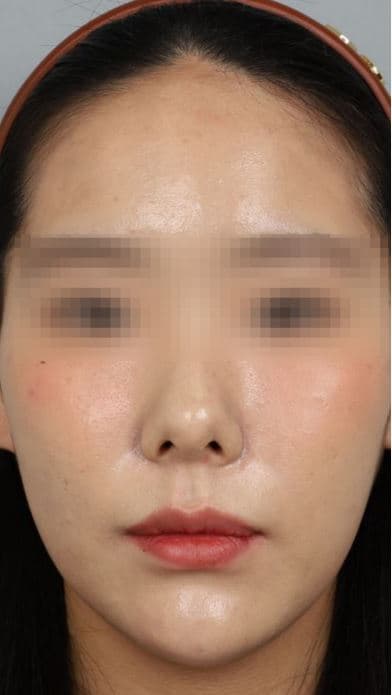 術後Thread LiftingLifting Treatments
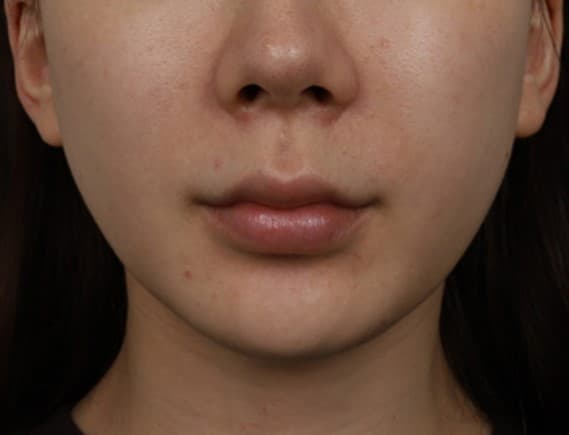 術前
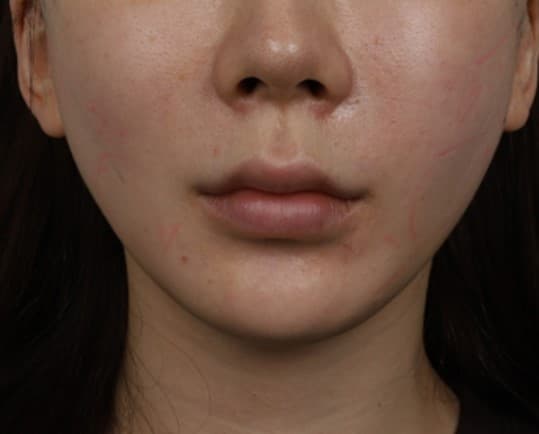 術後Thread LiftingLifting Treatments
 術前
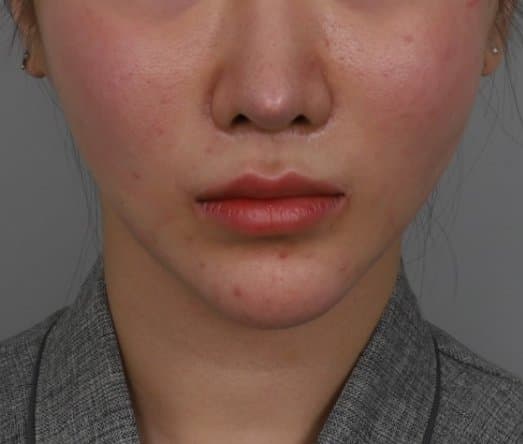 術後Thread LiftingLifting Treatments
 術前
 術後Thread LiftingLifting Treatments
 術前
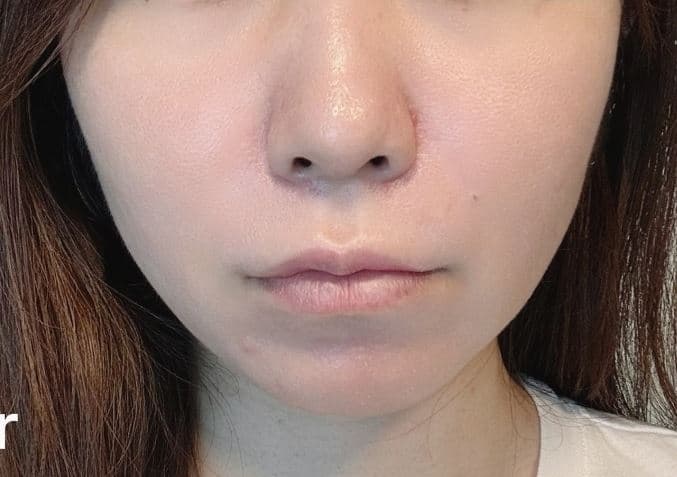 術後Thread LiftingLifting Treatments
 術前
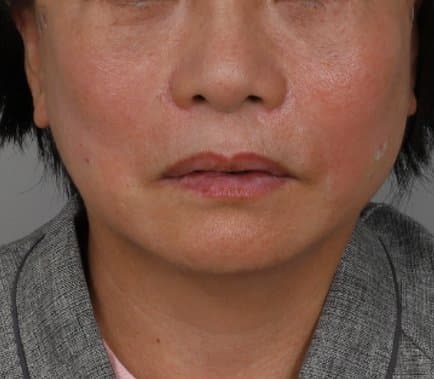 術後Thread LiftingLifting Treatments
 術前
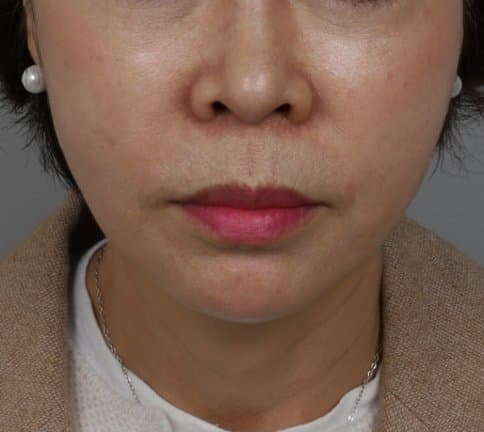 術後Thread LiftingLifting Treatments
 術前
 術後Thread LiftingLifting Treatments
 術前
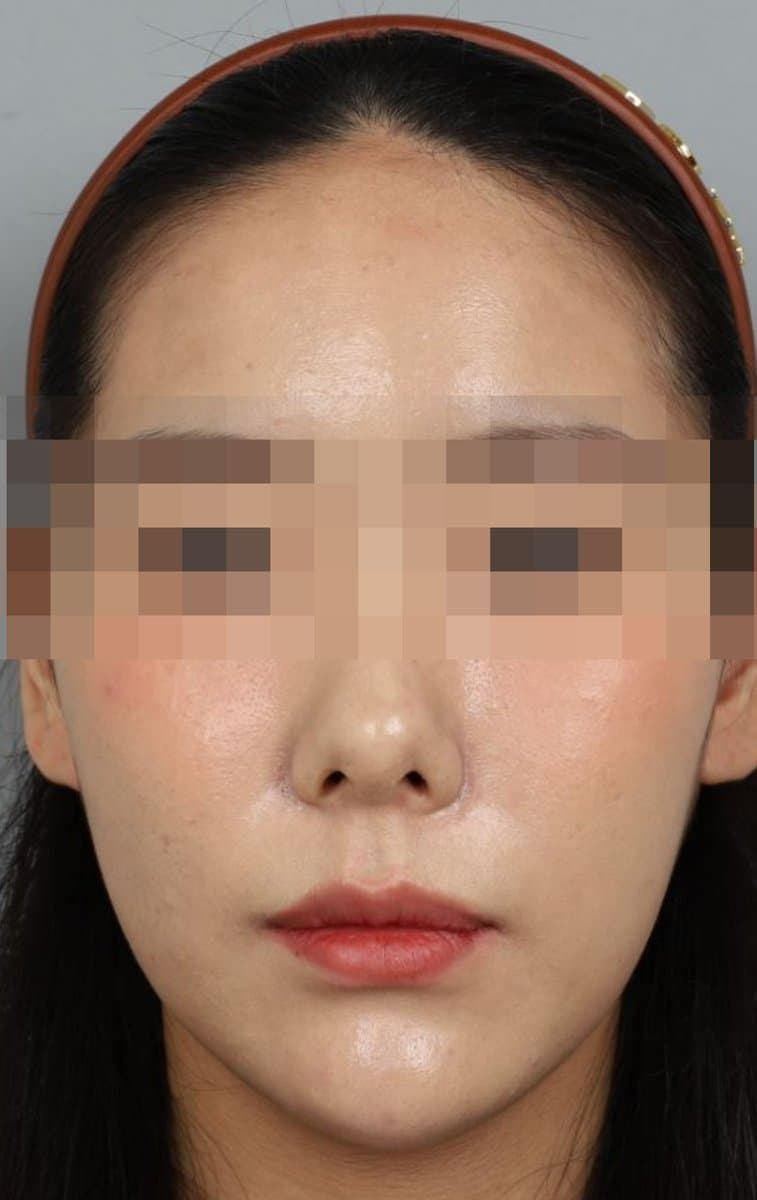 術後Thread LiftingLifting Treatments
 術前
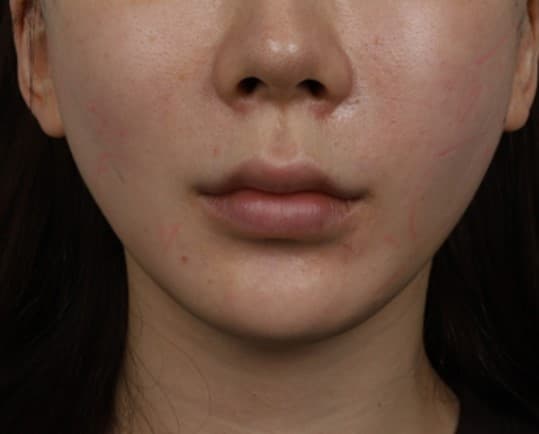 術後Thread LiftingLifting Treatments
 術前
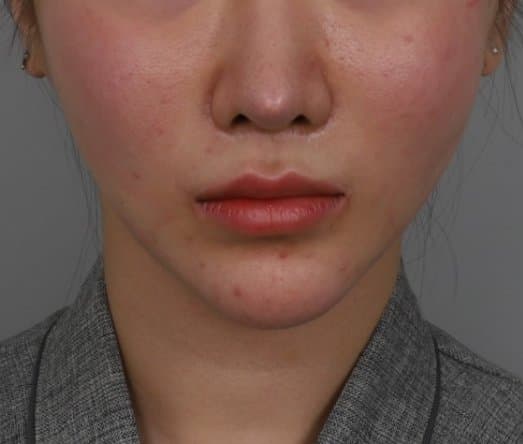 術後Thread LiftingLifting Treatments
 術前
 術後Thread LiftingLifting Treatments
 術前
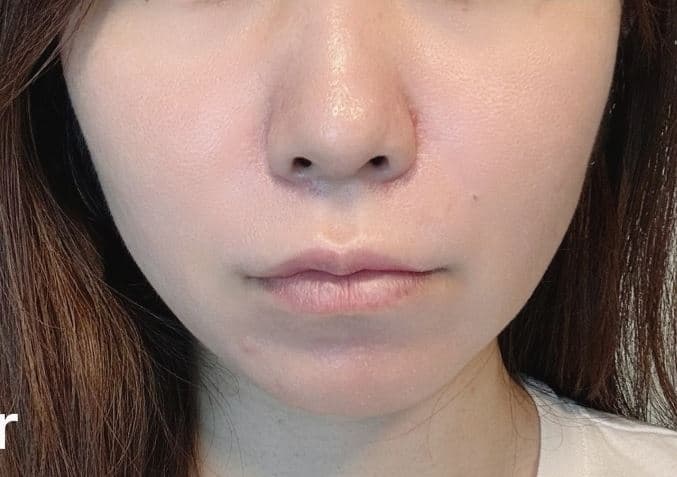 術後Thread LiftingLifting Treatments
 術前
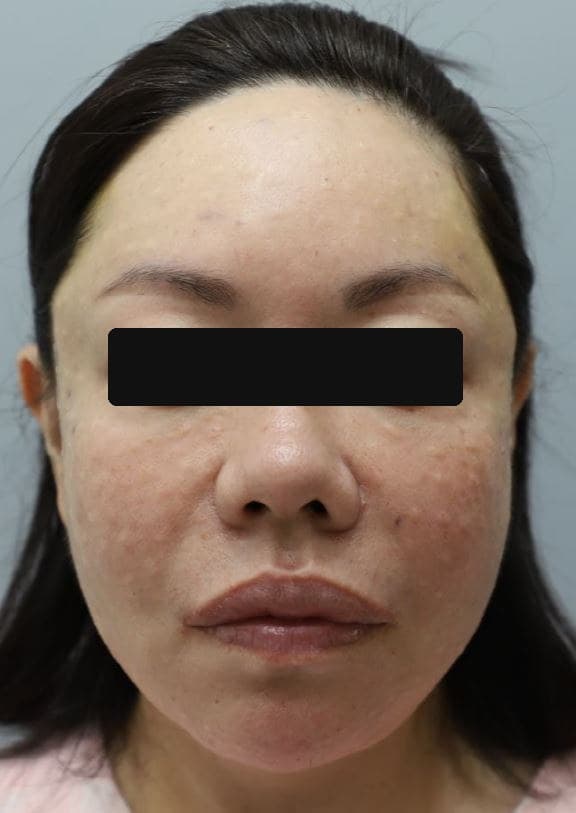 術後Thread LiftingLifting Treatments
 術前
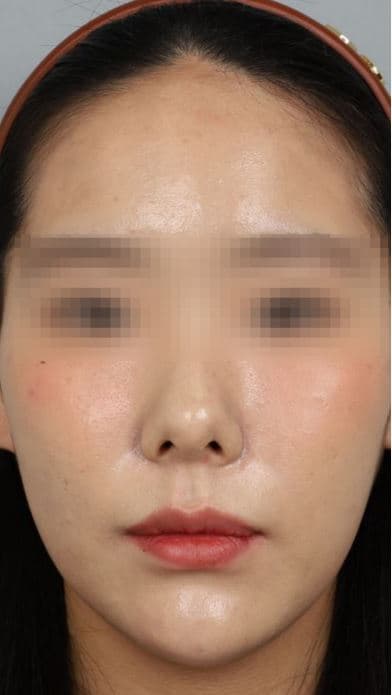 術後Thread LiftingLifting Treatments
 術前
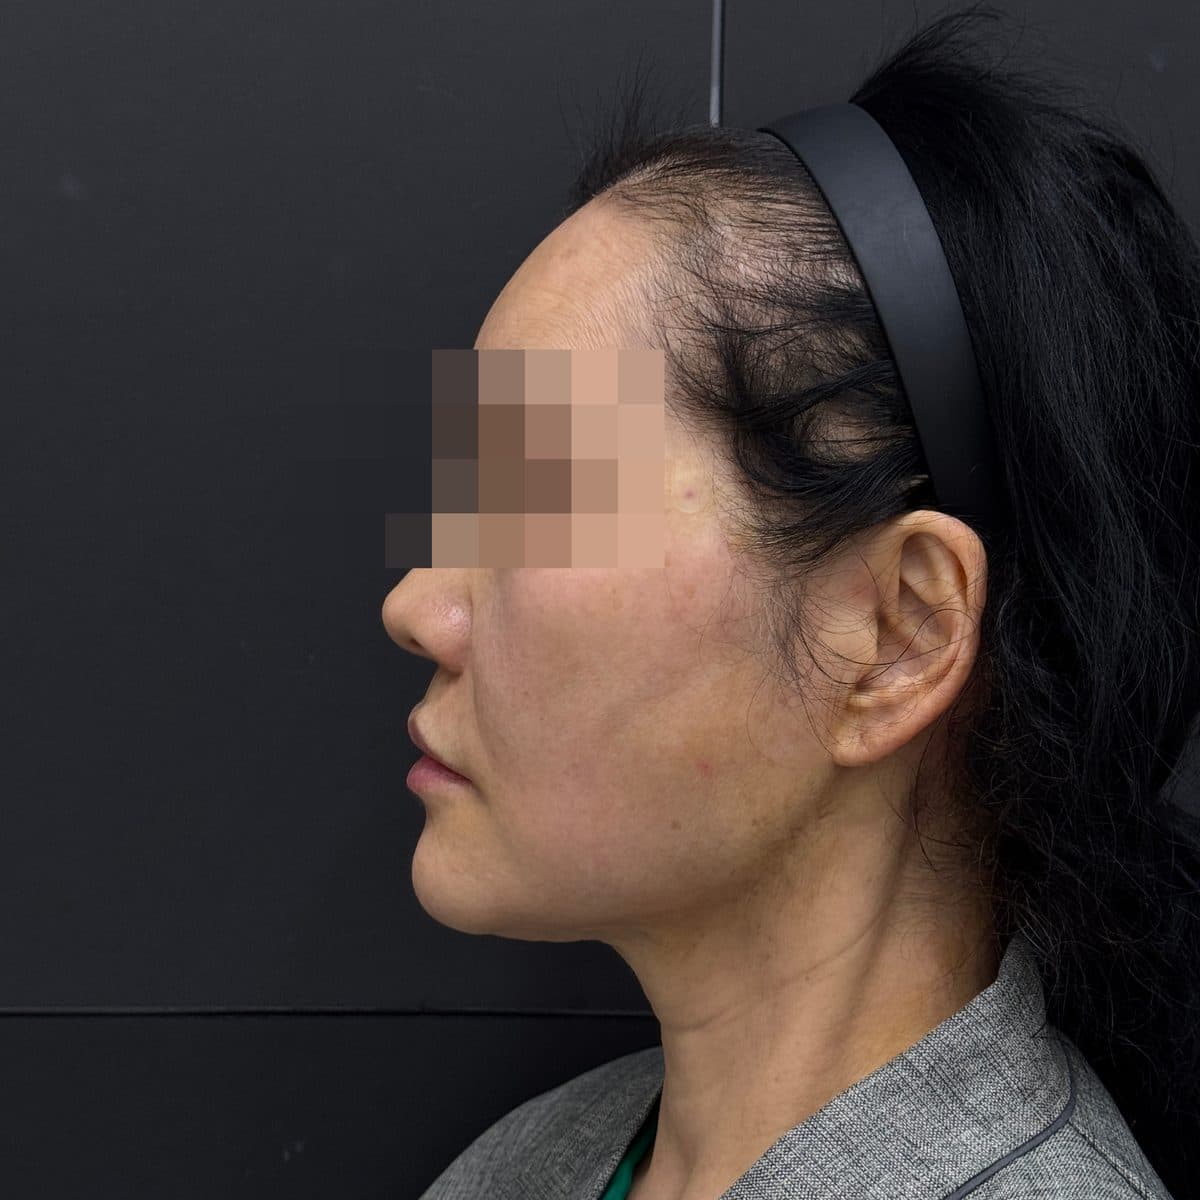 術後Aptos Thread LiftThread Lifting
 術前
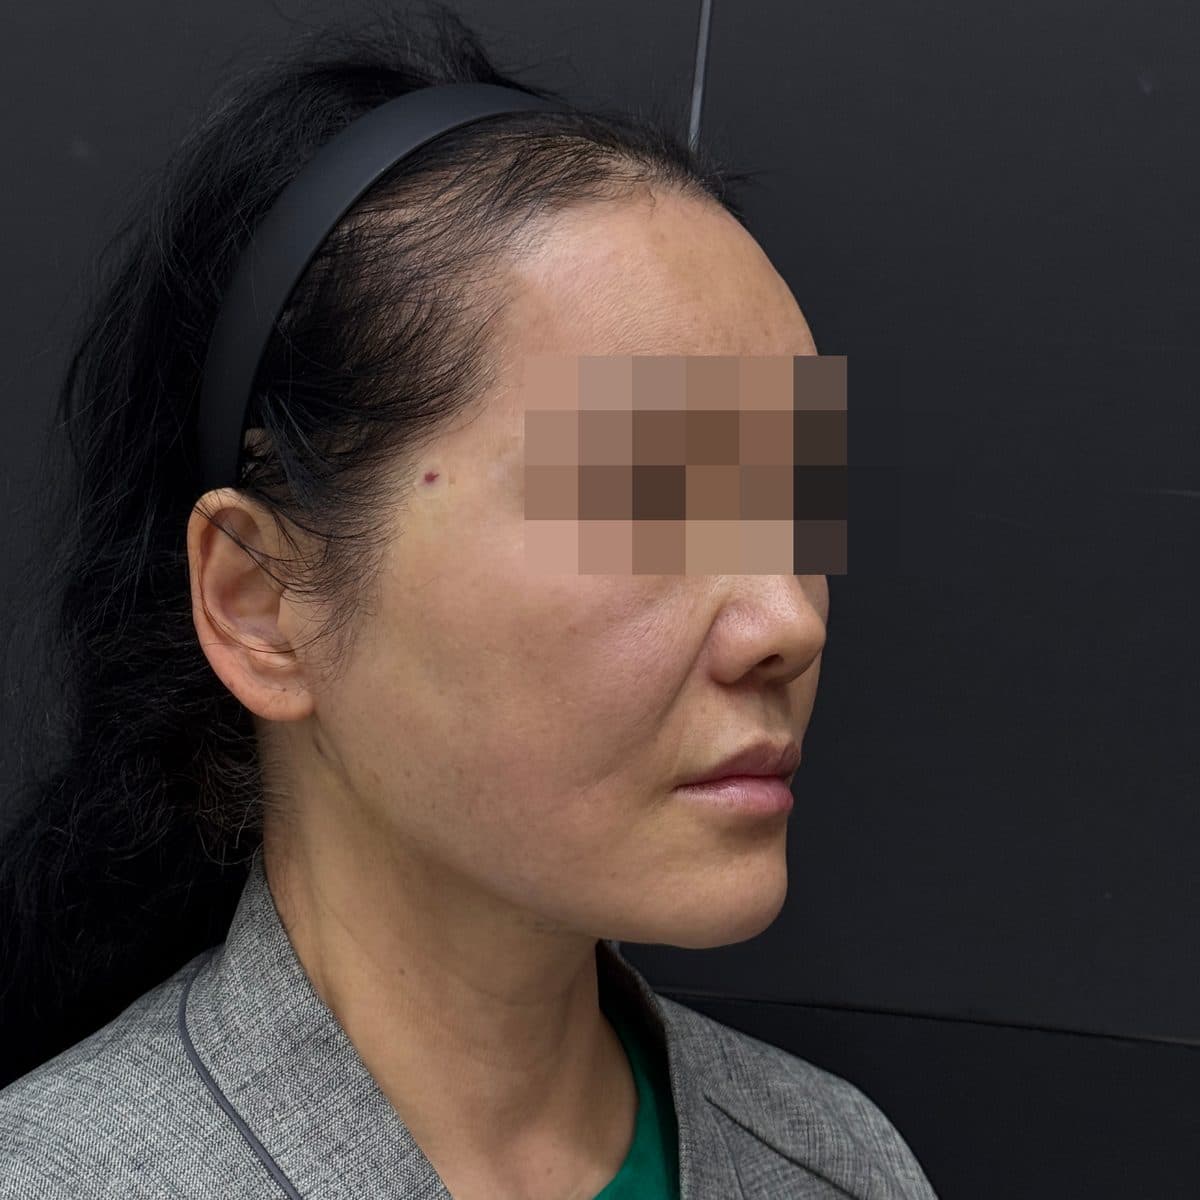 術後Aptos Thread LiftThread Lifting
 術前
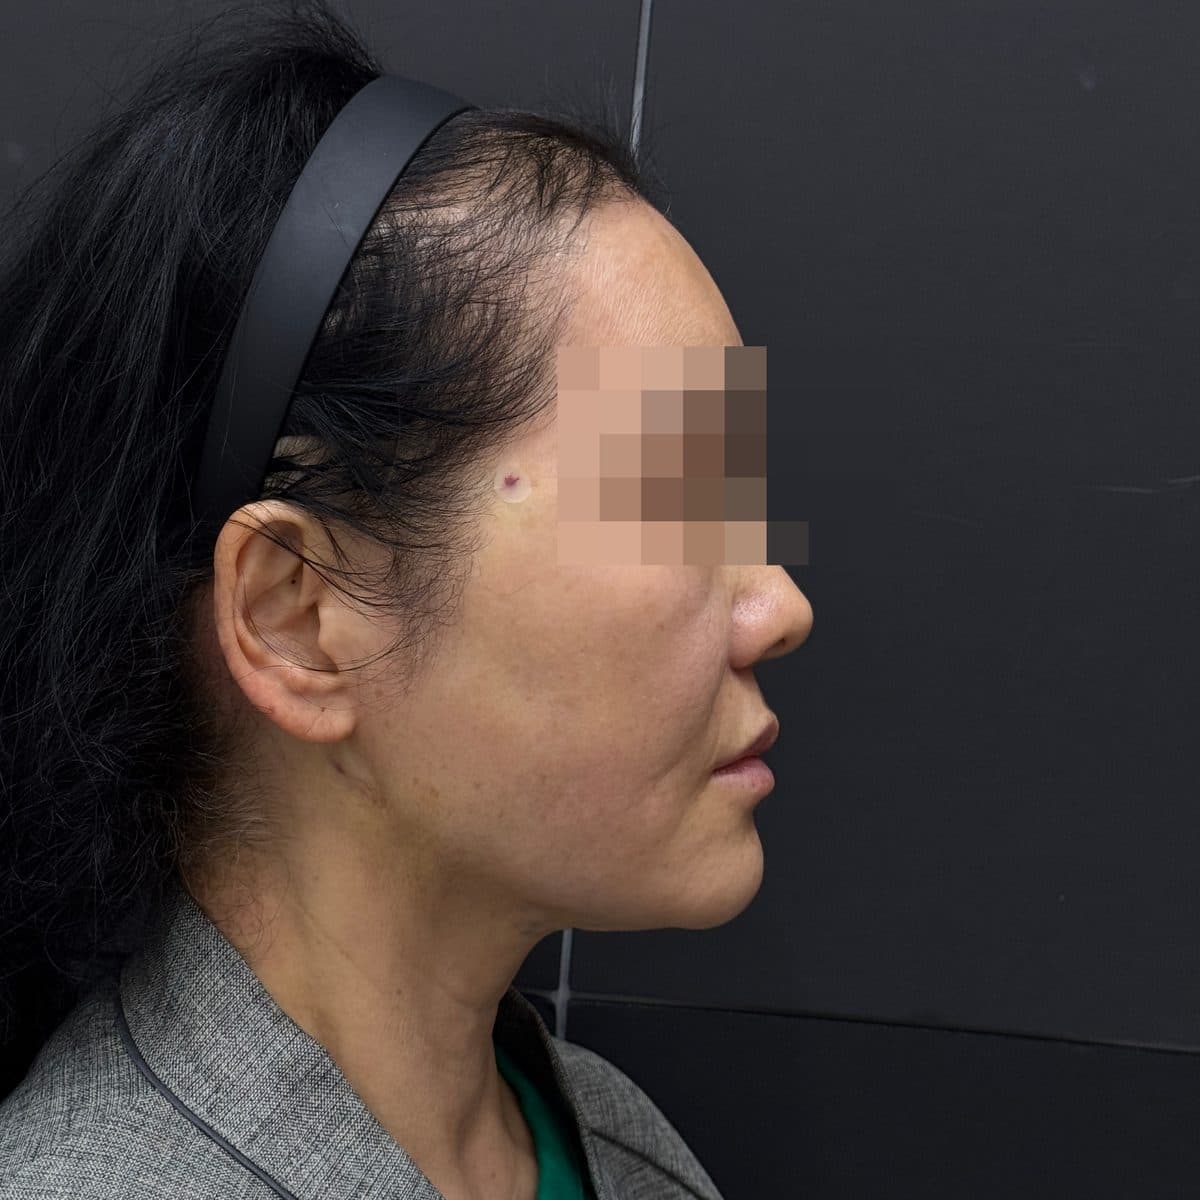 術後Aptos Thread LiftThread Lifting
 術前
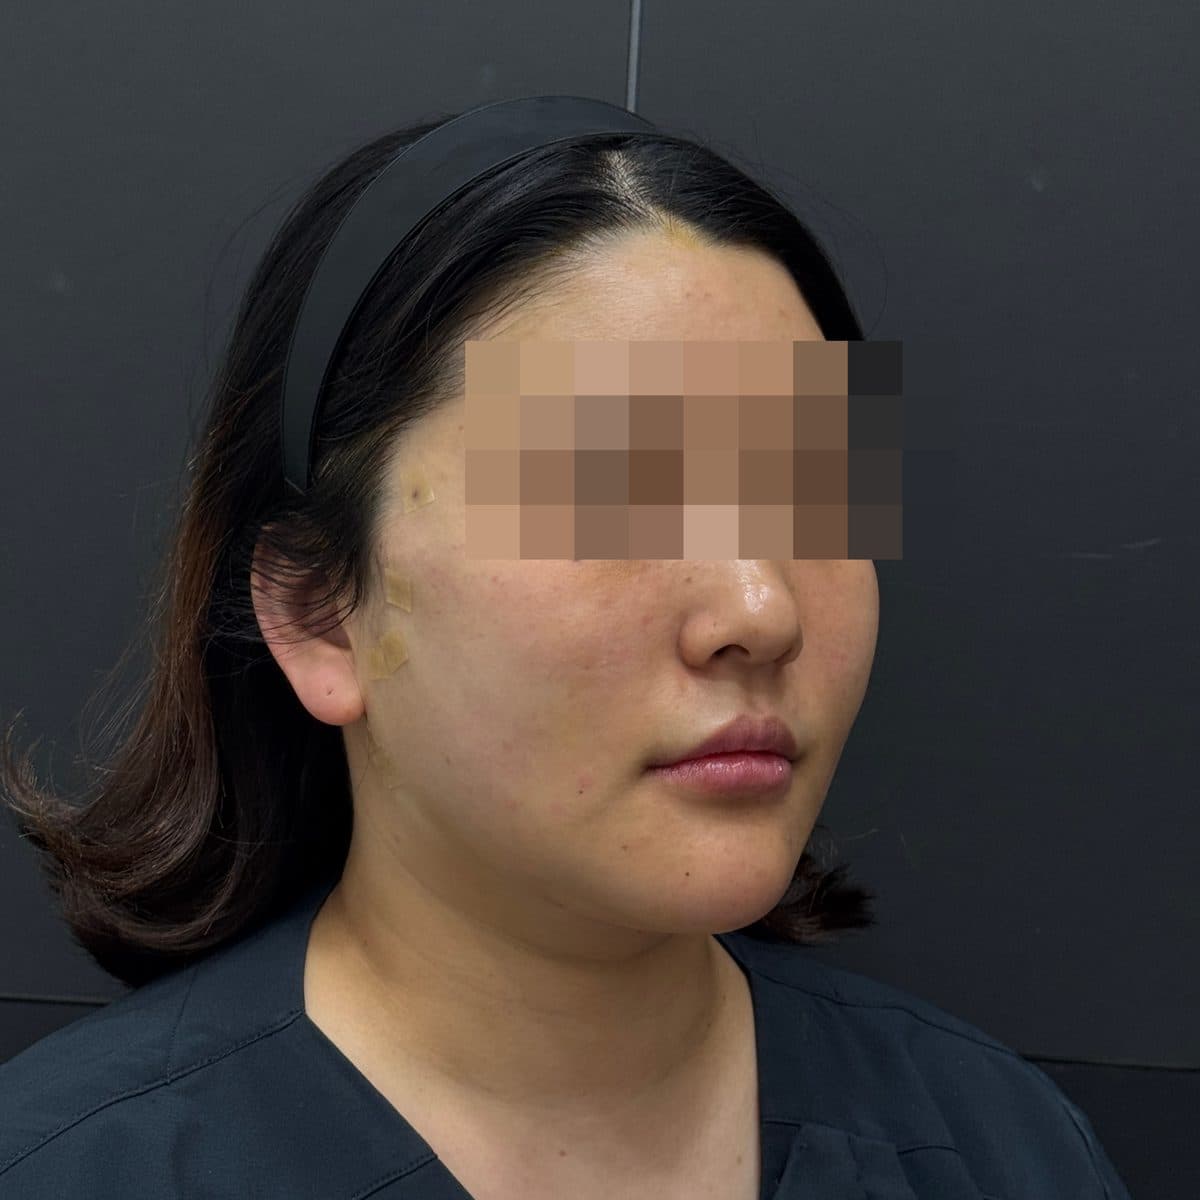 術後Aptos Thread LiftThread Lifting
 術前
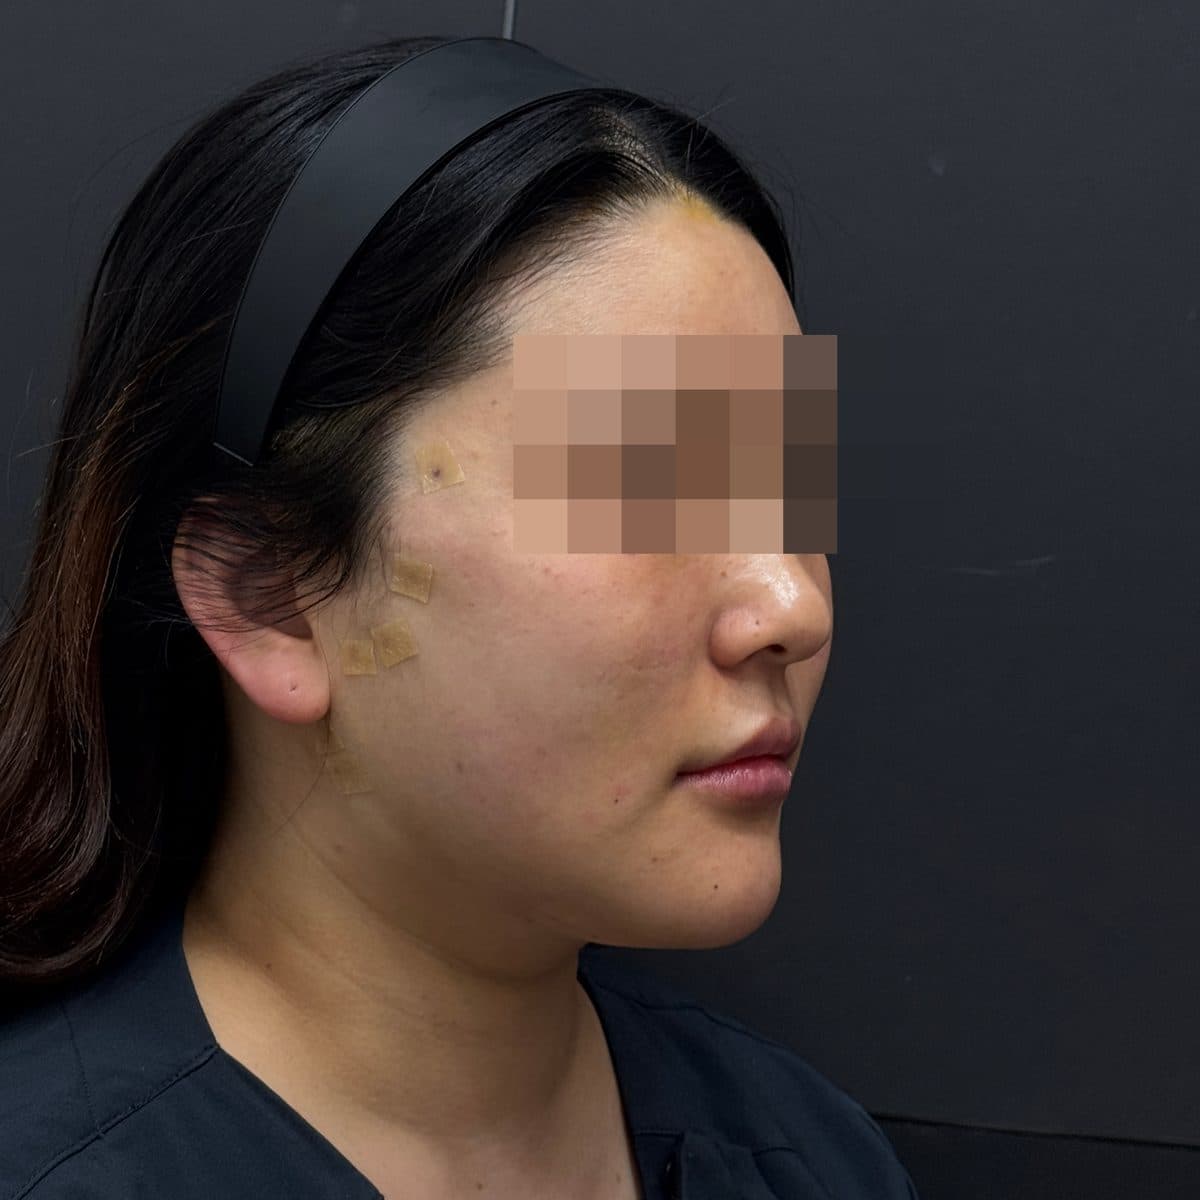 術後Aptos Thread LiftThread Lifting
 術前
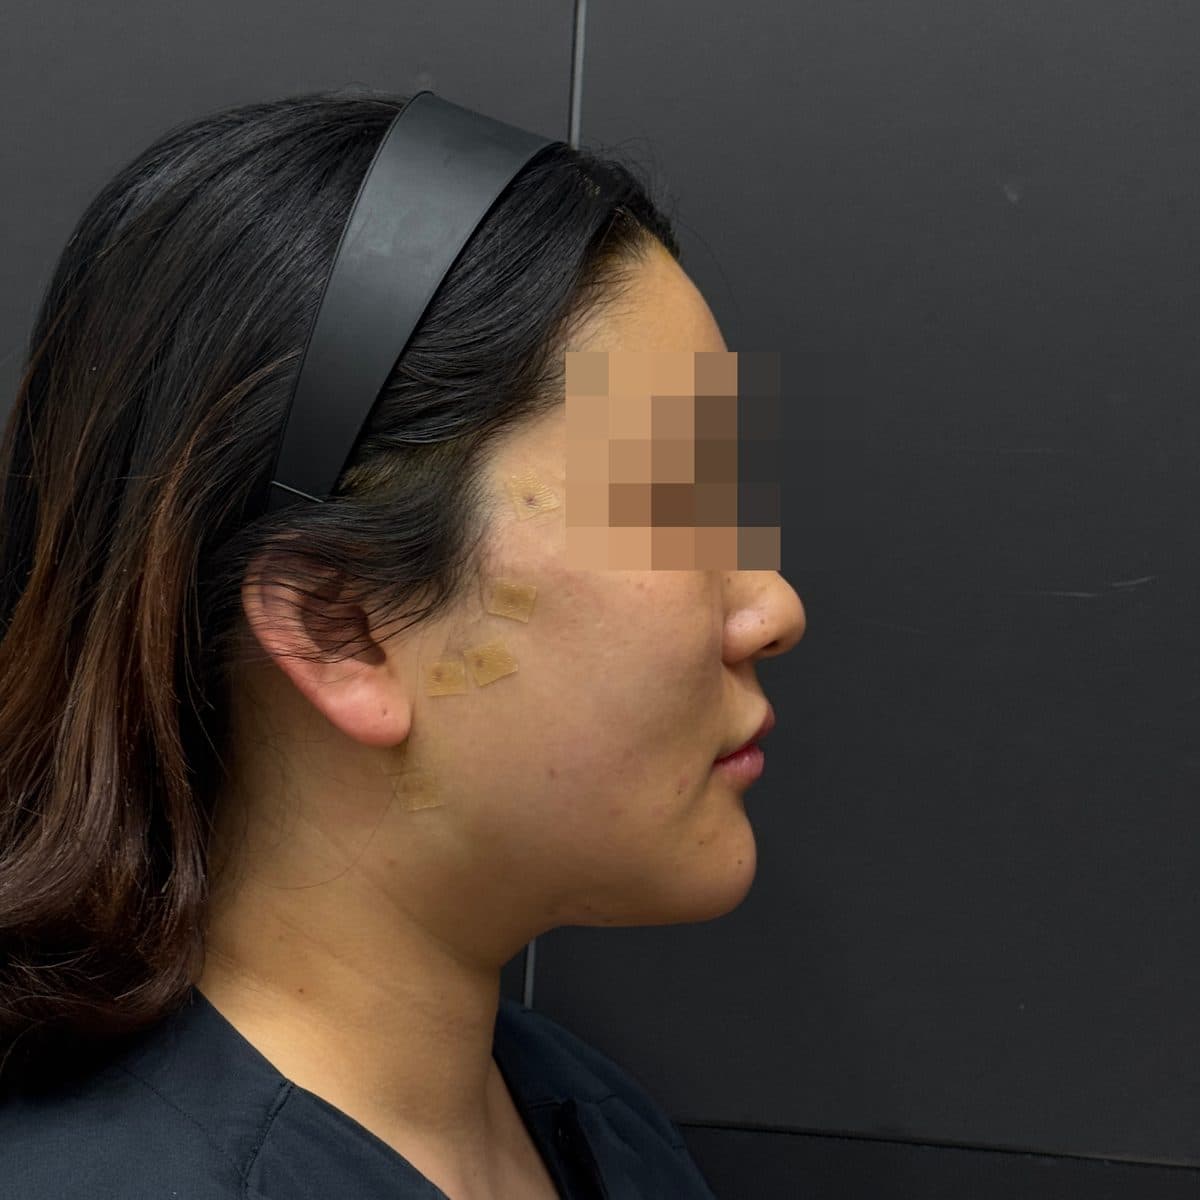 術後Aptos Thread LiftThread Lifting
 術前
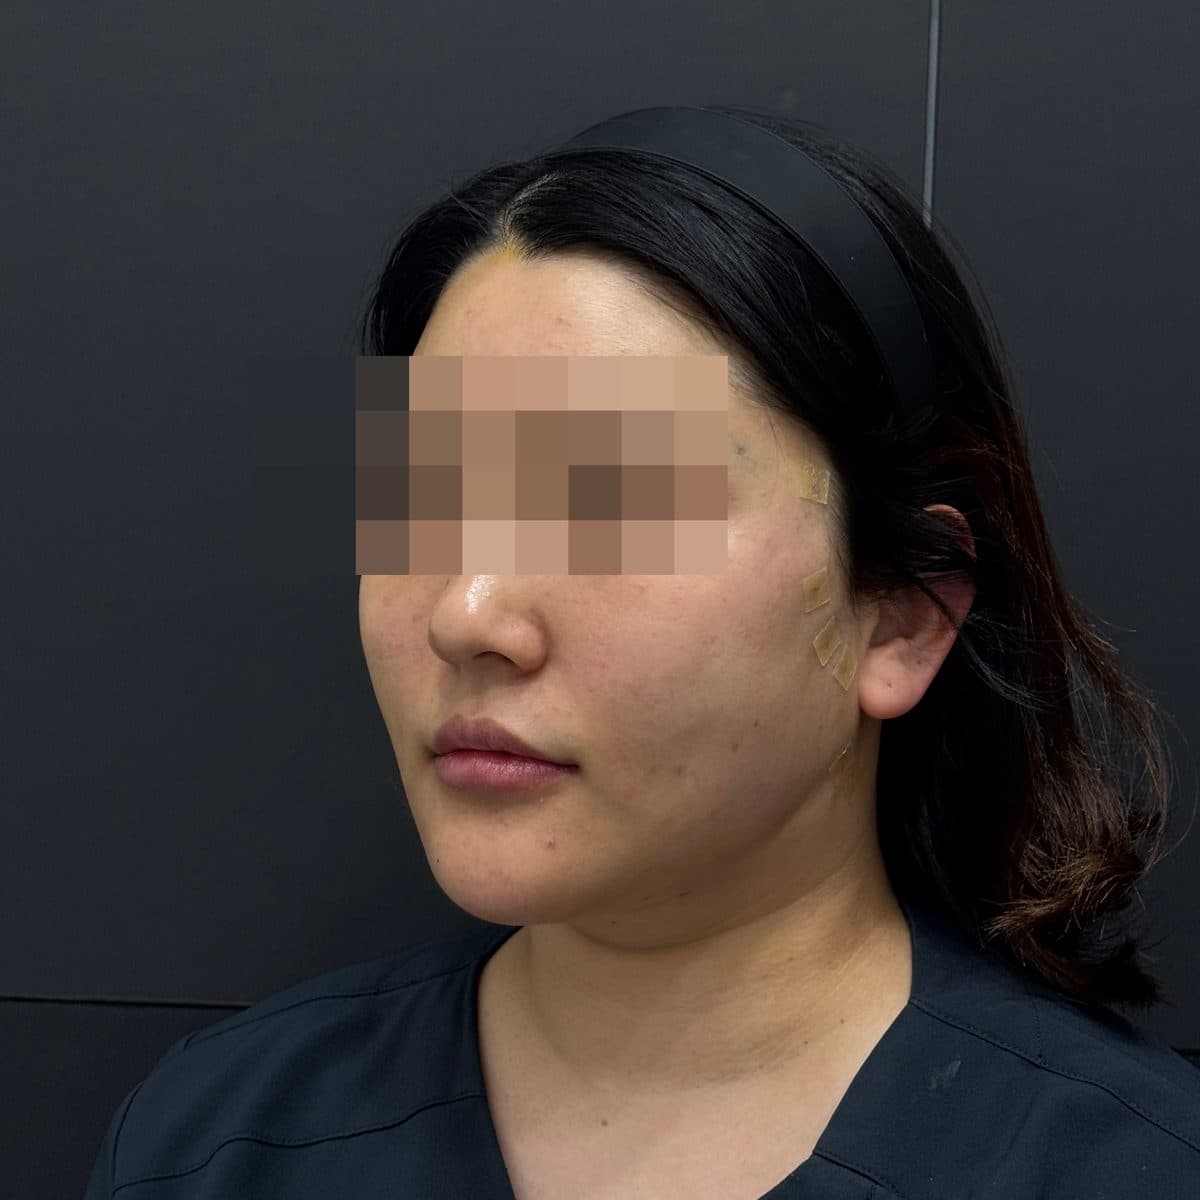 術後Aptos Thread LiftThread Lifting
 術前
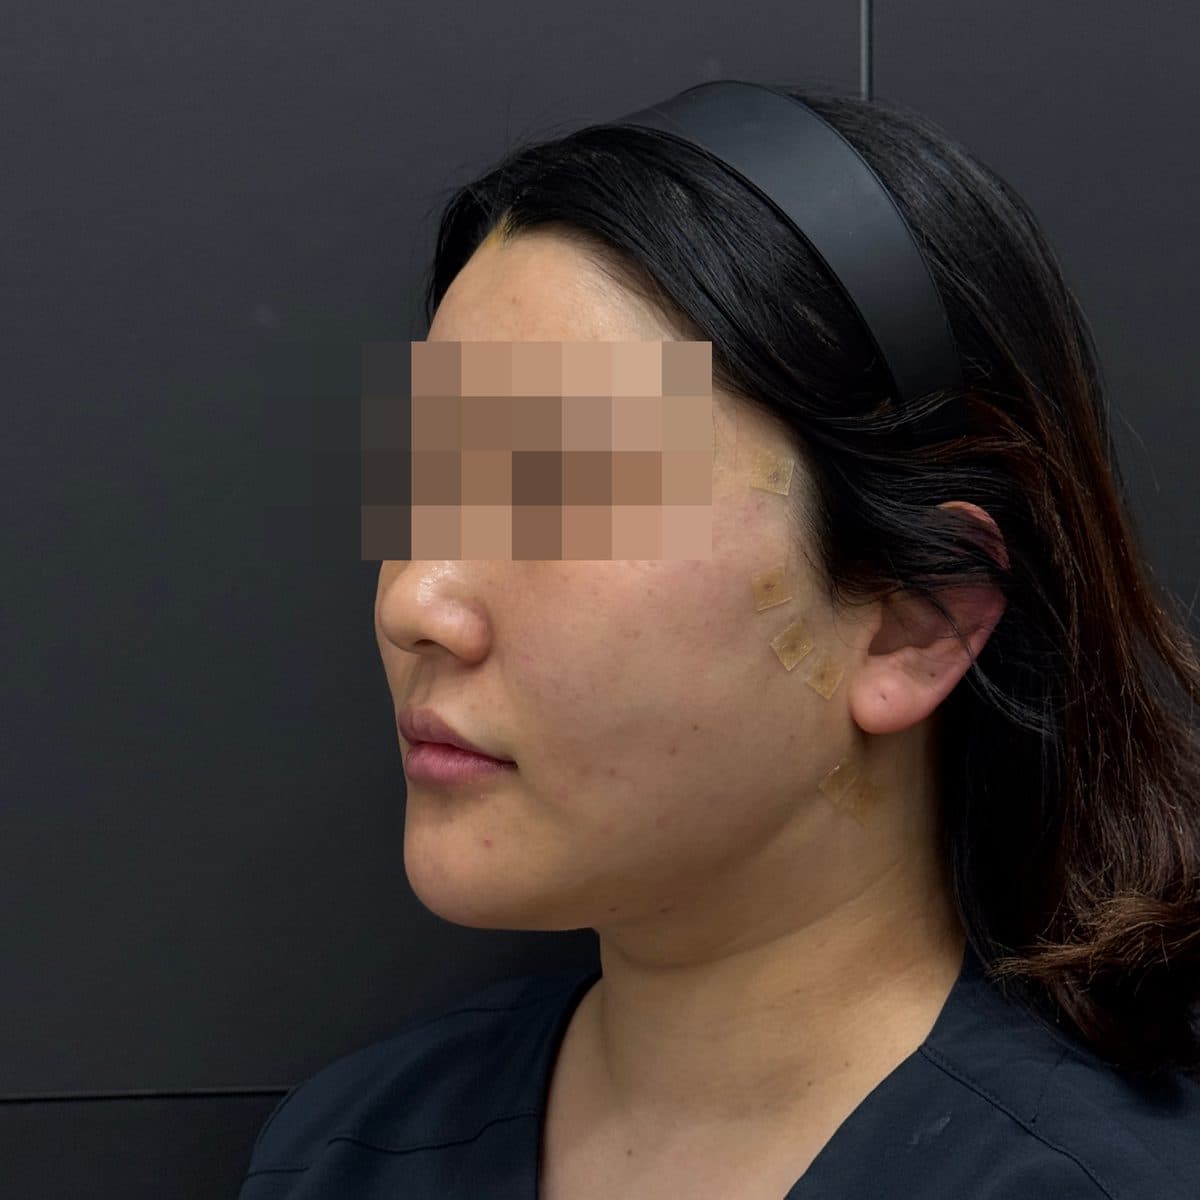 術後Aptos Thread LiftThread Lifting
 術前
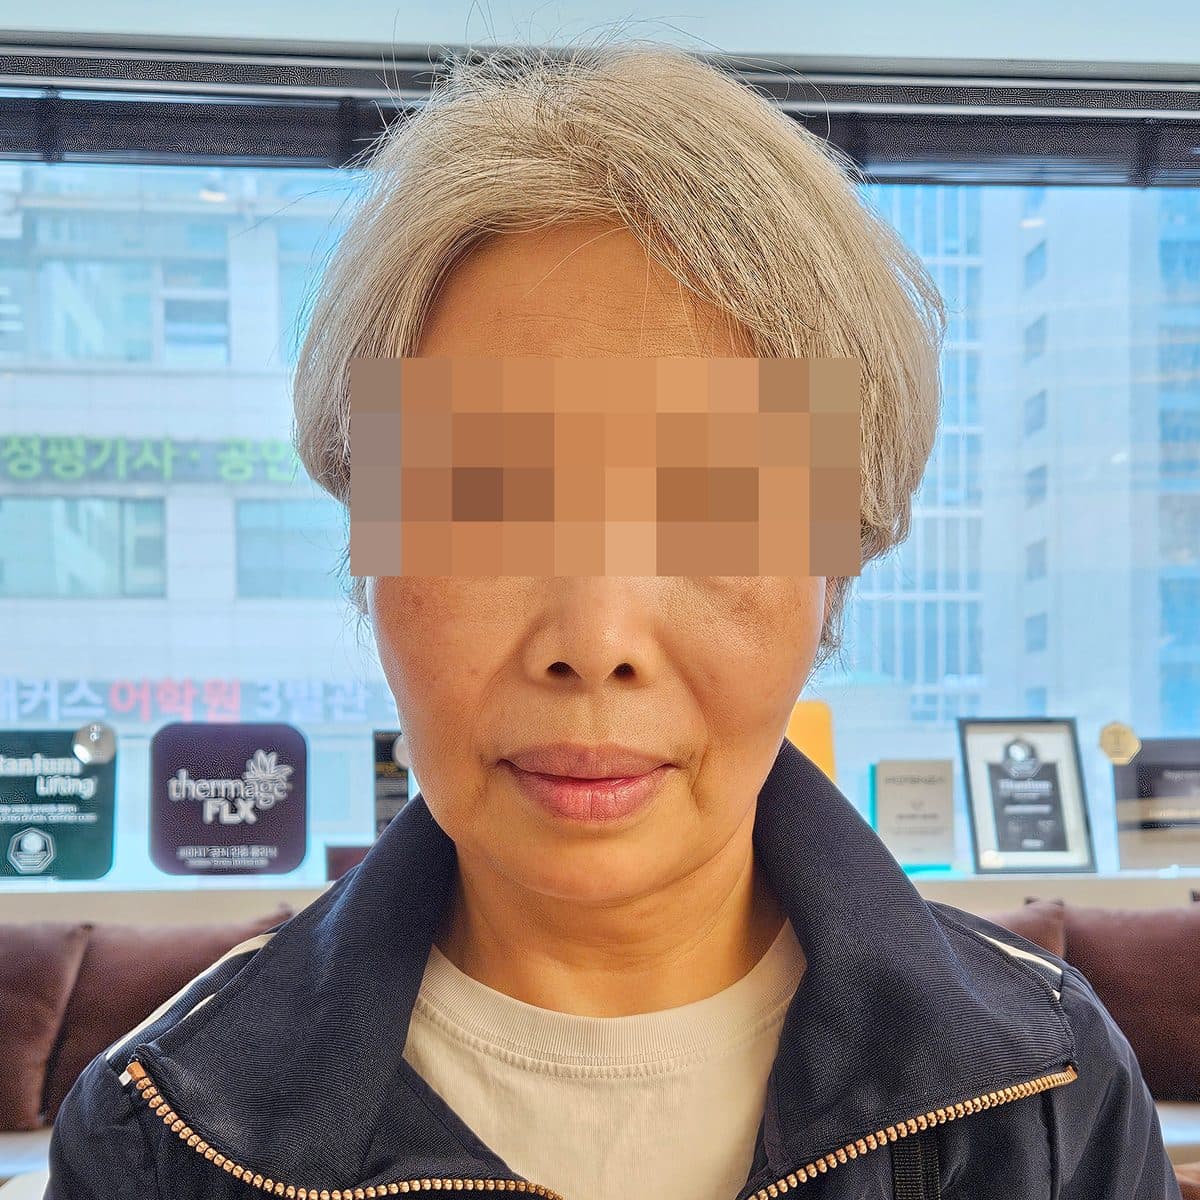 術後Aptos Thread LiftThread Lifting
 術前
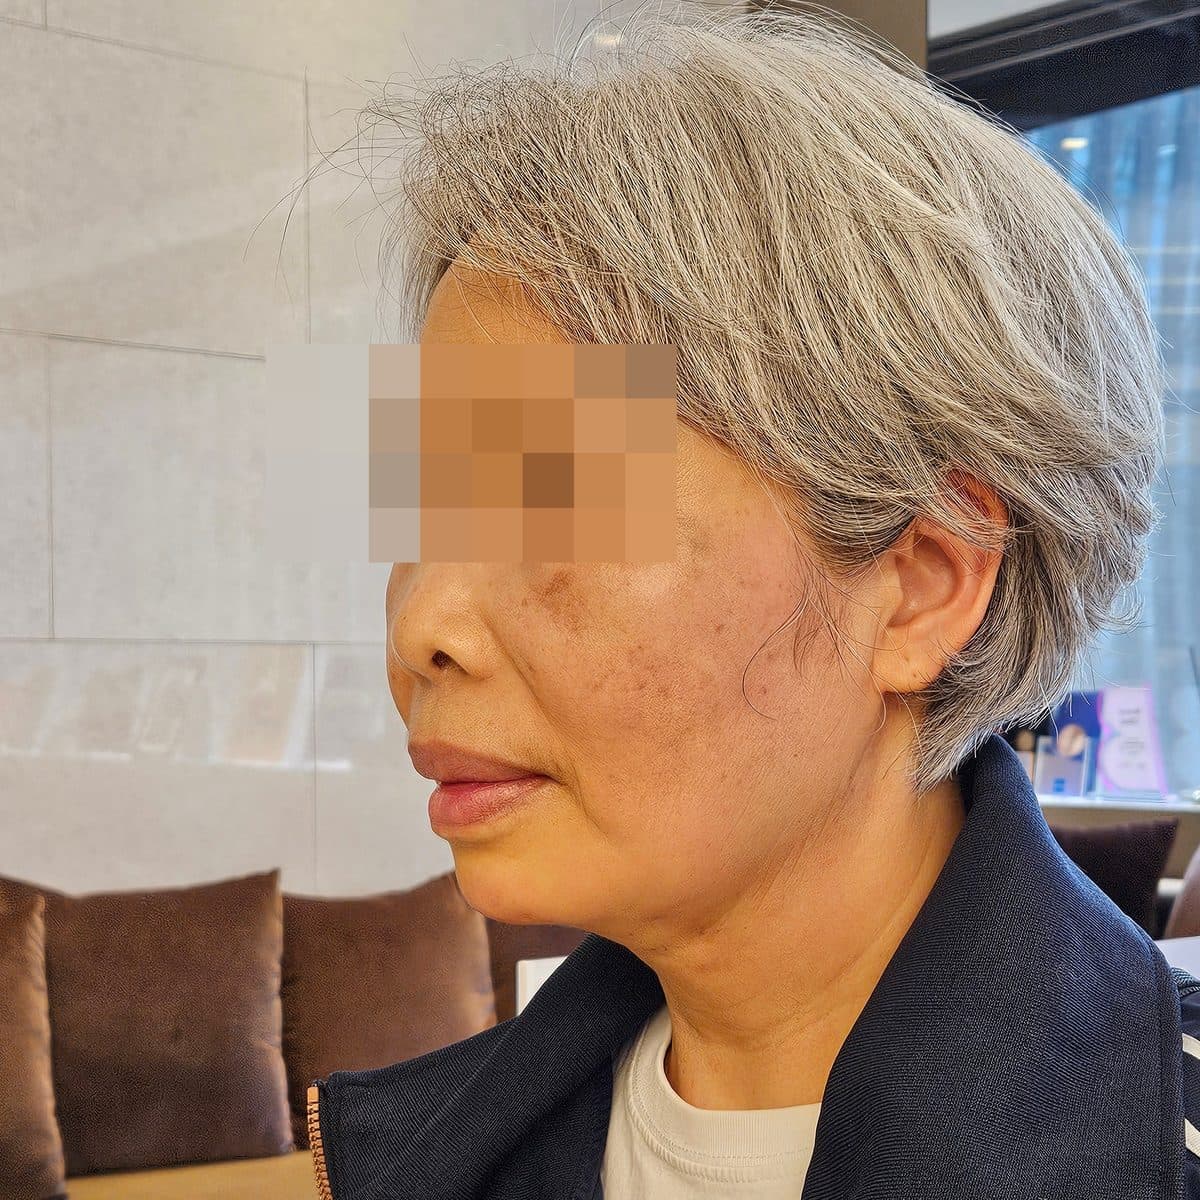 術後Aptos Thread LiftThread Lifting
 術前
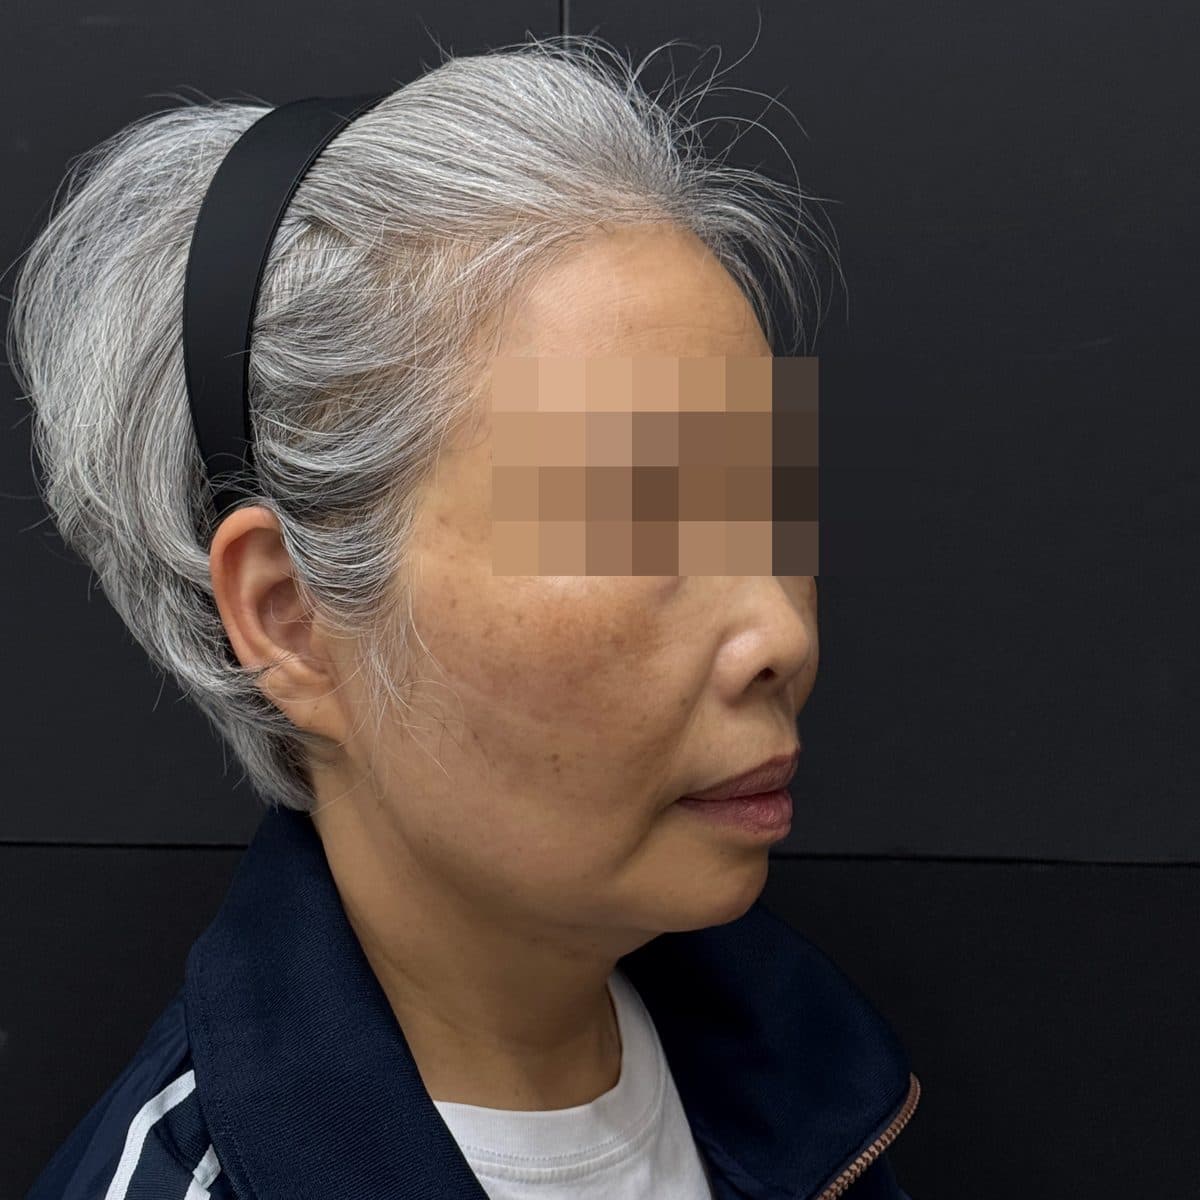 術後Aptos Thread LiftThread Lifting
 術前
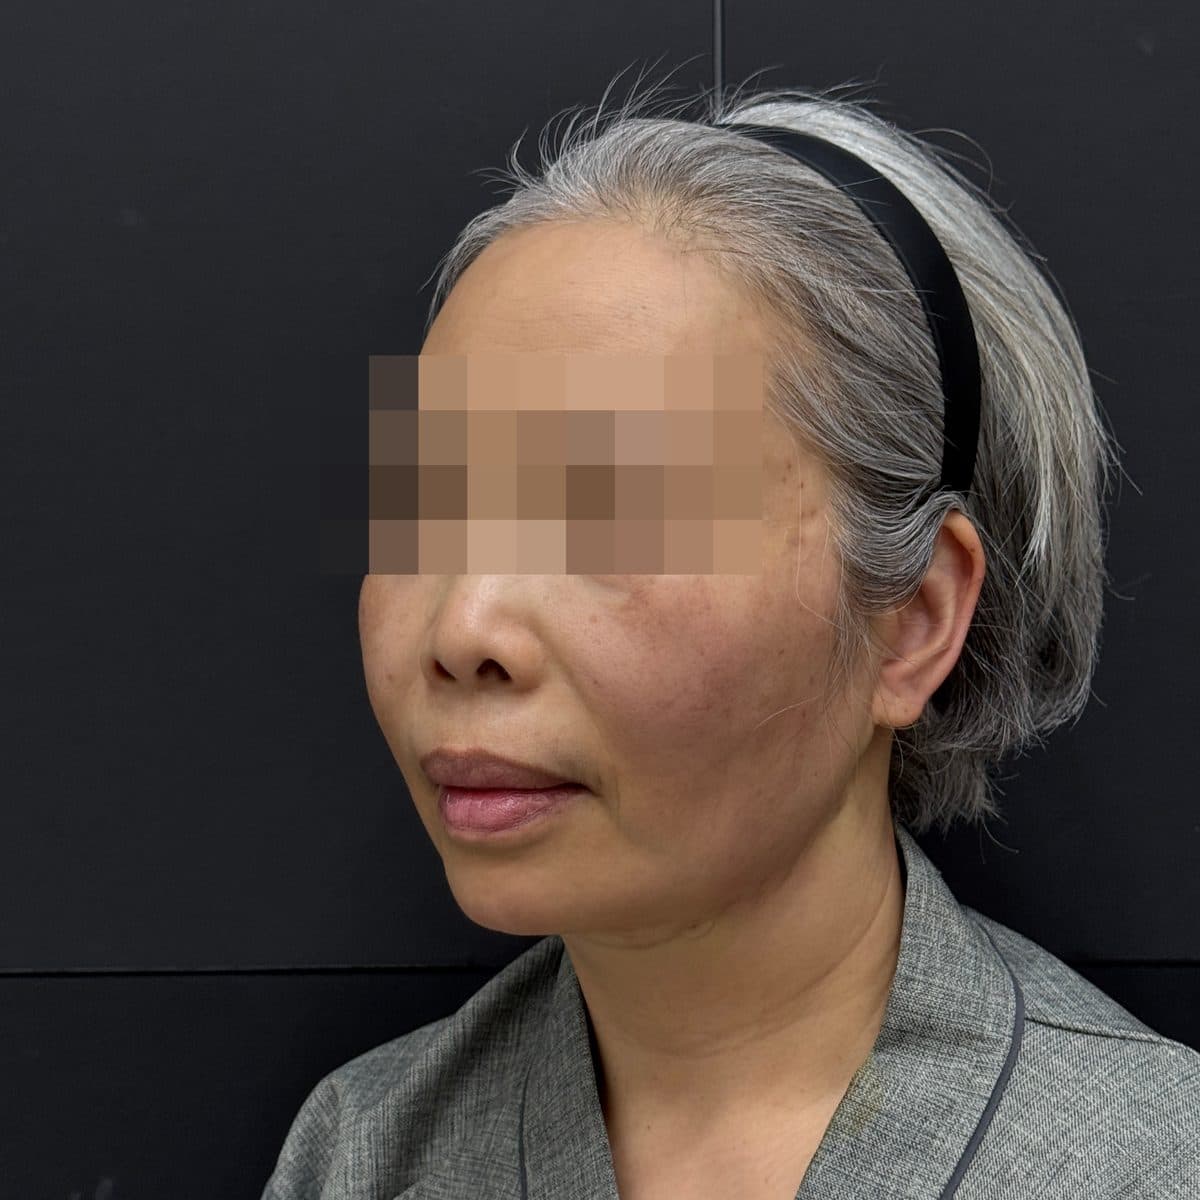 術後Aptos Thread LiftThread Lifting
 術前
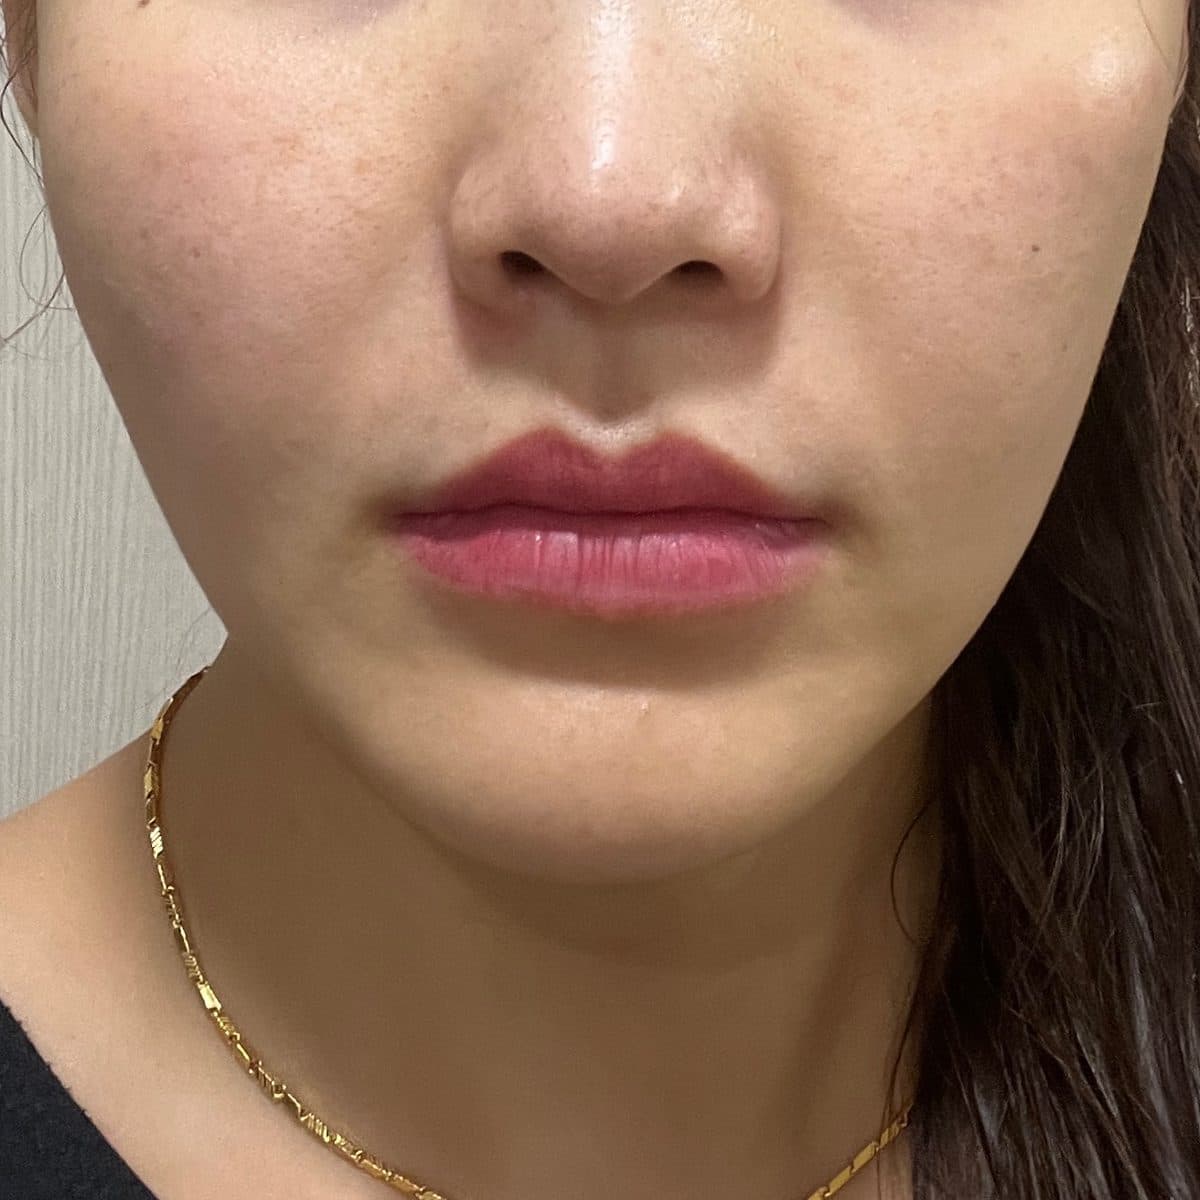 術後Silthera & SiltaniumThread Lifting
 術前
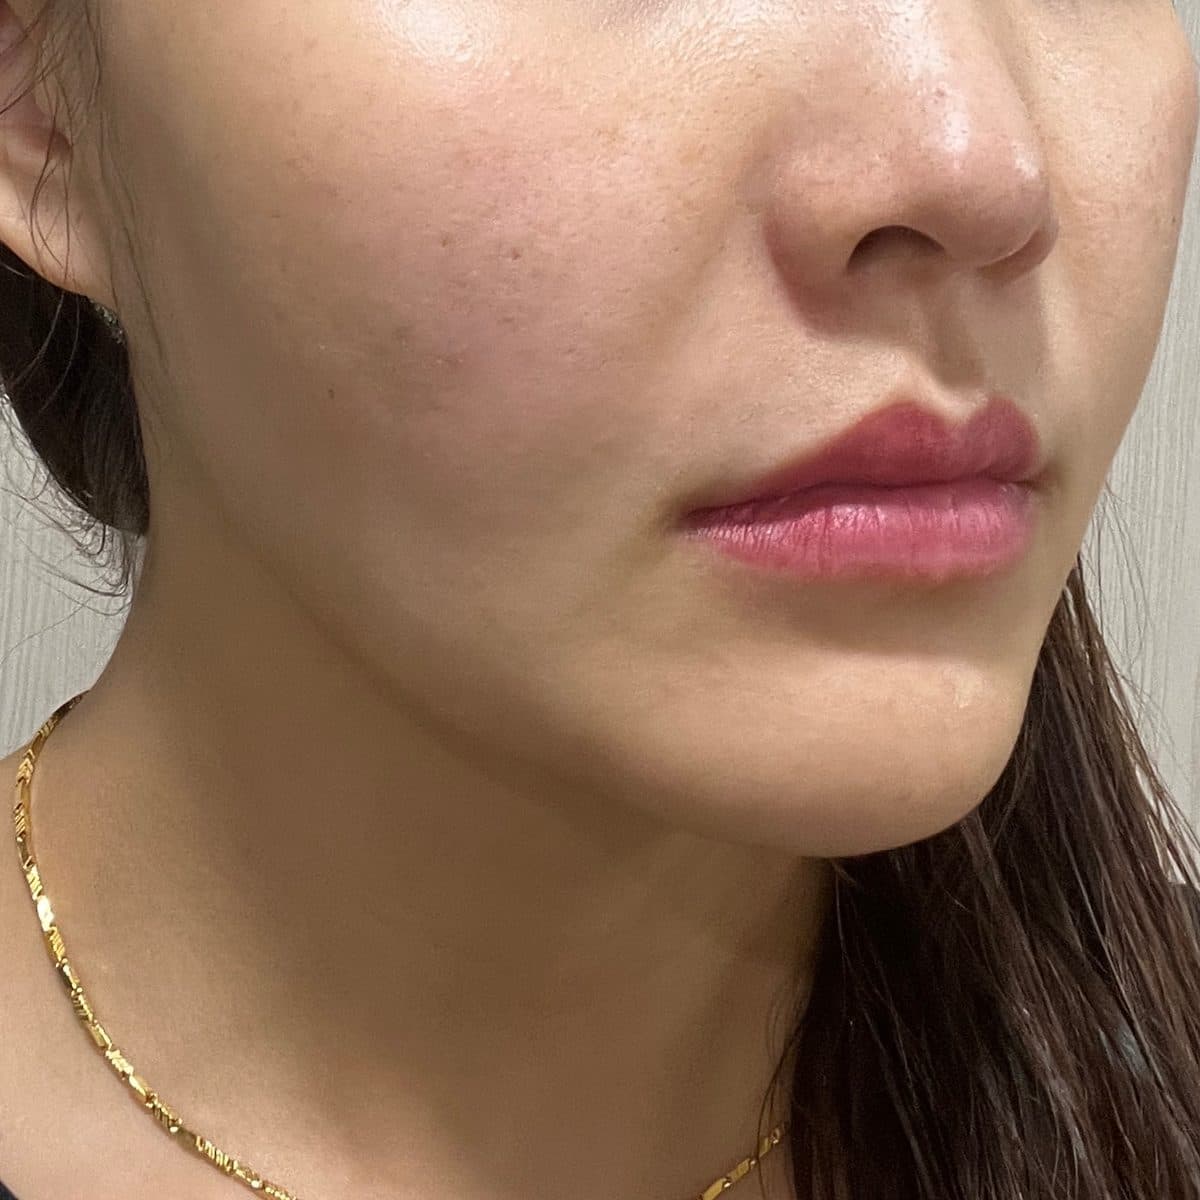 術後Silthera & SiltaniumThread Lifting
 術前
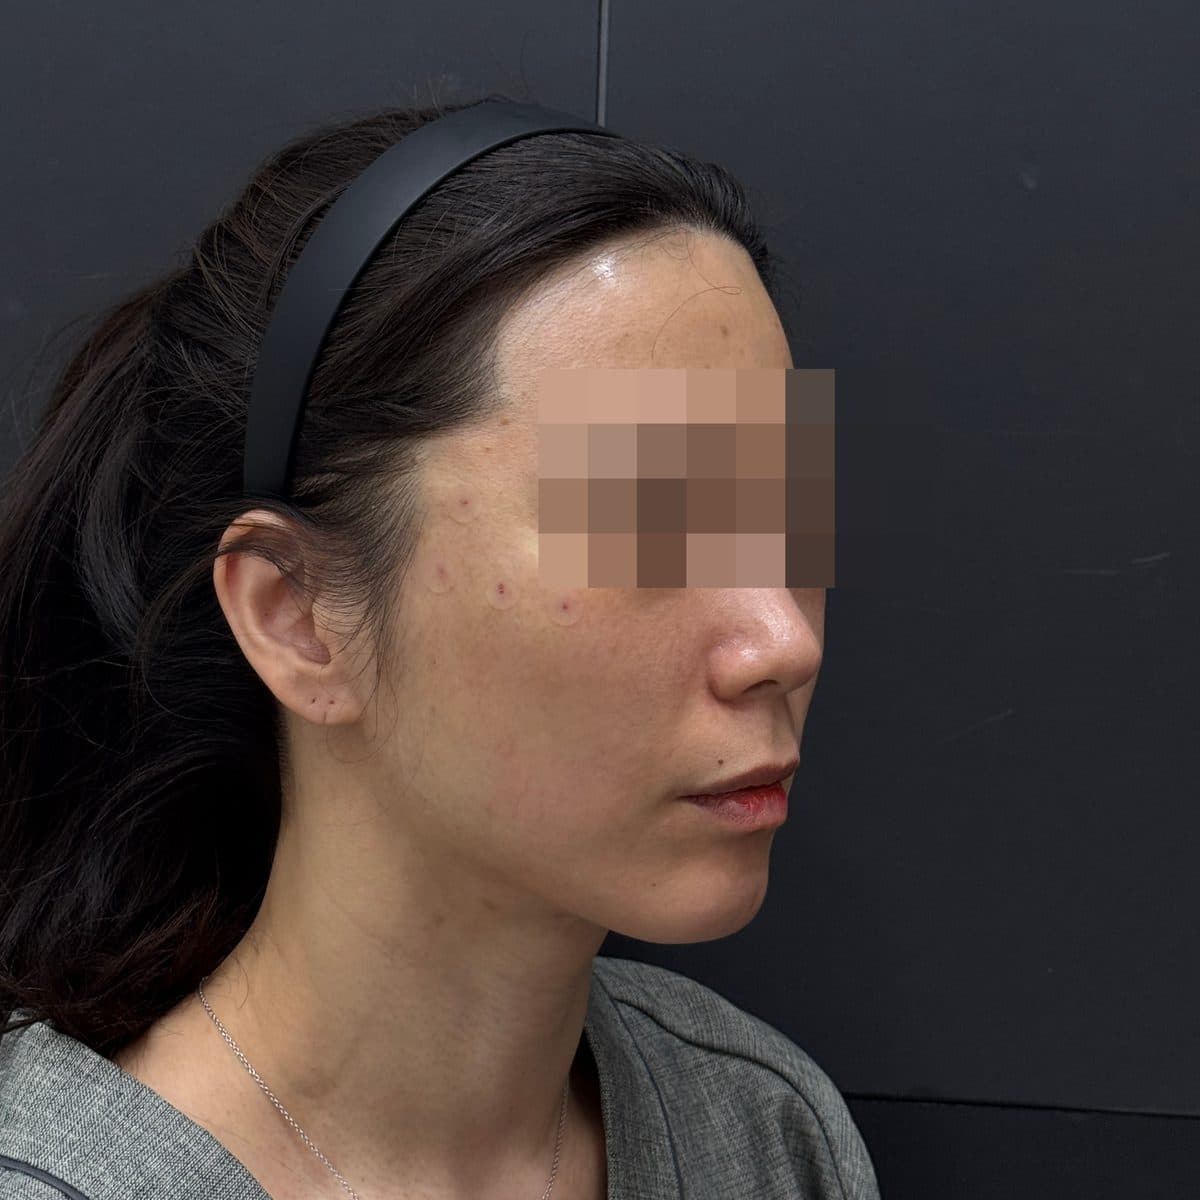 術後Silthera & SiltaniumThread Lifting
 術前
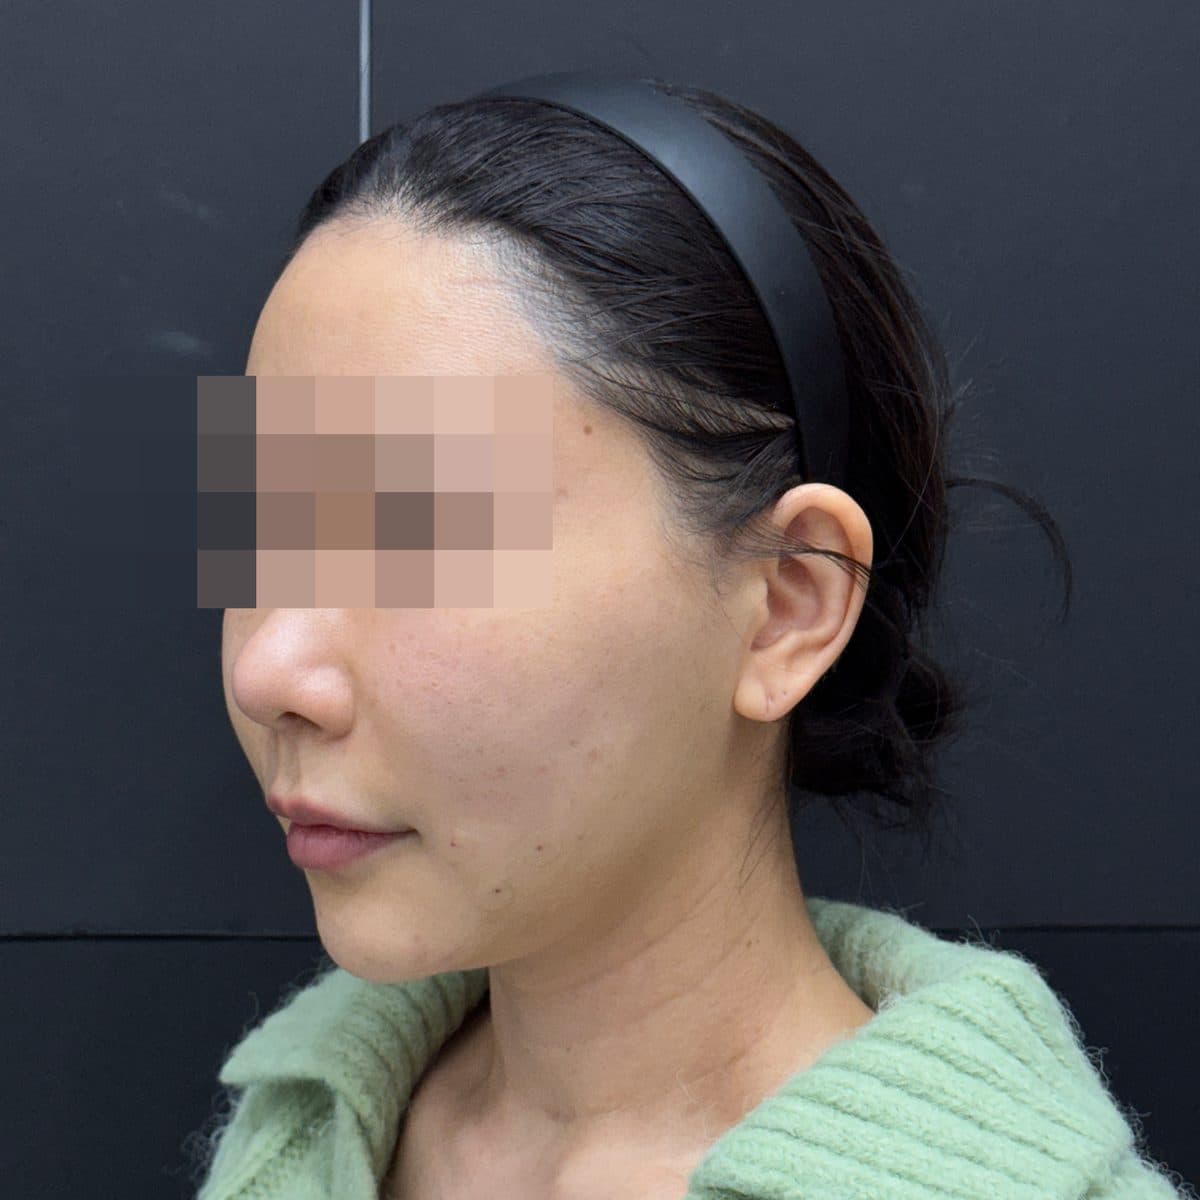 術後Silthera & SiltaniumThread Lifting
 術前
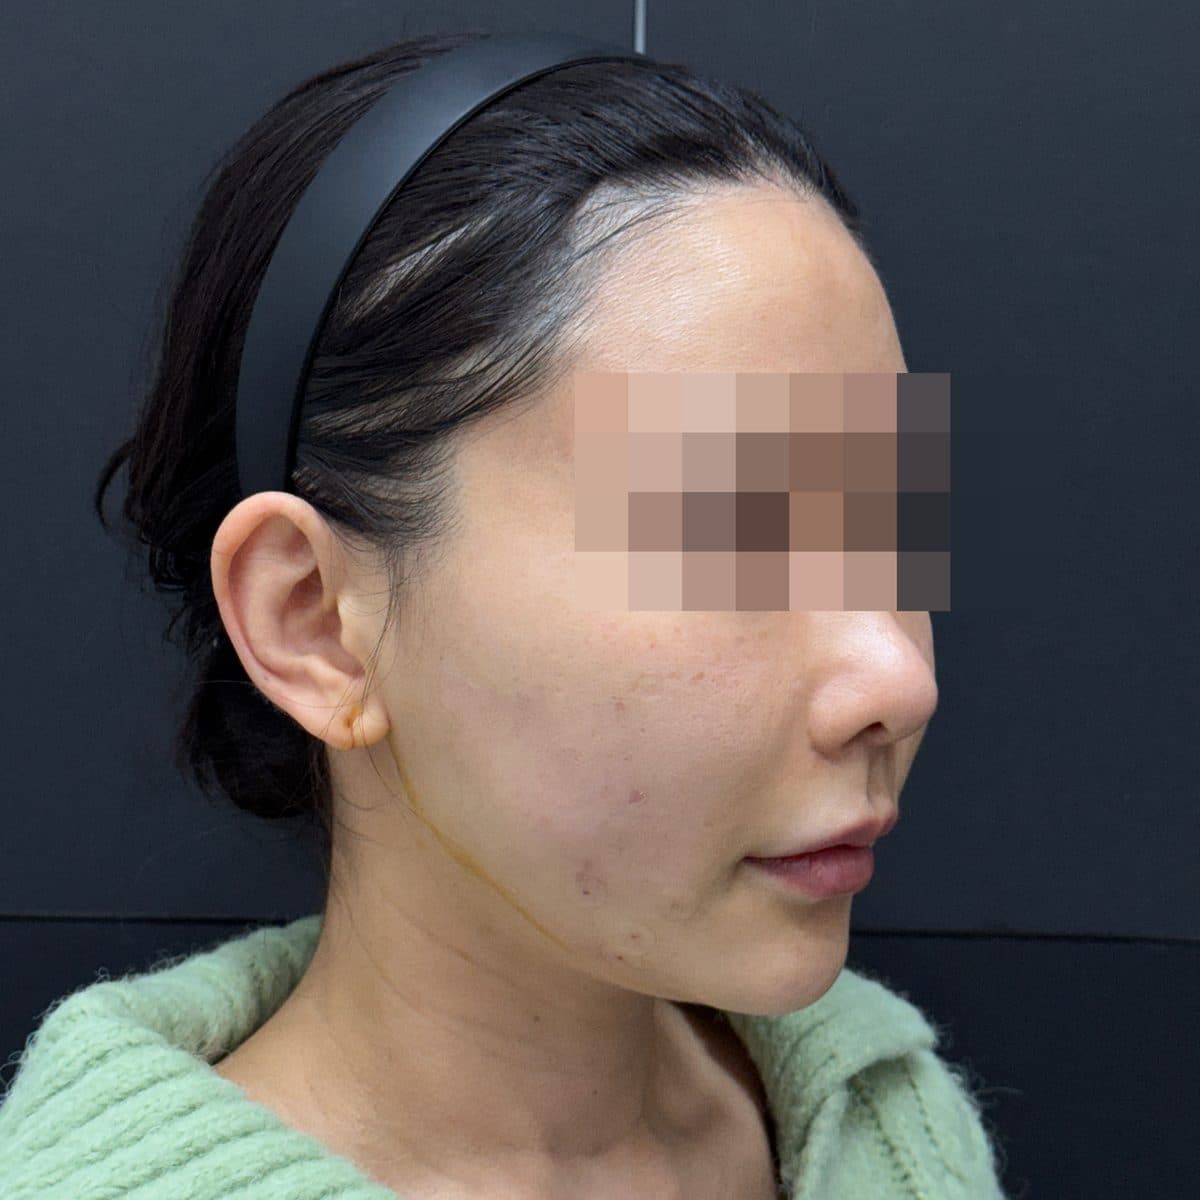 術後Silthera & SiltaniumThread Lifting
 術前
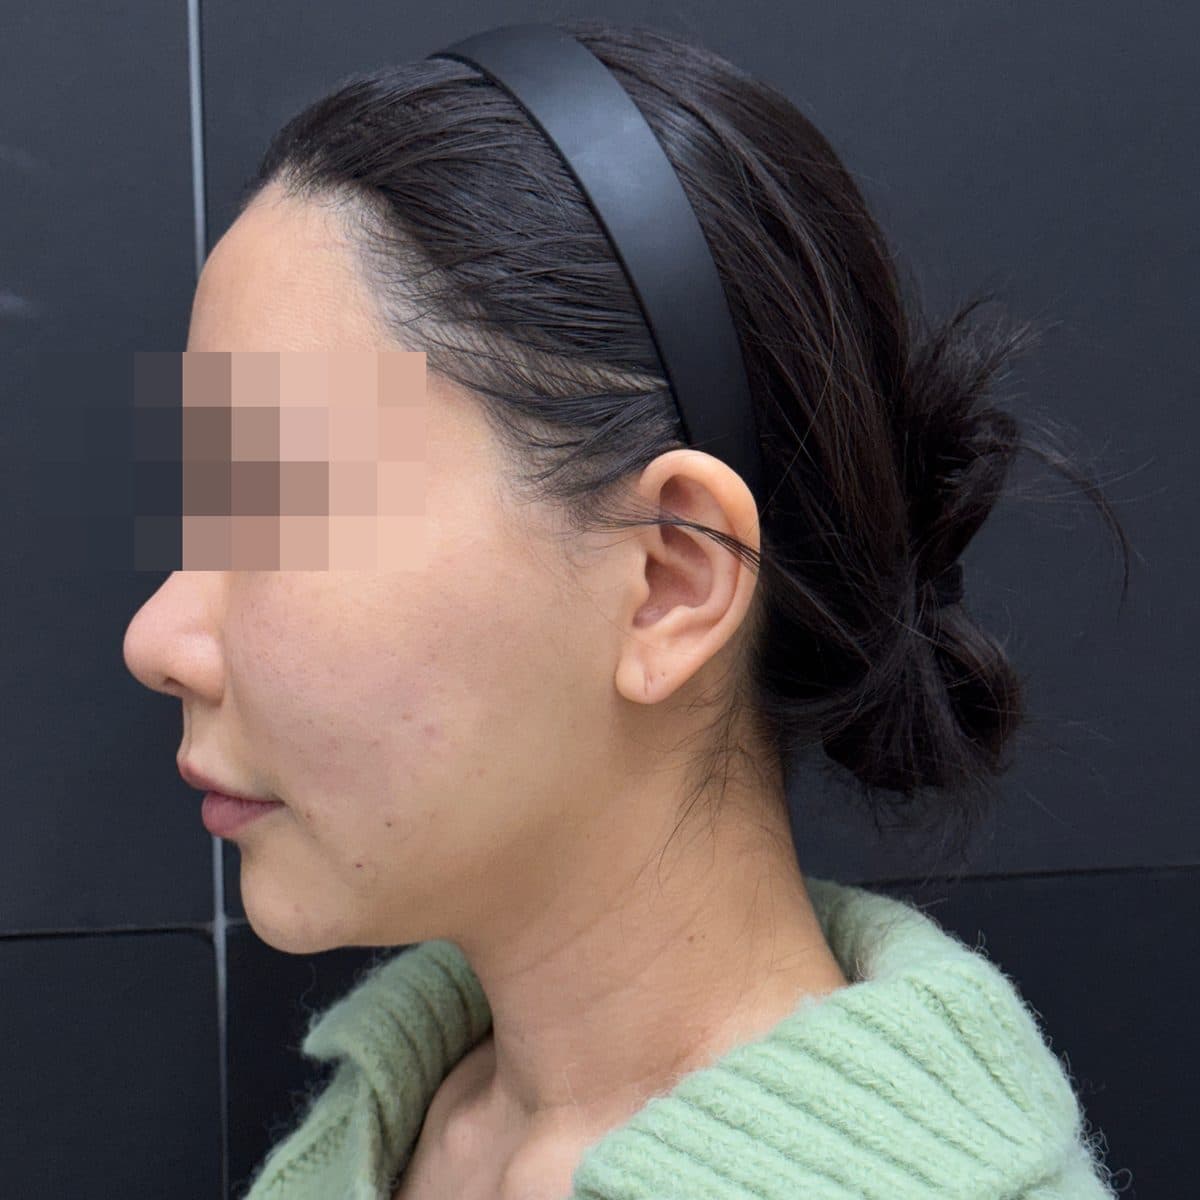 術後Silthera & SiltaniumThread Lifting
 術前
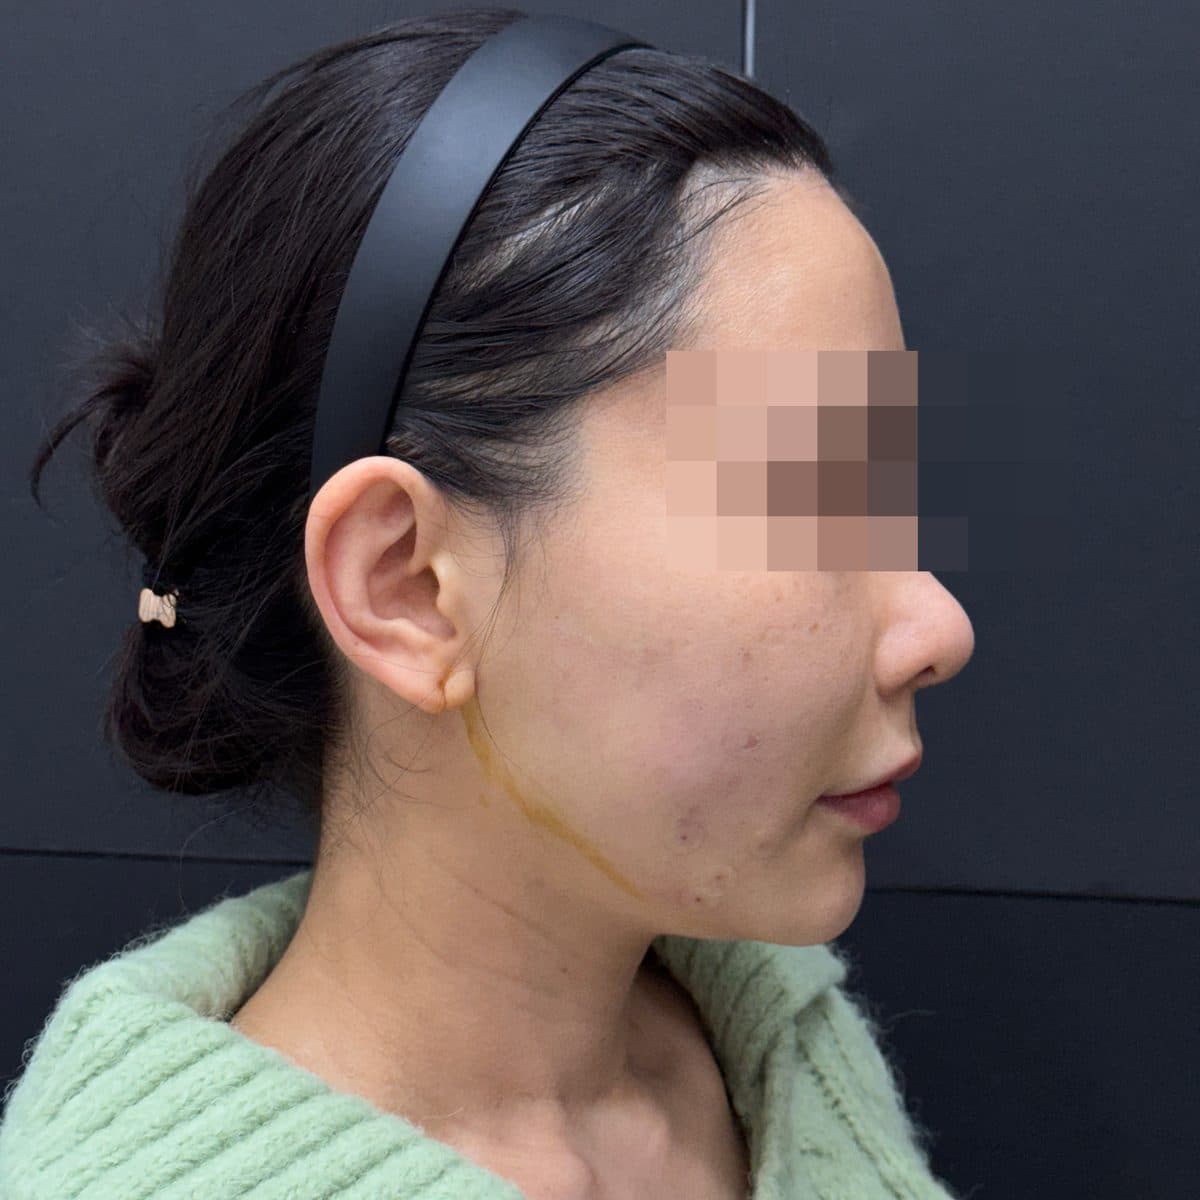 術後Silthera & SiltaniumThread Lifting
 術前
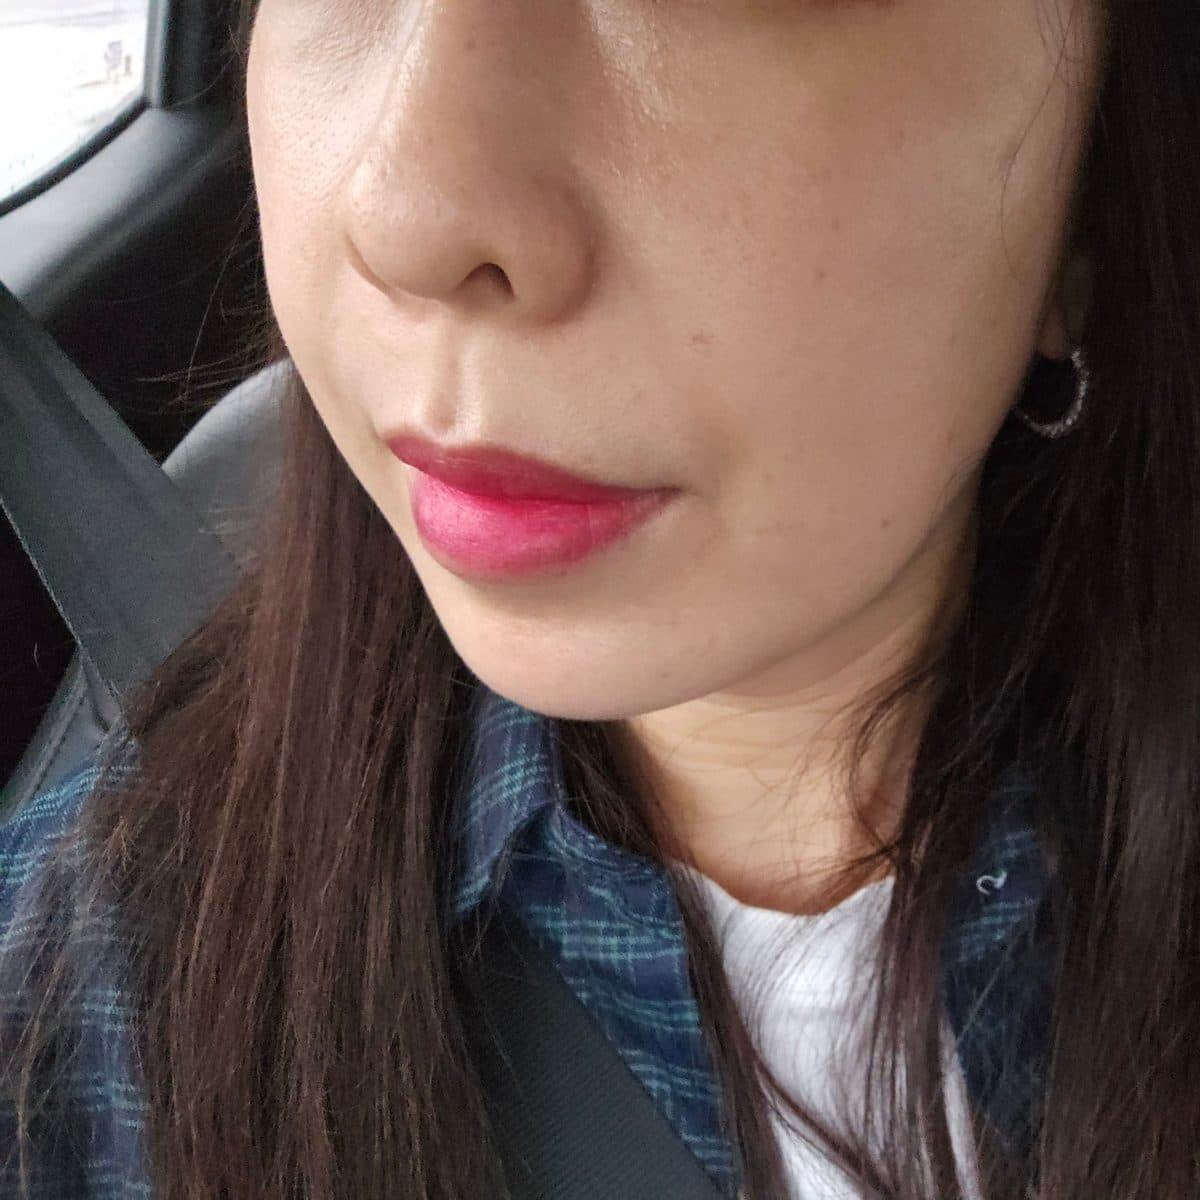 術後Silthera & SiltaniumThread Lifting
 術前
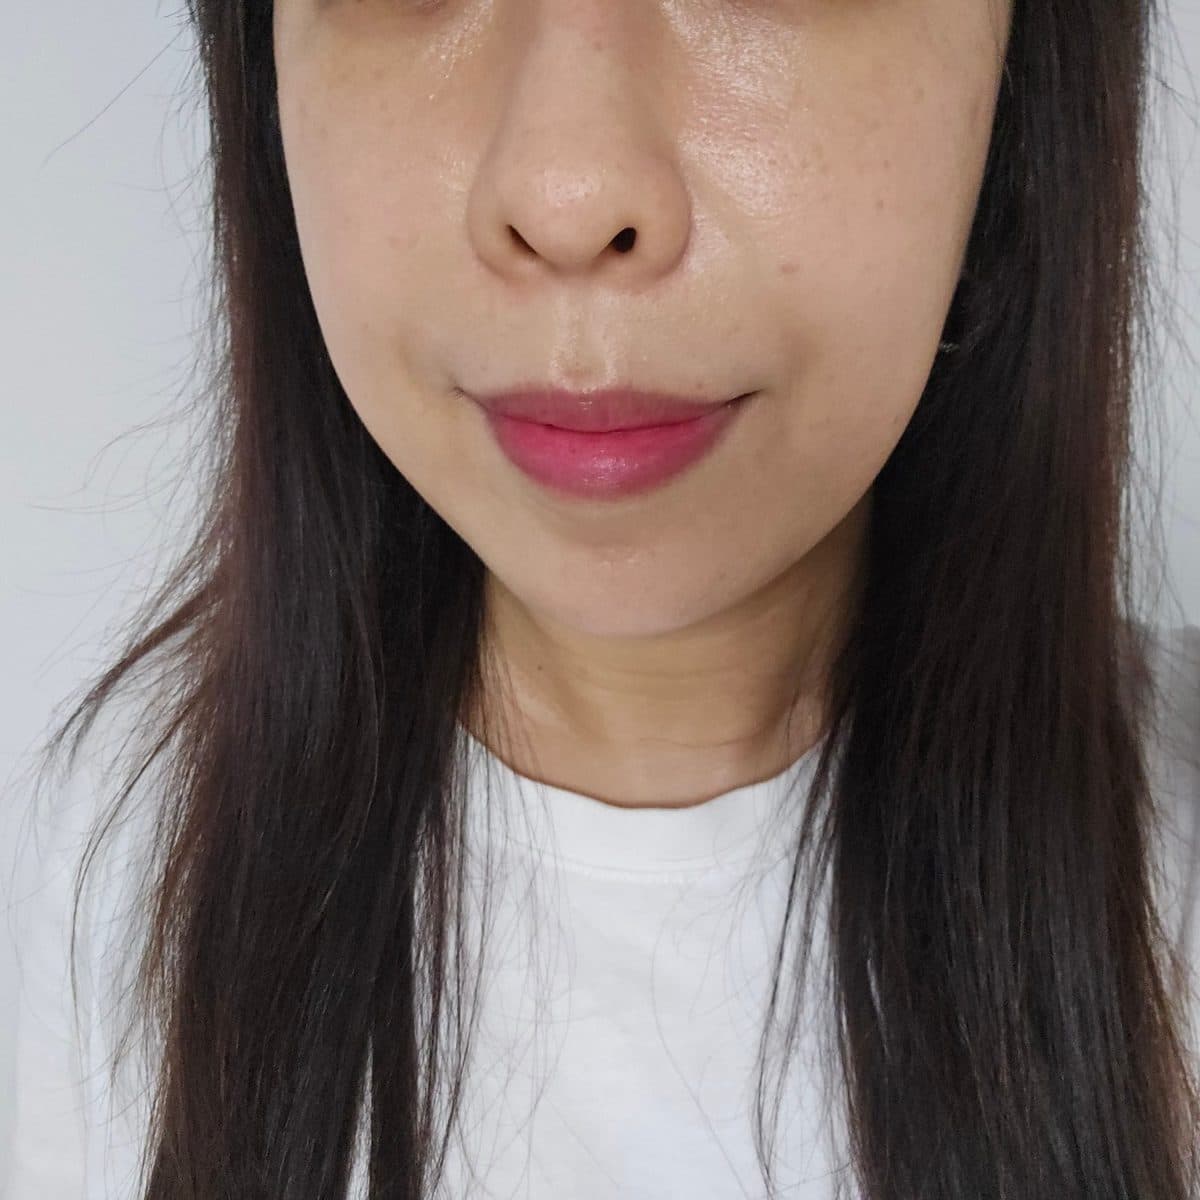 術後Silthera & SiltaniumThread Lifting
 術前
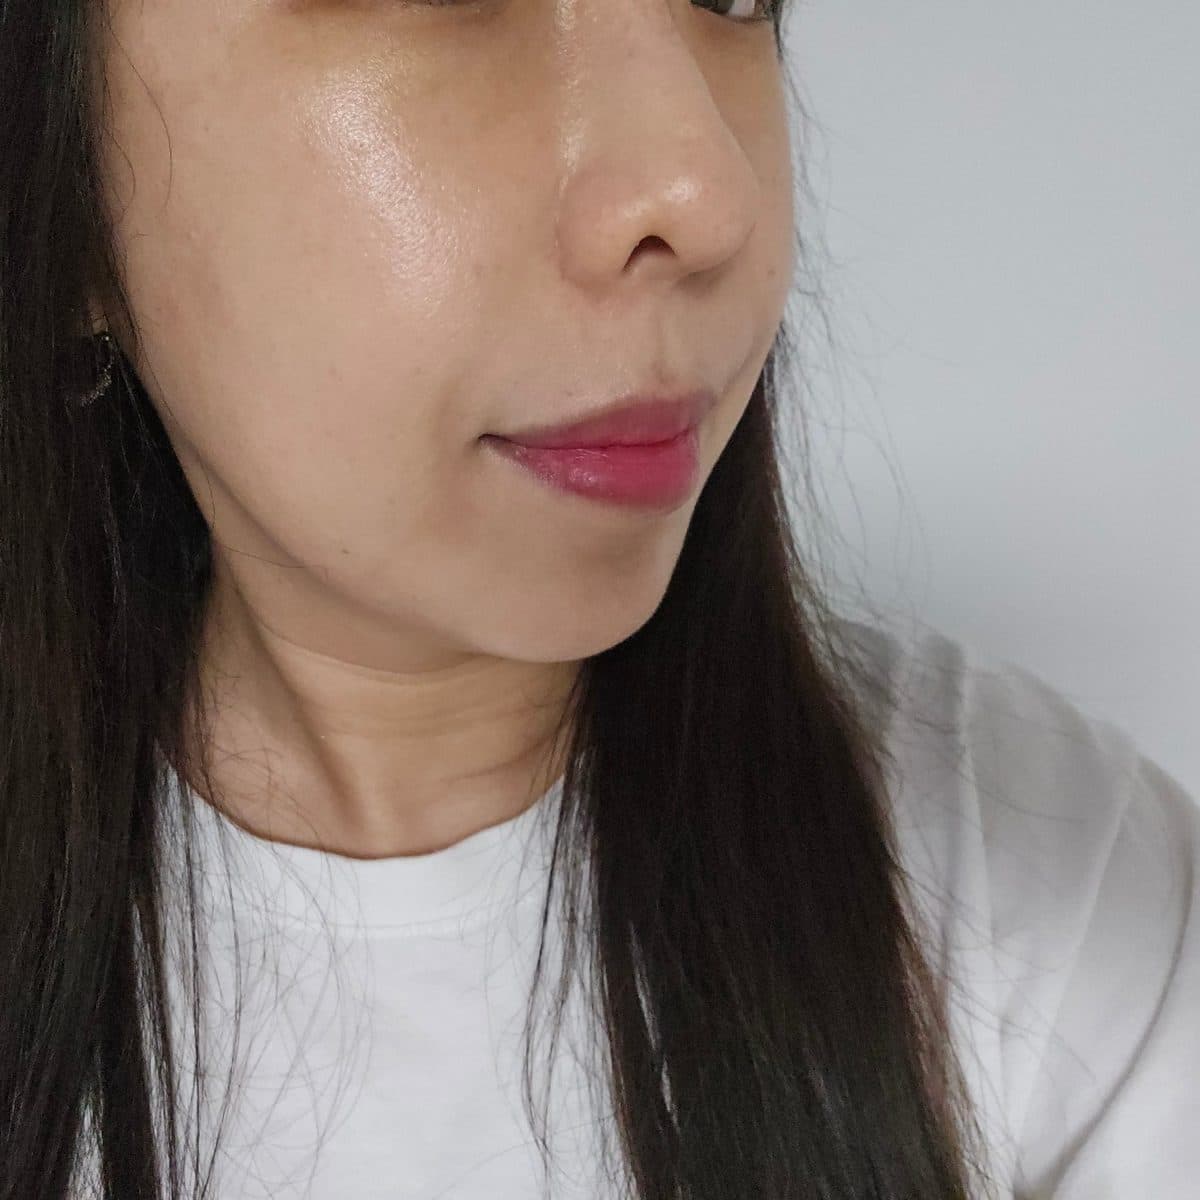 術後Silthera & SiltaniumThread Lifting
 術前
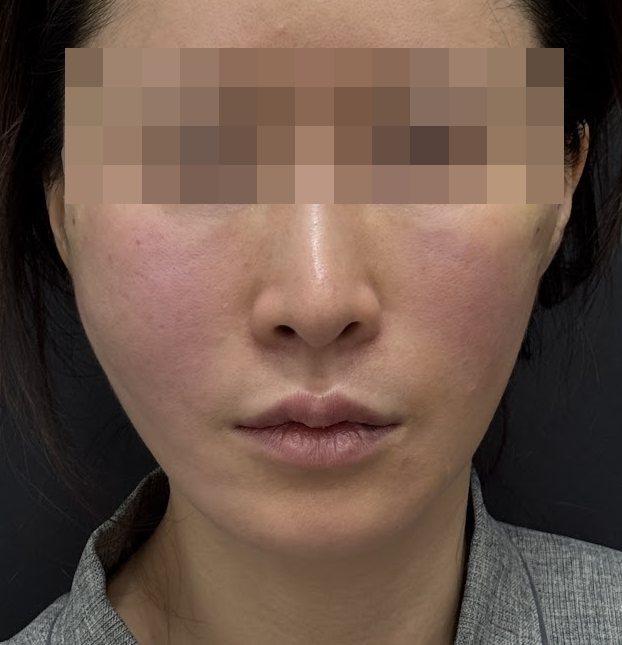 術後Thread LiftingLifting Treatments
 術前
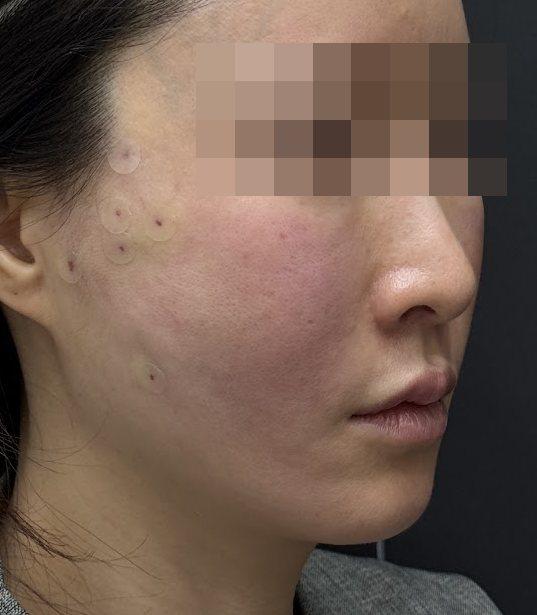 術後Thread LiftingLifting Treatments
 術前
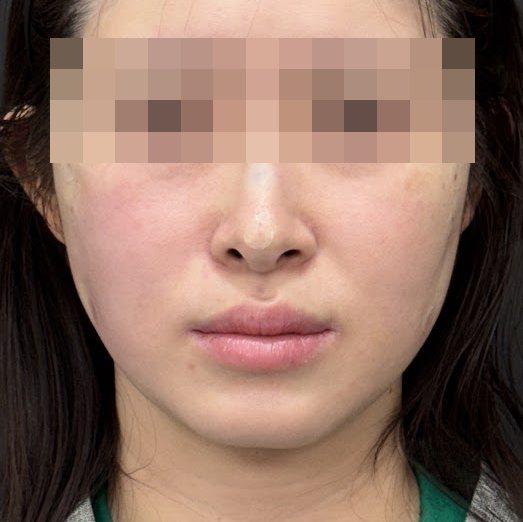 術後Thread LiftingLifting Treatments
 術前
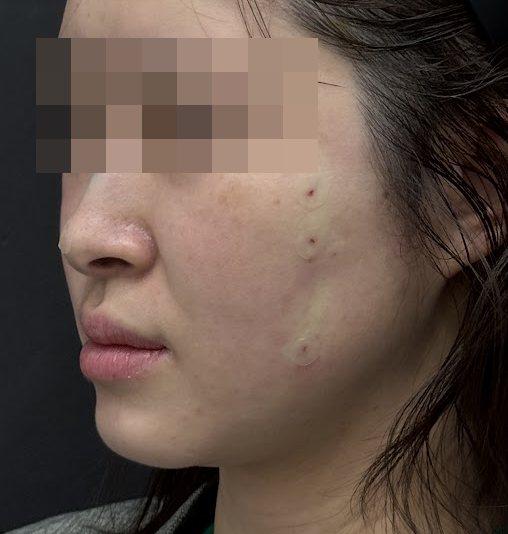 術後Thread LiftingLifting Treatments
 術前
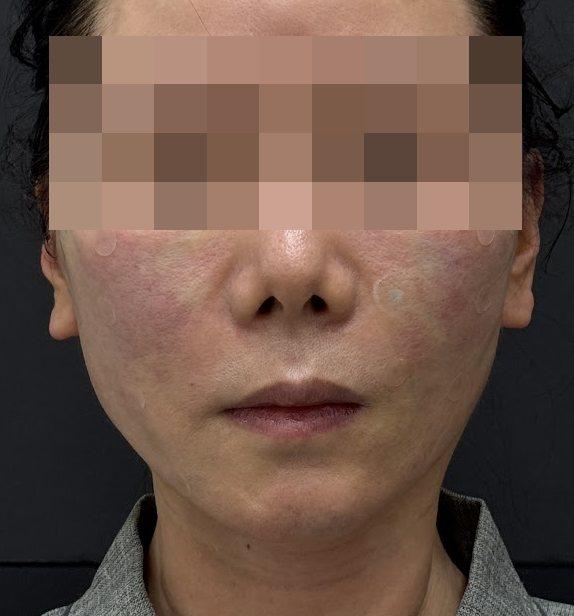 術後Thread LiftingLifting Treatments
 術前
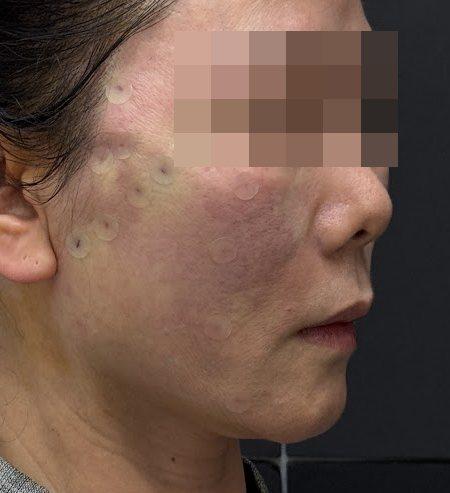 術後Thread LiftingLifting Treatments
 術前
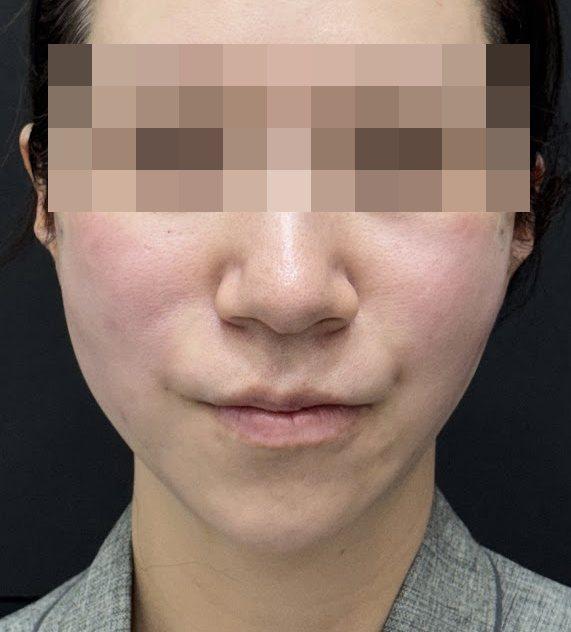 術後Thread LiftingLifting Treatments
 術前
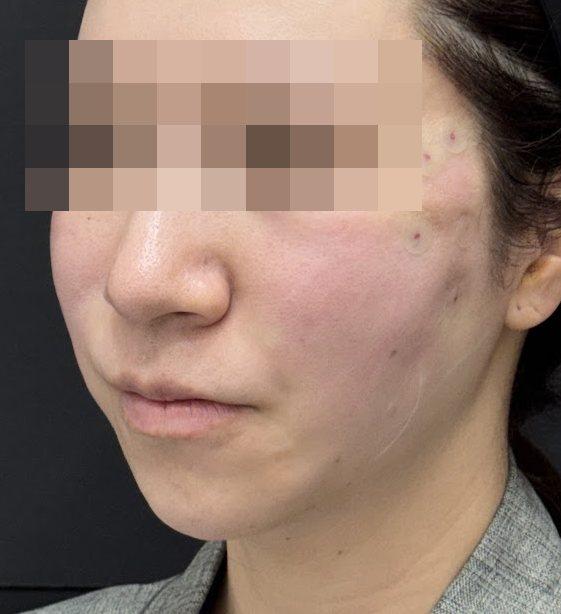 術後Thread LiftingLifting Treatments
 術前
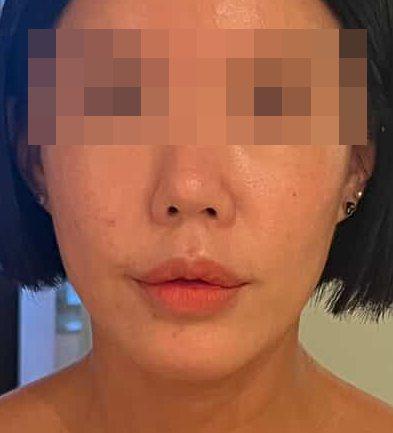 術後Silthera & SiltaniumThread Lifting
 術前
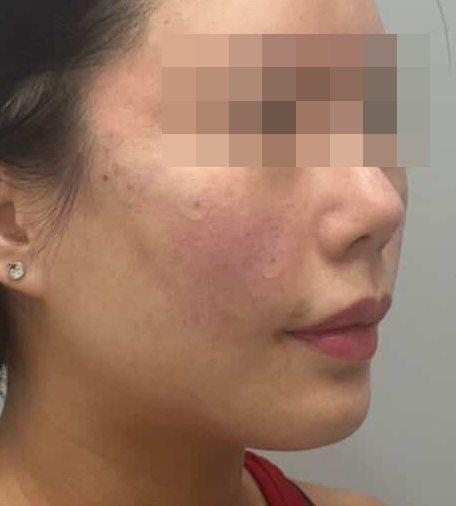 術後Silthera & SiltaniumThread Lifting
 術前
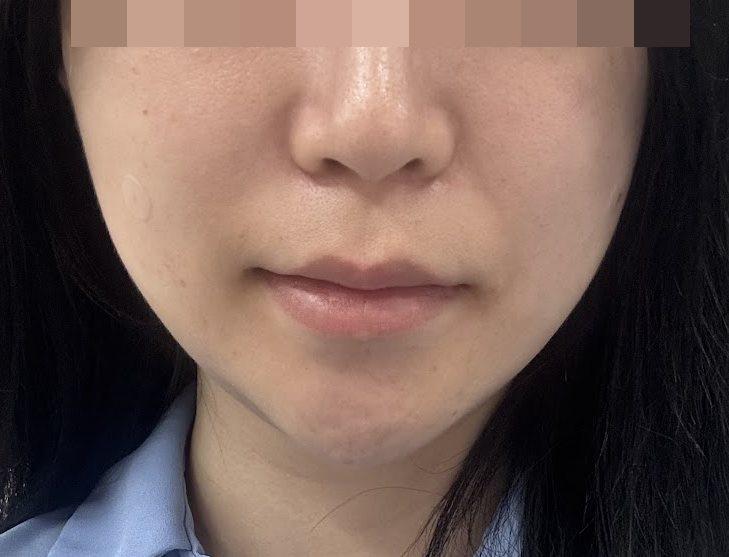 術後Thread LiftingLifting Treatments
 術前
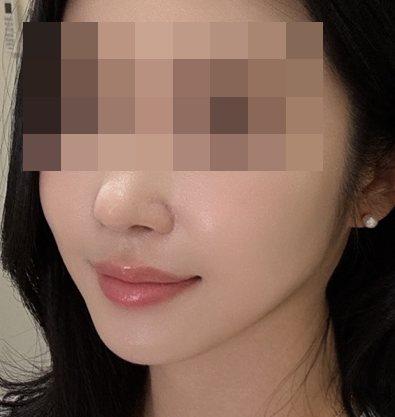 術後Thread LiftingLifting Treatments
 術前
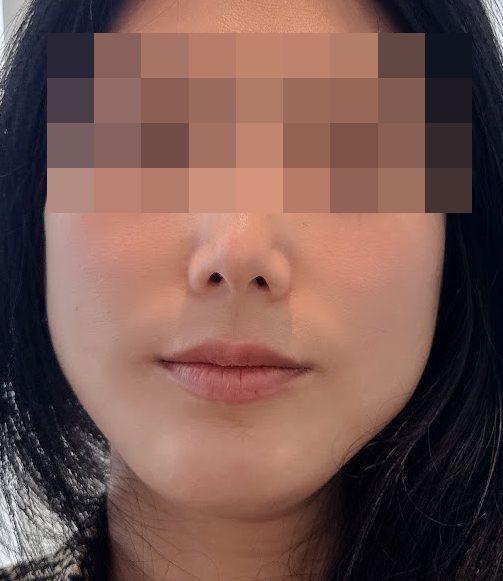 術後Soprano TitaniumLifting Treatments
 術前
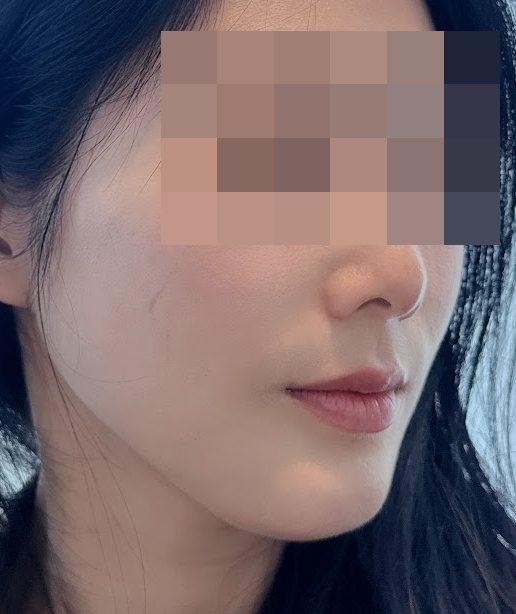 術後Soprano TitaniumLifting Treatments
 術前
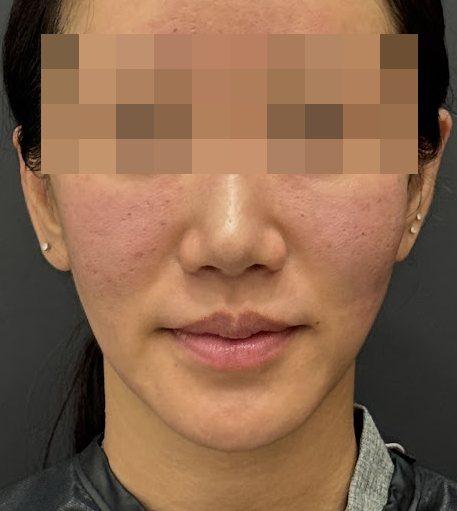 術後Soprano TitaniumLifting Treatments
 術前
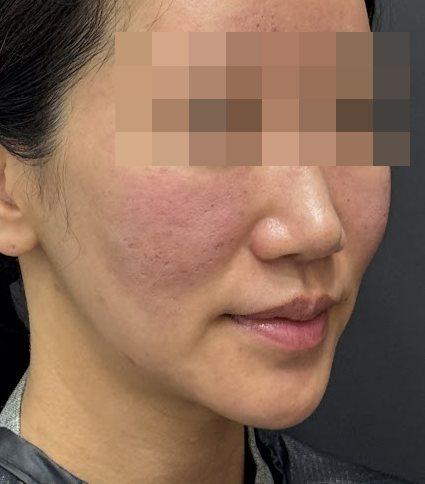 術後Soprano TitaniumLifting Treatments
 術前
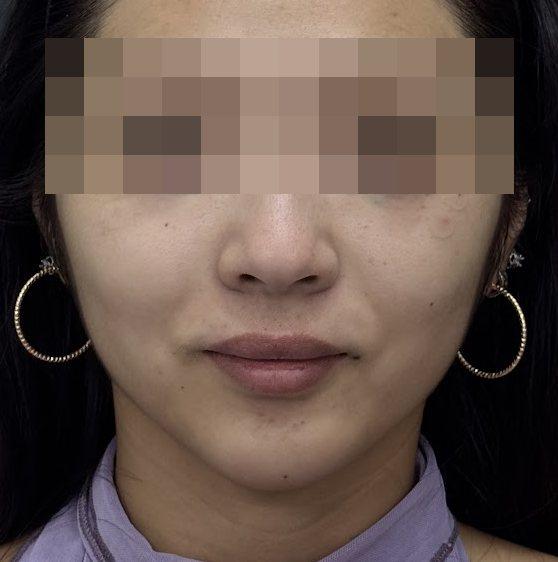 術後10Thera LiftingLifting Treatments
 術前
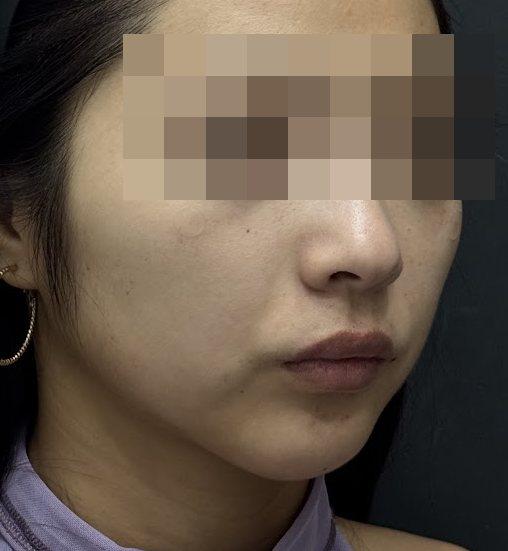 術後10Thera LiftingLifting Treatments
 術前
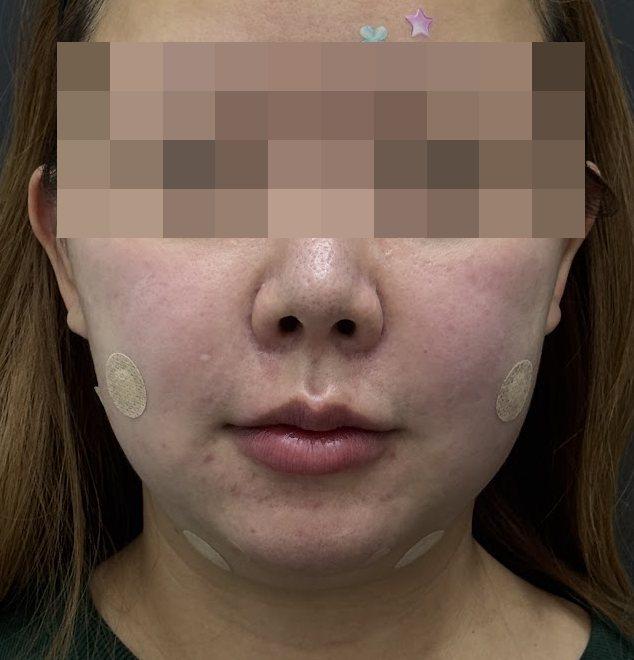 術後10Thera LiftingLifting Treatments
 術前
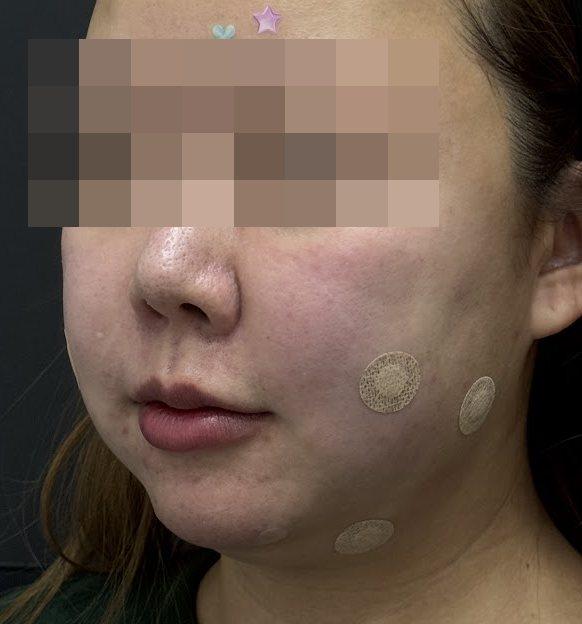 術後10Thera LiftingLifting Treatments
 術前
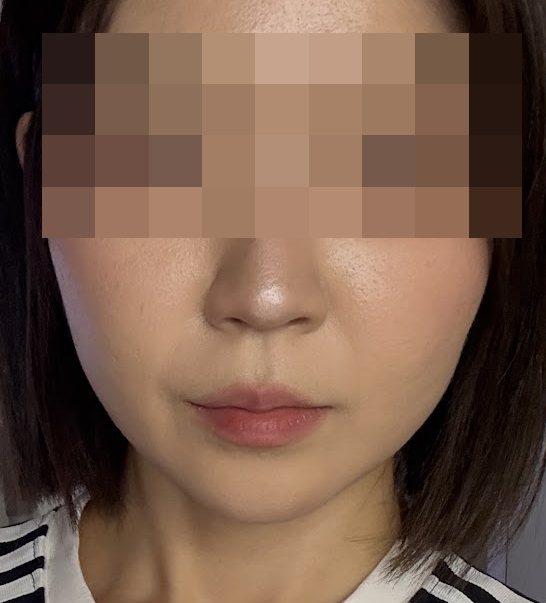 術後10Thera LiftingLifting Treatments
 術前
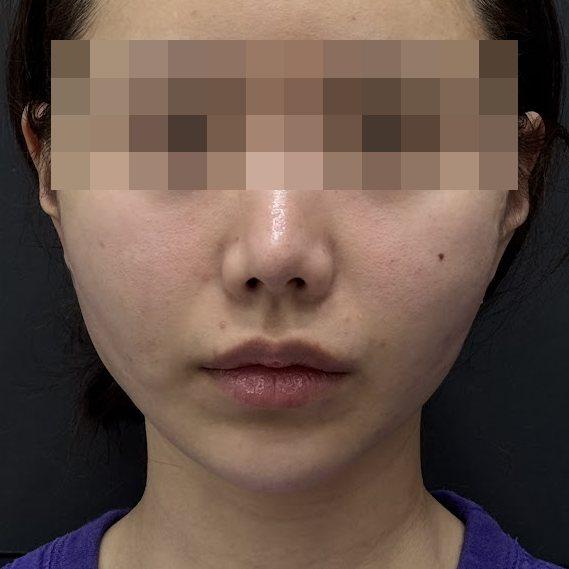 術後10Thera LiftingLifting Treatments
 術前
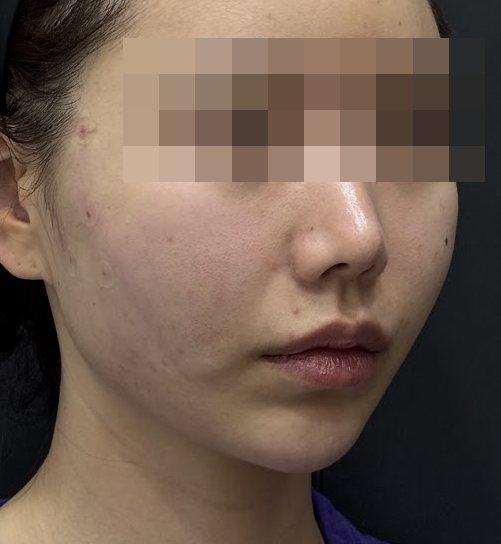 術後10Thera LiftingLifting Treatments
 術前
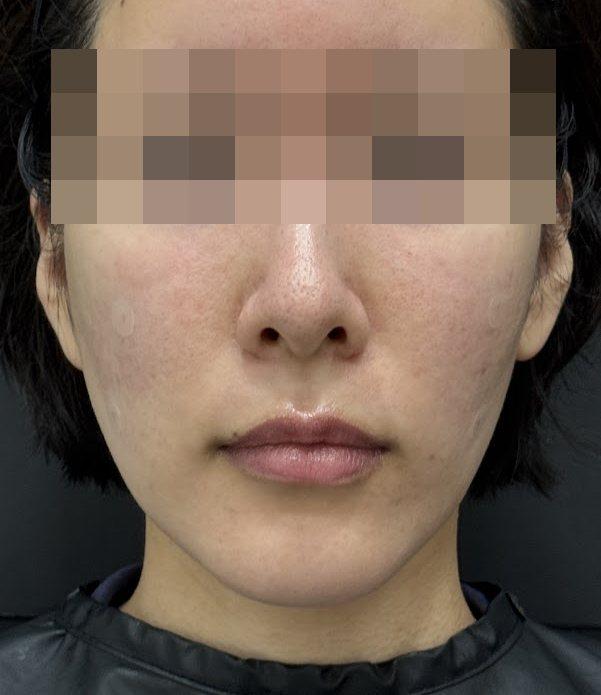 術後JuvelookSkin Regeneration & Boosters
 術前
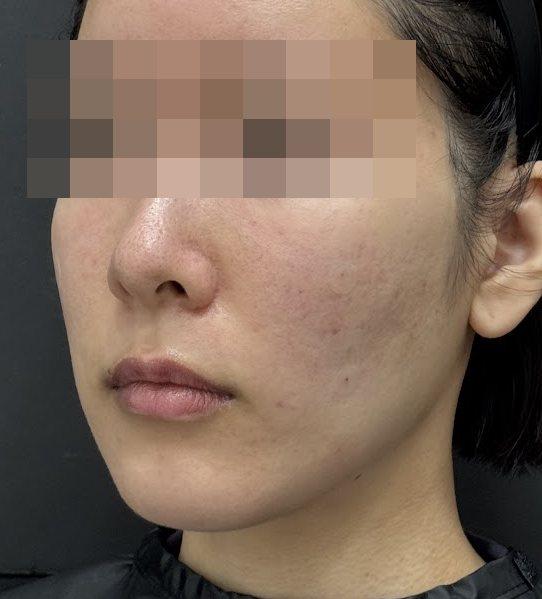 術後JuvelookSkin Regeneration & Boosters
 術前
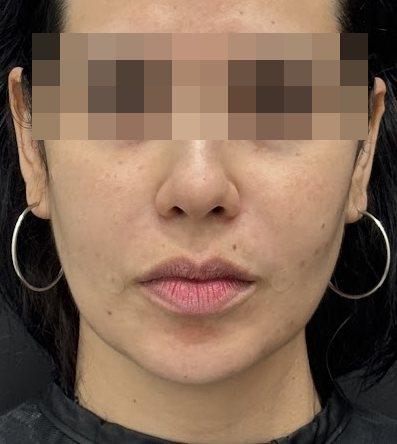 術後JuvelookSkin Regeneration & Boosters
 術前
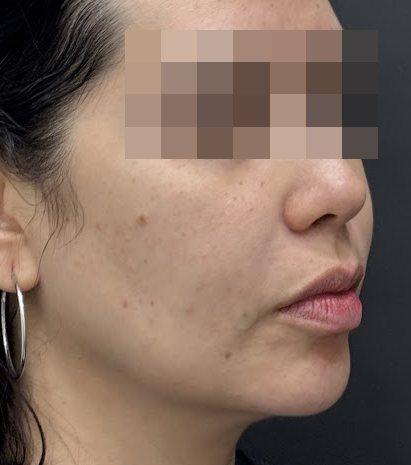 術後JuvelookSkin Regeneration & Boosters
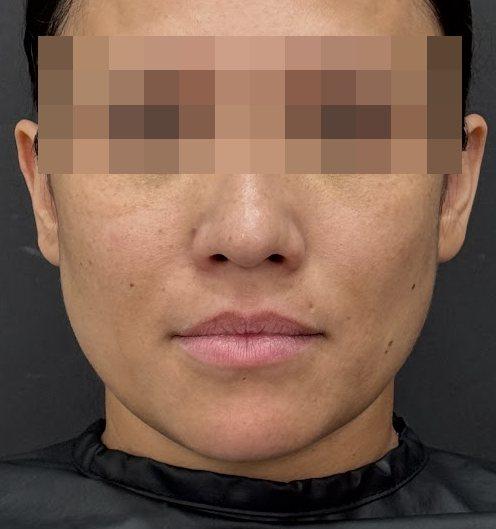 術前
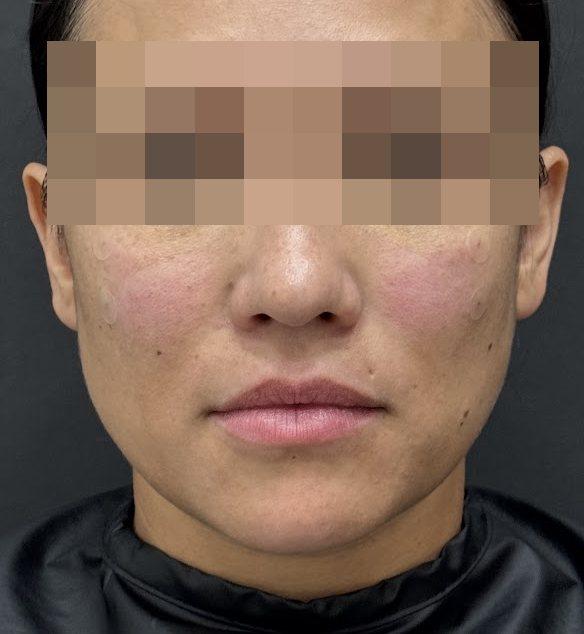 術後HILO WAVE Skin BoosterSkin Regeneration & Boosters
 術前
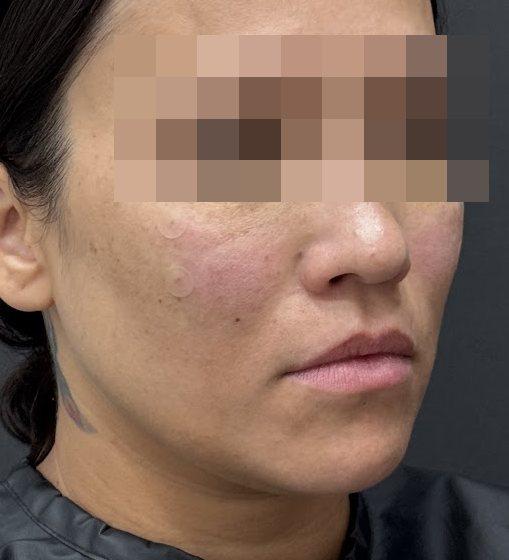 術後HILO WAVE Skin BoosterSkin Regeneration & Boosters
 術前
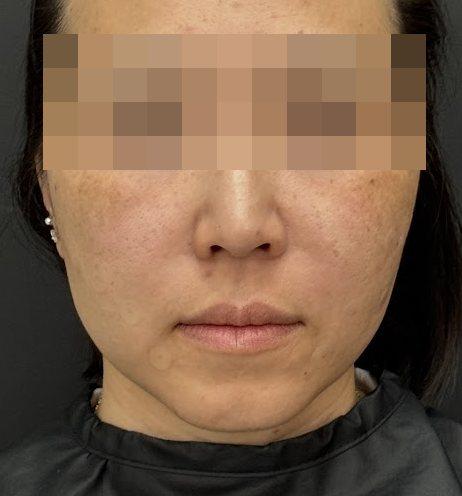 術後HILO WAVE Skin BoosterSkin Regeneration & Boosters
 術前
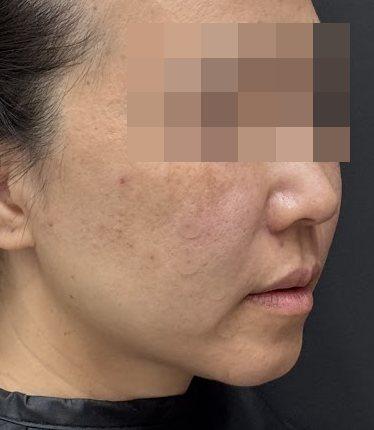 術後HILO WAVE Skin BoosterSkin Regeneration & Boosters
 術前
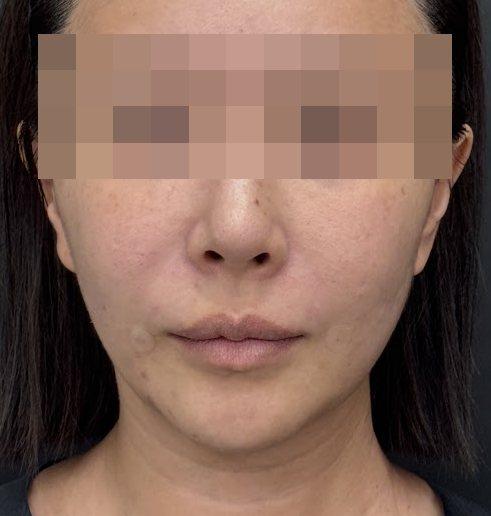 術後HILO WAVE Skin BoosterSkin Regeneration & Boosters
 術前
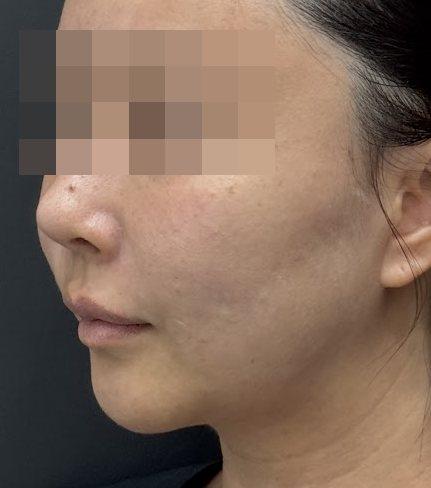 術後HILO WAVE Skin BoosterSkin Regeneration & Boosters
 術前
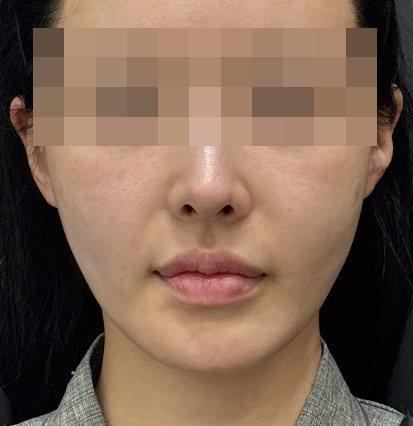 術後HILO WAVE Skin BoosterSkin Regeneration & Boosters
 術前
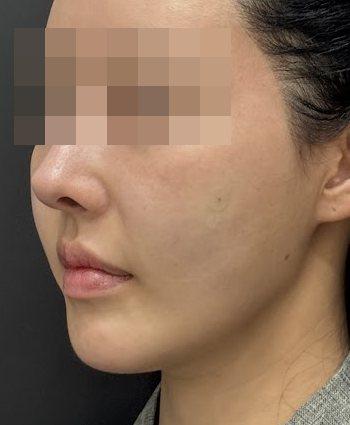 術後HILO WAVE Skin BoosterSkin Regeneration & Boosters
 術前
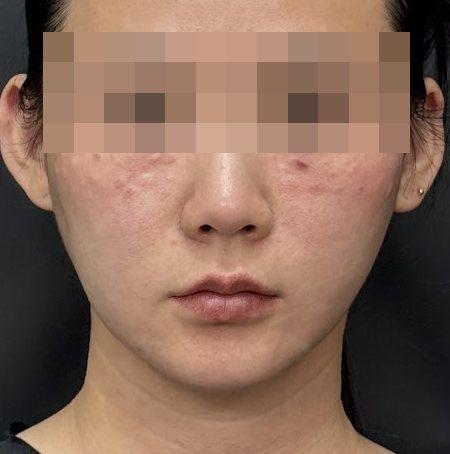 術後HILO WAVE Skin BoosterSkin Regeneration & Boosters
 術前
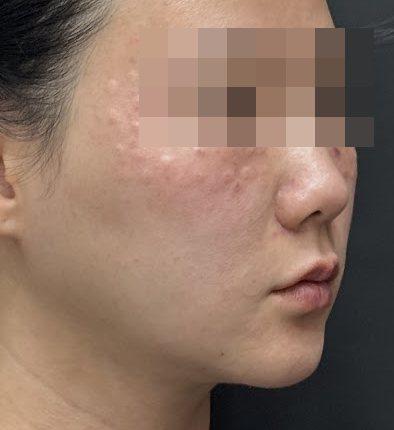 術後HILO WAVE Skin BoosterSkin Regeneration & Boosters
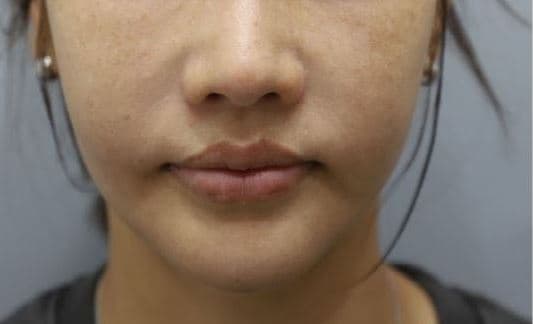 術前
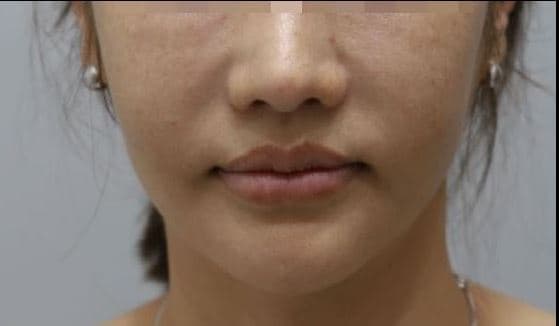 術後Sok-Sok Face InjectionFace & Body Contouring
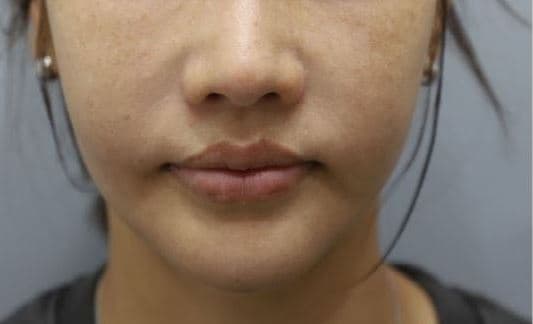 術前
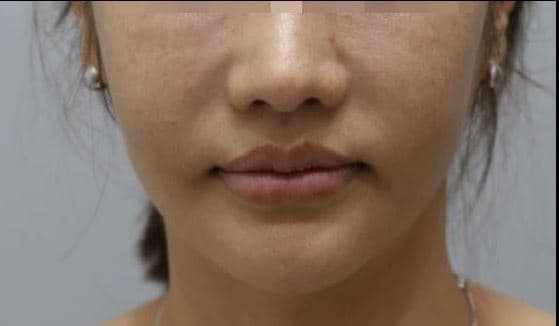 術後Sok-Sok Face InjectionFace & Body Contouring
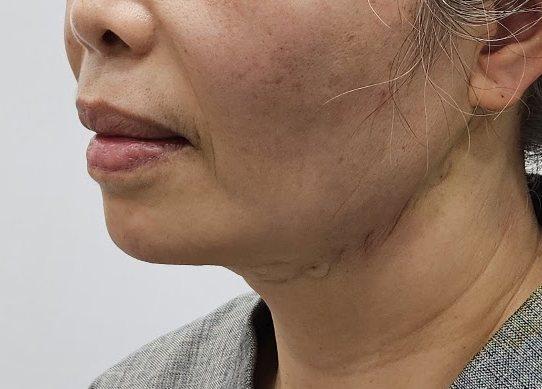 術前
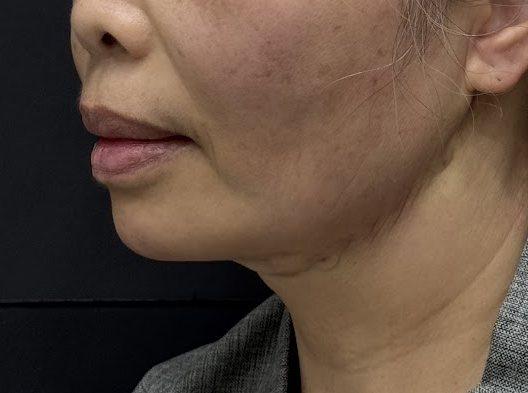 術後Sok-Sok Face InjectionFace & Body Contouring
 術前
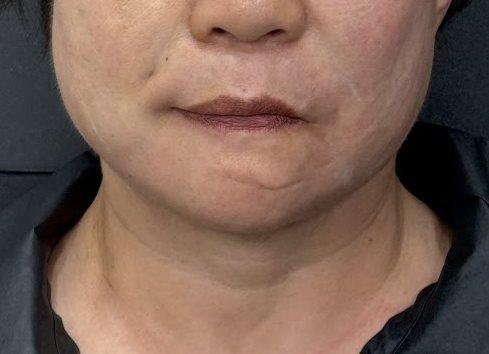 術後Sok-Sok Face InjectionFace & Body Contouring
 術前
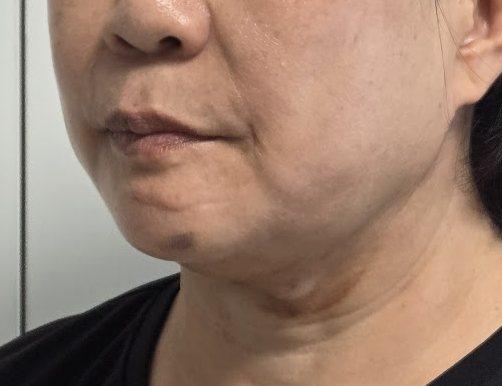 術後Sok-Sok Face InjectionFace & Body Contouring
 術前
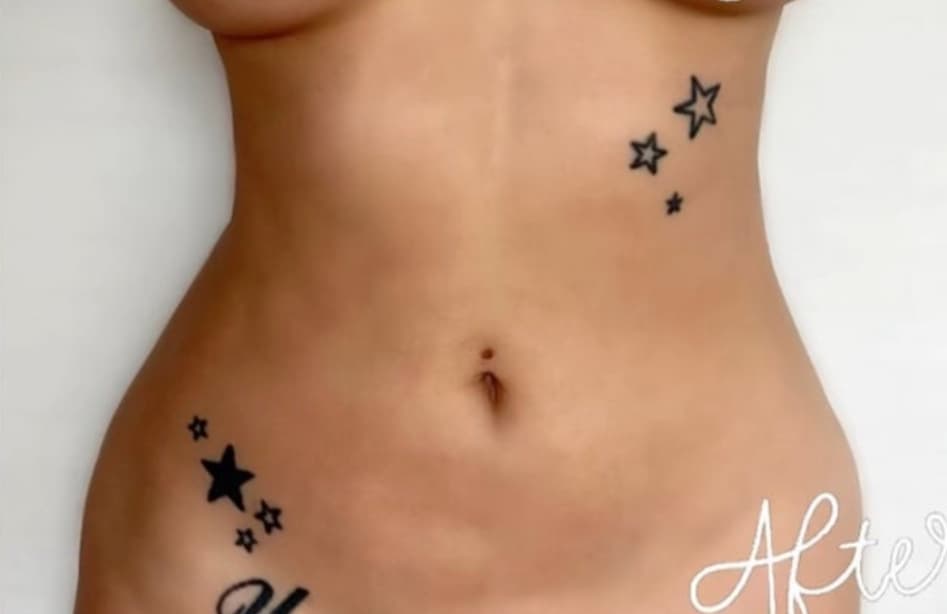 術後Abdomen Sok-Sok InjectionSok-Sok Body Injection
 術前
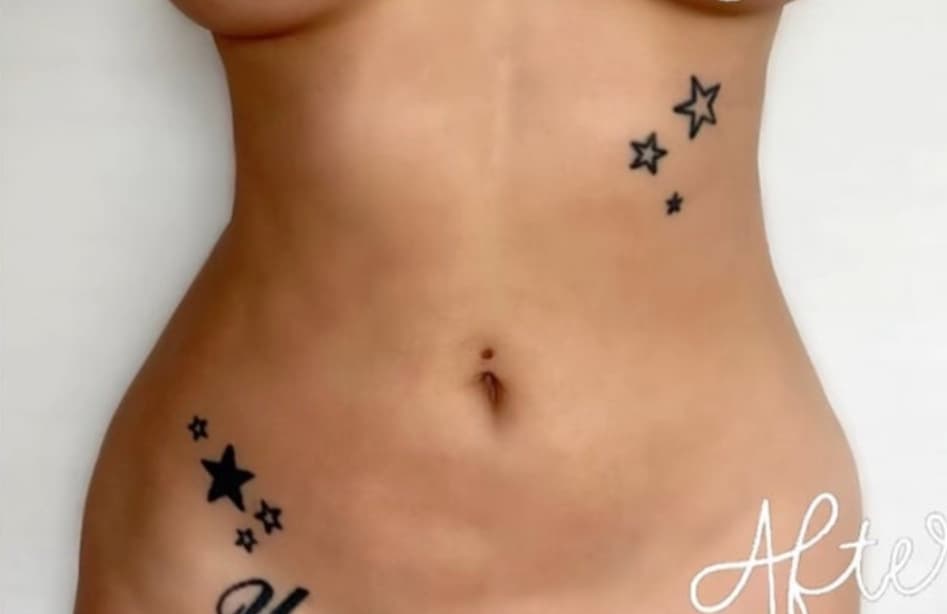 術後Abdomen Sok-Sok InjectionSok-Sok Body Injection
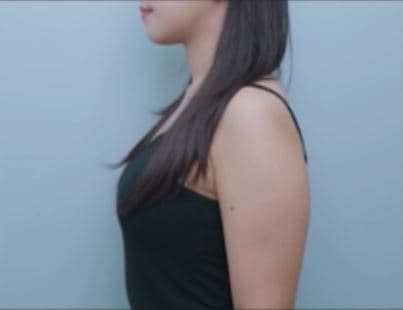 術前
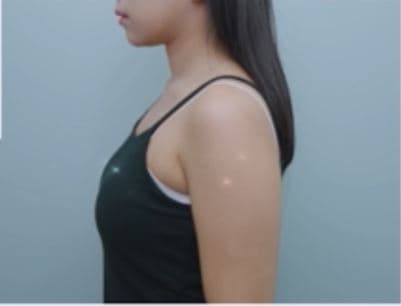 術後Arm Sok-Sok InjectionSok-Sok Body Injection
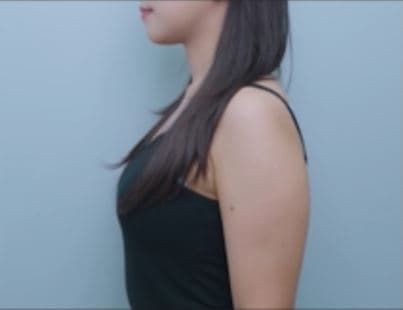 術前
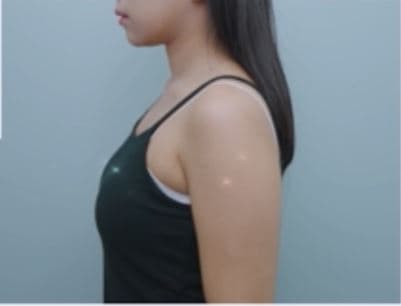 術後Arm Sok-Sok InjectionSok-Sok Body Injection
 術前
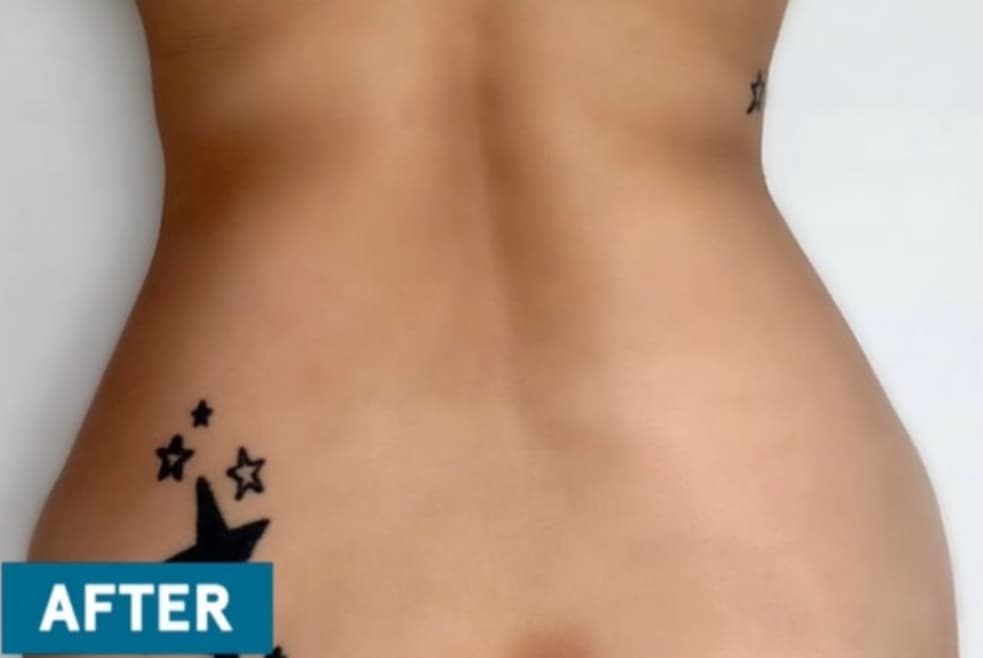 術後Love Handle Sok-Sok InjectionSok-Sok Body Injection
 術前
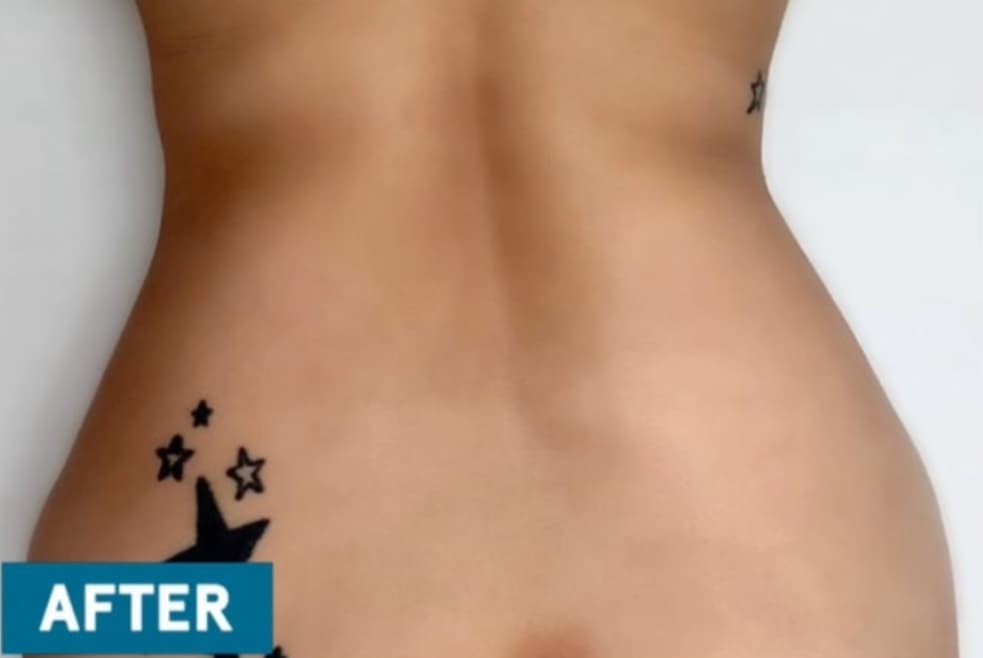 術後Love Handle Sok-Sok InjectionSok-Sok Body Injection
 術前
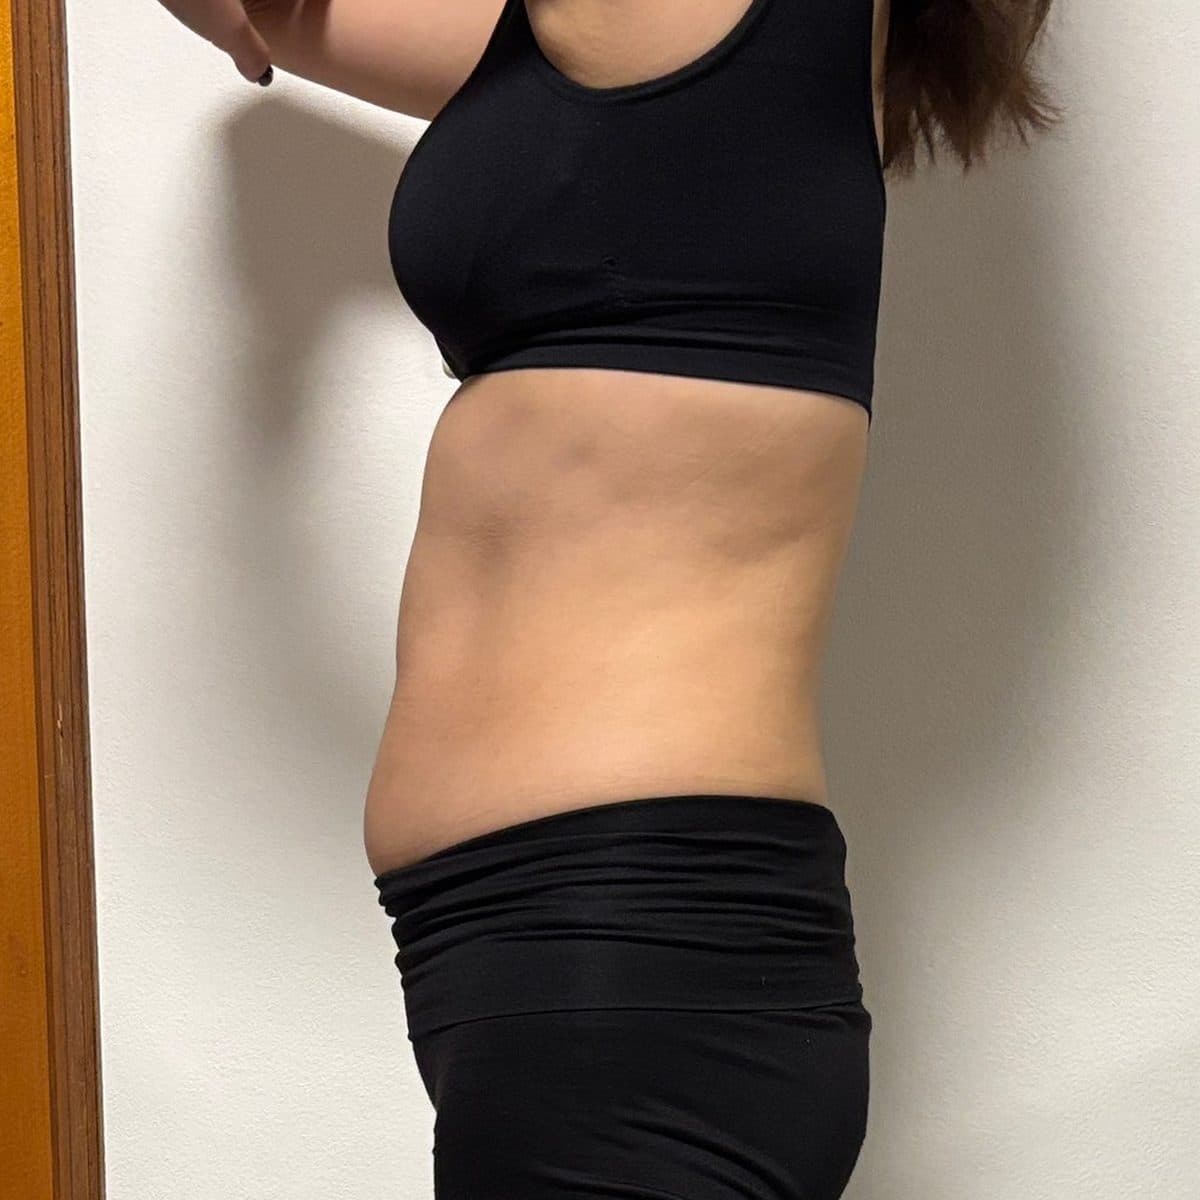 術後Abdomen Sok-Sok InjectionSok-Sok Body Injection
 術前
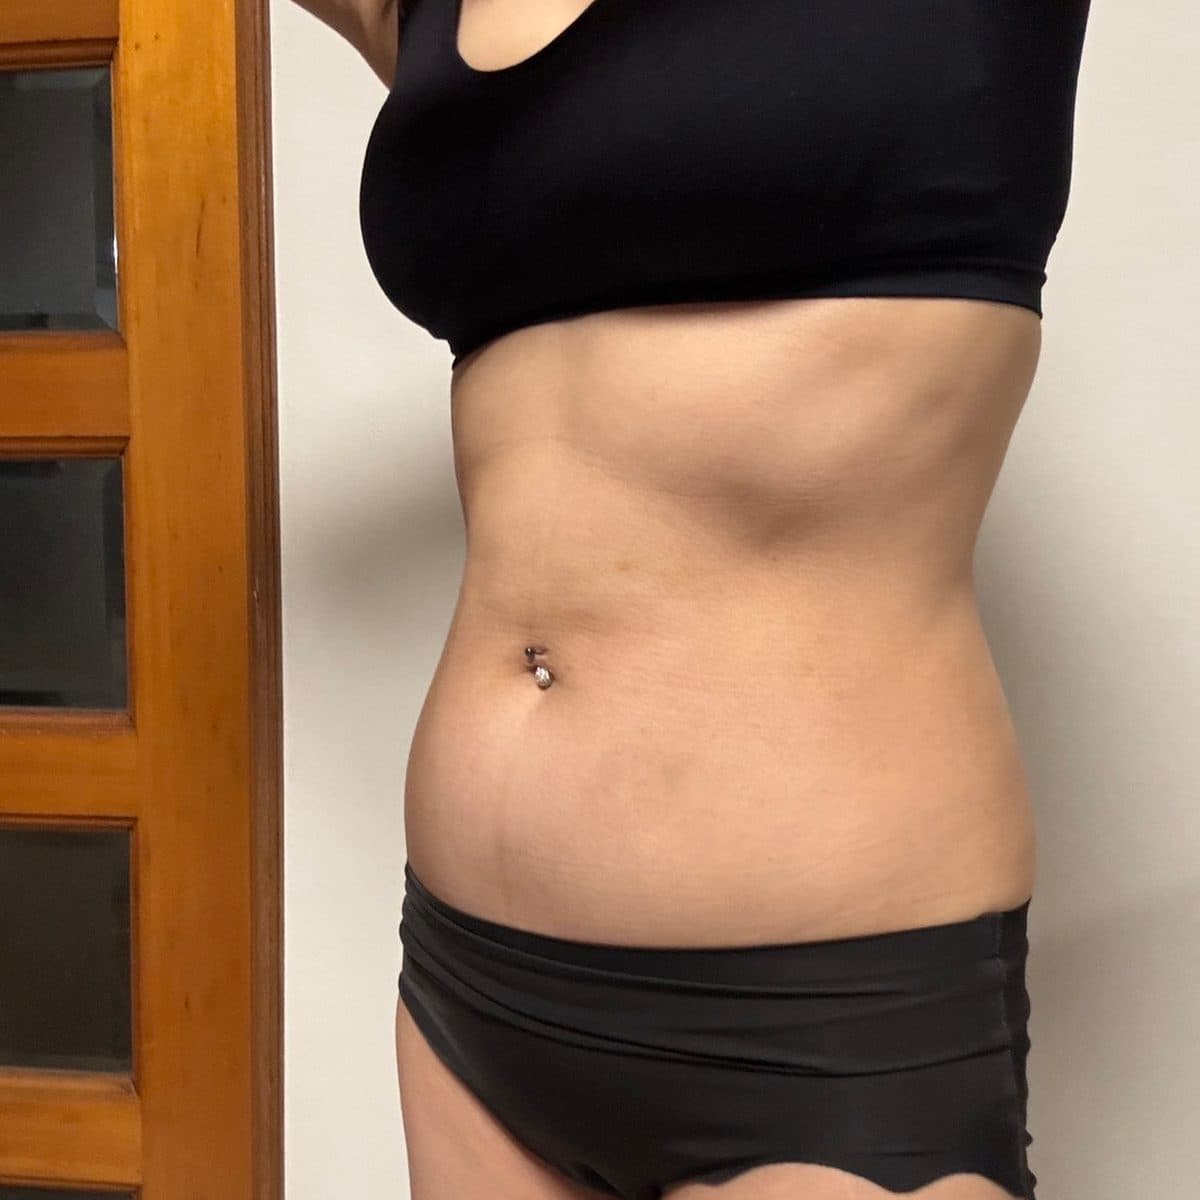 術後Abdomen Sok-Sok InjectionSok-Sok Body Injection
 術前
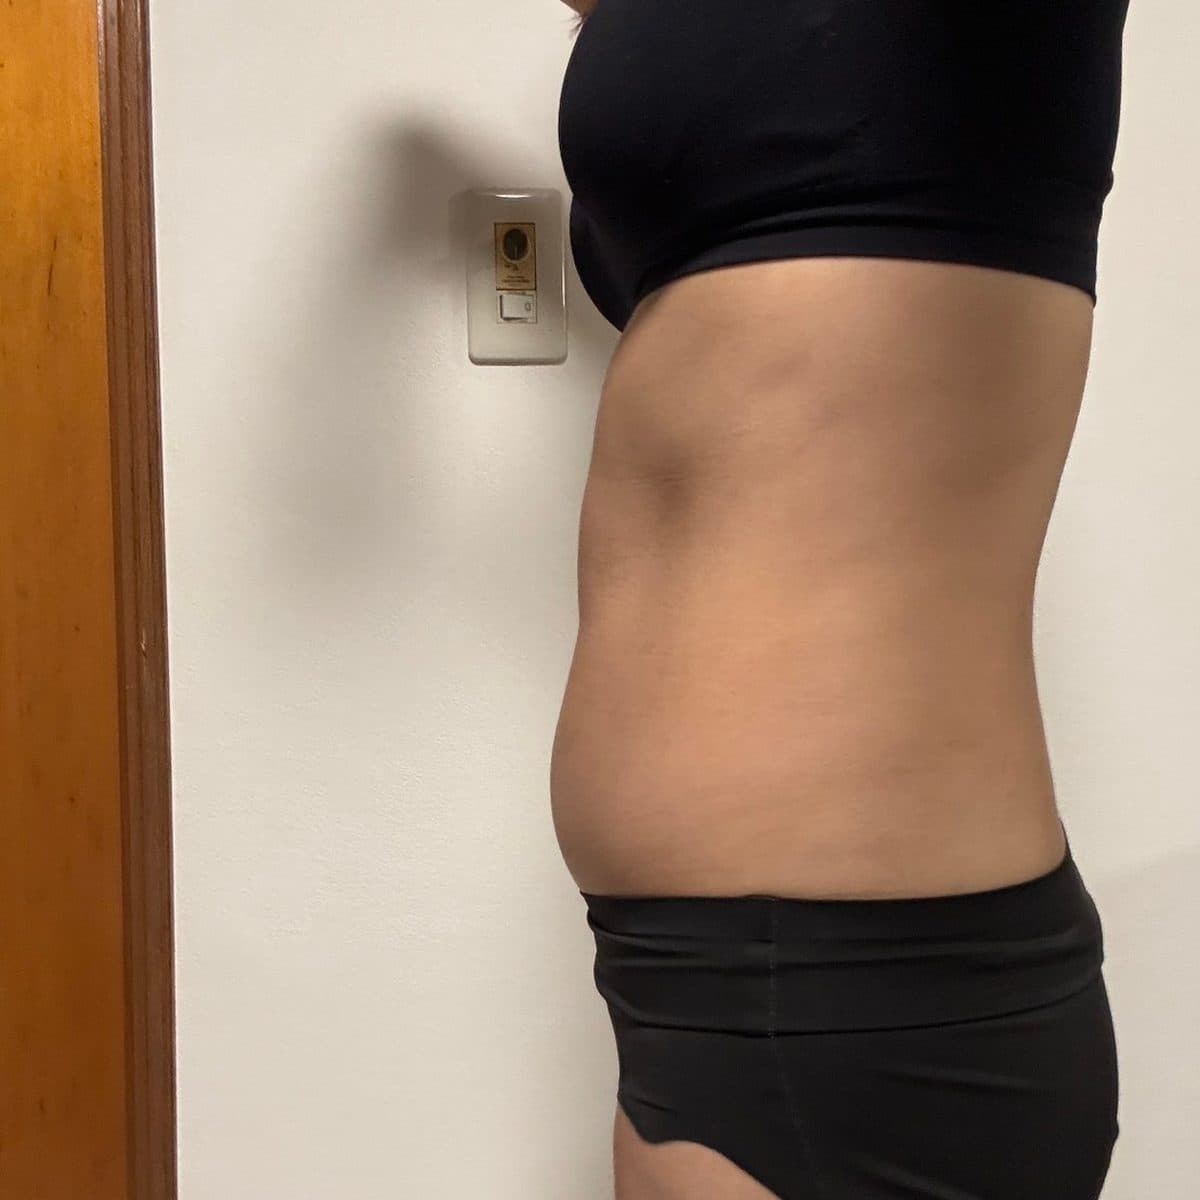 術後Abdomen Sok-Sok InjectionSok-Sok Body Injection
 術前
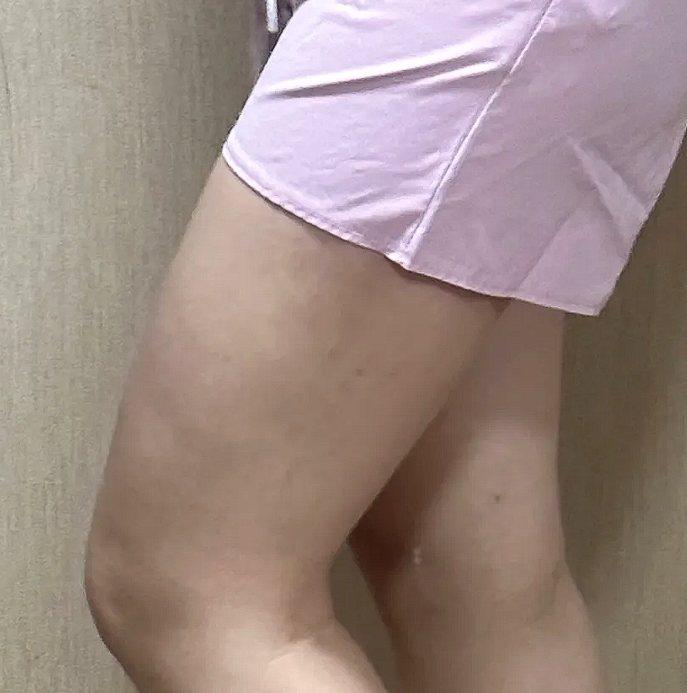 術後Sok-Sok Body InjectionFace & Body Contouring
 術前
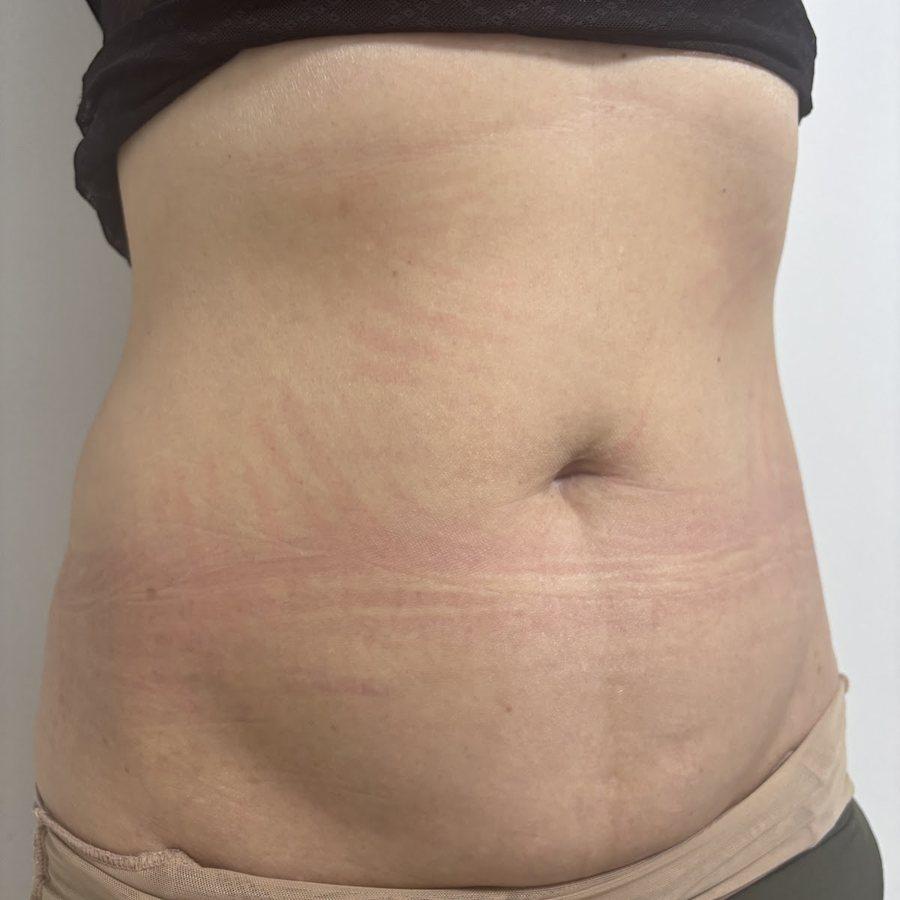 術後Abdomen Sok-Sok InjectionSok-Sok Body Injection
 術前
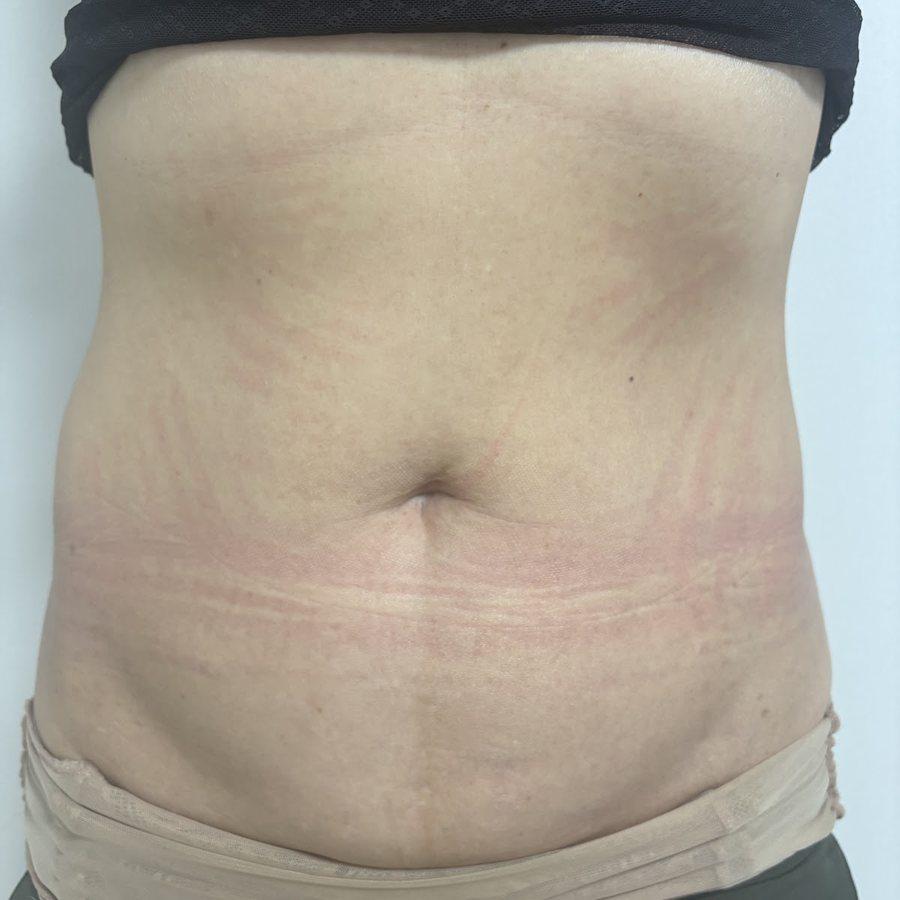 術後Abdomen Sok-Sok InjectionSok-Sok Body Injection
 術前
 術後Arm Sok-Sok InjectionSok-Sok Body Injection
 術前
 術後Arm Sok-Sok InjectionSok-Sok Body Injection
 術前
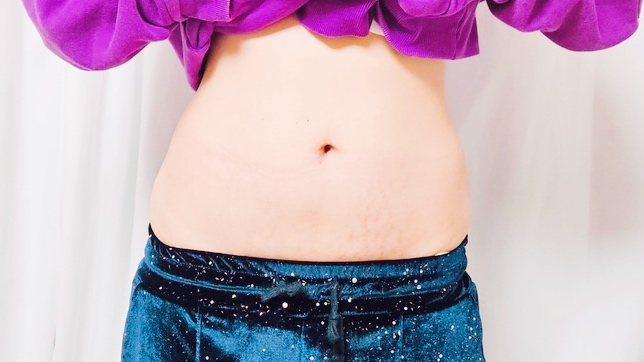 術後Love Handle Sok-Sok InjectionSok-Sok Body Injection
 術前
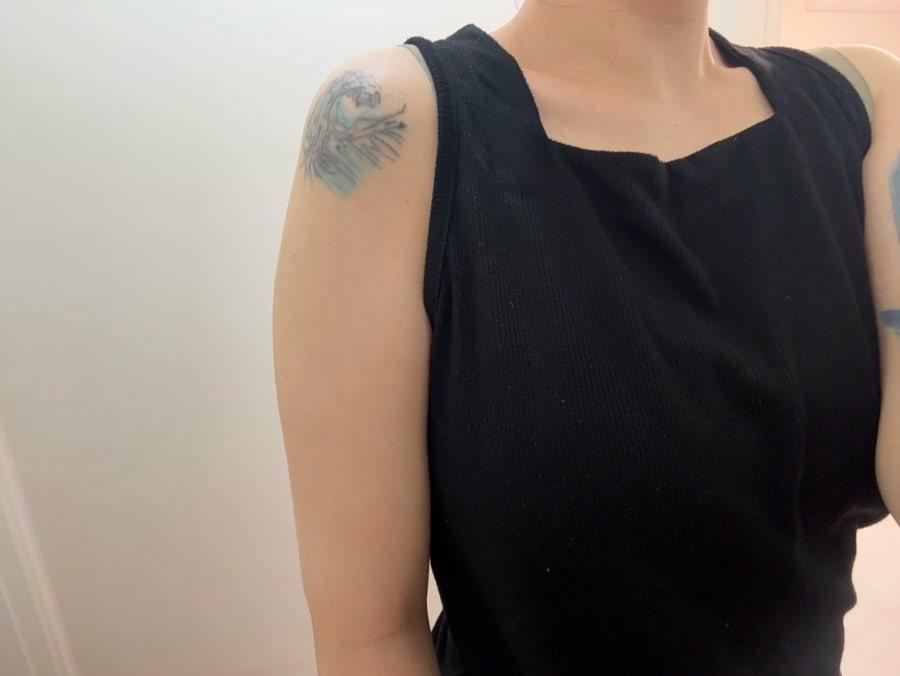 術後Arm Sok-Sok InjectionSok-Sok Body Injection
 術前
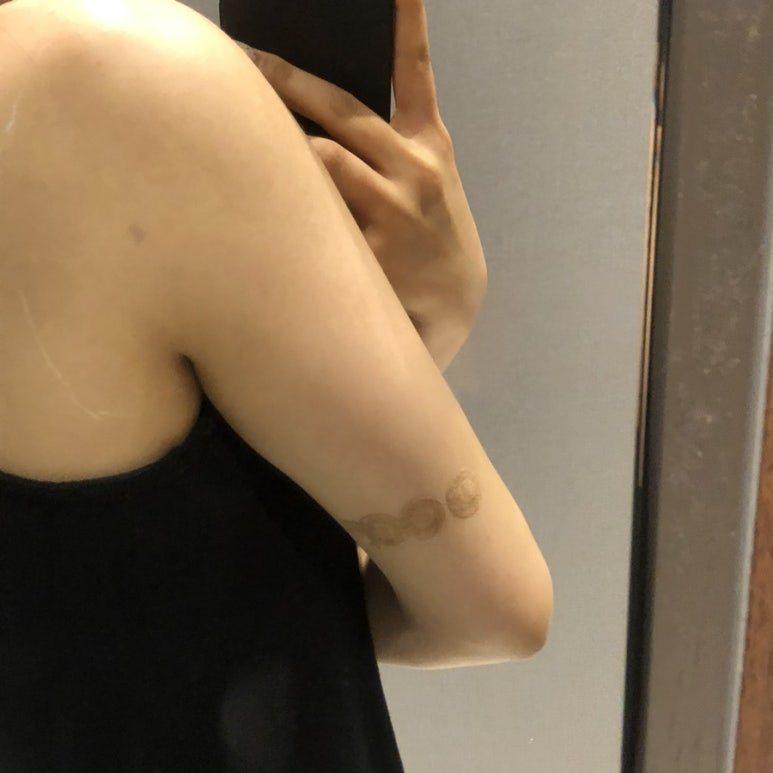 術後Arm Sok-Sok InjectionSok-Sok Body Injection
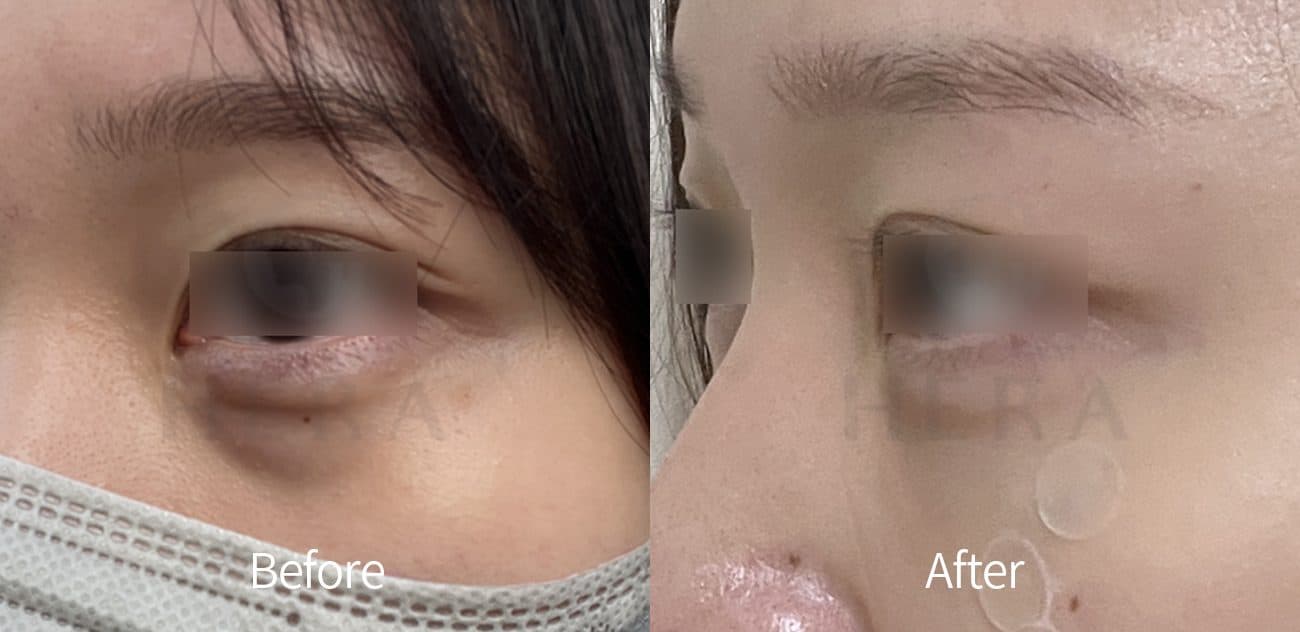 General Facial FillersFillers
 General Facial FillersFillers
 General Facial FillersFillers
 General Facial FillersFillers
 General Facial FillersFillers
 General Facial FillersFillers
 General Facial FillersFillers
 General Facial FillersFillers
 General Facial FillersFillers
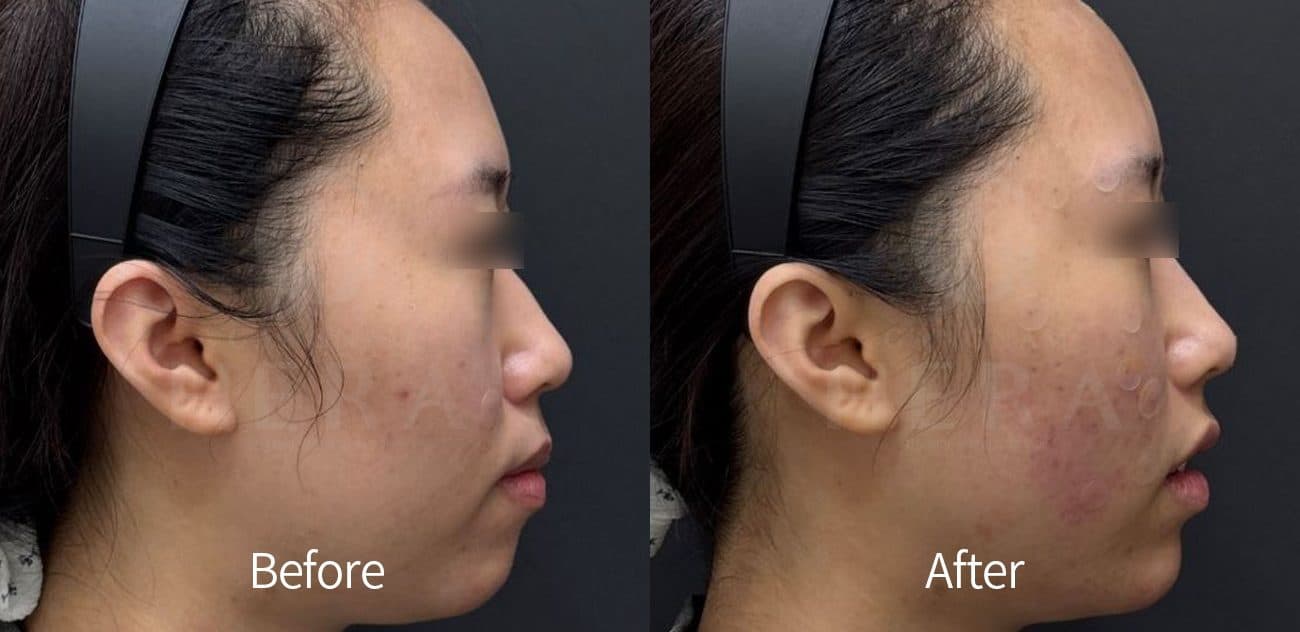 General Facial FillersFillers
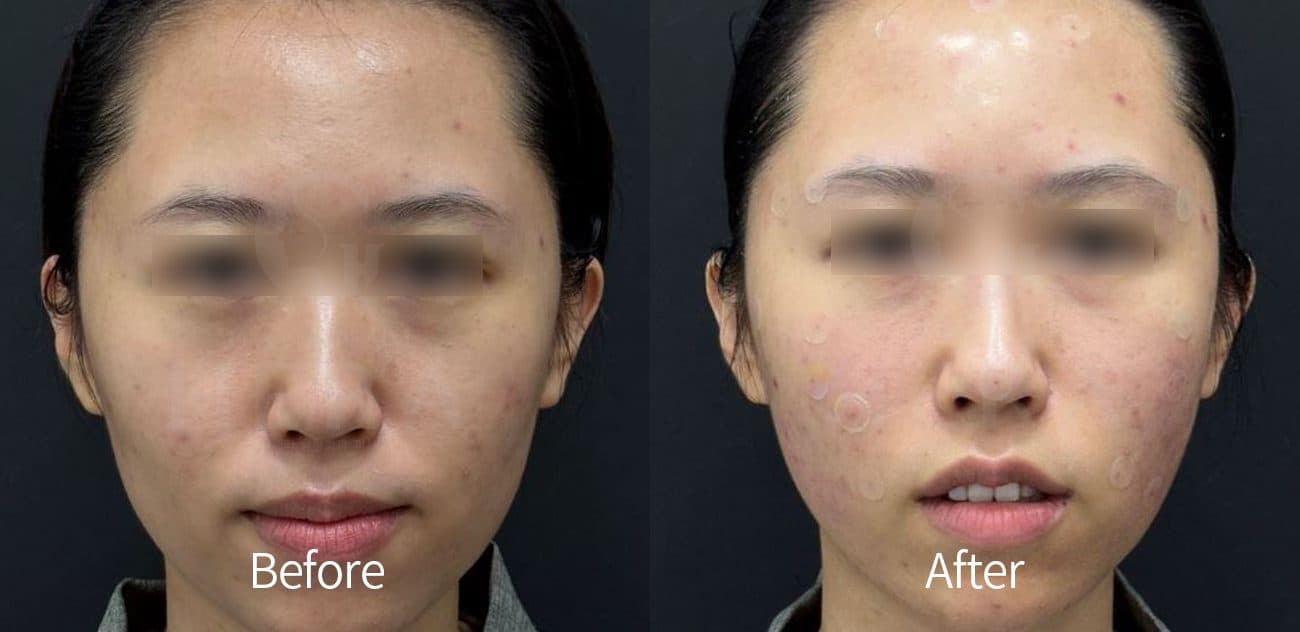 General Facial FillersFillers
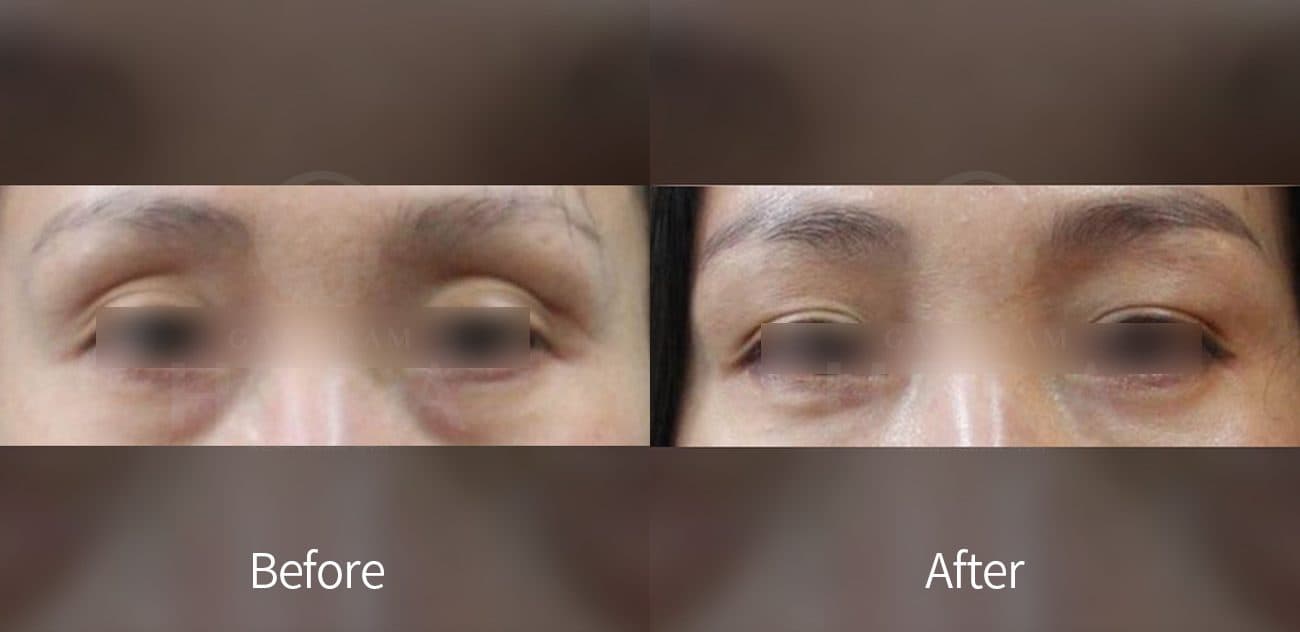 Eye Area FillerEye Rejuvenation Filler
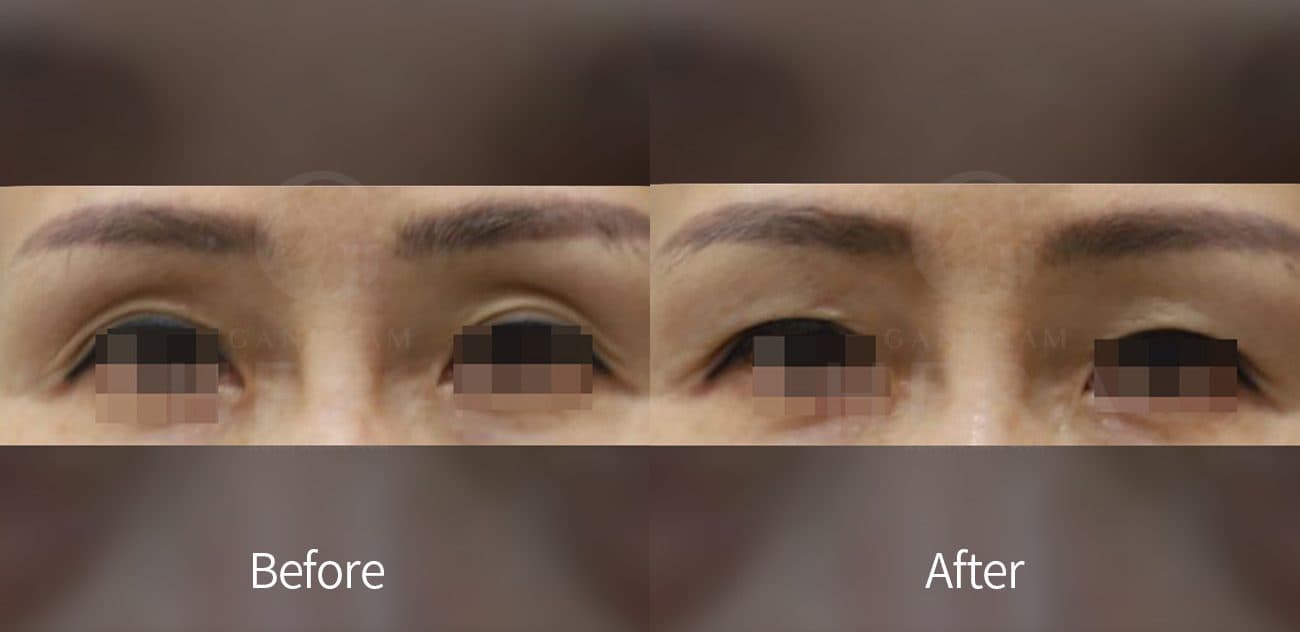 Eye Area FillerEye Rejuvenation Filler
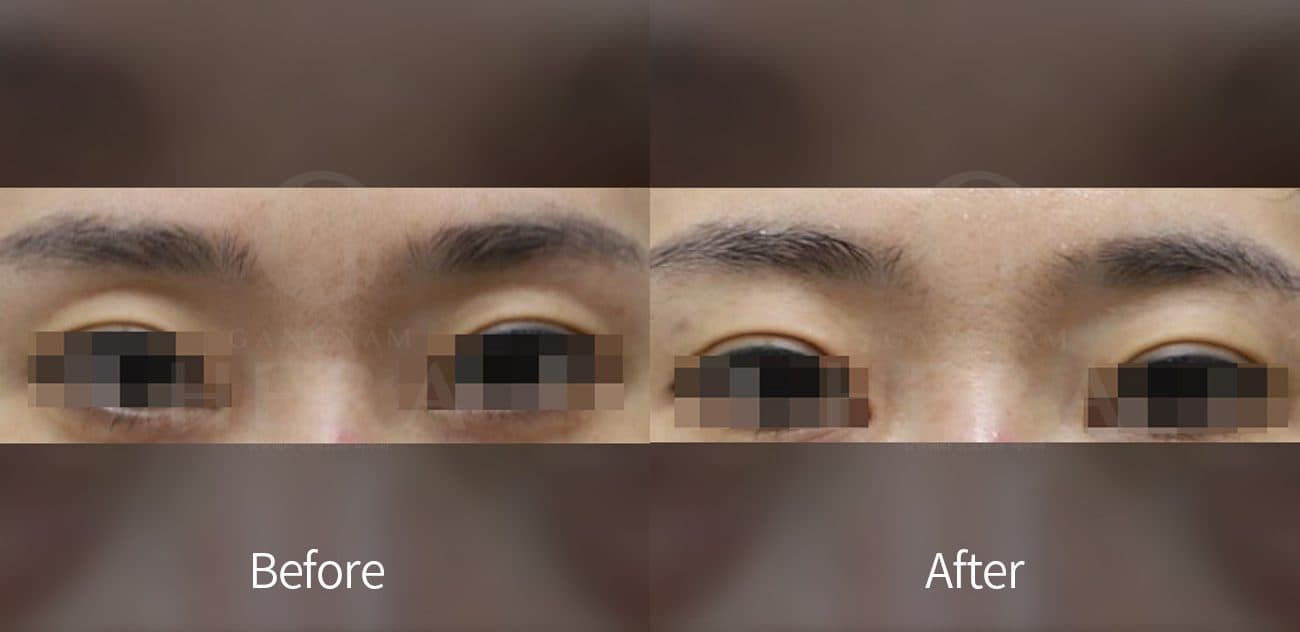 Eye Area FillerEye Rejuvenation Filler
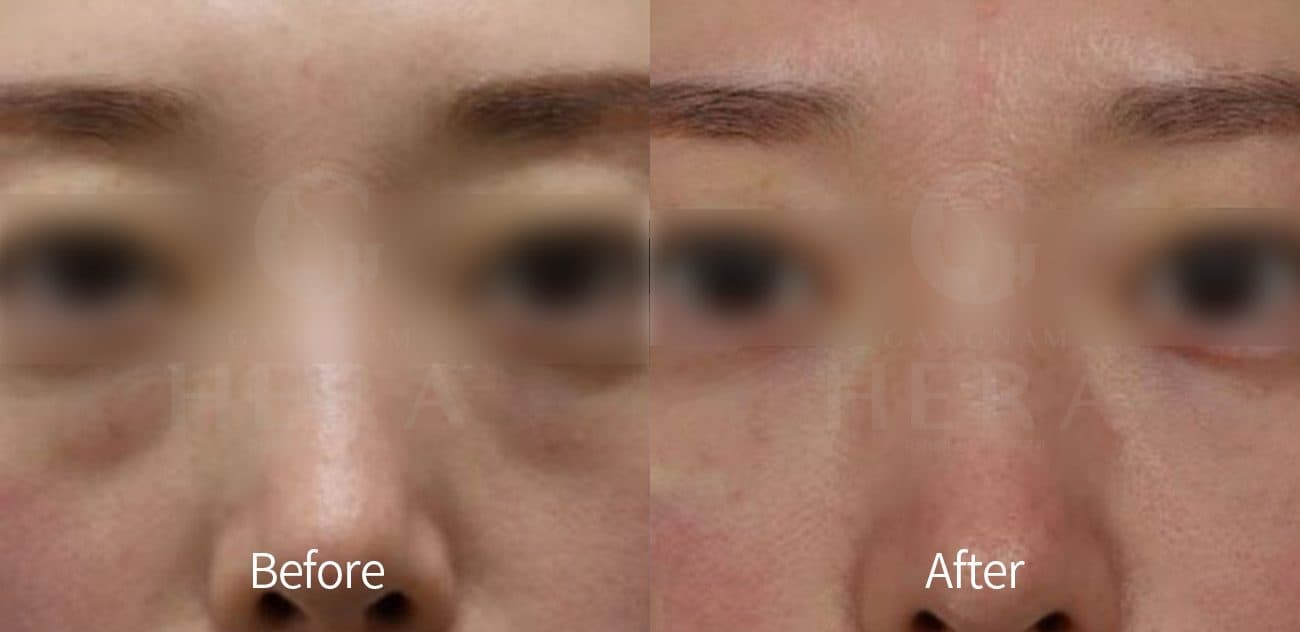 Eye Area FillerEye Rejuvenation Filler
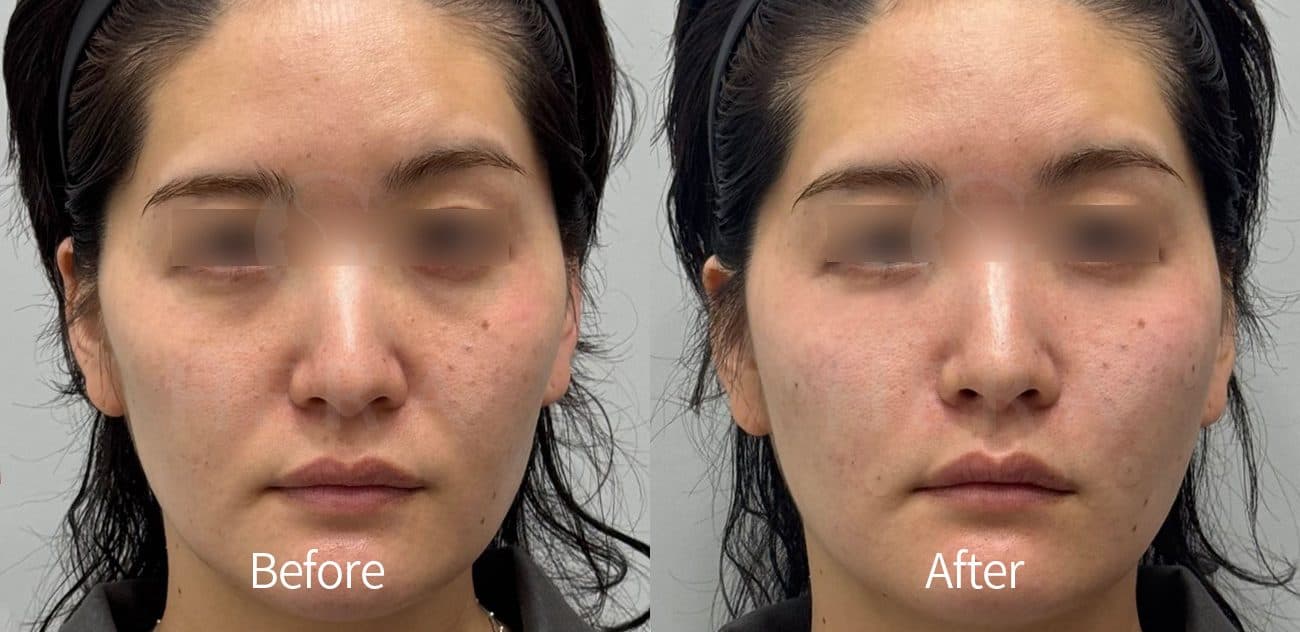 Eye Area FillerEye Rejuvenation Filler
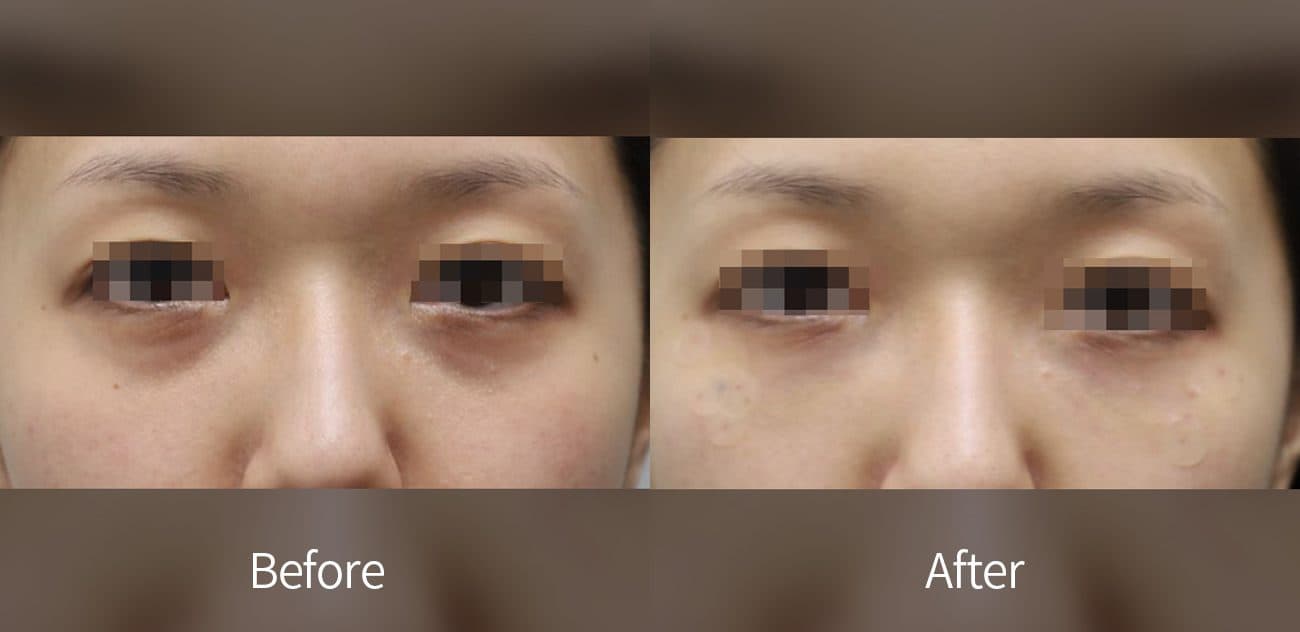 Eye Area FillerEye Rejuvenation Filler
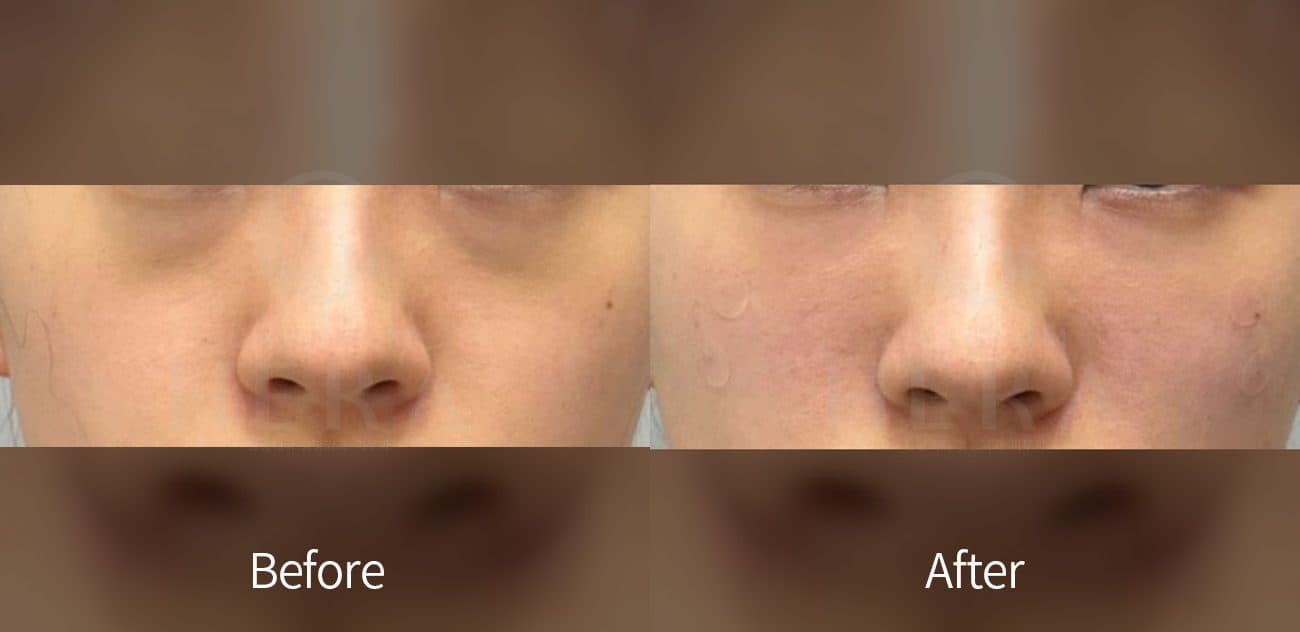 Eye Area FillerEye Rejuvenation Filler
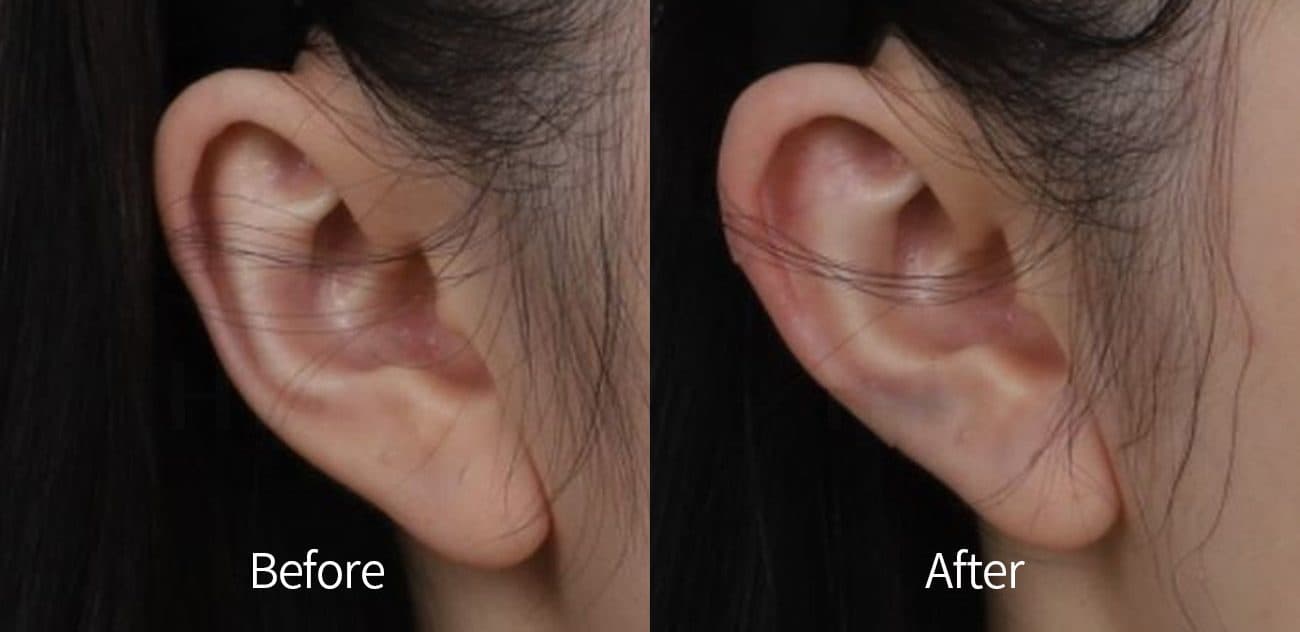 Ear FillerFillers
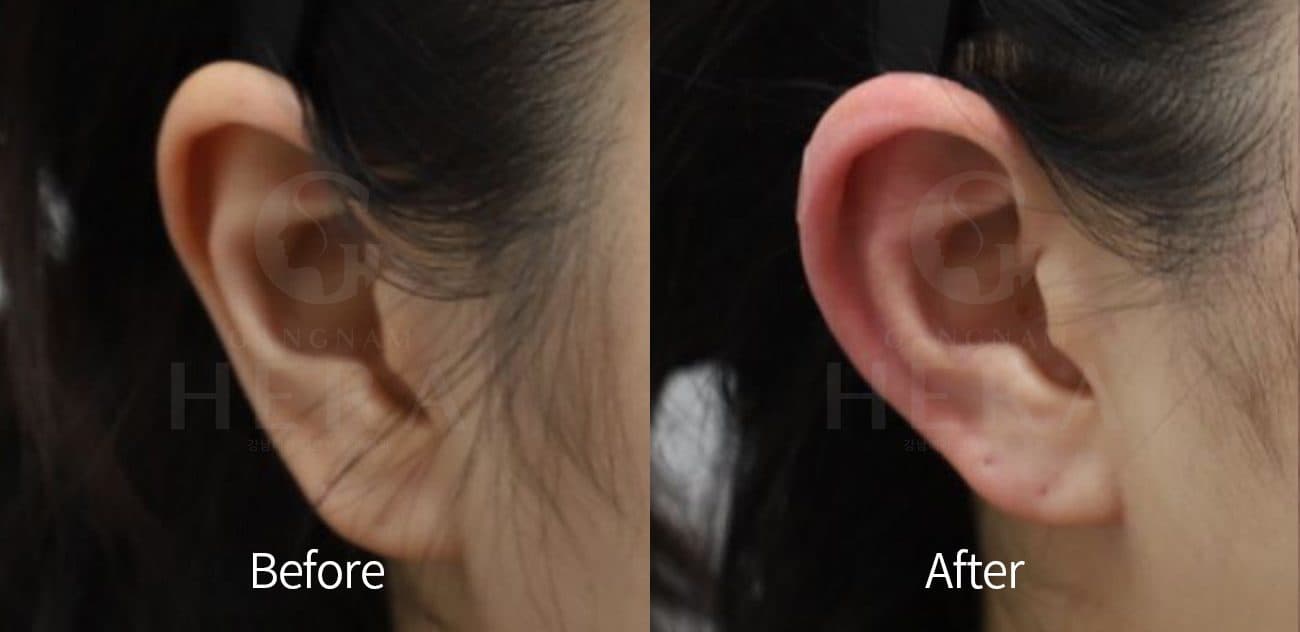 Ear FillerFillers
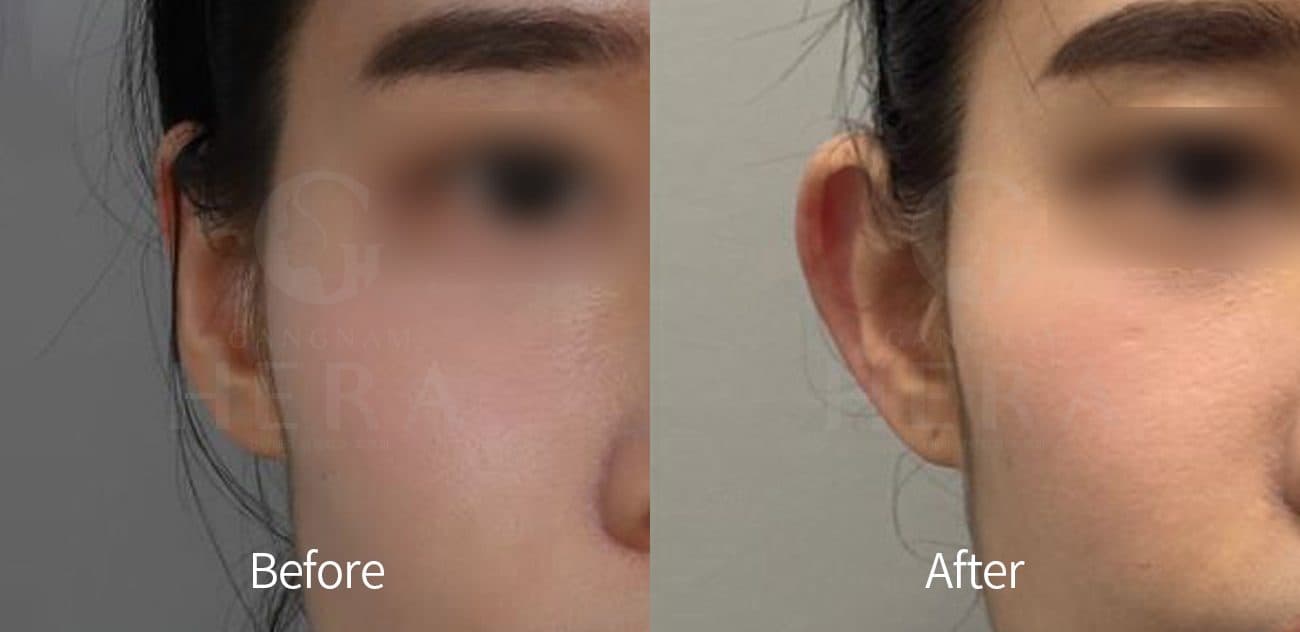 Ear FillerFillers
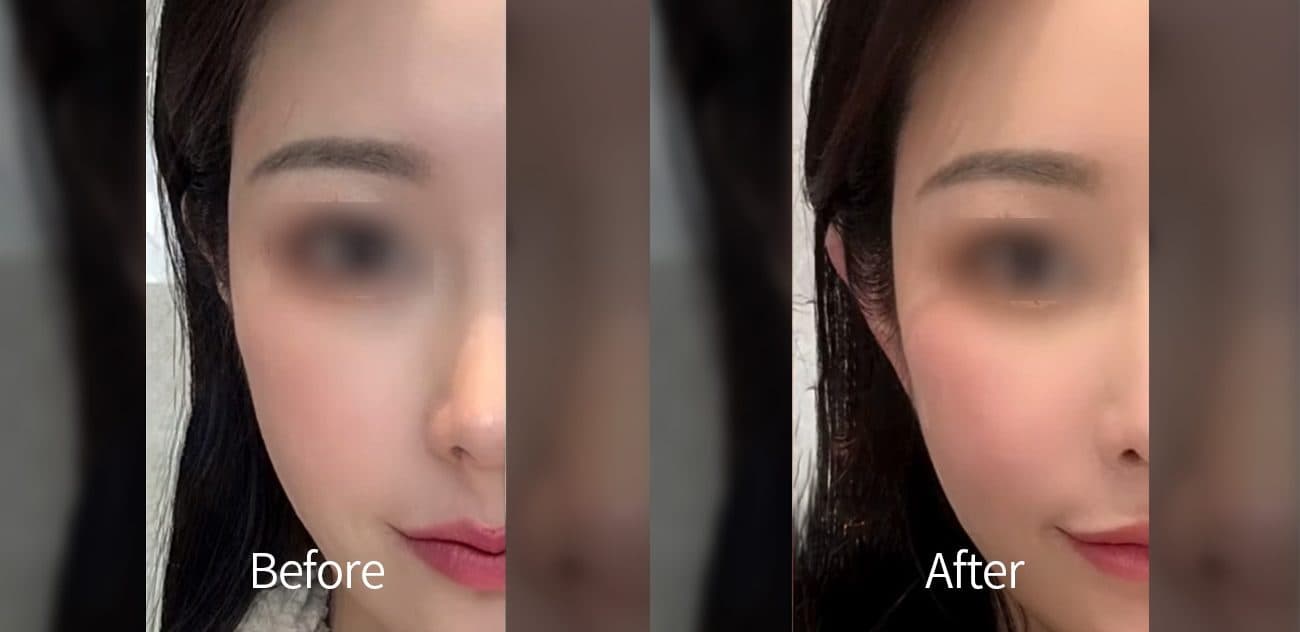 Ear FillerFillers
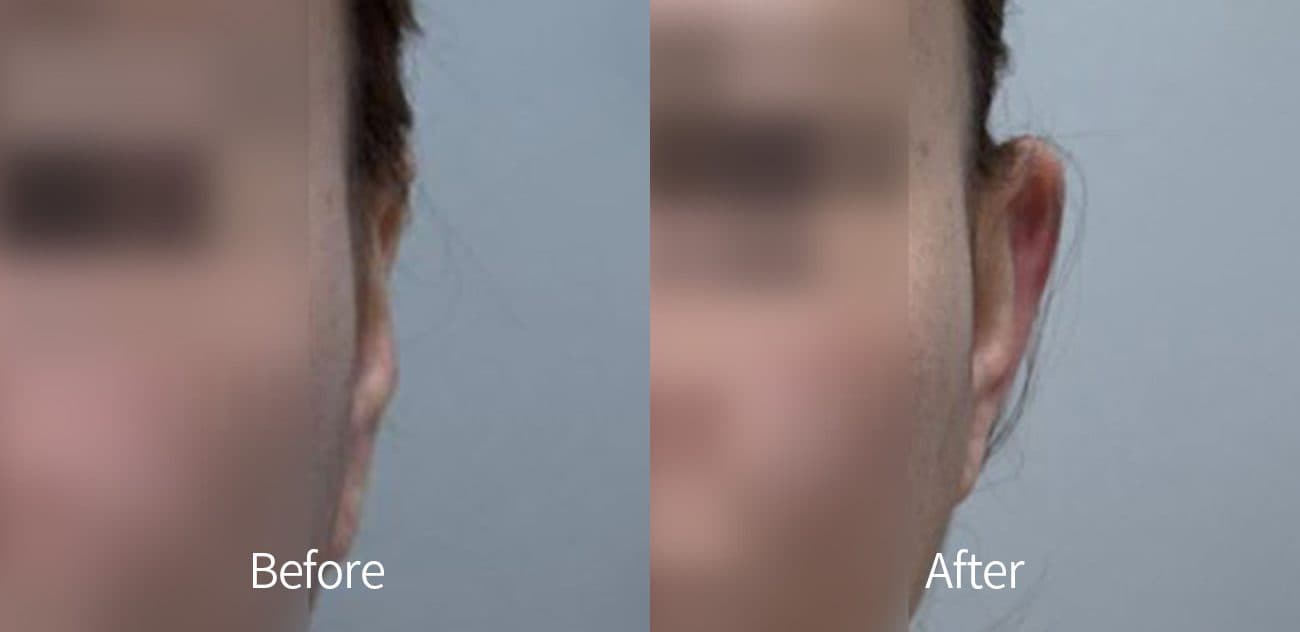 Ear FillerFillers
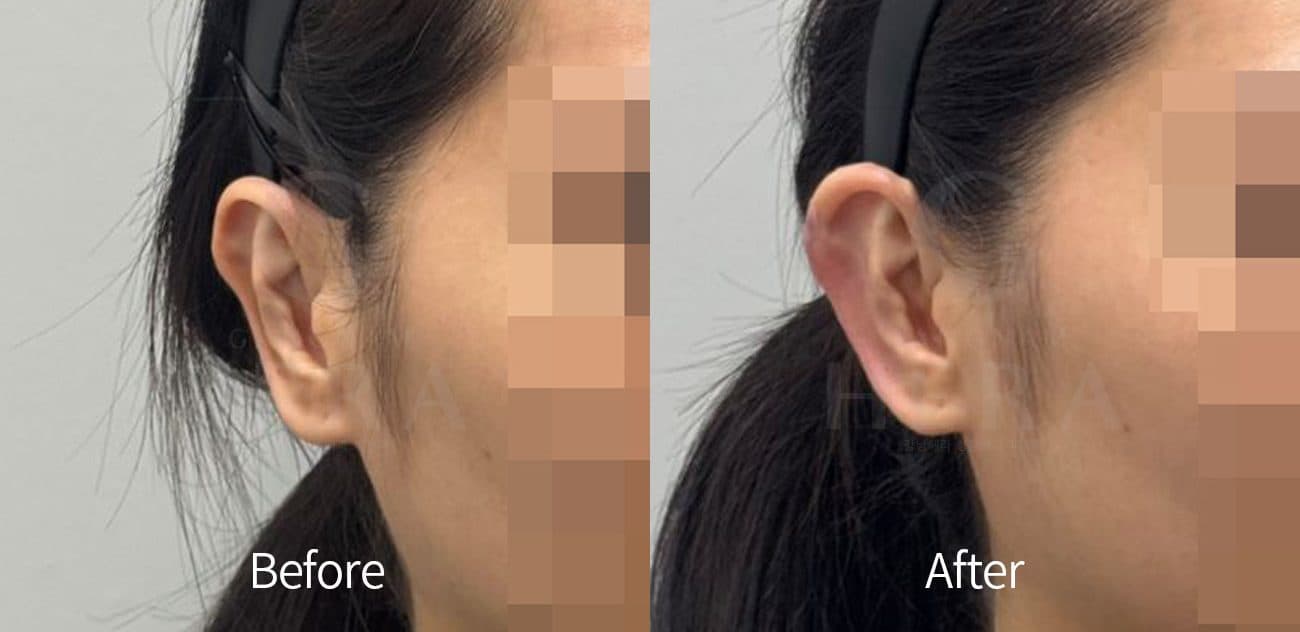 Ear FillerFillers
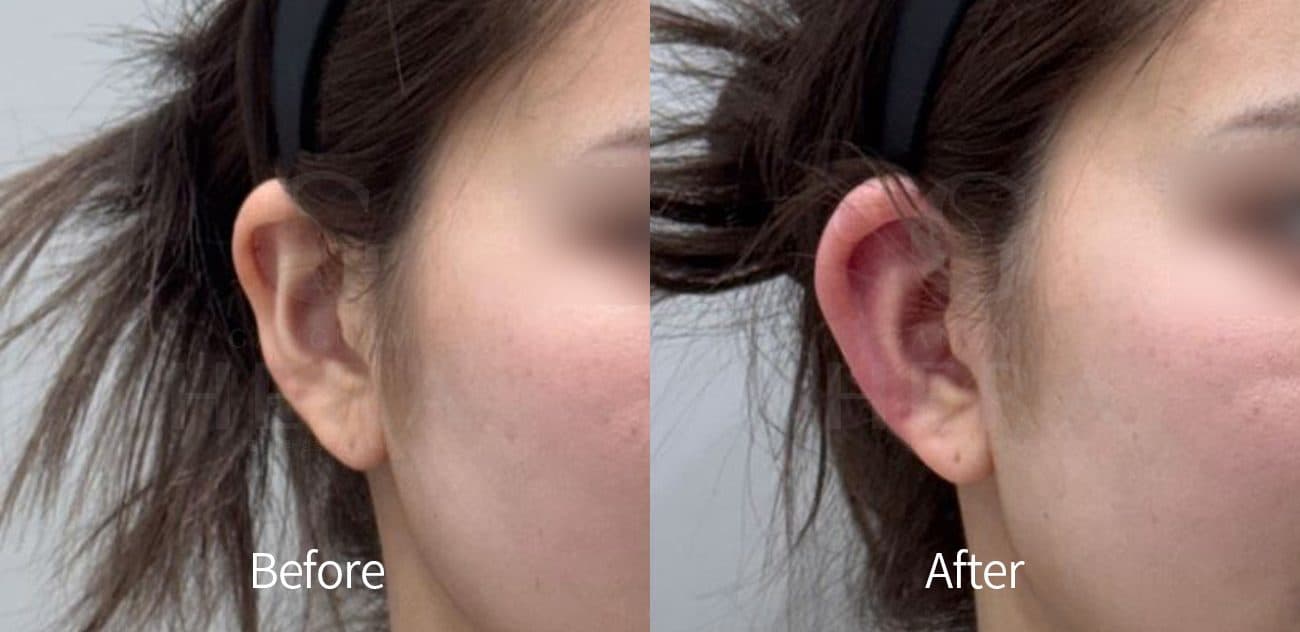 Ear FillerFillers
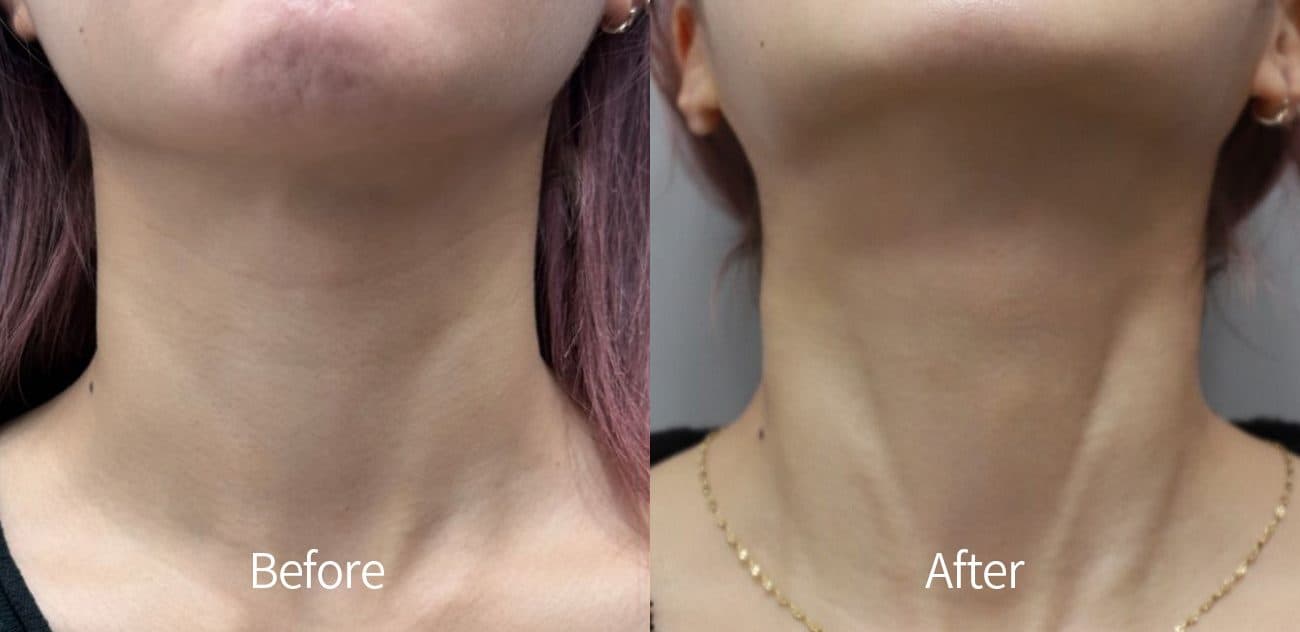 Neck Line FillerFillers
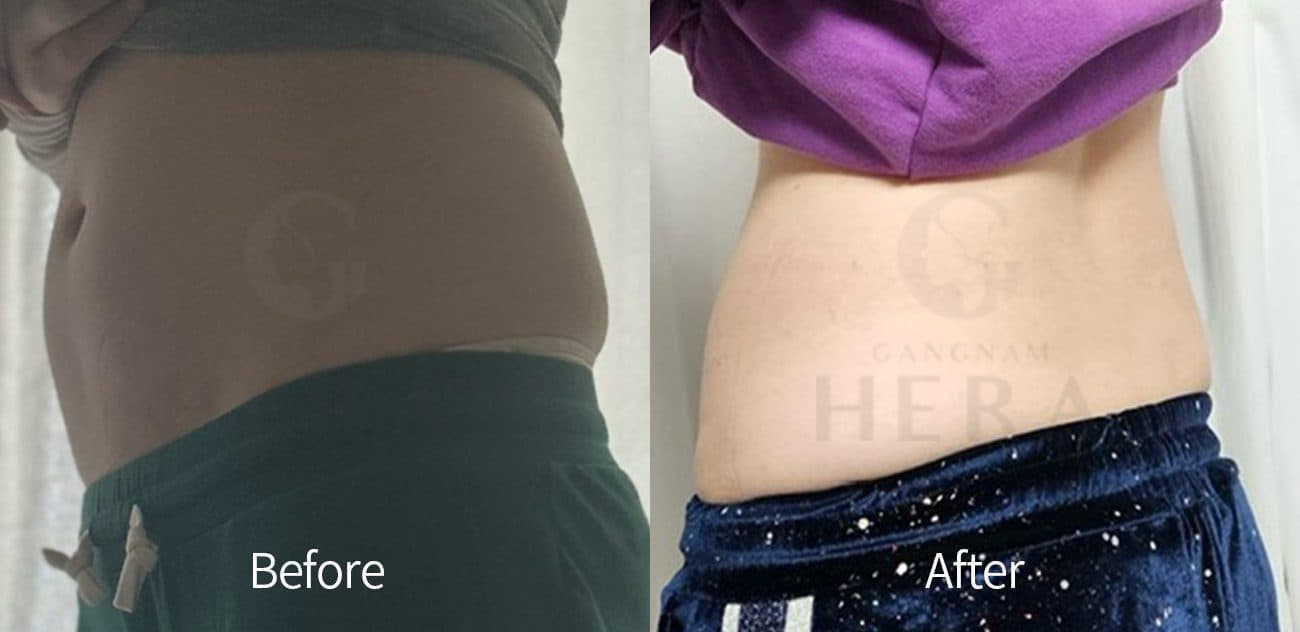 Sok-Sok Body InjectionFace & Body Contouring
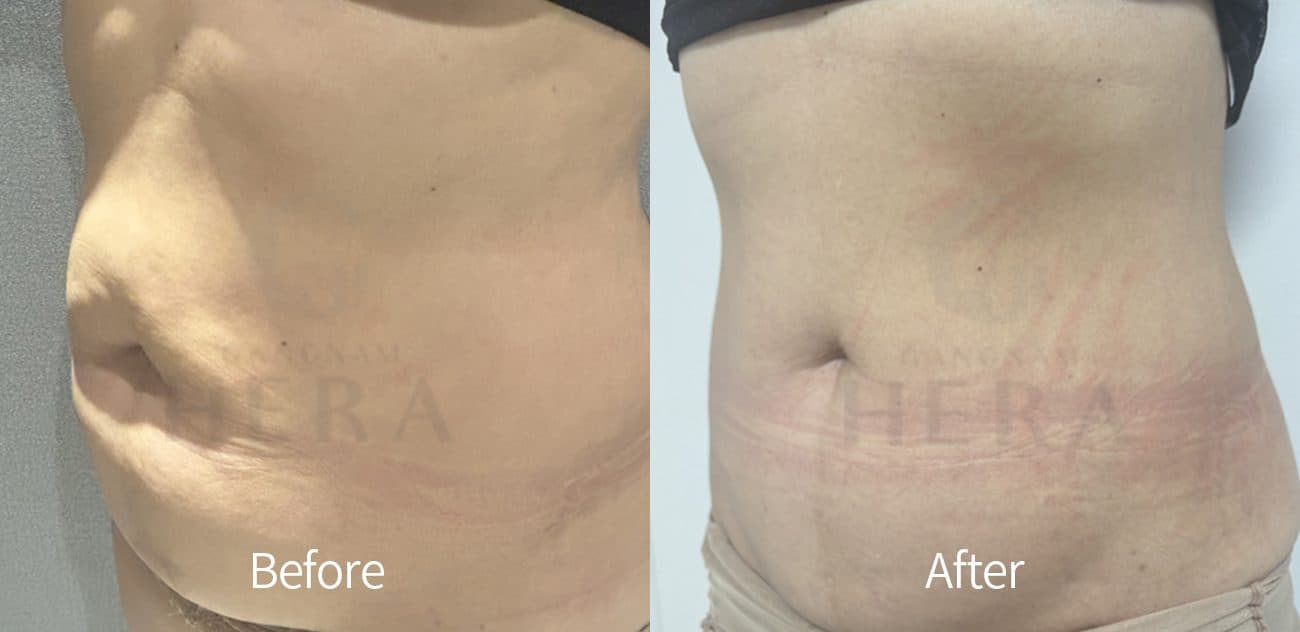 Sok-Sok Body InjectionFace & Body Contouring
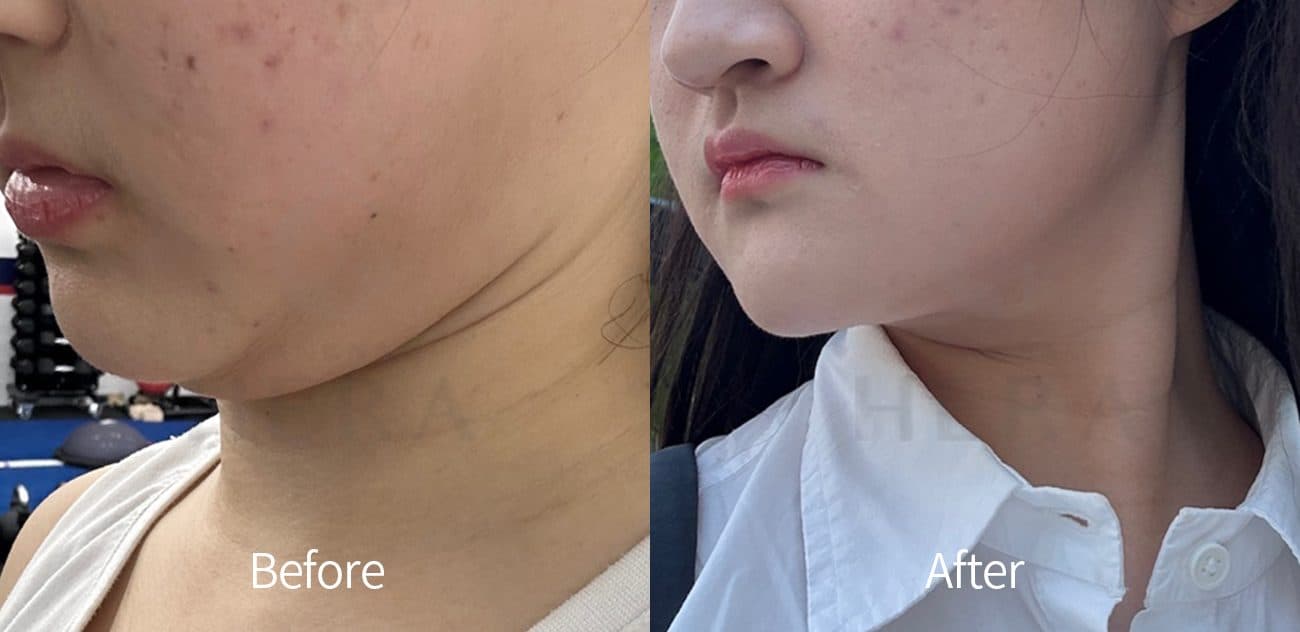 Sok-Sok Body InjectionFace & Body Contouring
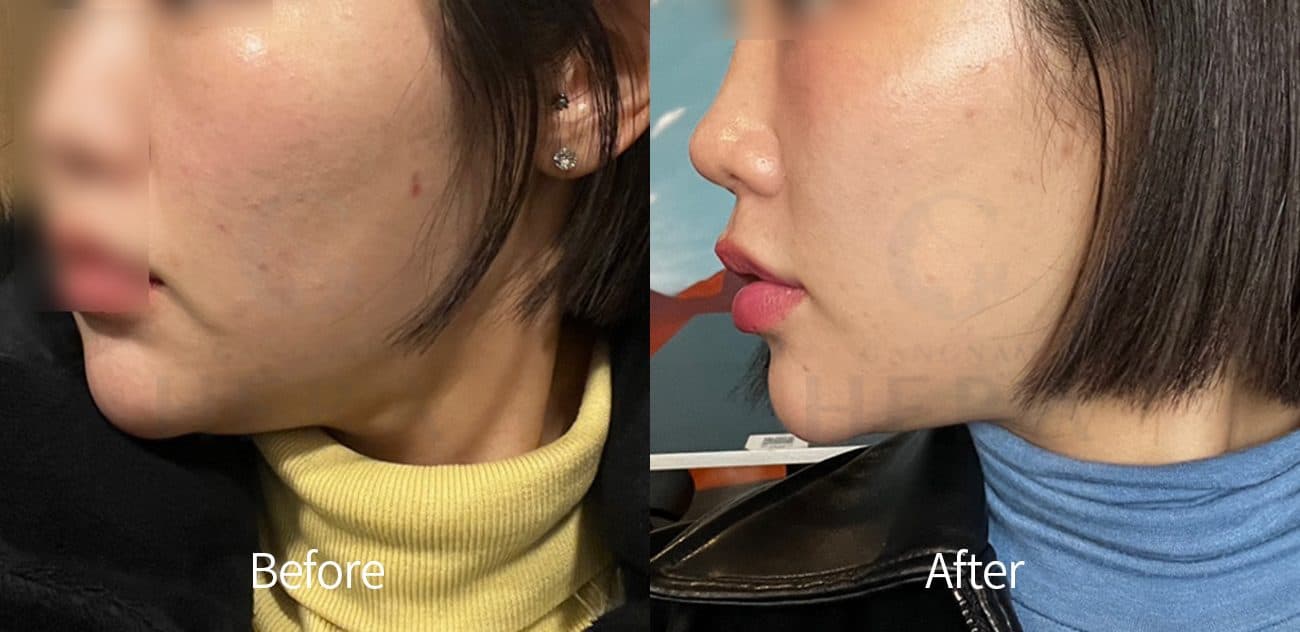 Sok-Sok Body InjectionFace & Body Contouring
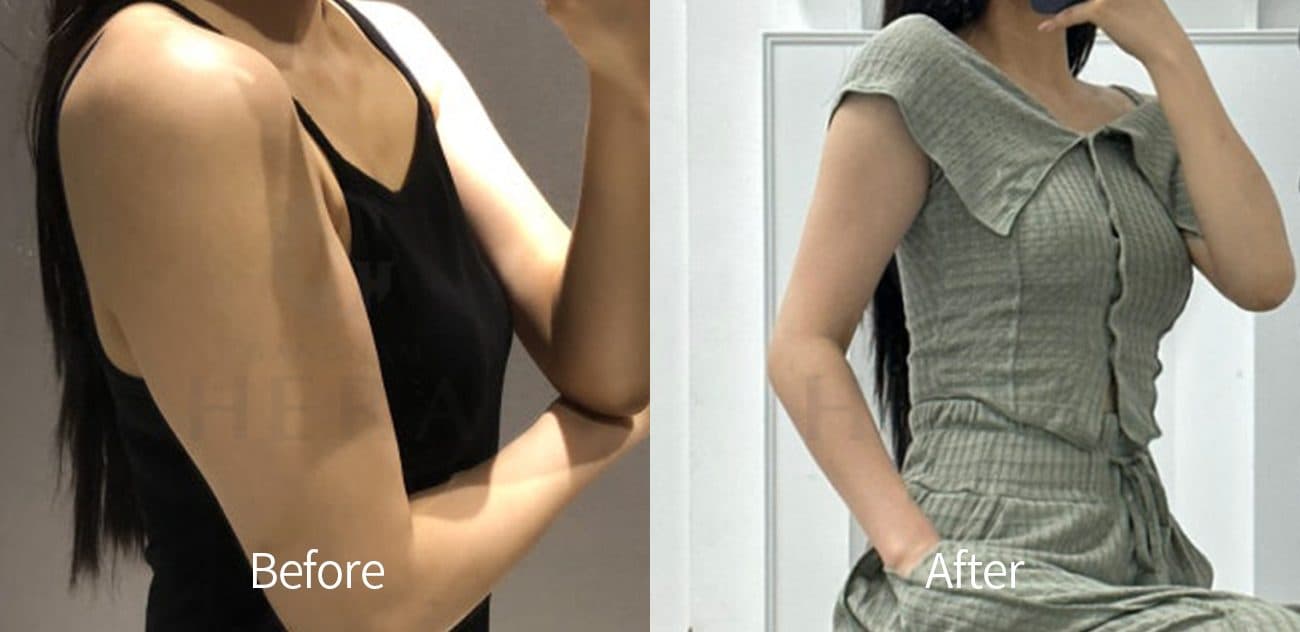 Sok-Sok Body InjectionFace & Body Contouring
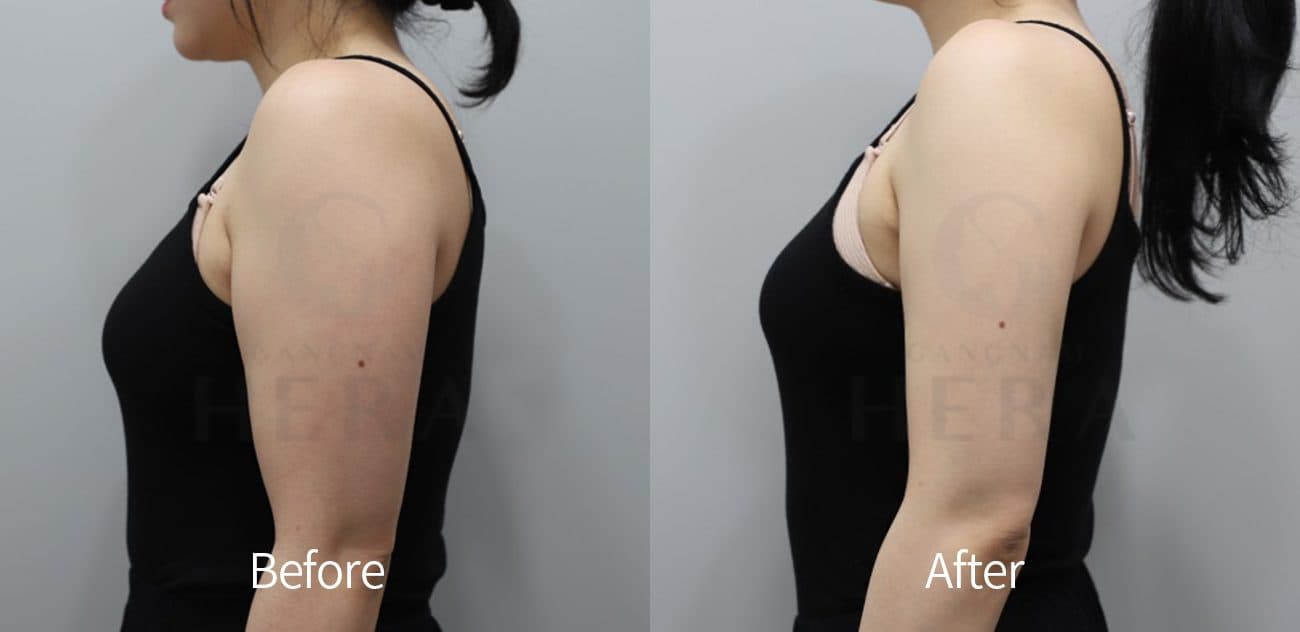 Sok-Sok Body InjectionFace & Body Contouring
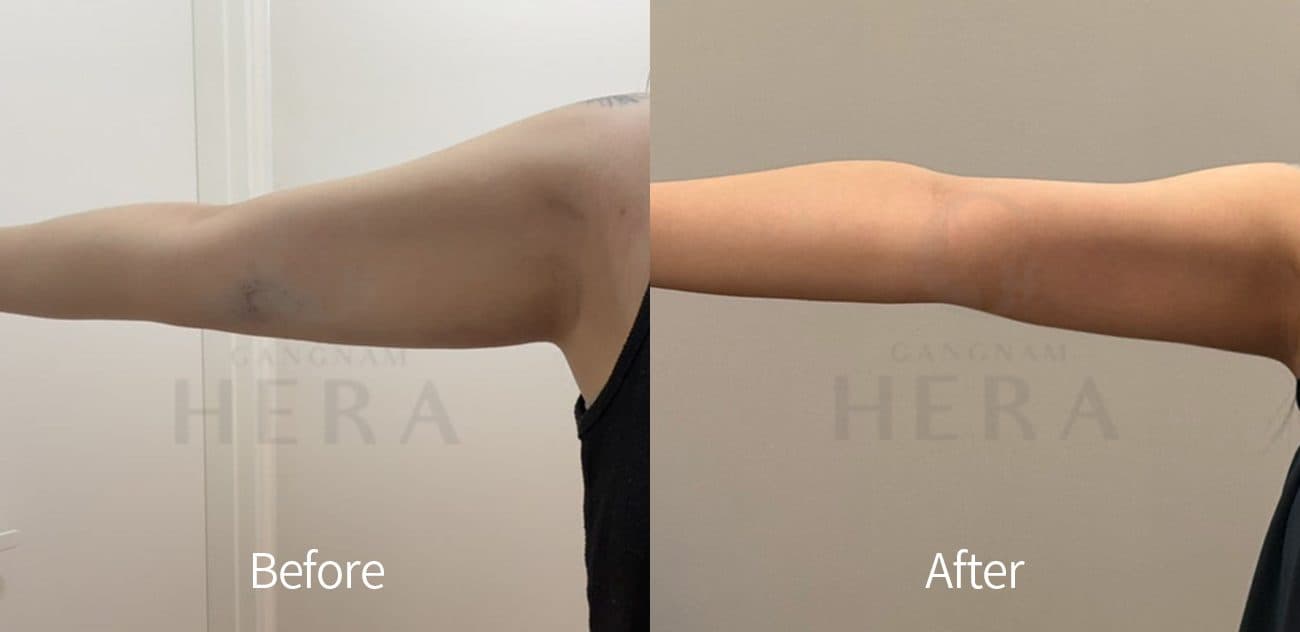 Sok-Sok Body InjectionFace & Body Contouring
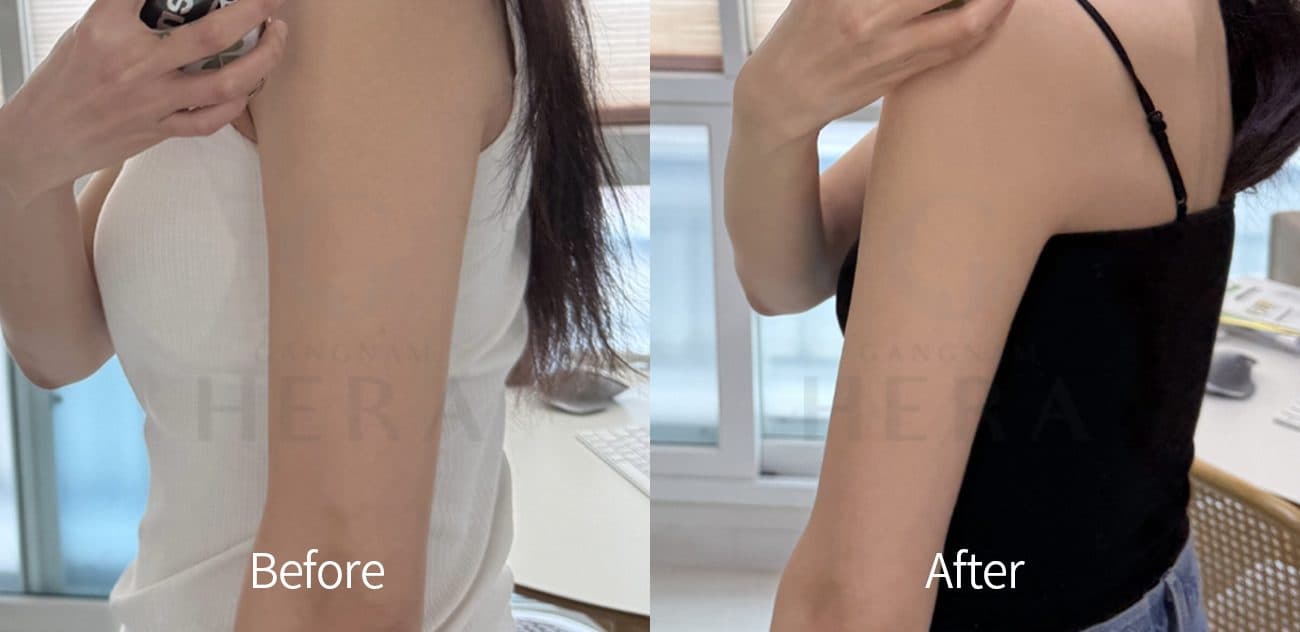 Sok-Sok Body InjectionFace & Body Contouring
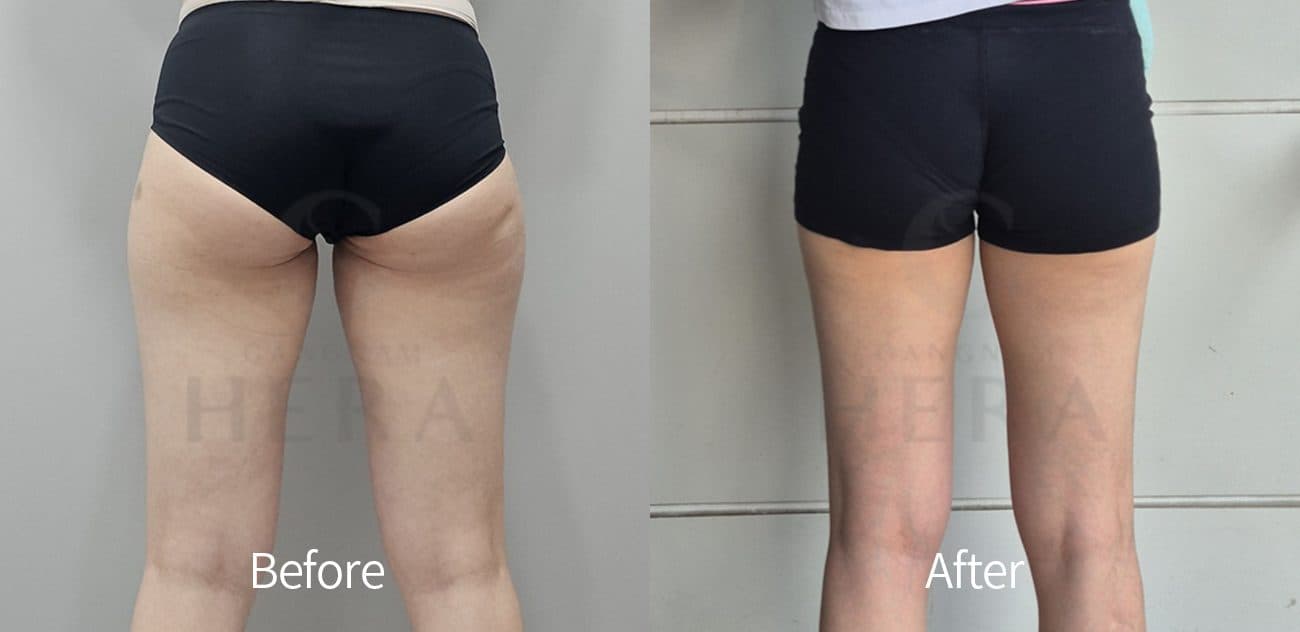 Sok-Sok Body InjectionFace & Body Contouring
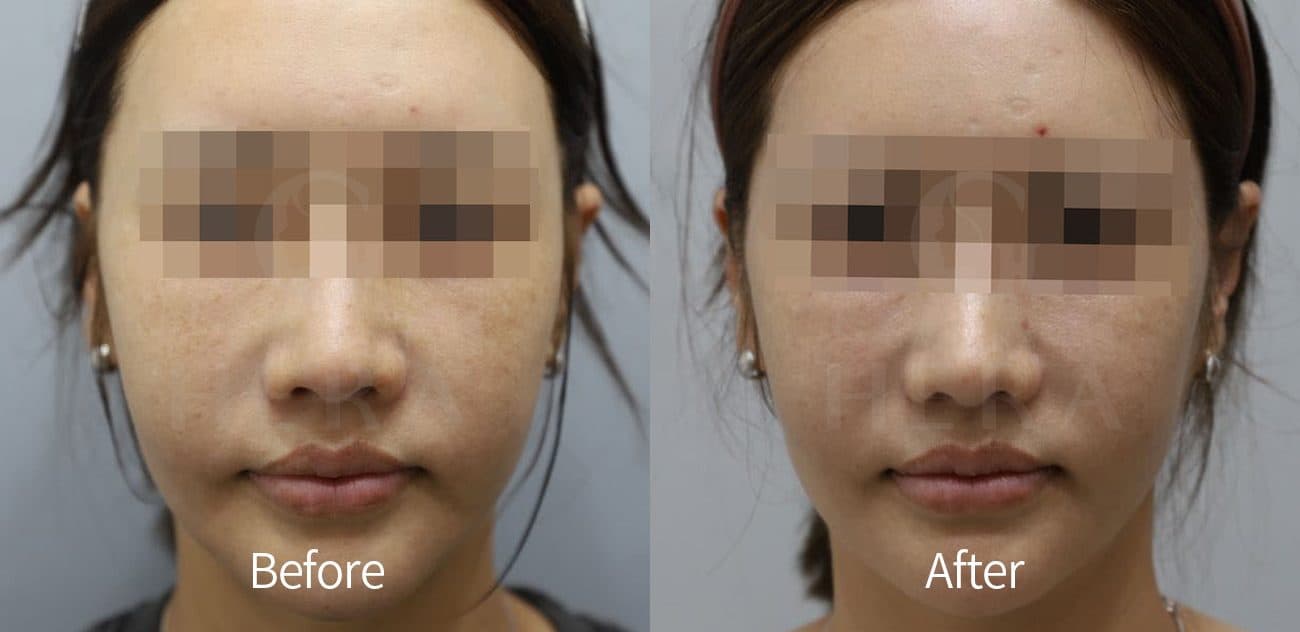 Sok-Sok Body InjectionFace & Body Contouring
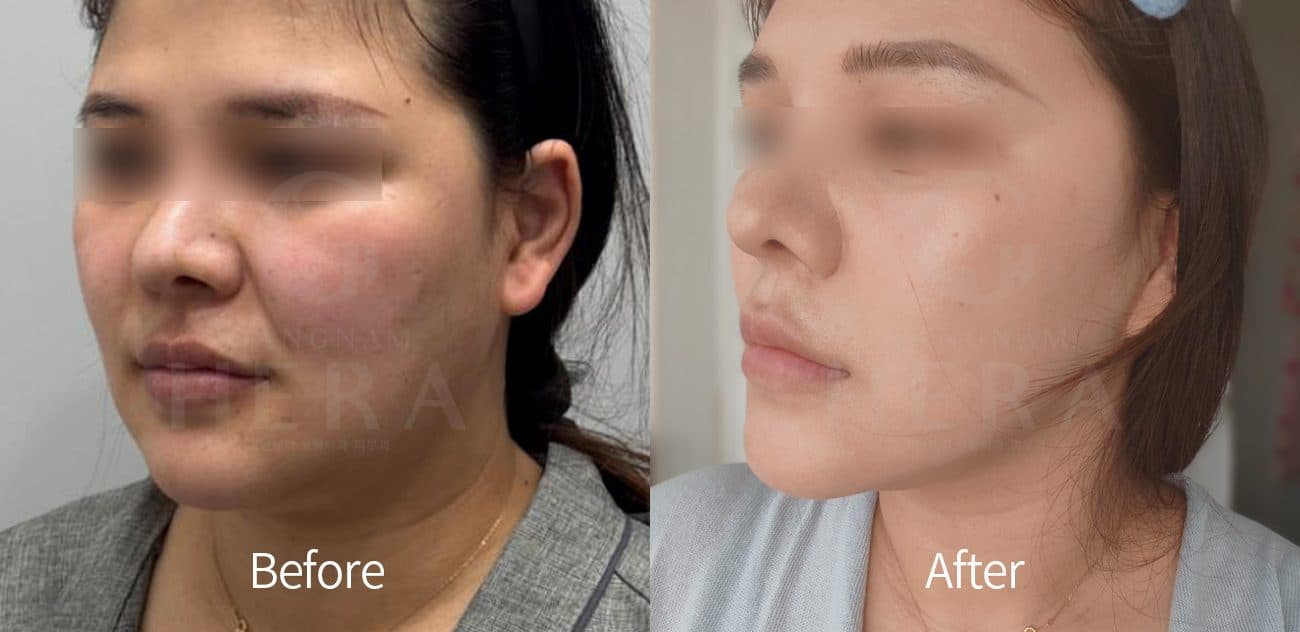 Sok-Sok Body InjectionFace & Body Contouring
照片皆為真實患者,經本人同意後分享。效果因人而異,這些照片不代表保證效果。大分類標籤僅為示意性分組,並非經逐案核實的療程紀錄。